I’m so excited to be DIYing again! Though I’ve done a few here and there, it feels like it’s been SO LONG since I’ve had time to be open for new inspiration and creativity AND THEN have time to make it too. So fun!
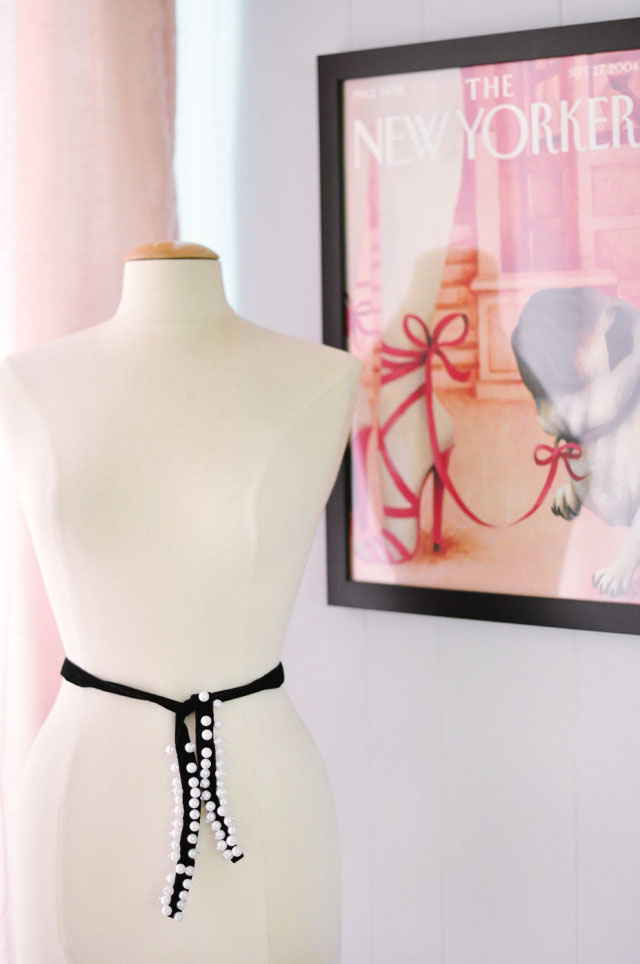
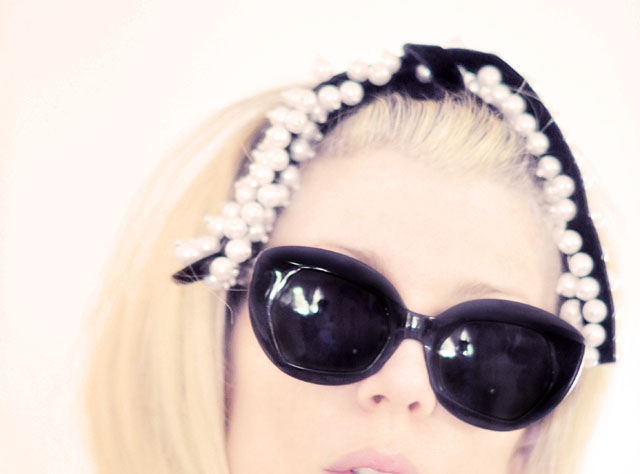
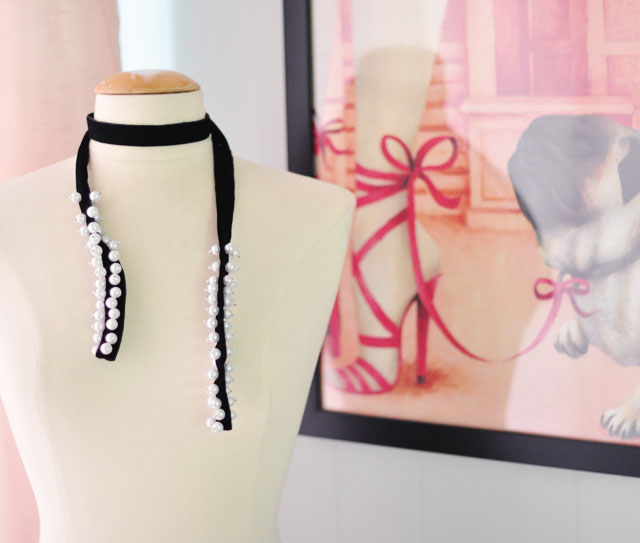
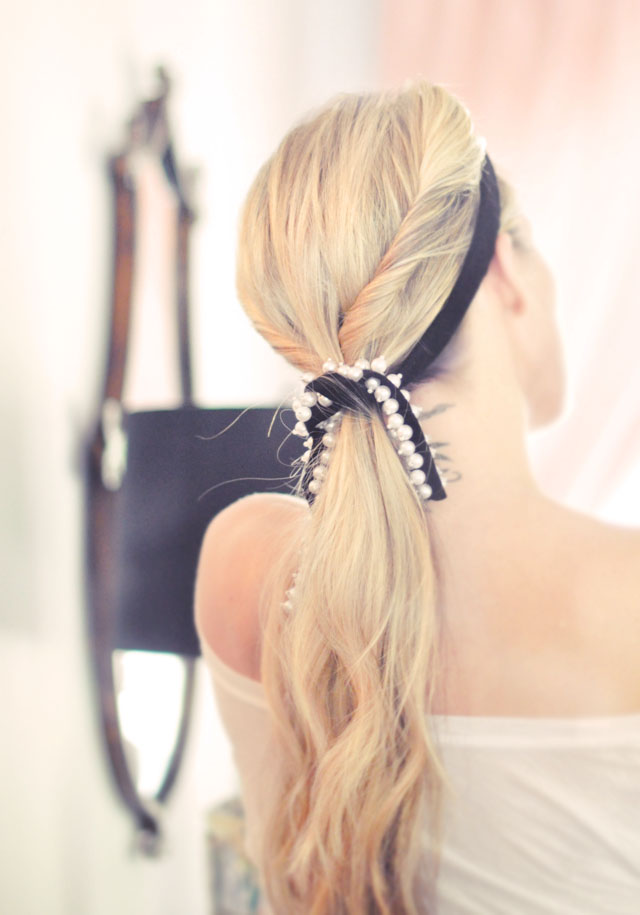
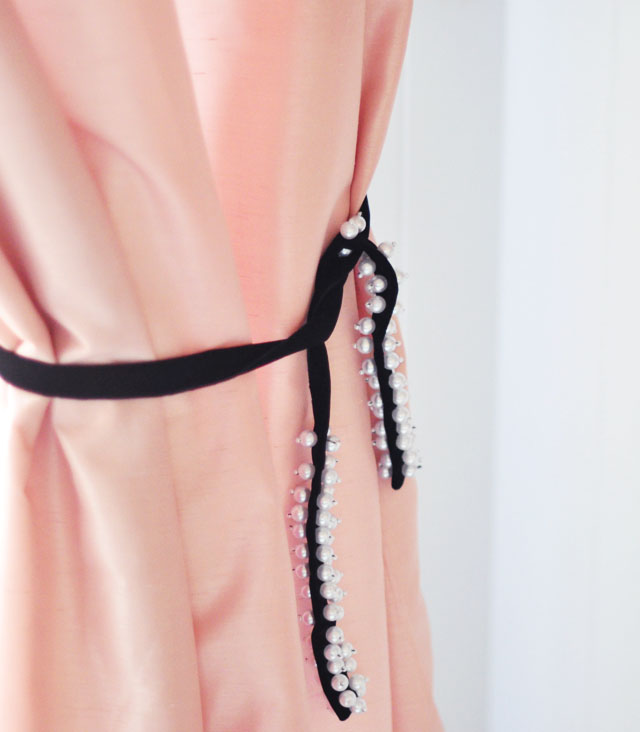
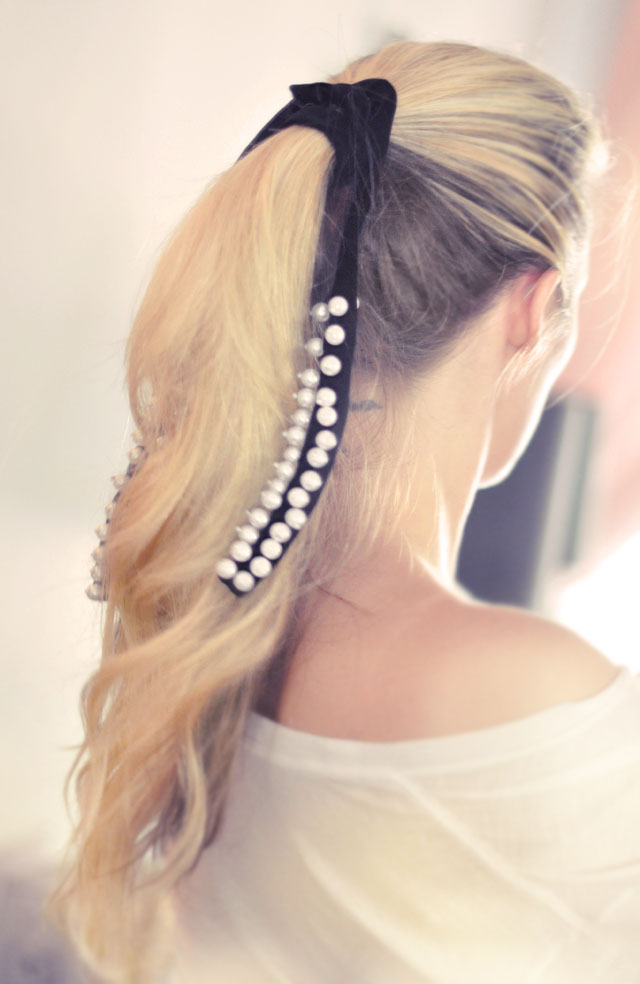
I love a good accessory that works for so many different things. I saw this as an accent on a Chloe dress {scroll down for my inspiration photo} and thought it would look so pretty not only as a dress embellishment, but as a belt, necklace, a curtain tieback, and mostly, as a pretty hair accessory worn so many different ways. I made another use-for-everything pretty accessory a few months ago that’s much simpler and quicker to do, but different. You can find here: DIY Looping Circles Accessory Ribbon.
What You’ll Need…

* Velvet ribbon. I used a flat Velvet Band 1-1/2 Inch Wide because that’s what I had. If you can find a heavy/drapy rope style velvet ribbon, you can skip a few of my steps below {& maybe get a better/heavier result}
* Pearls. I used white plastic craft pearls {medium} and tiny seed bead pearls
* Needle, thread, scissors.
Steps…

1. Cut your ribbon between 40-50″ long {depending on what you want to use this for, and or, depending on your height and size} For instance, if you want to wear it as a belt, measure it to fit your waist with at least 6 inches at each end for pearls, and enough room to tie it as well.
2. Fold the edge of your velvet over, then in half, and stitch the edge together go give it a nice finished end.
3. Hiding the end of your knotted thread inside the ribbon folds {with the needle coming out through the top}, thread your large pearl through the needle then your seed bead on top…
4. Now thread your needle BACK through your large bead AGAIN and down into the velvet to secure it. I threaded my needled directly into the spot where my next pearl would go and continued with each, pulling the them tightly into place. You may knot each pearl separately, but I did it after setting three into place.
5. You will have 3 rows of pearls; one at the edge and one on either side. It will begin by looking like the last photo above… and continue looking something like the photo below. Try to keep your pearls in straight lines.
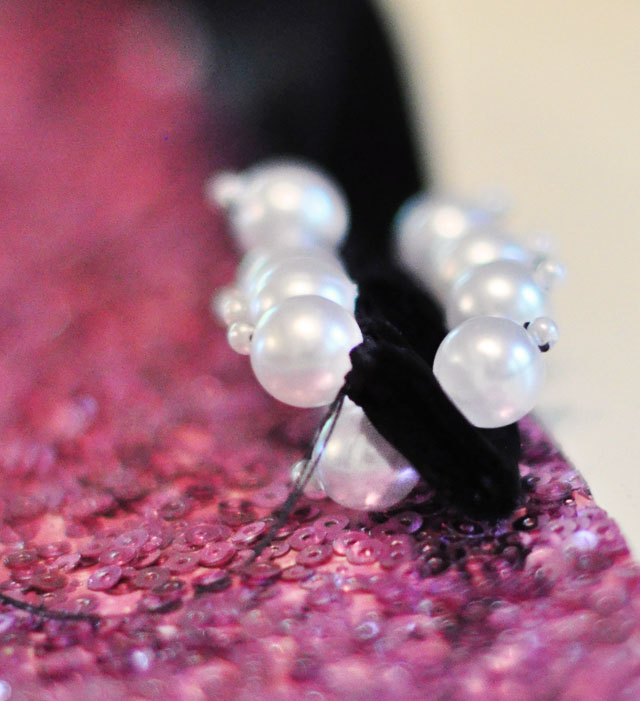
I wanted my ribbon the same width and thickness throughout, so I hem-stitched the edges until I reached about 7 inches away from the opposite end when I began hand-beading my pearls on again. I spaced out the last 4 pearls nearest the center, a little more than the others for gradation effect. You can place them as close or as far apart as you like. You can also measure and mark it if it will help.

My Inspiration…
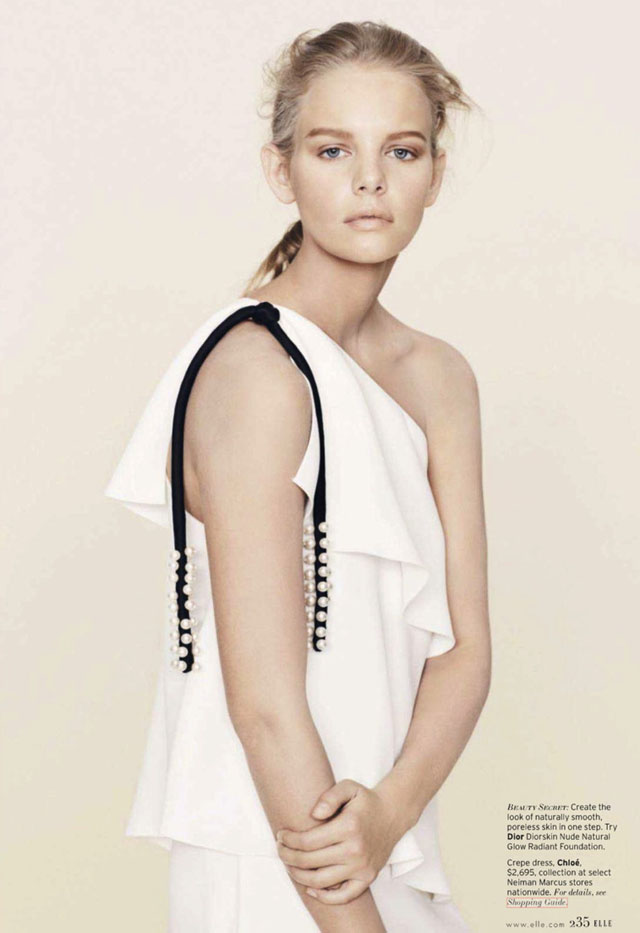
Chloe dress $2,695 | Editorial from Elle Magazine, June 2013 | Photo from My Fashion Database
Voila… Voila! So many uses!
* Think about the coming holidays!

Have Fun!
Find all my DIYs here
* FACEBOOK * TWITTER * BLOGLOVIN’ * PINTEREST *


