

For at least 7 years, if not 10, I have tried and failed at regrowing my orchids. So while this seems like a bit of a boring post, I am silly with excitement over the fact that I regrew not one but TWO ORCHIDS… but also, you guys keep asking me how I did it…
SO, without any magic techniques, this is how I regrew my orchids …accidentally, but totally on purpose.
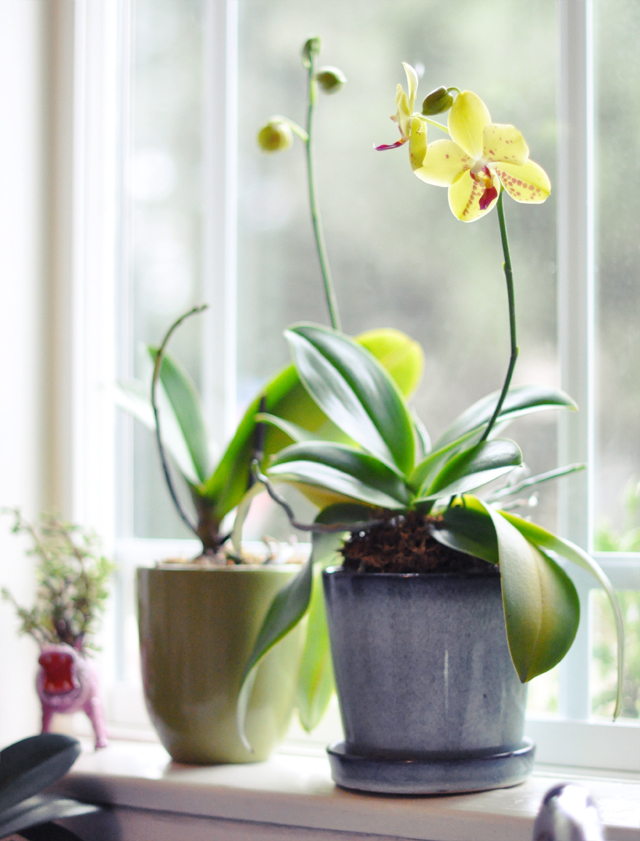
1. IF when all my orchids fall off the stem, their LEAVES are still a vibrant and healthy green, I snip the dead stem or stems to about 2 or 3 inches tall. ****UPDATE: The one shown here is much taller than I normally cut them. I’ve learned you can actually cut them down almost all the way to the base.

2. I do NOT replant them but instead, leave them in their original plastic surroundings, though I may switch them into different pots. {see plastic container in glass vase below sill}

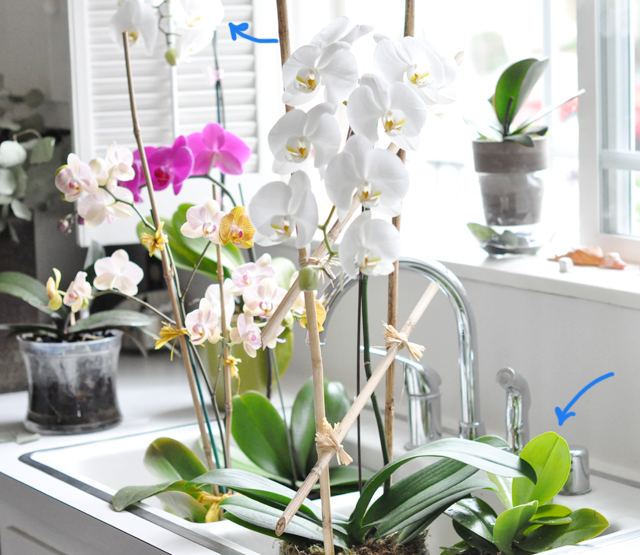
3. Once a week I soak or drench them all in water {in their own pots} in the kitchen sink for a few hours {see the first photo}. I then tip and empty out the pots that do not have drainage holes so all the excess water is removed. They all should be moist within their root system.
4. I place them on my kitchen window sill or around my kitchen sink. There must be something exceptional about the light that filters through my kitchen window because this is where the magic happens. A. It faces South B. It gets some direct sunlight through the day but does happen to stay a little cooler there {until my husband opens the window and the heat melts my babies} So the temperature must be a key ingredient to success as well. Unfortunately, I do not know the exact temperature of the area surrounding my kitchen sink but again, it is a bit cooler than other parts of the house.
And really, that’s about it. It did take some time but since my leaves remained green, I considered them healthy and alive and continued the weekly process. One took only about 3 months to re-bloom and the other was more around 6 months. But patience is key. And green leaves are just as nice to look at in the meantime.
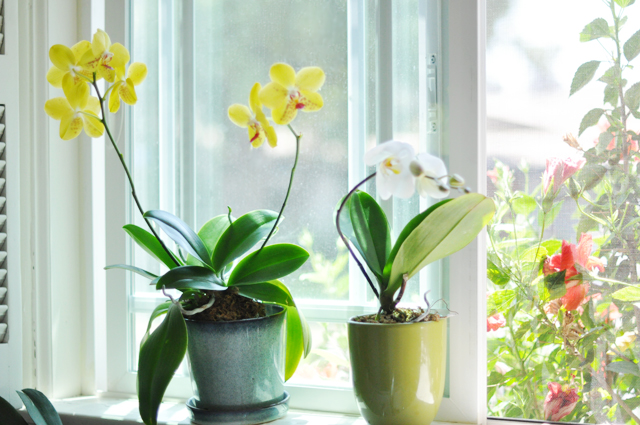
The below photo was taken in March …see the orchids in the same green pot in the back? They were still alive then …and the other I had already prepped and was waiting for. It bloomed first {yellow} but took longer to. Then again, see the one all the way to the left in the glass vase? I’m still waiting for that one {see first pic}. And what I’m noticing RIGHT NOW via my own photos is MOSS. I kept the moss atop of the root systems of the two on the sill that regrew the fastest. Maybe there’s something to the moss …keeping it moister longer?
UPDATE: There IS something to the moss. I added it to all the orchids I was trying to regrow and because it keeps the moisture atop the roots longer, they seem to grow back quicker! Today is February 9, 2012 and I just got my first bloom from the purple orchids that were dormant in the short glass vase in the photo below. I have one on either side of my sink now, not on the ledge, have switched them to white pots, added moss, and one has bloomed just today.. See my newest orchid Instagram shot here
Good Luck & Have Fun!


