

seen with Kooba “Sabrina” bag, Guy & Eva necklace, Forever 21 Sunglasses and Rich & Skinny jeans ~ via flickr
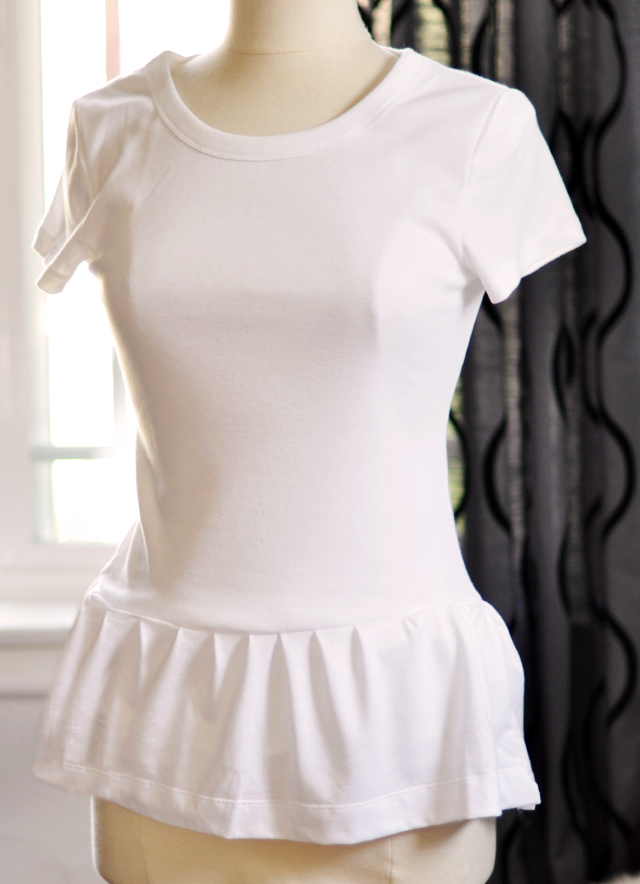
I have been DYING to make a cute peplum t-shirt for a few months now but just haven’t had a chance to. When I have an idea, if I don’t do it right away, it literally keeps bugging me until I do!! And I’ve had this idea since well before my floral print jeans DIY AND even before the Jeans & T outfit challenge. I actually wanted to be able to include it into the challenge, but alas, I just couldn’t fit it in. However, since this was my first weekend off since December {YAY!}, I whipped this one up on Sunday afternoon and I’m so in love.
There are a number of ways to create this cute little peplum tee… which is basically just one large ruffle at the waist of the shirt. So for you experts out there, any technique will work, as you know. I would have preferred to stitch it up on a serger, but I don’t have one just yet.
What You’ll Need…
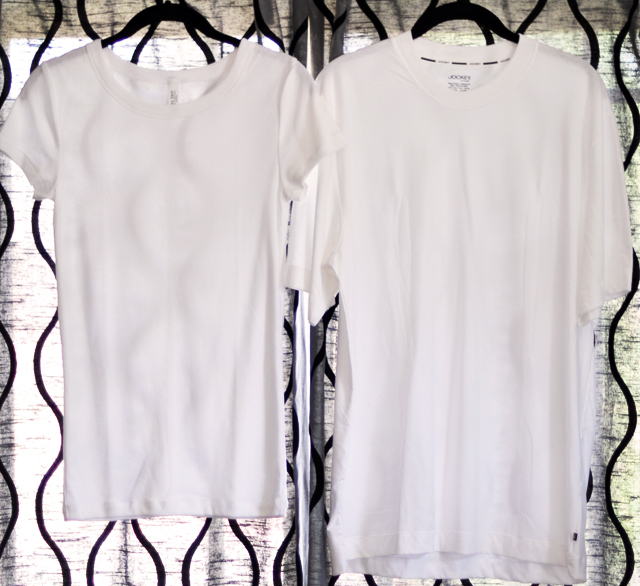
* Two white t-shirts: one fitted and one large or extra large
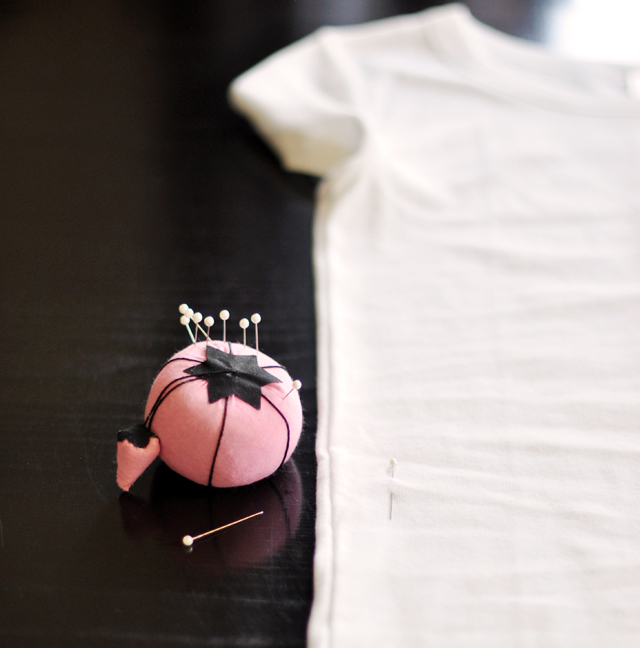
* Sewing machine or Serger
* Pins/thread/scissors, etc.
Steps…
* Try on your fitted t-shirt and pin or mark where you want your peplum to begin.
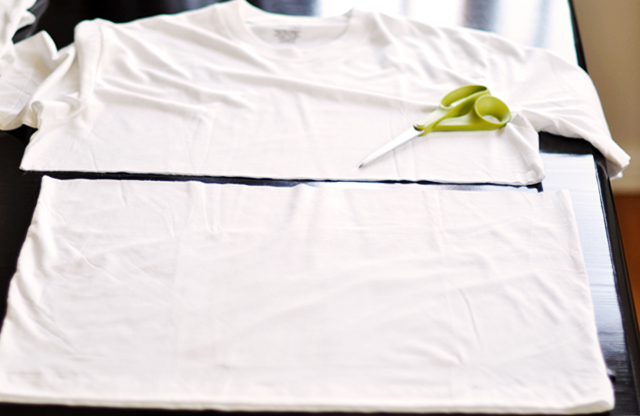
* Lying flat, cut your larger, men’s t-shirt. I began with more fabric than I needed, just in case.
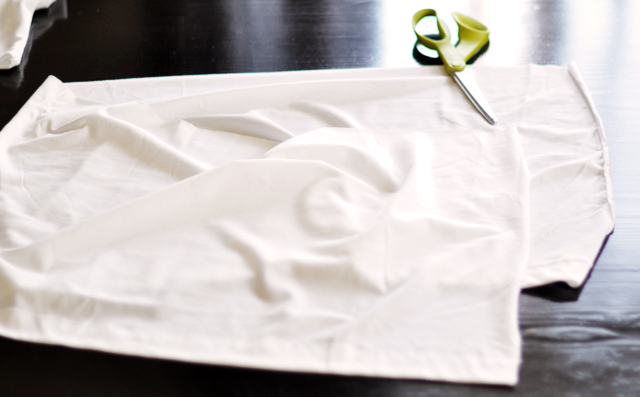
* Cut it up one side seam as well.

* With my fitted shirt right-side-out, and because I had so much fabric, I lined the “cut” edge of my extra fabric with the bottom of the shirt, and with the “front” side facing down, beginning at one side seam, I pinned {somewhere near the center of it} completely around the fitted shirt. {this may be confusing, apologies} The goal is to use the front “finished” edge of the men’s shirt as the bottom of your peplum – it will fold over the stitches and hide everything underneath.

* Follow your pins and run a first stitch all the way around with your machine, gathering/folding/pleating as you sew. {note: you can pre-gather it or gather it while you pin it – -I tend to just eyeball it as I go}
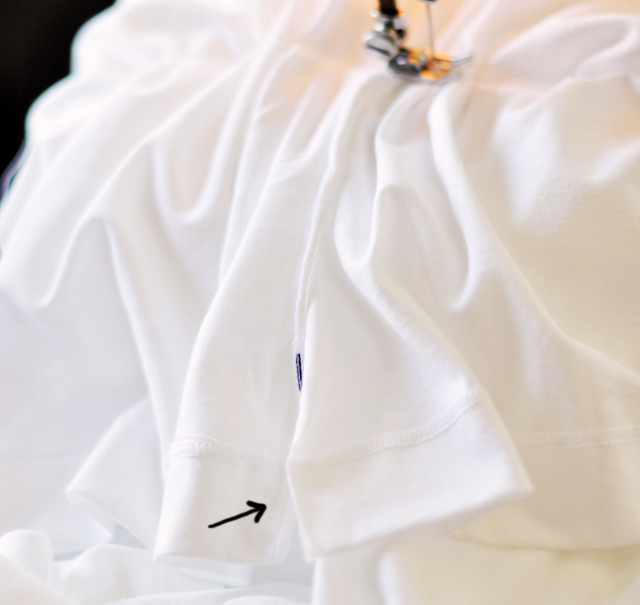
* Begin at the side seam of both shirts and make sure you finish at the side seam of both shirts, including the gathering.
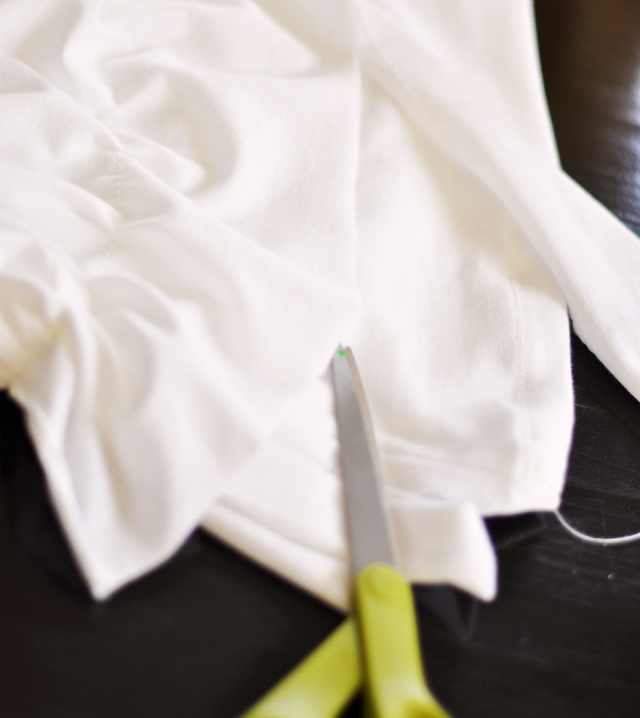
* I chose to keep my fitted shirt completely intact {under the peplum}. This way I can tuck it in or pull it down and make sure it sits well with whatever I’m wearing. I also didn’t want to re-finish the edge. Make sure your peplum ruffle is at least as long as your fitted shirt, if not longer – but remember, the fitted shirt will ride up a bit, as they do. * * Trim the underside/left-over ruffle underneath. {again, for pros, you could have just chosen to use a smaller section of fabric OR sewn your ruffle on as you normally would sew a ruffle on}

* Re-stich the side seams of your peplum – which was originally the men’s shirt side seam that you cut.
Voila!


Have Fun!


