
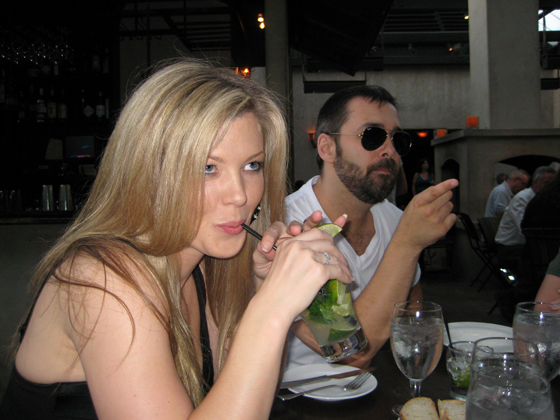
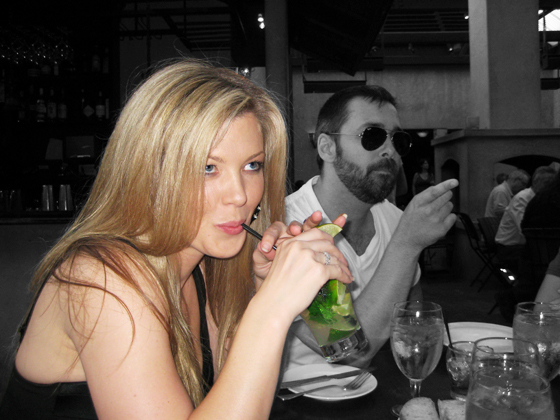
{original image}
{click to enlarge {all sizes in flickr} if needed}
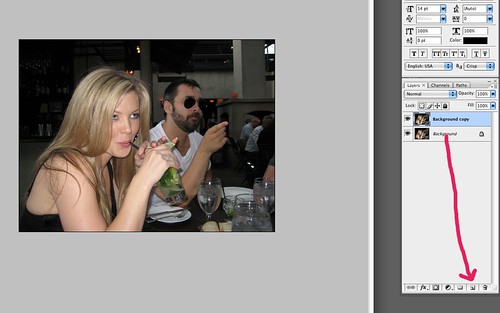
In your layers box, drag Background image to “create a new layer” box. This protects your image if you mess up …you can just toss the mistake in the trash and still have your original.
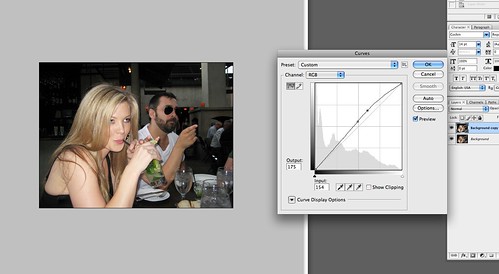
I like curves. I use it to make images POP. Use whatever you like to adjust colors.
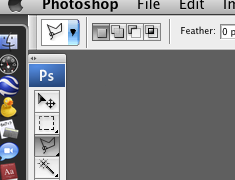
In your tool bar …select the Polygon Lasso tool.
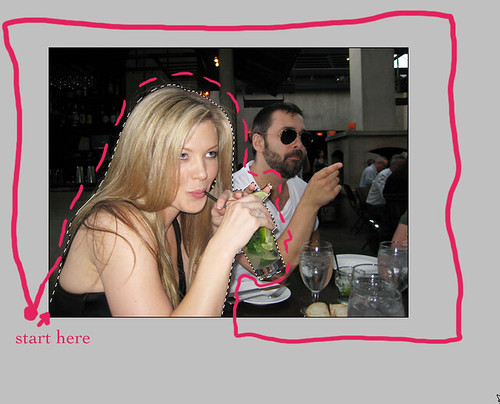
Create an outline around image you want to change …I like to start at the end, go around my image, then around entire image …there are a few ways to do this.
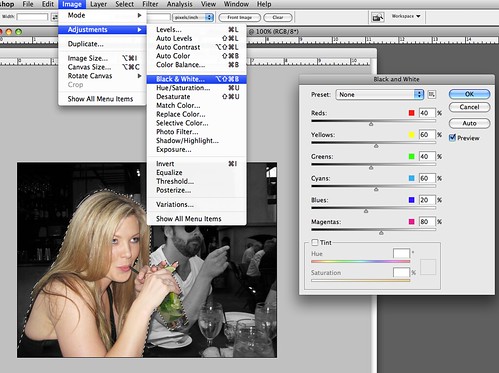
Image * Adjust * Black & White {I use default settings but play around if you like}

Use the airbrush tool on color {make sure your color is set to black} and airbrush out any sections you missed {you may also do this instead of outlining with the polygon lasso but you have to be very precise}
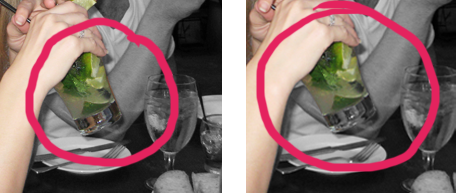
…see the difference in the reflections in the bottom of the glass?
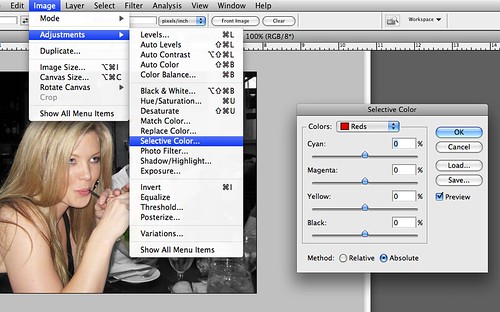
Image * Adjust * Selective Color = Used to make the green limes GREENER!
…Voila!
…BUT WAIT! I want to lighten the black and white section …
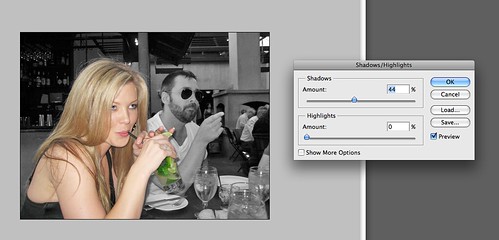
Image * Adjust * Shadow/Highlight = adjust until desired affect achieved
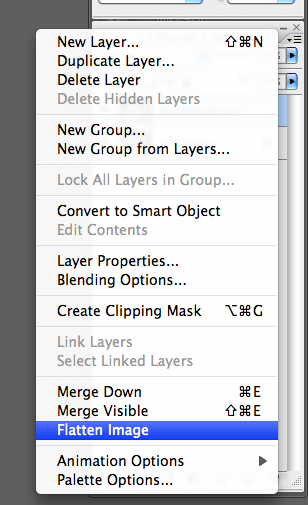
go to your layers box {top right 3 horizontal lines CLICK} scroll down to flatten image and SAVE AS .jpg.
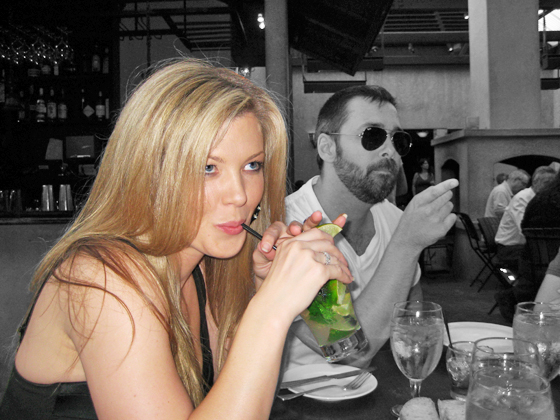
…Voila!
{hope it’s not too confusing for beginners}