By guest contributor Jennifer Lutz
Rugs aren’t just for the living room anymore – or indoors only, for that matter. An outdoor rug can really pull together a porch or patio, and with a bit of DIY know-how, they’re easy to make. Not to mention, they’re less expensive than store-bought rugs. Here are some tips for adding color to your outdoor space using just a plain rug, a can of paint, and stencils.
No matter what style of rug you plan to make, most of the materials are the same. Here are the things you need to make any of the rug designs below:
- Plain rug made from burlap or any heavy fabric
- Paint (acrylic, spray paint, or fabric paint)
- Paintbrush or small roller
- Paint tray
- Painter’s tape or masking tape
- Measuring tape
- Old newspapers
Rug with a Border…

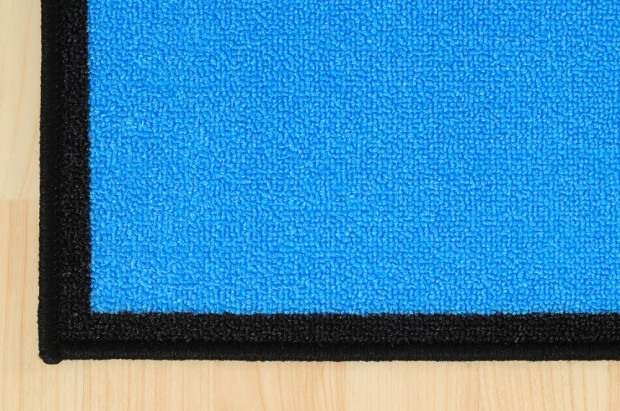
A plain rug with a bold border is simple, but adds a pop of color to your exterior décor.
With a measuring tape, figure out how thick you want your border to be. You can start with two inches from the edge and adjust as you see fit. You can even make a double border to make the rug look like it has binding.
- Create the border using painter’s tape or masking tape.
- Before you start painting, tuck some old newspapers under the rug to catch stray paint.
- Start painting!
- Allow the rug to dry for a few hours or overnight.
- Pull off the tape to reveal the border.
Striped Rug…

Stripes usually run width-wise, but you can also do length-wise if that’s what you prefer. If you want even stripes, measure the rug and divide it according to how thick you want the stripes to be.
- Tape out the stripes.
- Mark the parts you’re not painting so that you don’t accidentally ruin the design.
- Get painting!
- When using two colors, be careful that you don’t spray over the next stripe.
- Set it somewhere to dry for the rest of the day or leave it out until morning.
- Peel off the tape.
For more complementary outdoor décor, match your newly made outdoor rug with striped throw pillows.
Patterned Rug…

If you want a simple design for your rug that will dry quickly, you can improvise using cardboard, a can of paint, and a paintbrush.
- Trace the image on a cardboard, then cut it out.
- Use the cutout as a pattern and trace it onto the rug using a paintbrush.
- If you’re filling the image with paint, you might want to tape the borders to make sure you don’t paint outside the pattern.
- Let dry for two to three hours.
- Pull off the tape to reveal the design.
This DIY outdoor rug tutorial by The Shabby Creek Cottage features a quatrefoil pattern and looks amazing on the porch.
Stenciled Rug…

Stencils are perfect if you’re looking for more complicated designs. You can either download printable stencils or buy patterns from your local craft store.
- Starting from one corner, place the stencil onto the rug and spray the area.
- Let the paint set for a while before moving on to the next area.
- Move on to the next area and repeat steps 1-2.
- Once finished, let your rug dry before use.
If you have a rug with a border design and want to decorate it some more, use stencils to apply letters or images. If it’s a plain rug, you can also use stencils to create a border. Check out this DIY stenciled rug by The Hunted Interior for inspiration.
There you have it – easy and affordable DIY rugs for your porch or patio! With proper cleaning and care, they’ll remain beautiful for a long time. Just make sure to roll them up if they’ll be exposed to rain or snow.
* Jennifer Lutz writes about home decor at blog.christmastreemarket.com
* To put these outdoor rugs to good use, take a look at Jennifer’s tips for a unique summer party: Hosting with Jen: How to Celebrate Christmas in July.


