
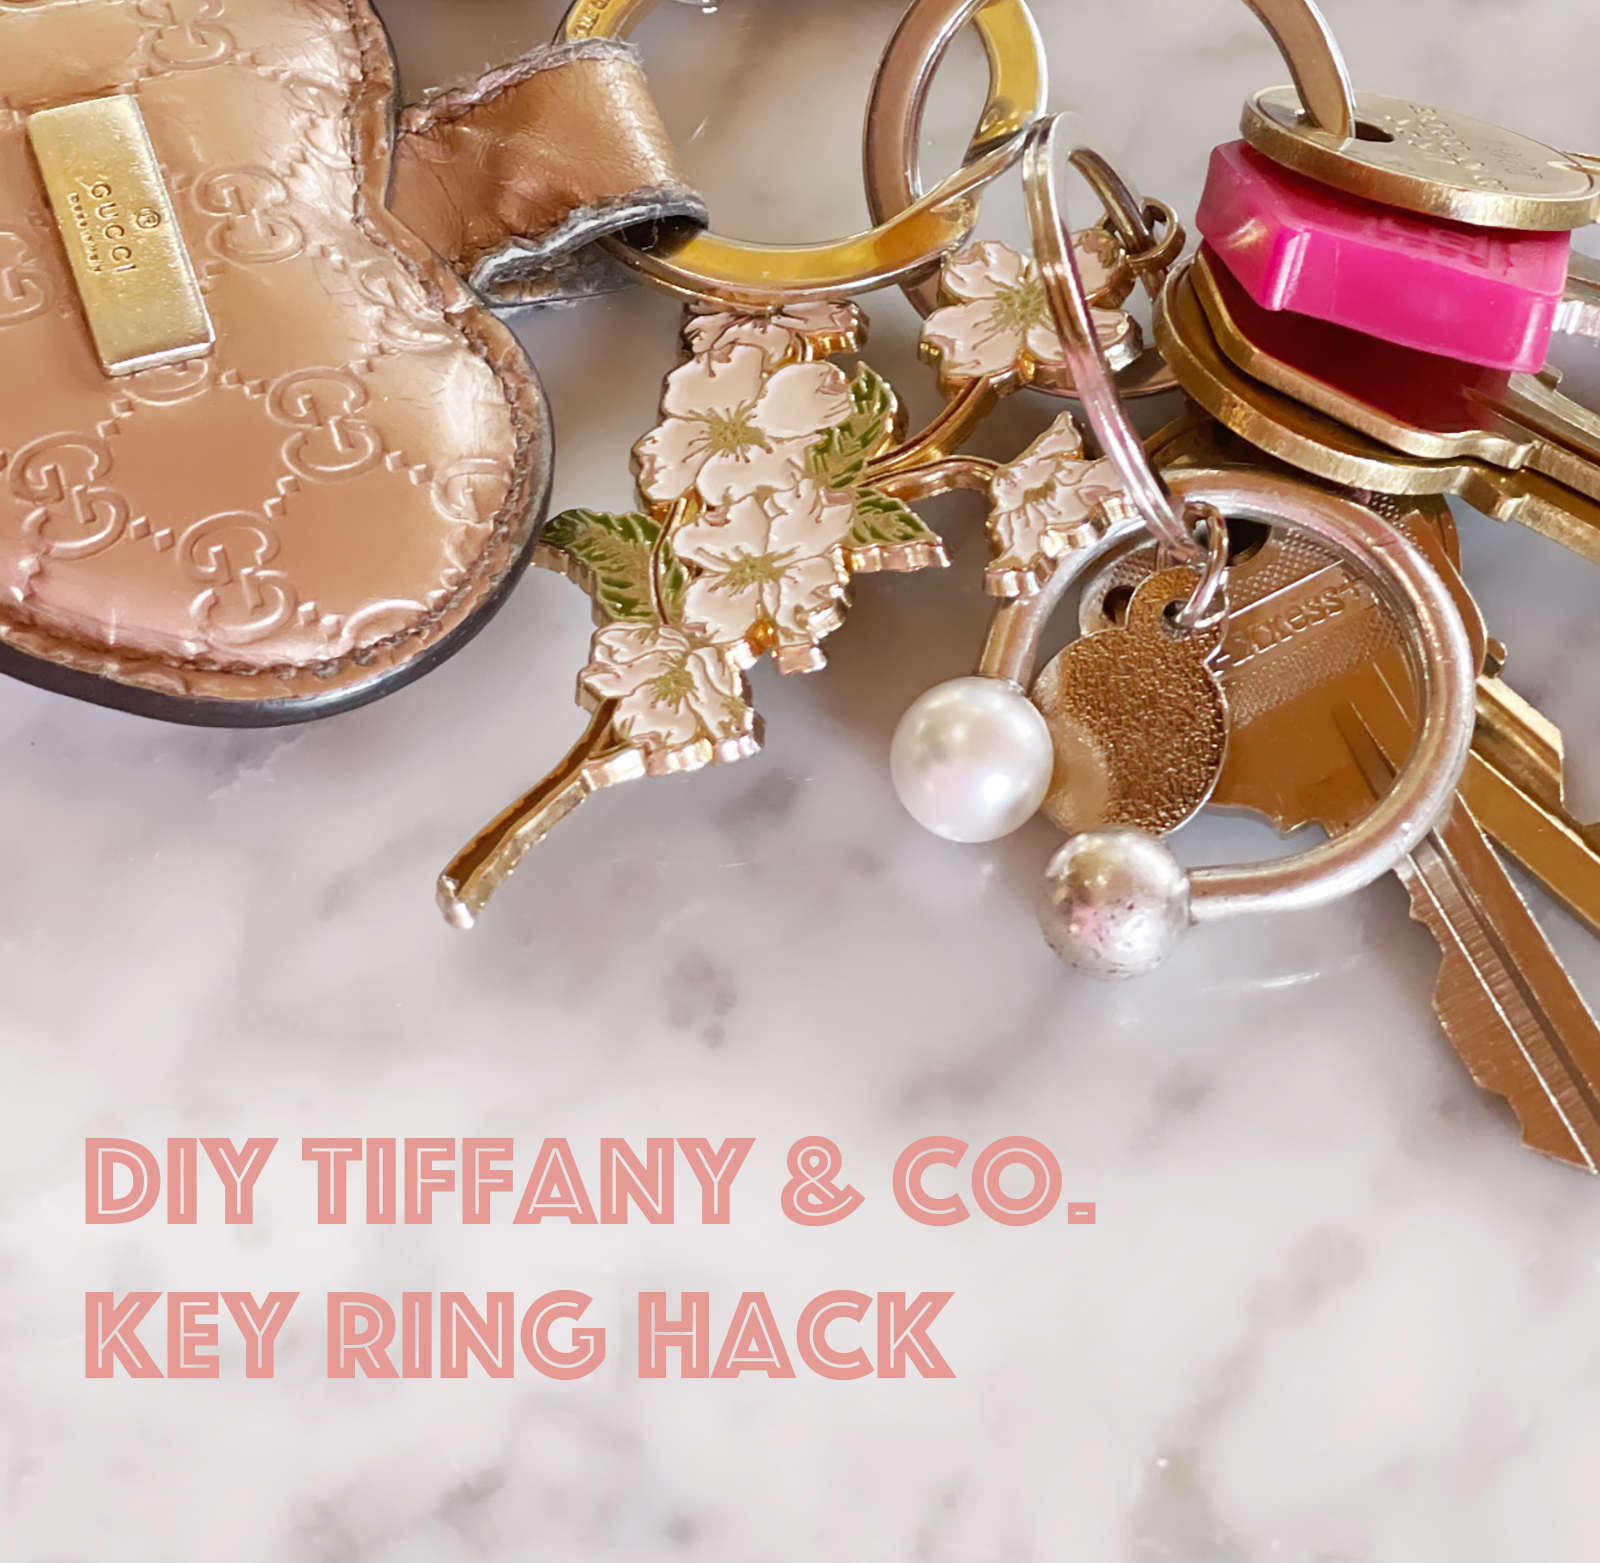
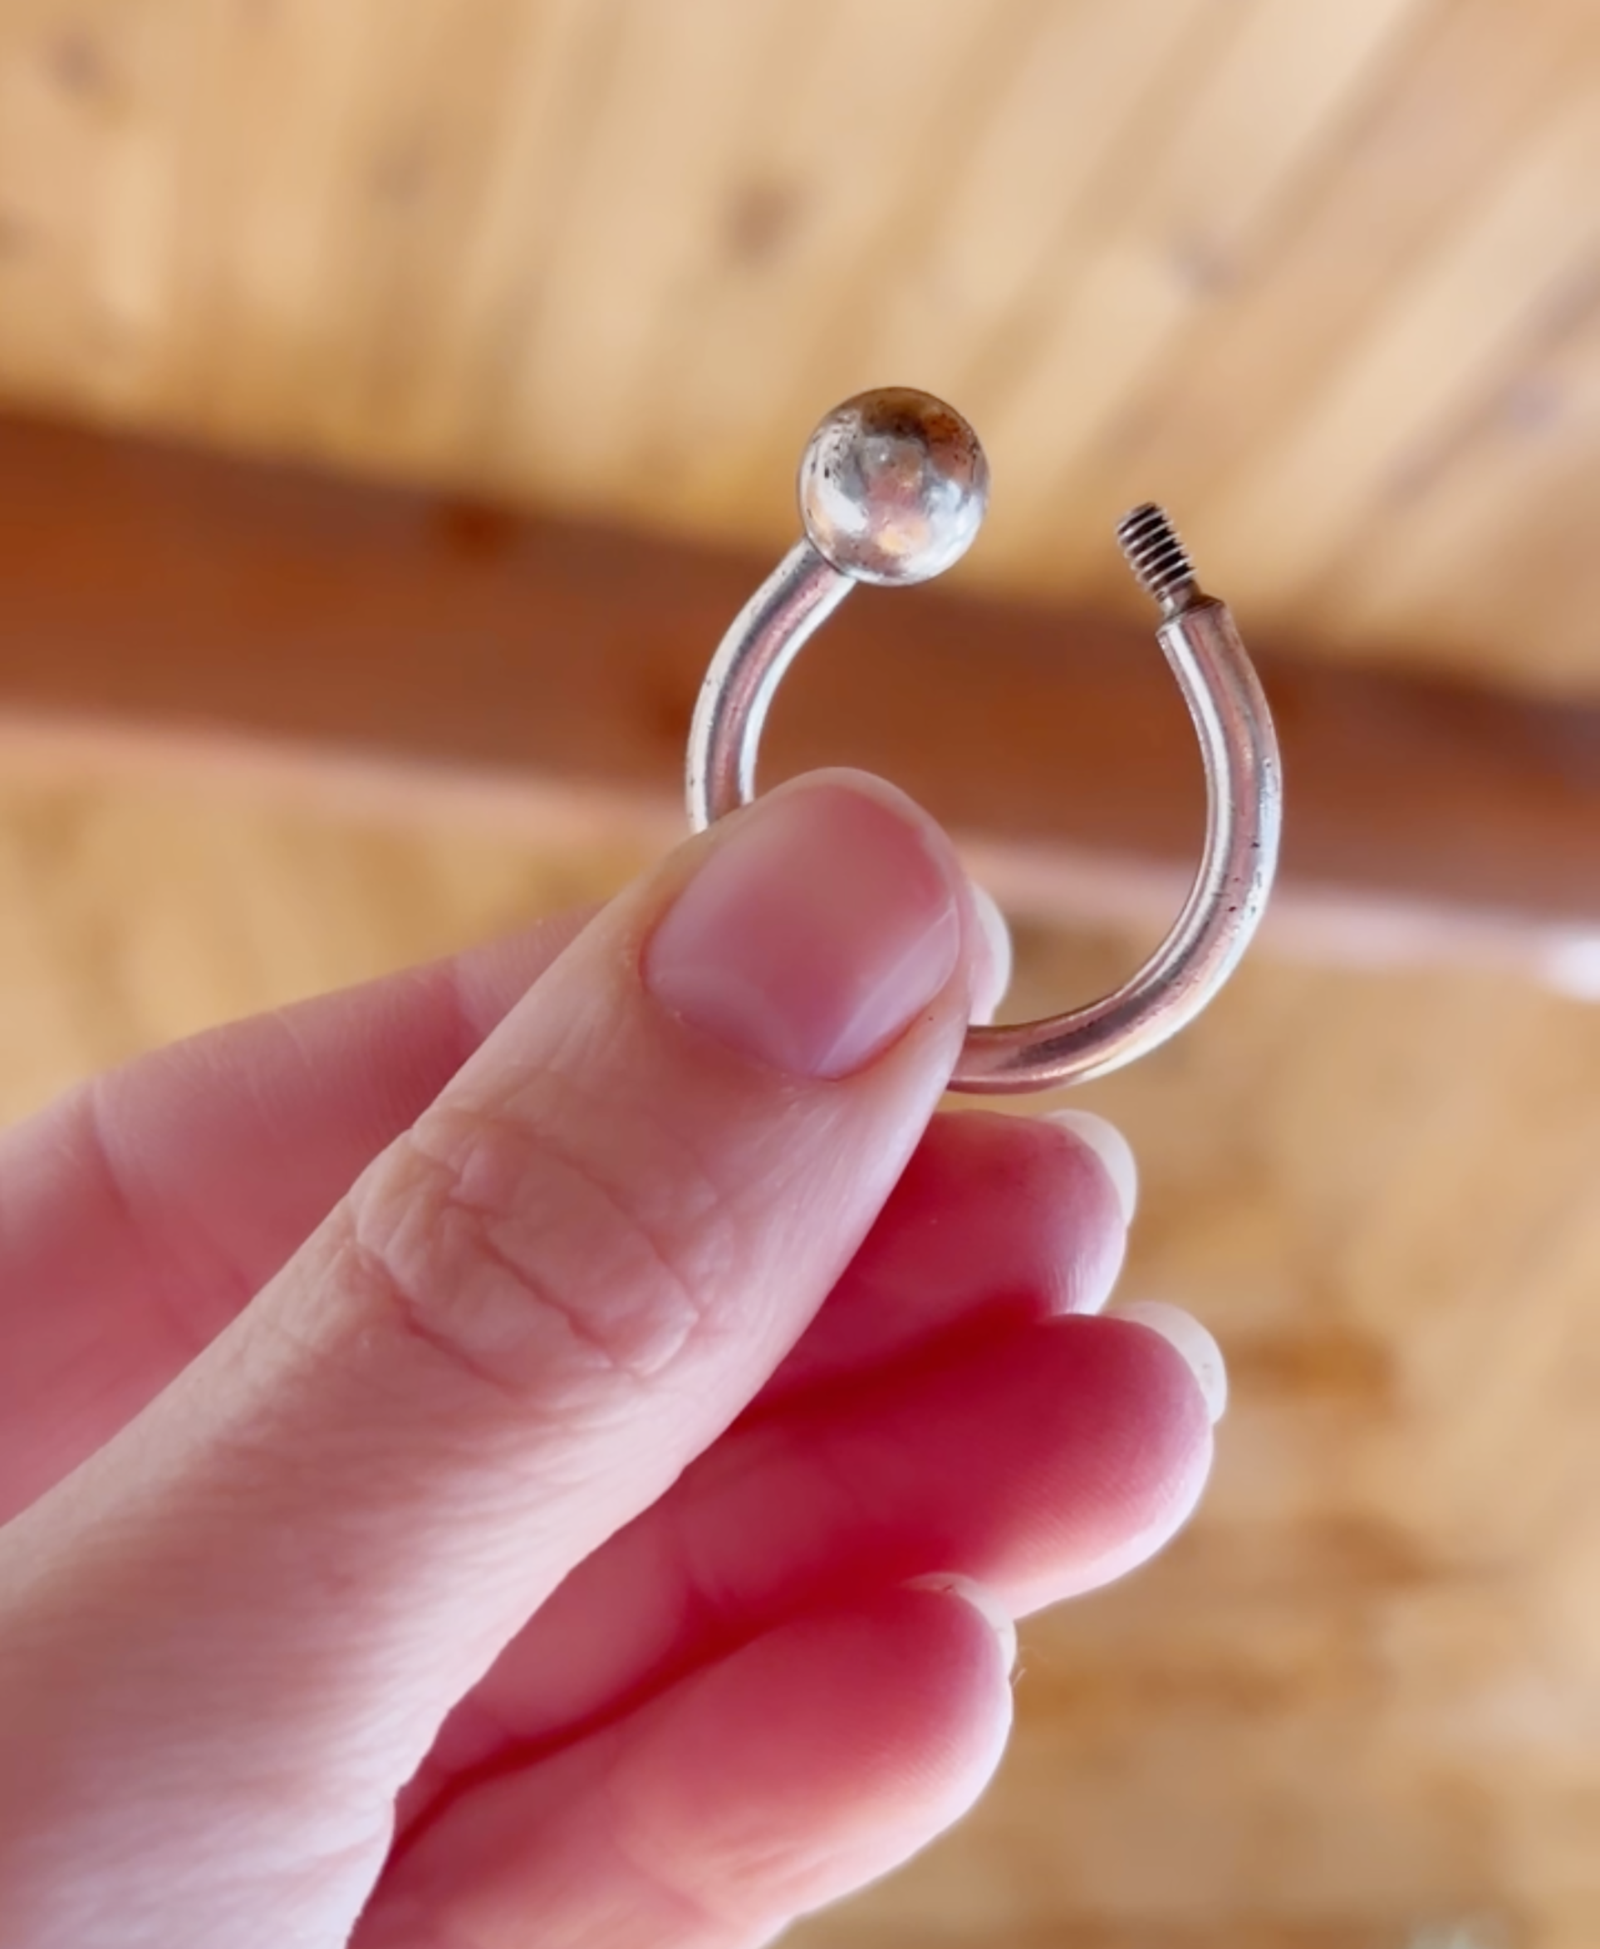
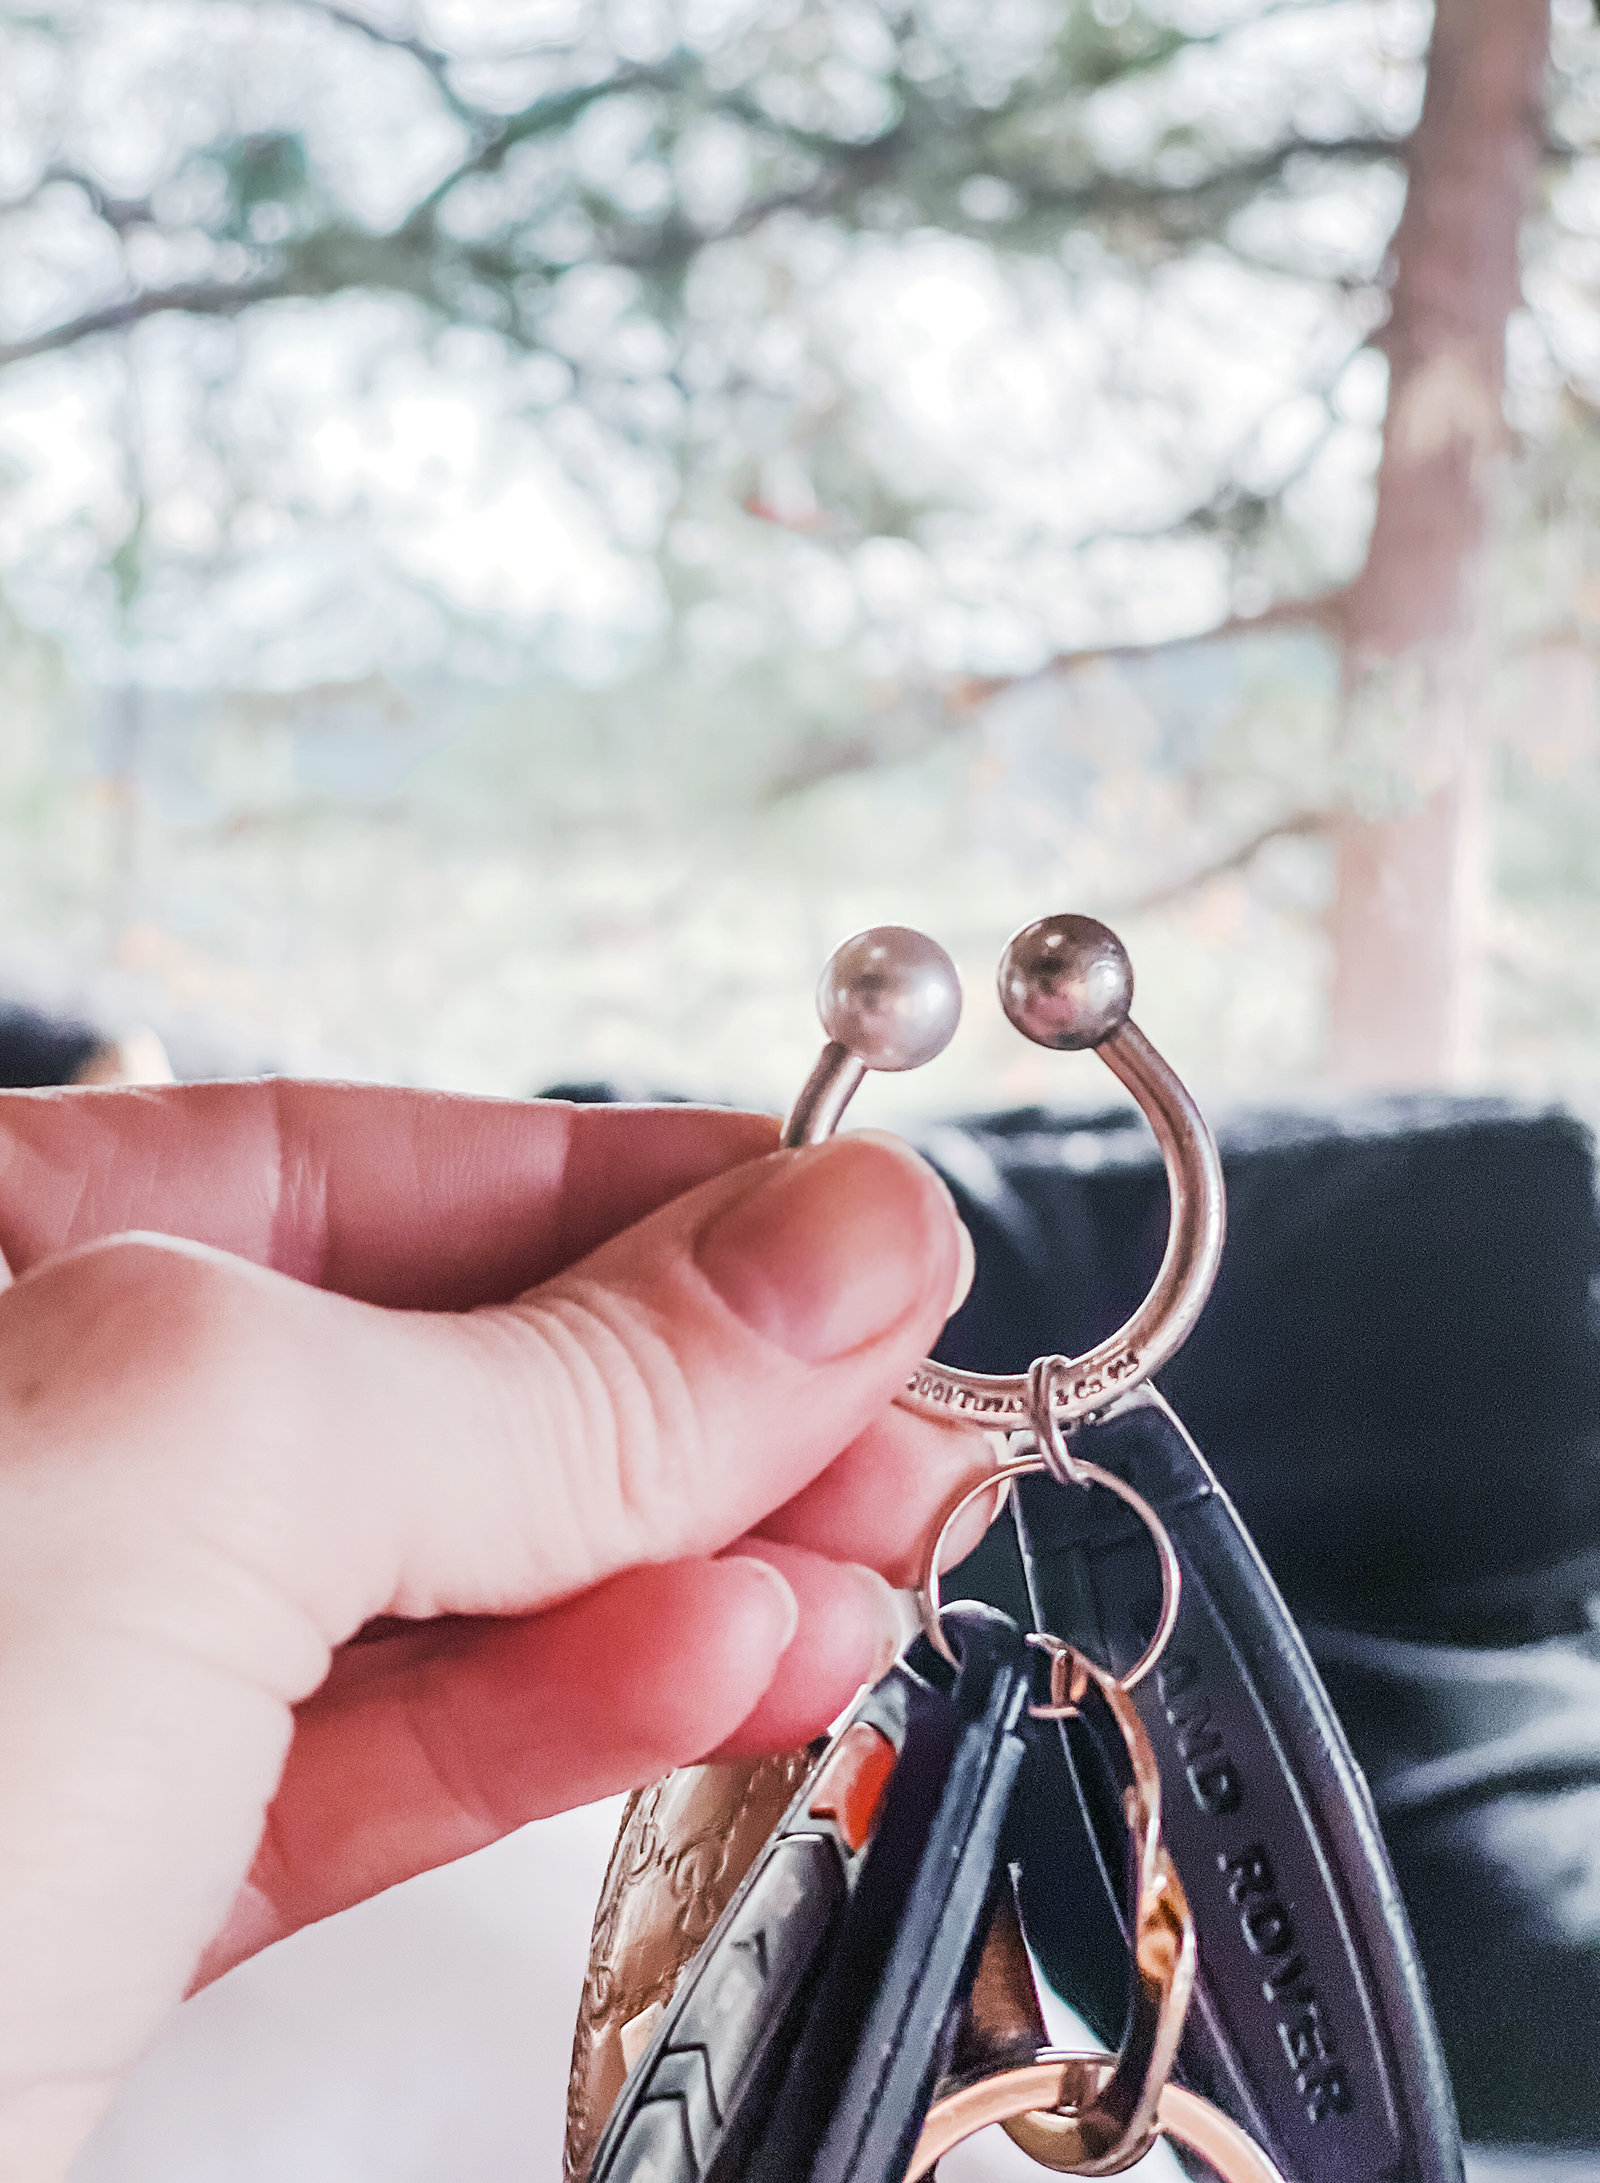
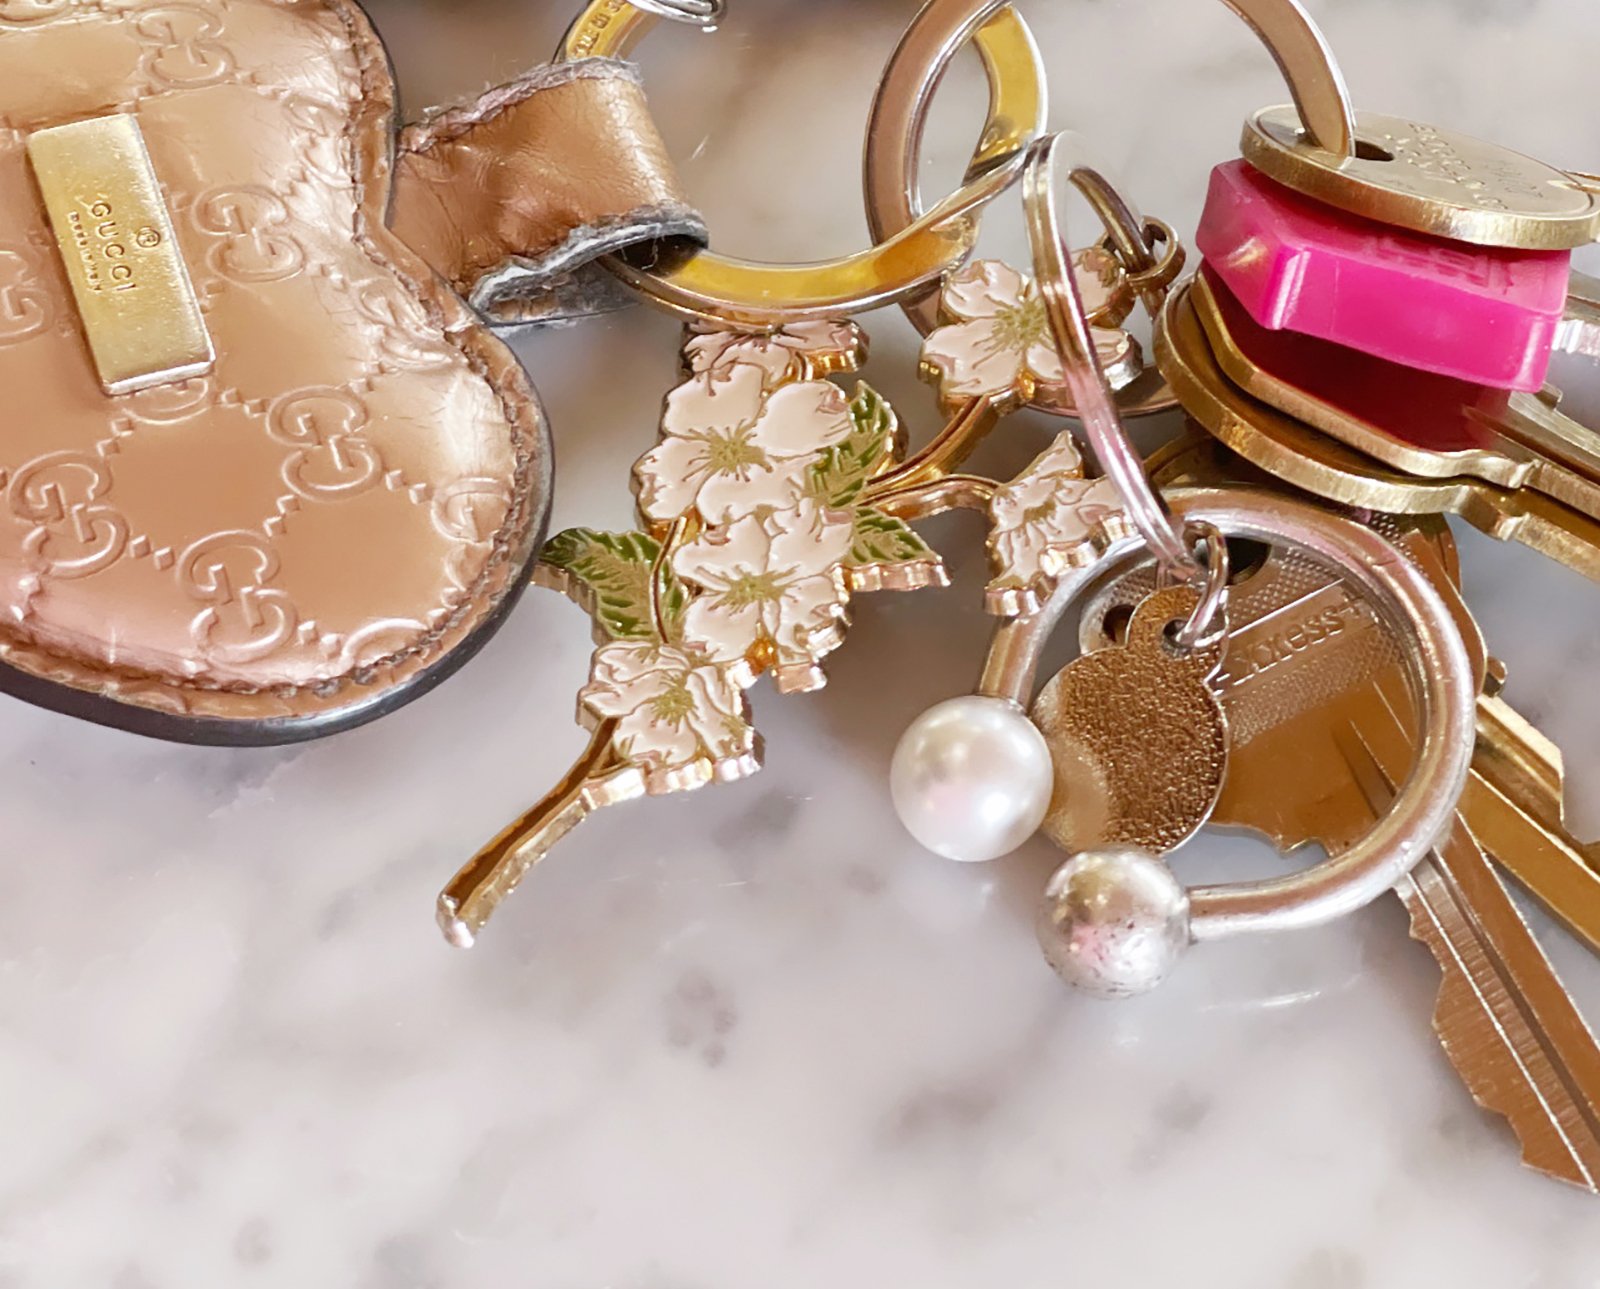
Last month while I was packing amidst my move, I found my very old Tiffany & Co. sterling silver key ring which I stopped using years ago because the silver ball, which fell of repeatedly, was finally lost for good.
Typically, when it fell off, I’d find it at the bottom of my handbag or purse and twist it back on, but apparently, at some point, it had disappeared and so I stopped using the key ring and tucked it away in a box with other items I’d never use again – like my old cell phones, which for some reason, I still cannot part with.
ANYWAY, yesterday the key ring popped up again and because I had nothing else to do, I decided I’d start looking for a new replacement ball for it.
While I would admittedly enjoy receiving a Tiffany key ring as a gift, I probably wouldn’t spend $200+ on a keychain, so I searched the internet far and wide and only found a forum where women complained about the same issue and how much Tiffany changed for a replacement ball. This forum was also about ten years old, so the information was useless. I then went to amazon thinking I’d just replace the ball with a stainless steel ball from a piercing, but had no idea what gauge to buy that might fit the keyring…
I REALLY wasn’t ready to give up though! At this point, the key ring is vintage… it says 2001 right on the side, making it almost 23 years old, which somehow makes it more special, but I’m not sure why, but at this point I was determined to fix it and then a remarkable thing happened… I SUDDENLY FELT LIKE MYSELF AGAIN and realized I COULD FIX IT and probably use something else entirely to make this work again and be able use it… and then I thought maybe someone else searching for a replacement ball for their Tiffany key ring might find this post useful in their quest as well, so here’s how I did it 🙂
(and honestly, I was super excited at the ease and simplicity and even speed at which I made this happen, so that was a bonus. On a scale from 1-10, this DIY is actually about a 5 I’d say)
Here’s How I Did it…
FIRST, Here’s What You’ll Need…
* Plastic craft pearl or wood bead (glass or metal beads won’t work)
* Drill + 1/8″ drill bit (or a teeny tiny small drill bit that fits whatever bead you’re working with)
* Gloves (perferably slip-proof, to grip the bead and save your fingers from the drill just in case it gets out of control 😉
* Gorilla glue (optional – but for a bit of added safety)
Find your perfect “ball”
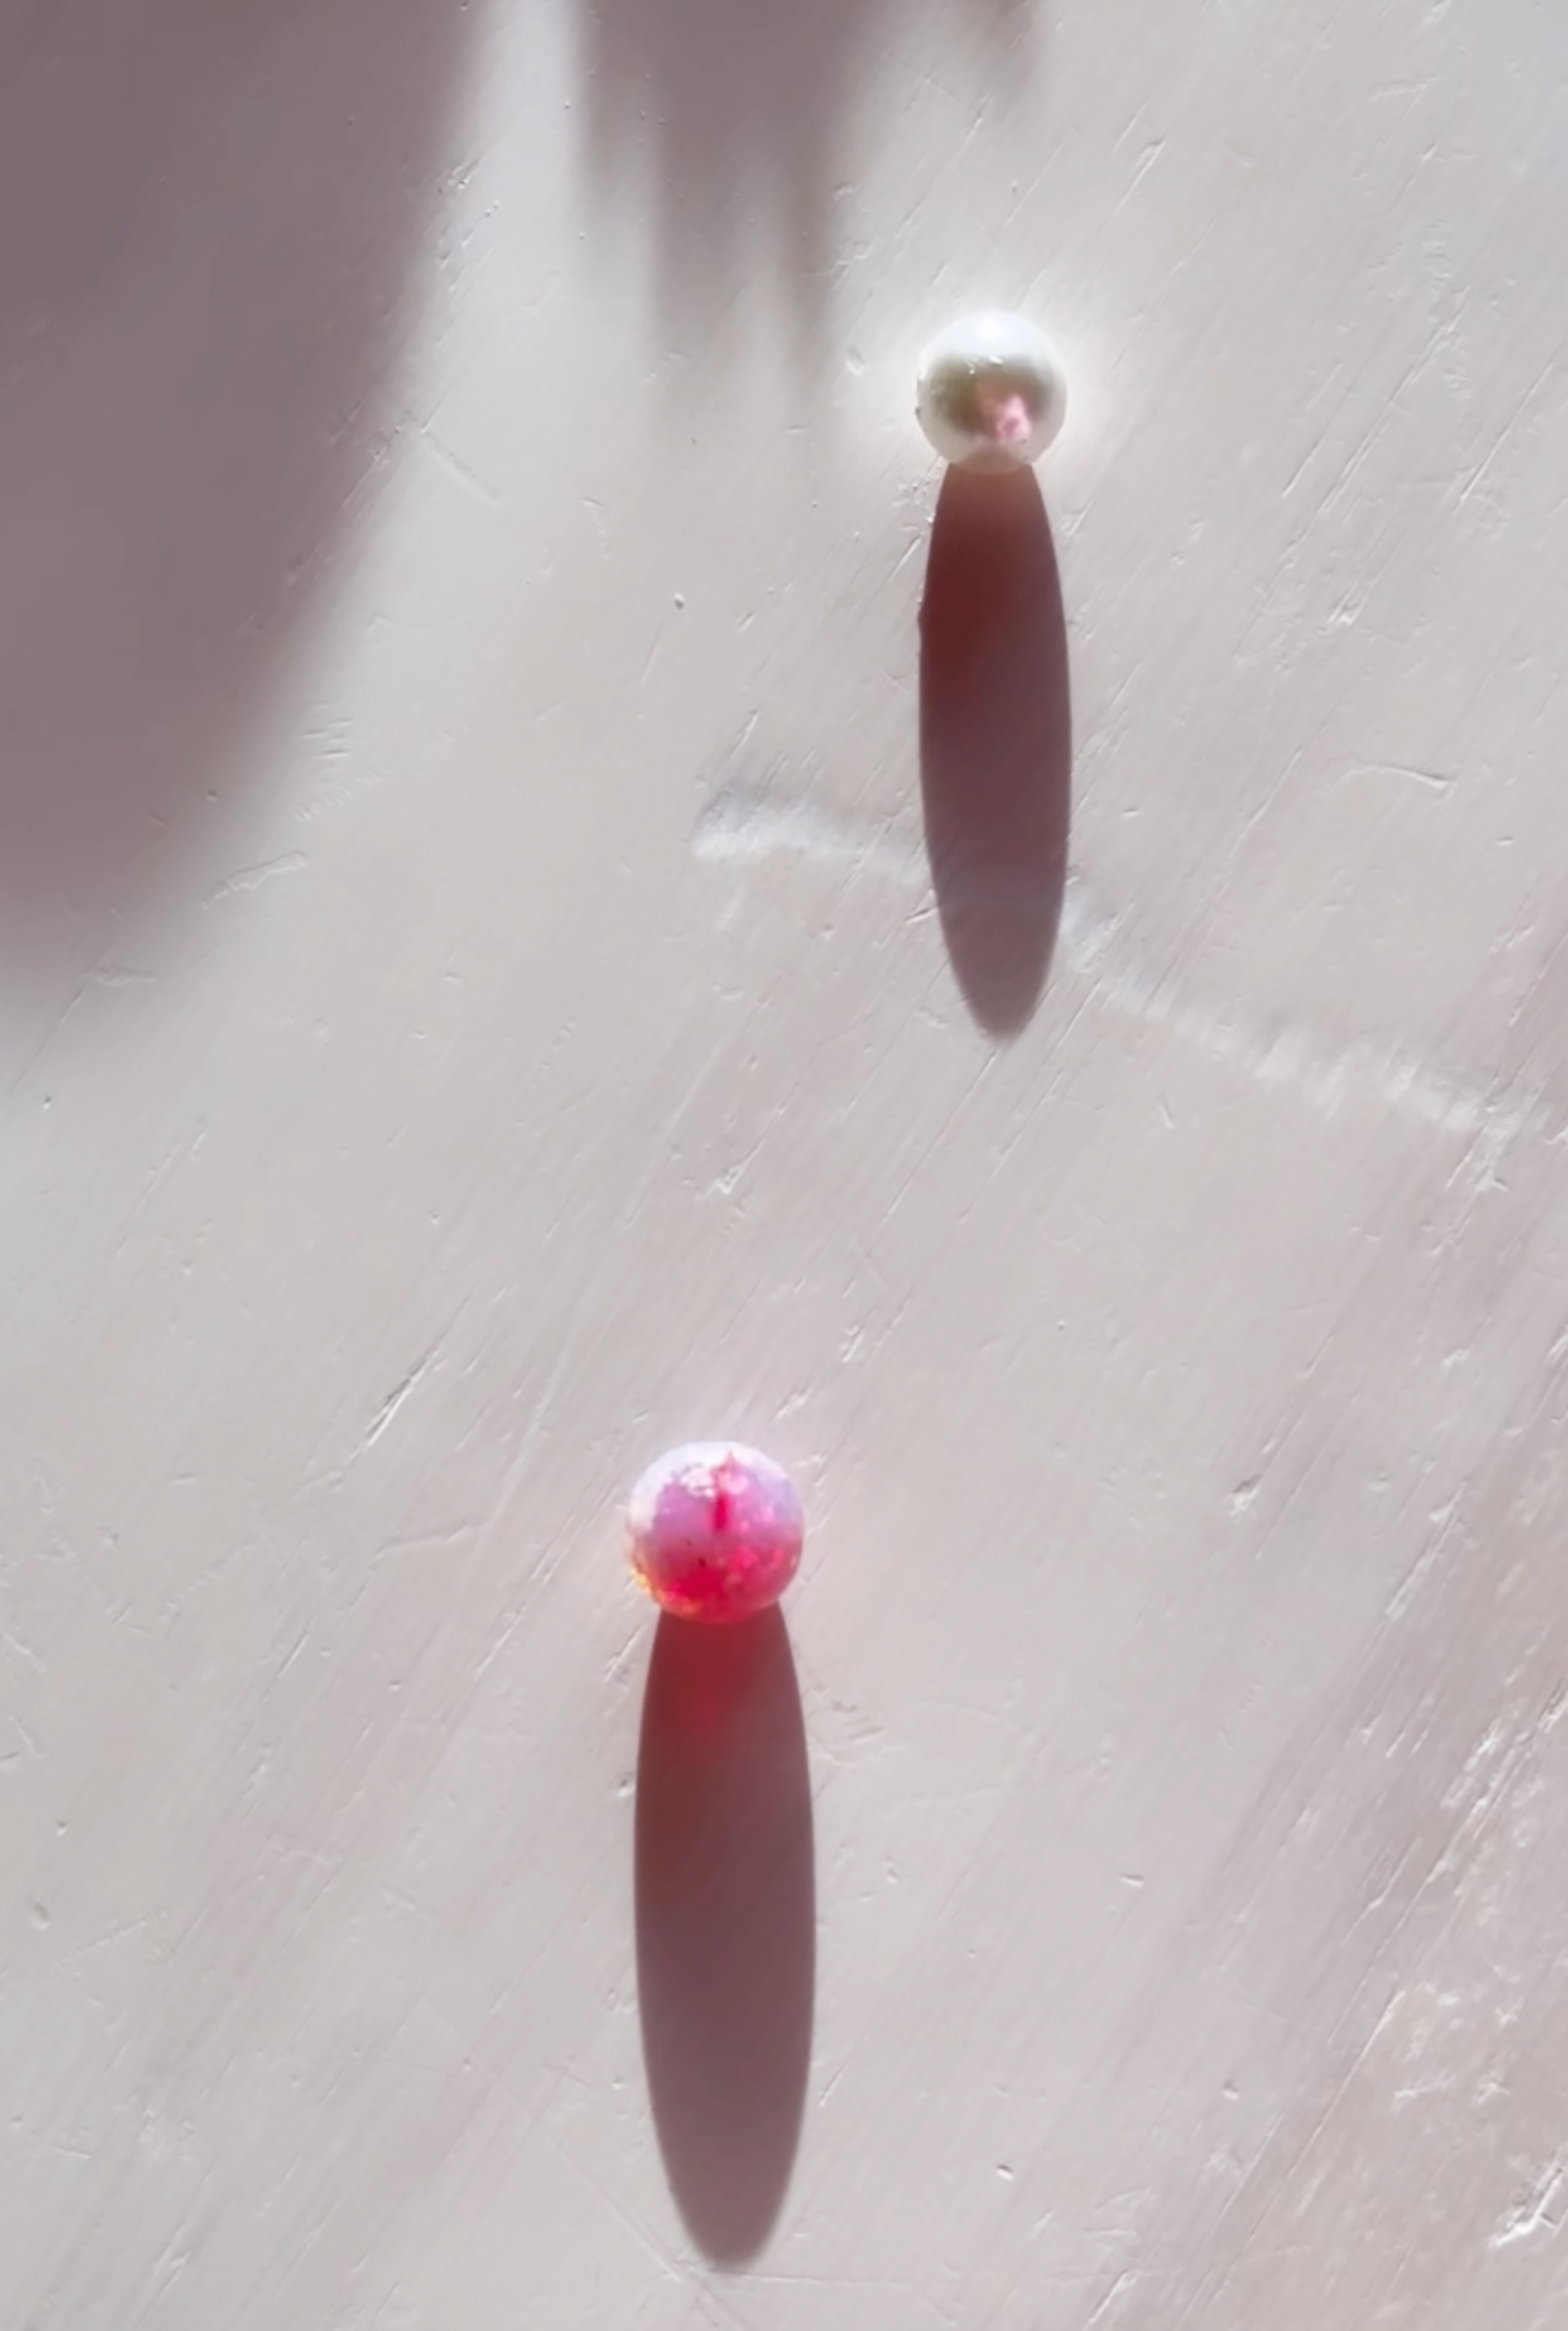
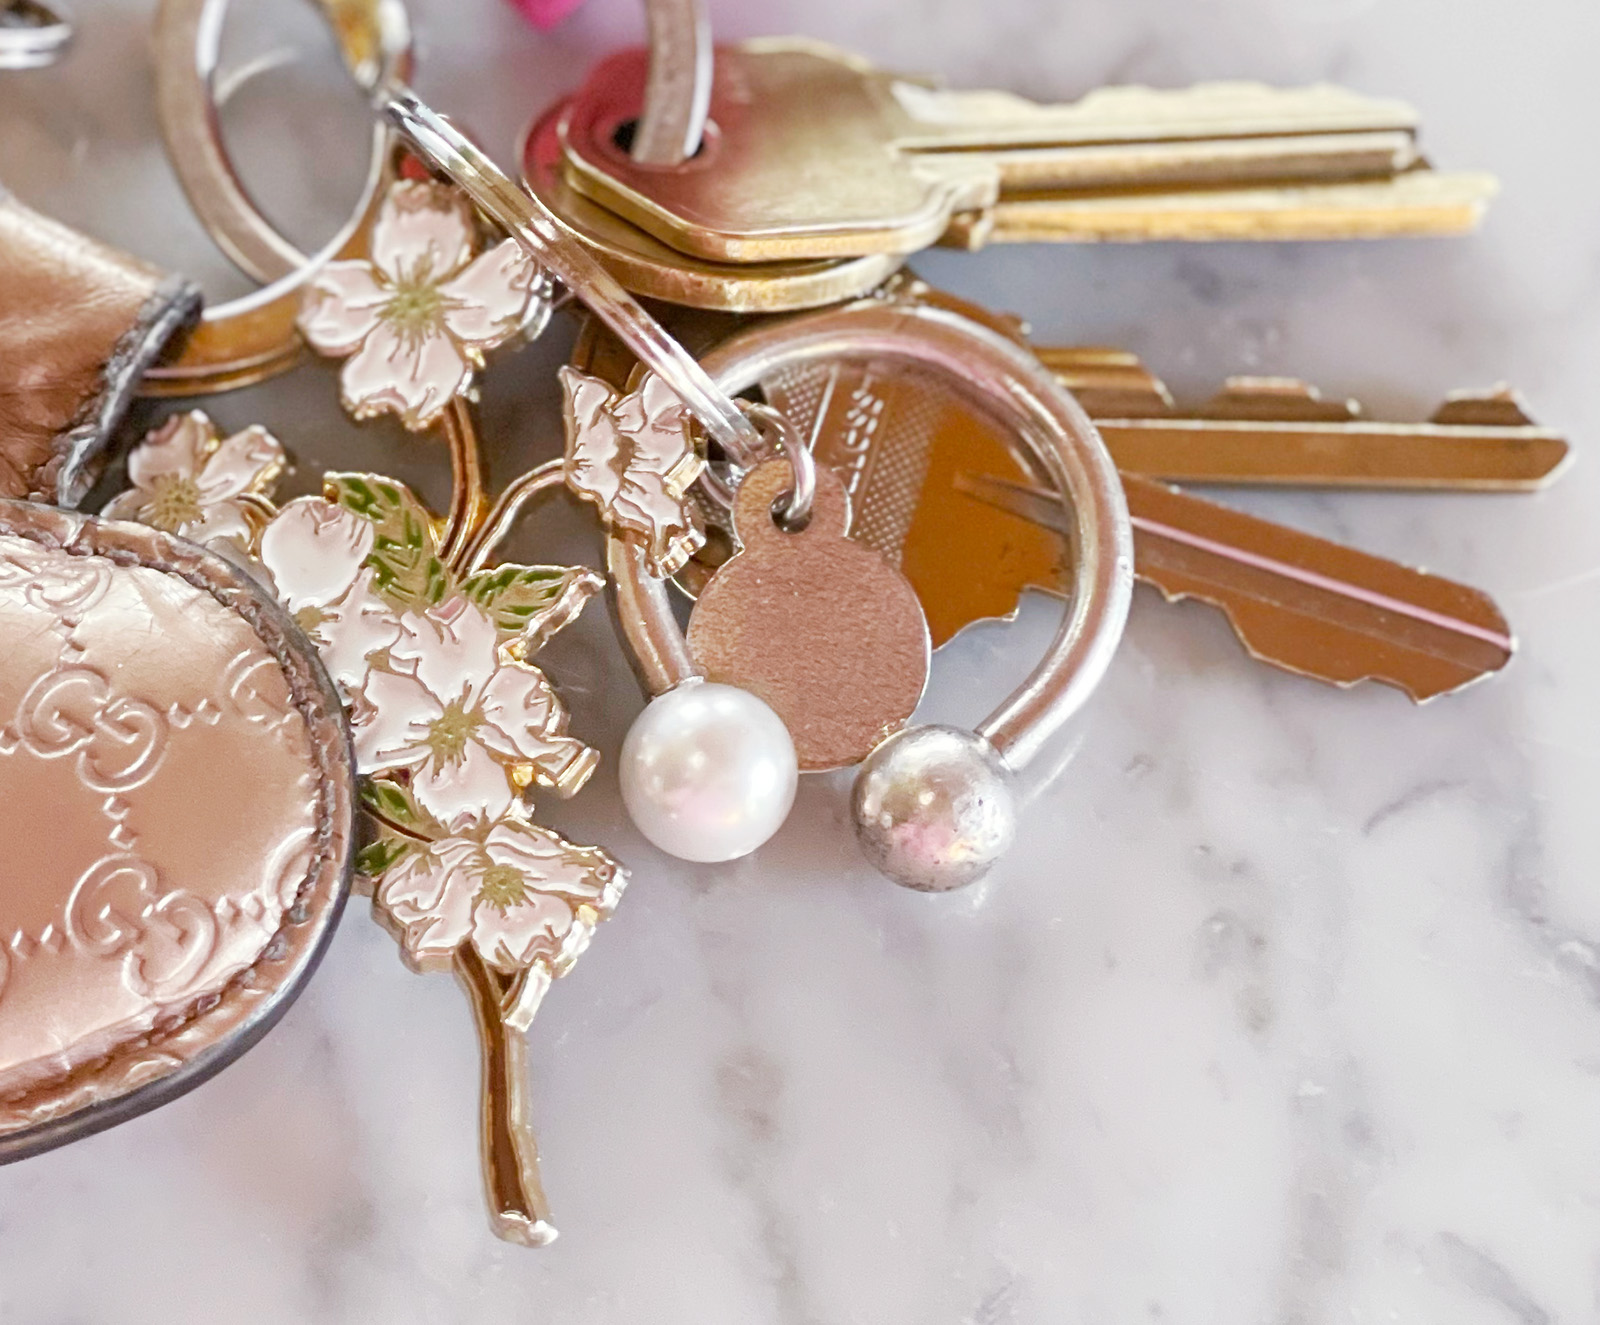
While my first thought was a pearl, I also thought a pretty pink bead might make me happier, but it was glass and this calls for a plastic or wood bead or ball (and you’ll soon find out why).
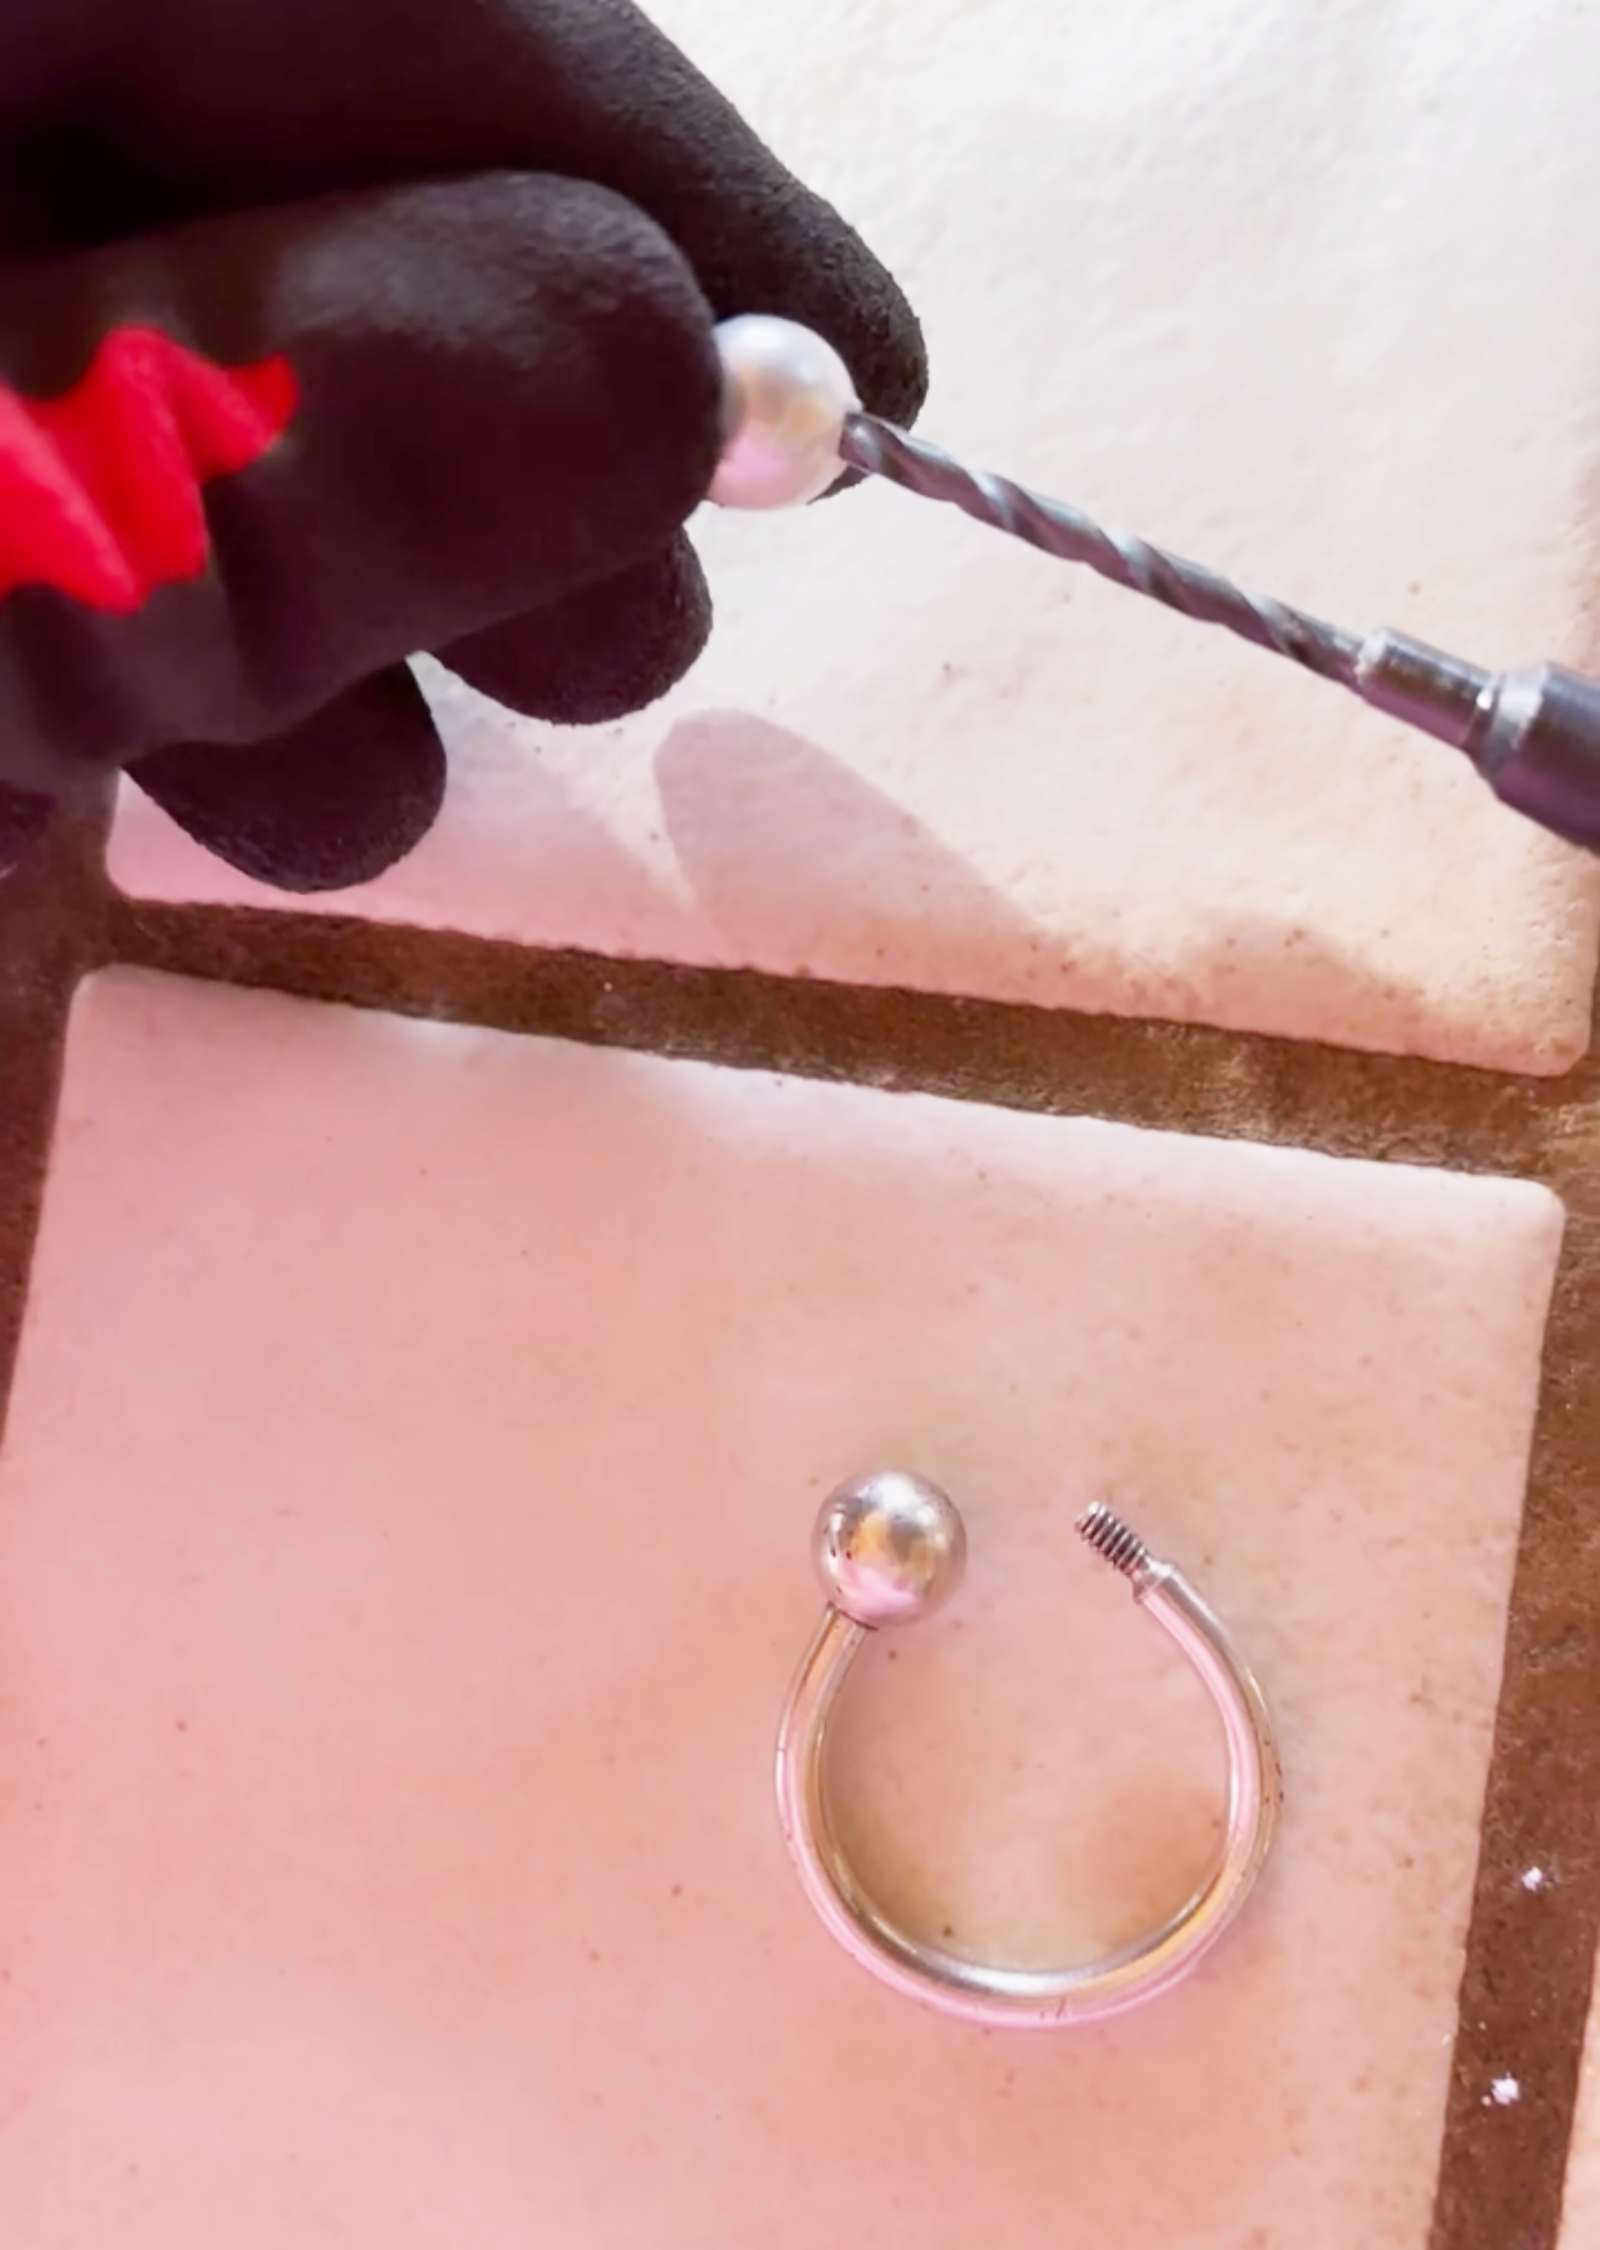
Opt for a ball that is the same or close to the same size as the existing ball on the key ring (the one that doesn’t twist off) My pearl is ever so slightly bigger than it, but I don’t mind.
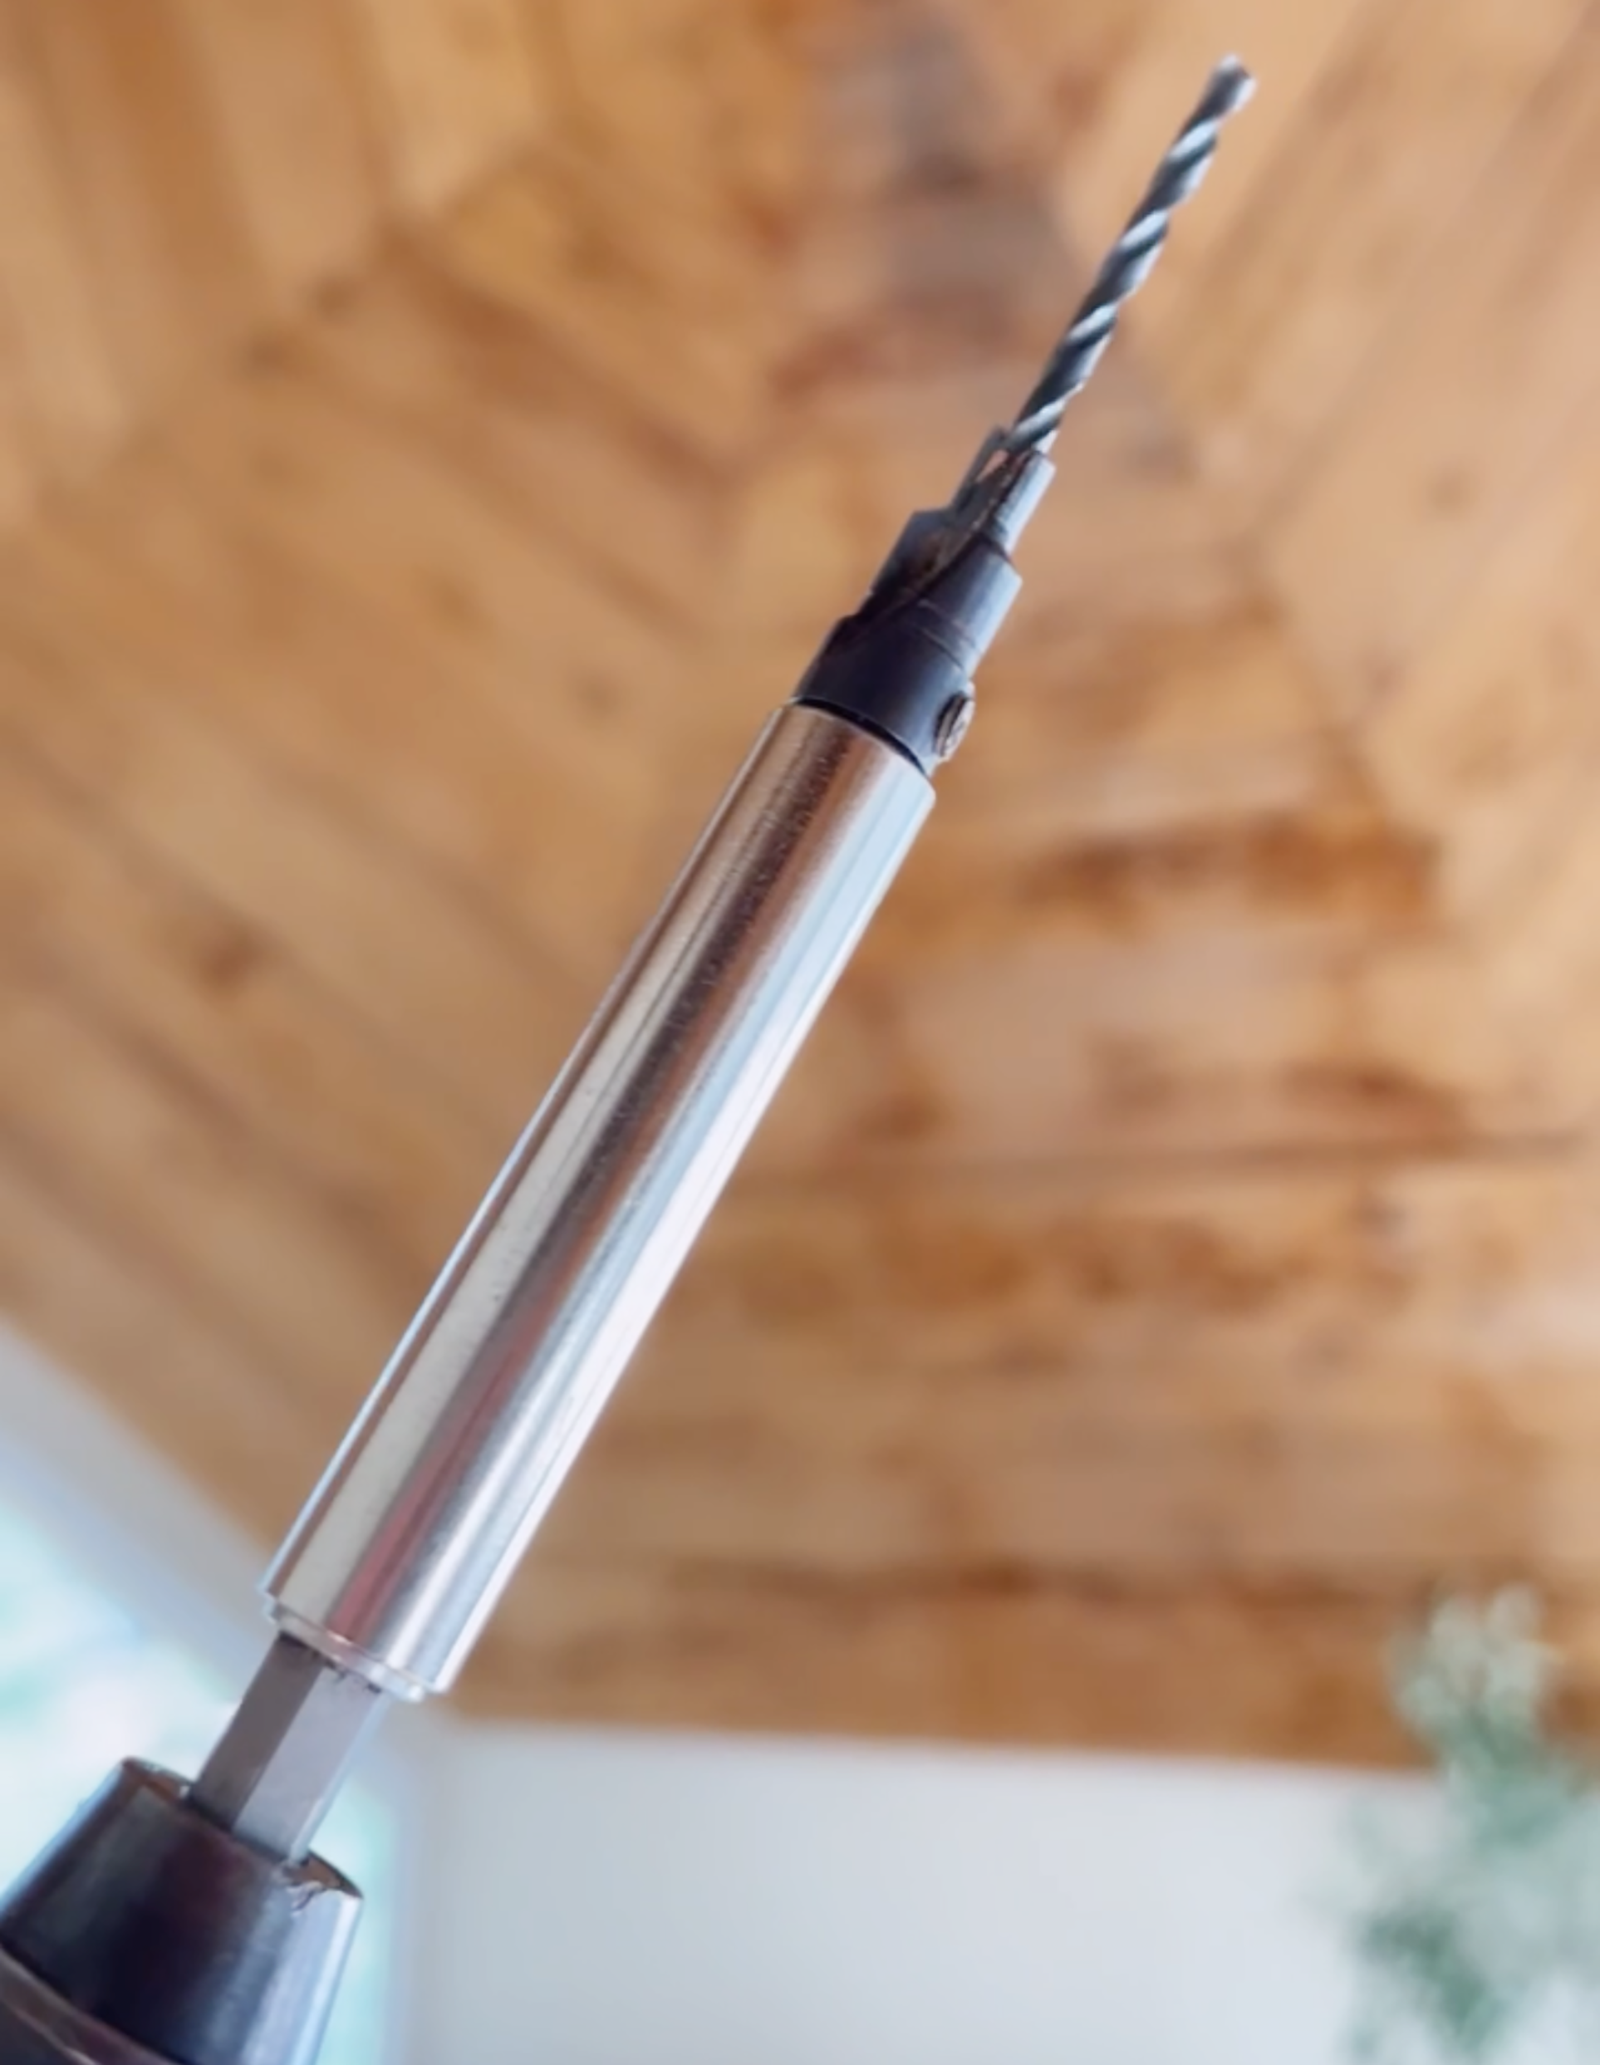
Grab your 1/8″ drill bit and stick it in your drill… Luckily I have my stepdad’s garage full of tools on hand now so I while I had no idea what actual size I needed, I knew it had to be tiny and this one did the trick!
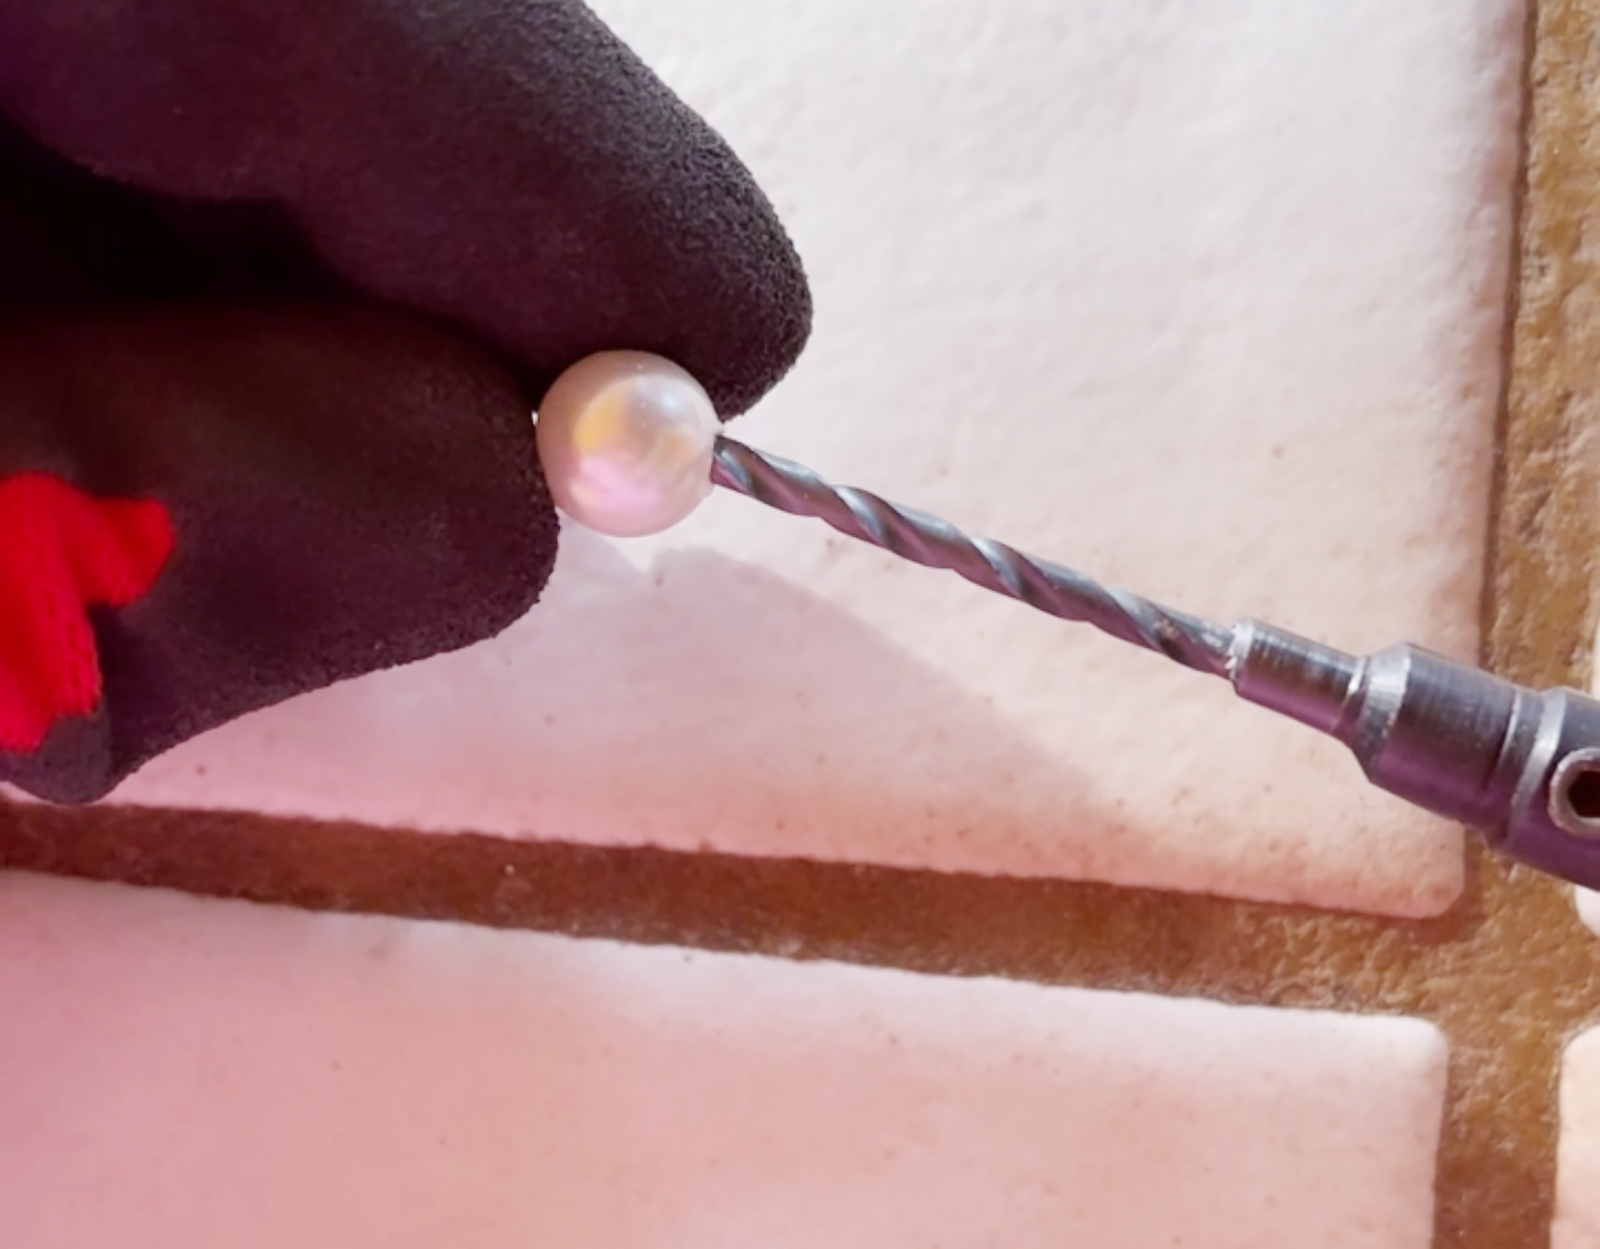
Pull on your slip-resistant glove (one hand optional) so you can hold your bead in place and carefully drill out ONE side of the pearl or bead where the original hole is.
Test your pearl on the key ring to see how far down (or how deep) to drill your new, larger hole.
NOTE: Using plastic or wood will create threading inside your bead so you can actually SCREW it onto the key ring. Otherwise, you’ll have to glue it and then you won’t be able to remove it from your keychain EVER 😉
Make sure to only drill your hole as far down as the threading so the hole on the opposite side stays tiny.
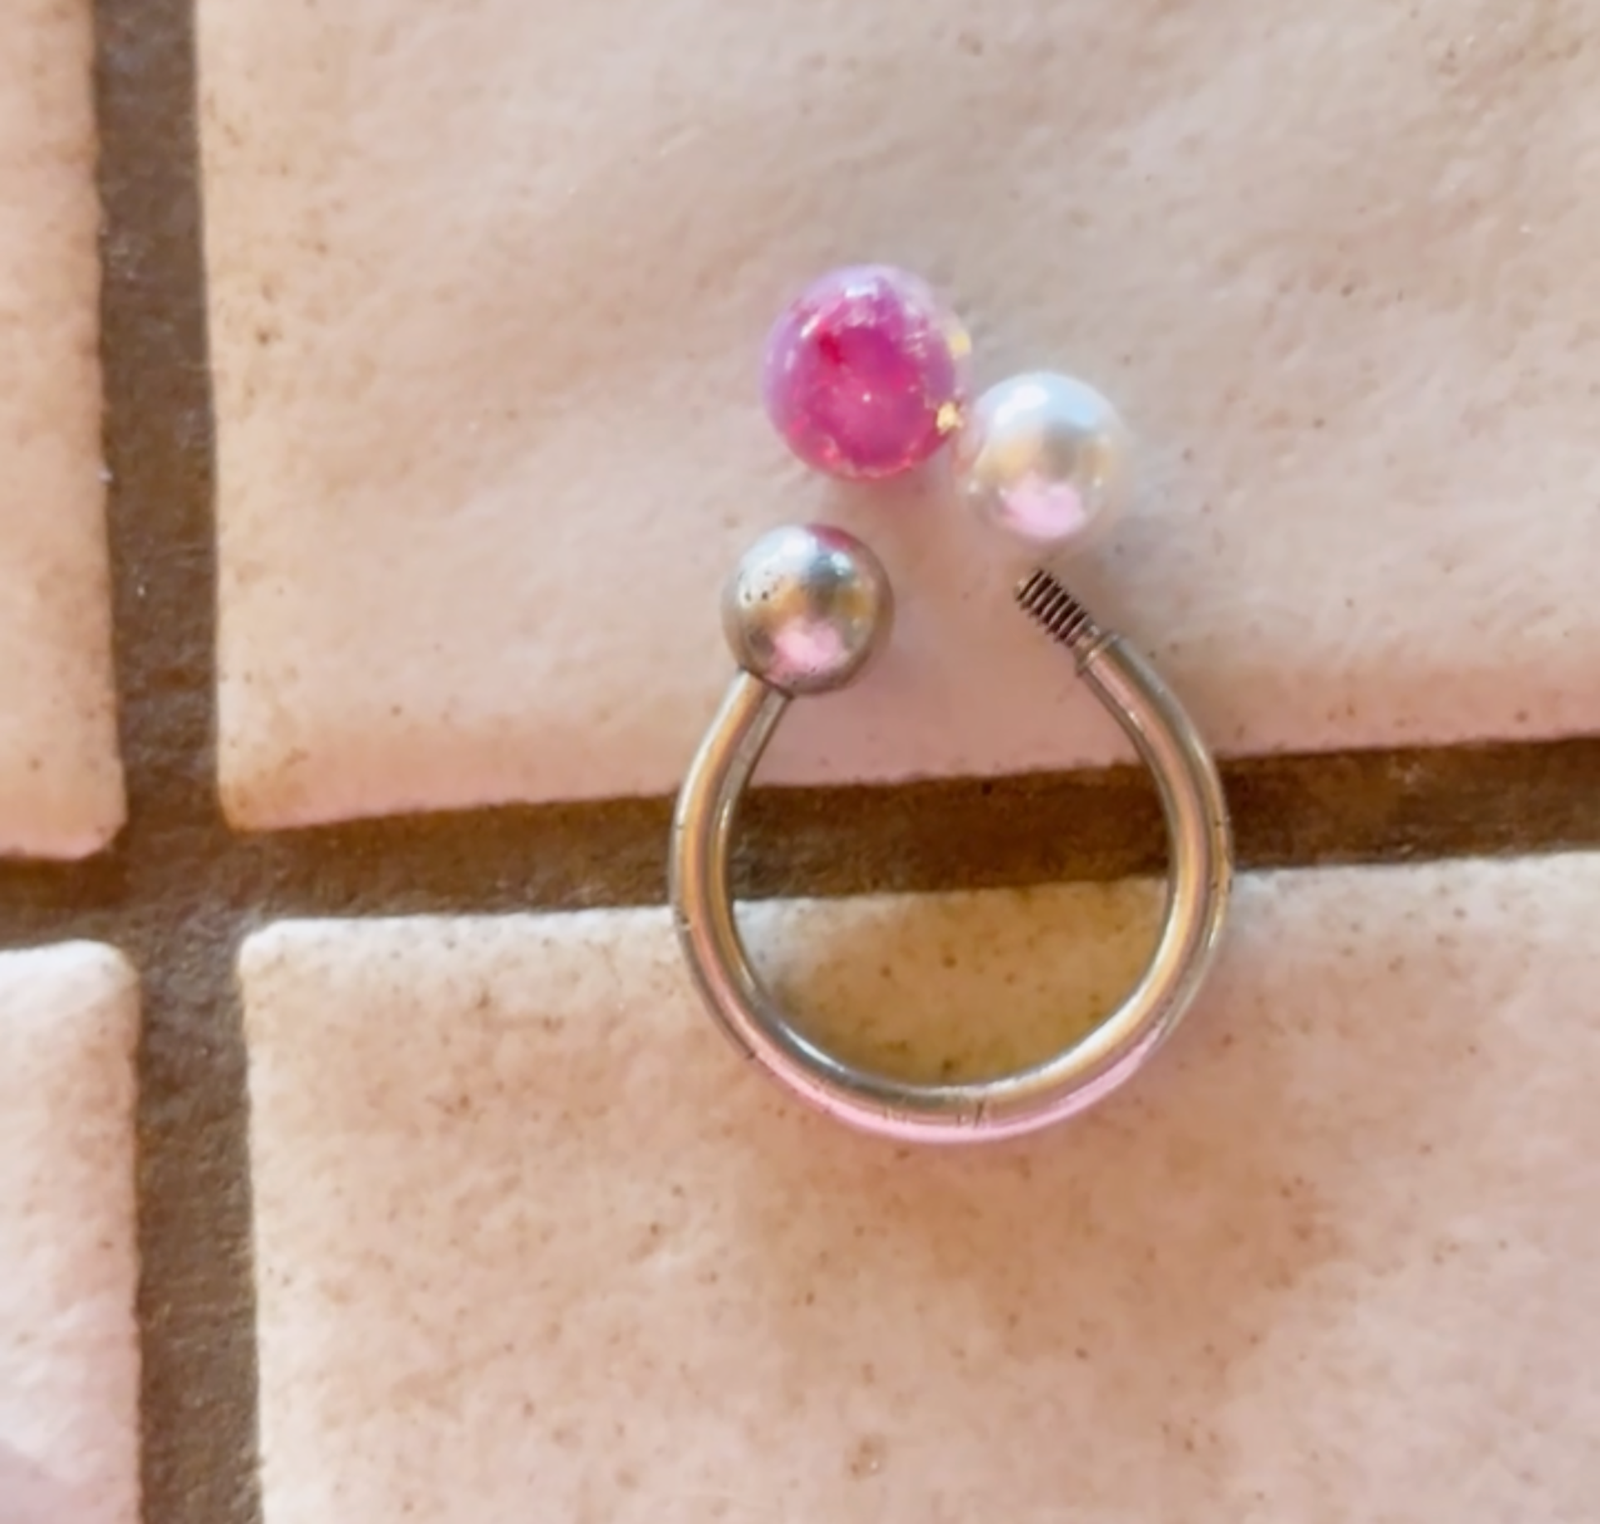
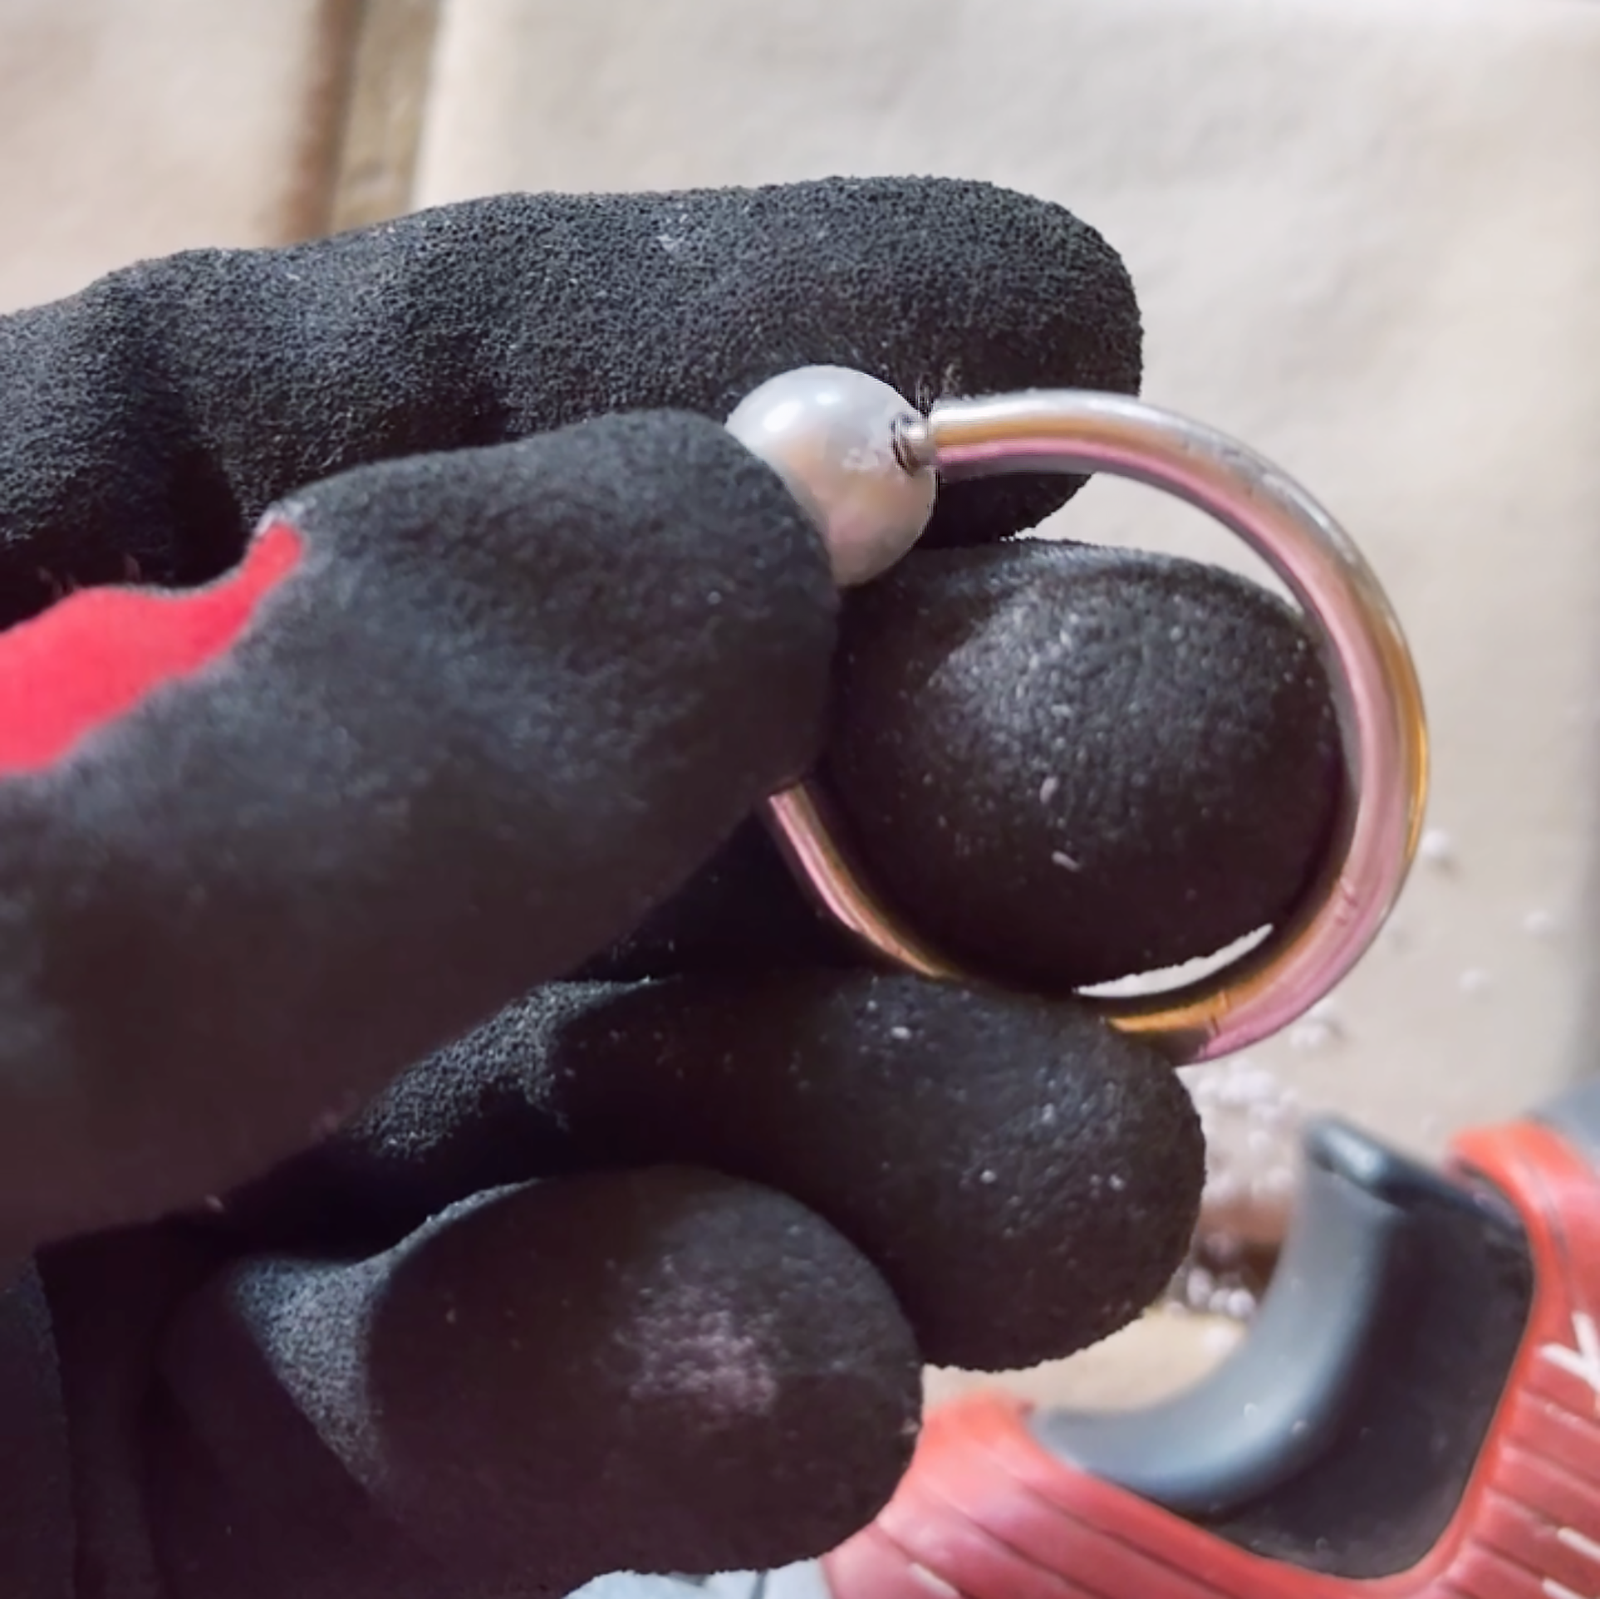
NOTE: I was able to screw my pearl on and off a few times and it stayed tight, but after I slipped in through my keychain, I dotted a tiny bit of gorilla glue down the opposite end (hole) just to make sure it would STAY ON.
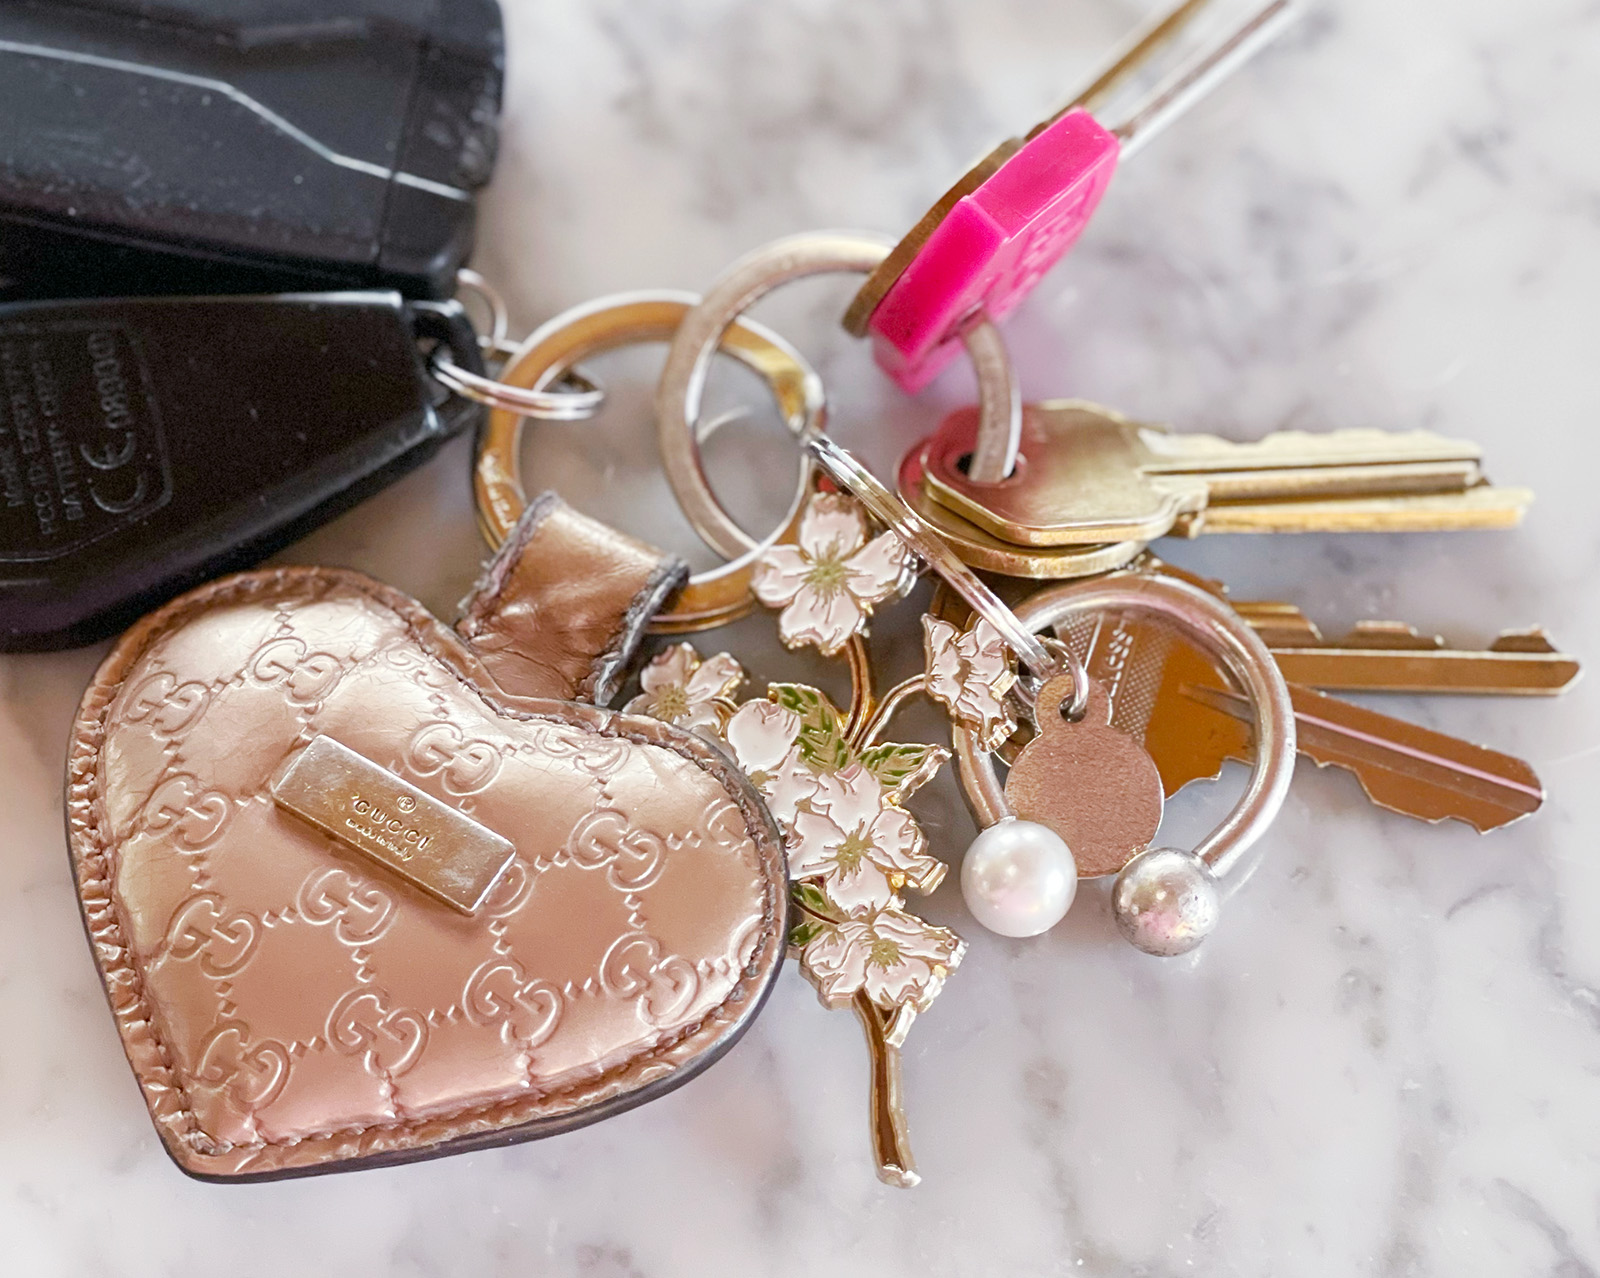
And… Voila!
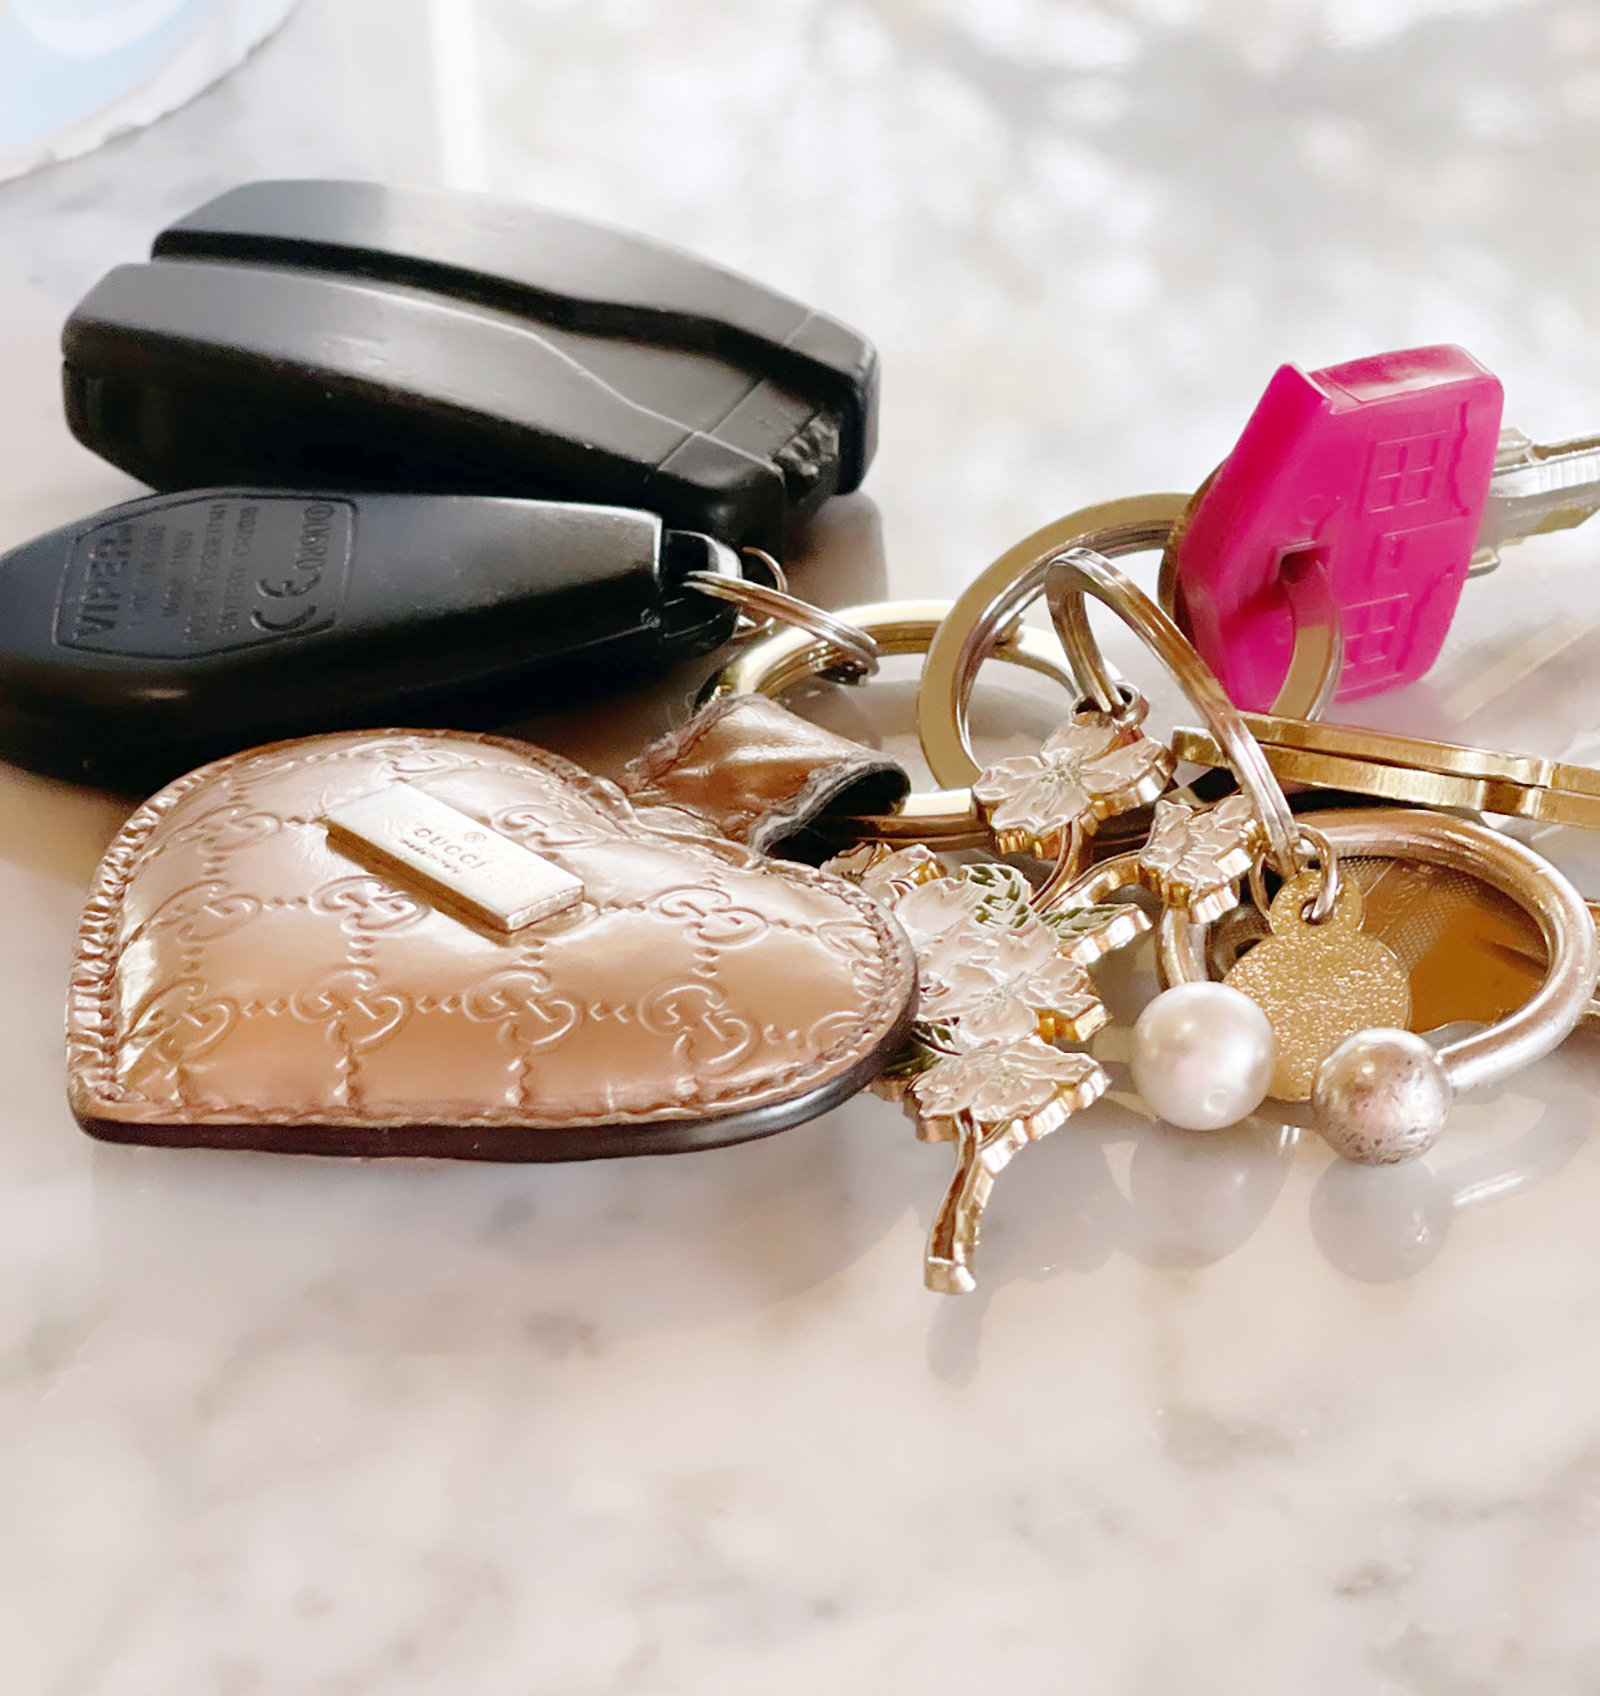
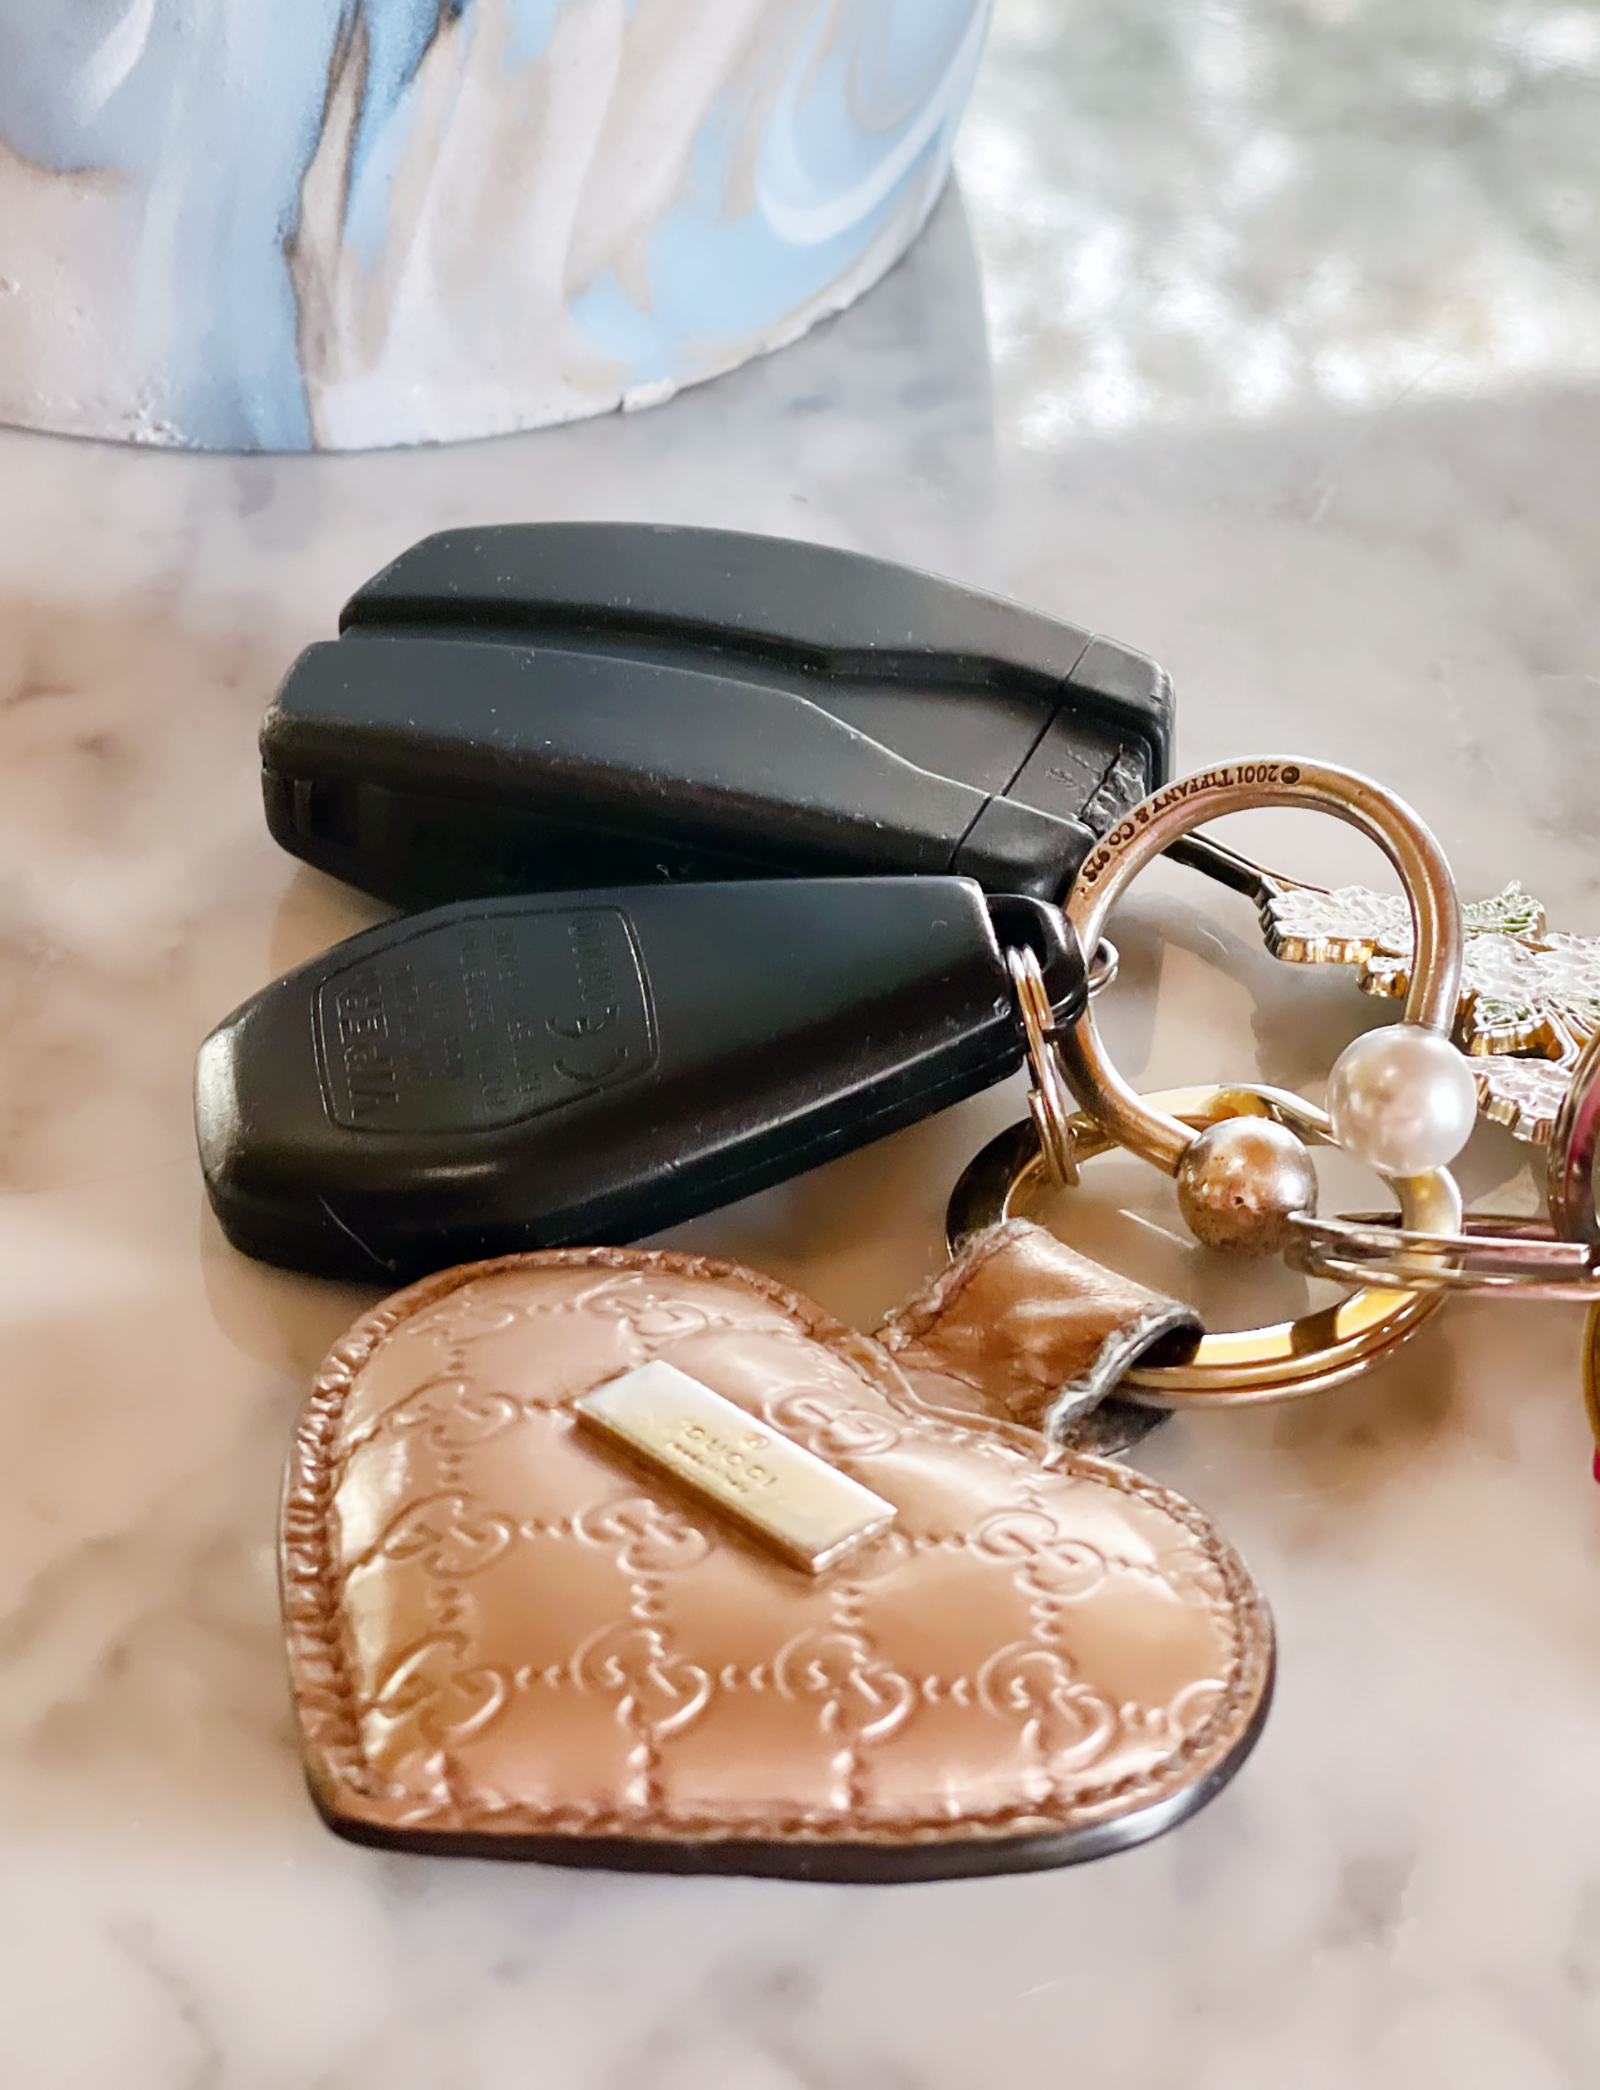
I have far too many keys now to be able to slip them on it alone, but it slipped quite nicely through the little O ring on my very old car key, which is where it will stay for now.
Can you believe I’ve had the same car since 2008?!?! I can’t either. I leased it in May 2008 and BLOGGED ABOUT IT HERE – and ended up buying it out of the least in 2010 and paid it off by 2014 I think and I JUST HIT 50,000 miles. 😂 Yes, I have a 2008 car with only 50K miles! When I bought the car way back when I was still living in LA, I had NO use for the “snow mode”, which has come in extremely handy over the last 11 snowy winters living in these mountains.
I must admit that I was just giddy yesterday with this little project and even prepared a quick DIY reel on Instagram (that should be live by morning if you want to watch it in action). I’ve had a rough few months and honestly, a very challenging year altogether, and so it felt like a little bit of myself had returned… the spark of creativity, the ease of which it all came together, the fun I had making it and the fulfillment I have here, sharing it with you. Thank you for allowing me to continue to share my life, my words, my ideas and my home with you and I hope you feel inspired or at least slightly entertained after being here 😻
Sending love to you all today and always ❤️
Happy DIY Monday Lovecats!
Have Fun!
* Find all my DIYs here
* Find my DIY Archive by category here
* Looking for Christmas Inspiration? Find all my Christmas DIYS here!


