
The day I got the keys to my new place, I was chatting with the manager on the phone and she encouraged me to bring over a few little items ASAP to make it feel like my own. As I was running out the door to meet her, I grabbed three things; an antique copper French Bulldog figurine, a little wooden “be brave“ sign my stepdad gave me a while ago, and a black vase filled with DIY dried flowers I’ve had for awhile now.
There’s something about dried roses that feel so romantic to me… so hearty when they’re alive yet so fragile once dried. I used to save and dry all my bouquets way back in the ’90s when I was a teenager and hang them upside down on the walls of my bedroom next to black and white posters of beautiful people… Anyway, I don’t save ALL my flowers now, but I generally do save roses, especially pink ones because they dry in such a gorgeous vintage hue. I LOVE the soft, but muted and washed out tones of the pink roses and eucalyptus leaves against the stark black contrast of the vase…
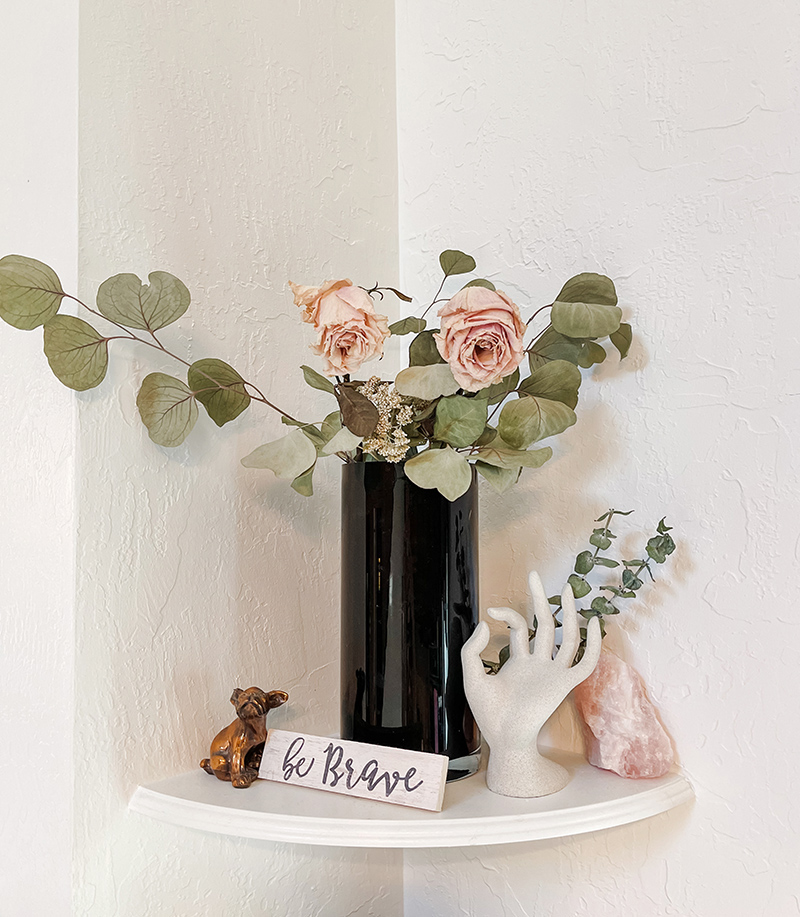
I set the vase of dried flowers and leaves up on this corner shelf of my kitchen just temporarily while I was unpacking so they were safe and out of my way, but I LOVED the romantic feeling of the dried flowers in the space and the colors of the flowers and leaves eventually became the inspiration for my kitchen.
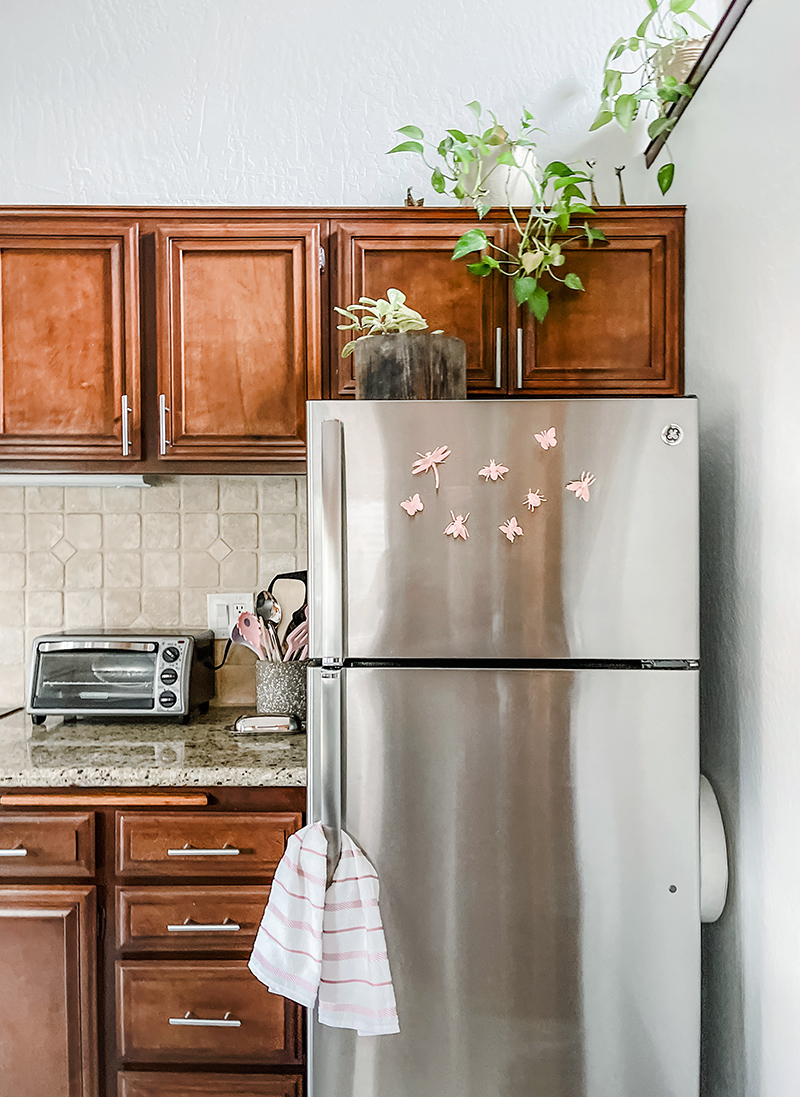
The kitchen is small and technically part of my entire open living room and dining room space, so the little pink touches don’t overwhelm the rest of the house, which is not accented in pinks. However, I have gone ultra feminine in my new place and have pink or blush or peachy pink in my closet, bedroom, office, and now kitchen 🙂

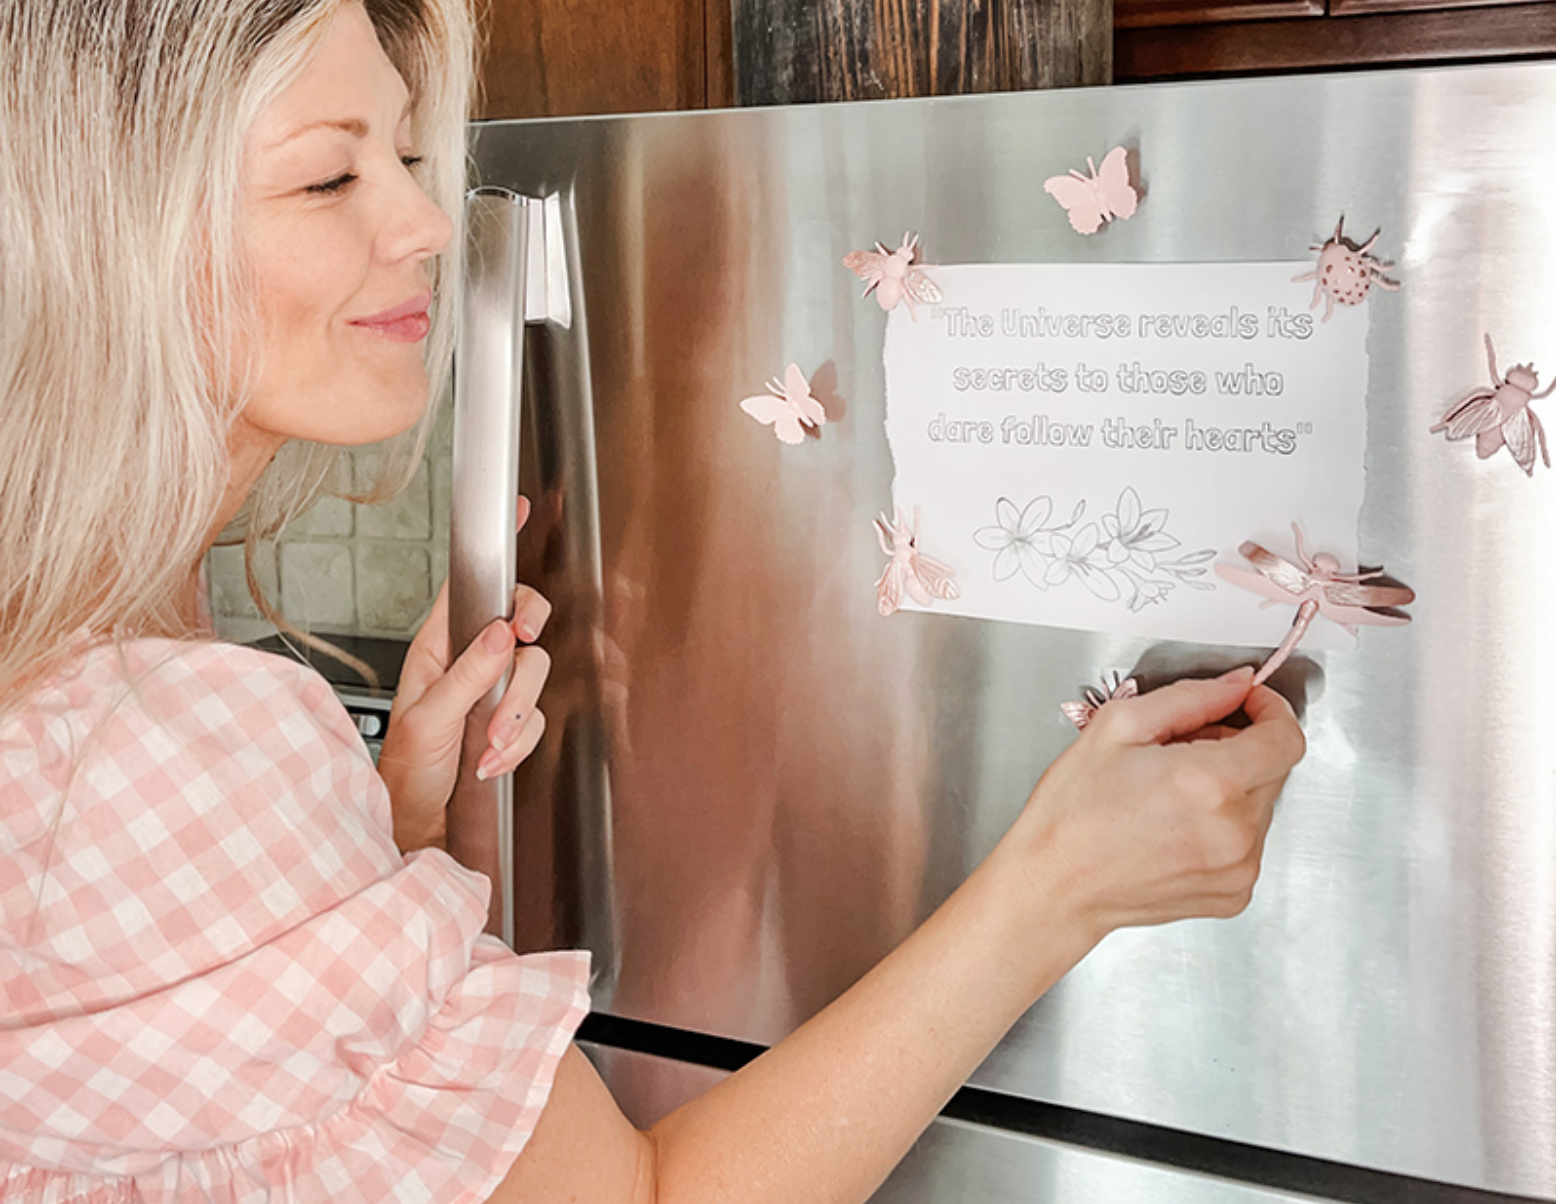
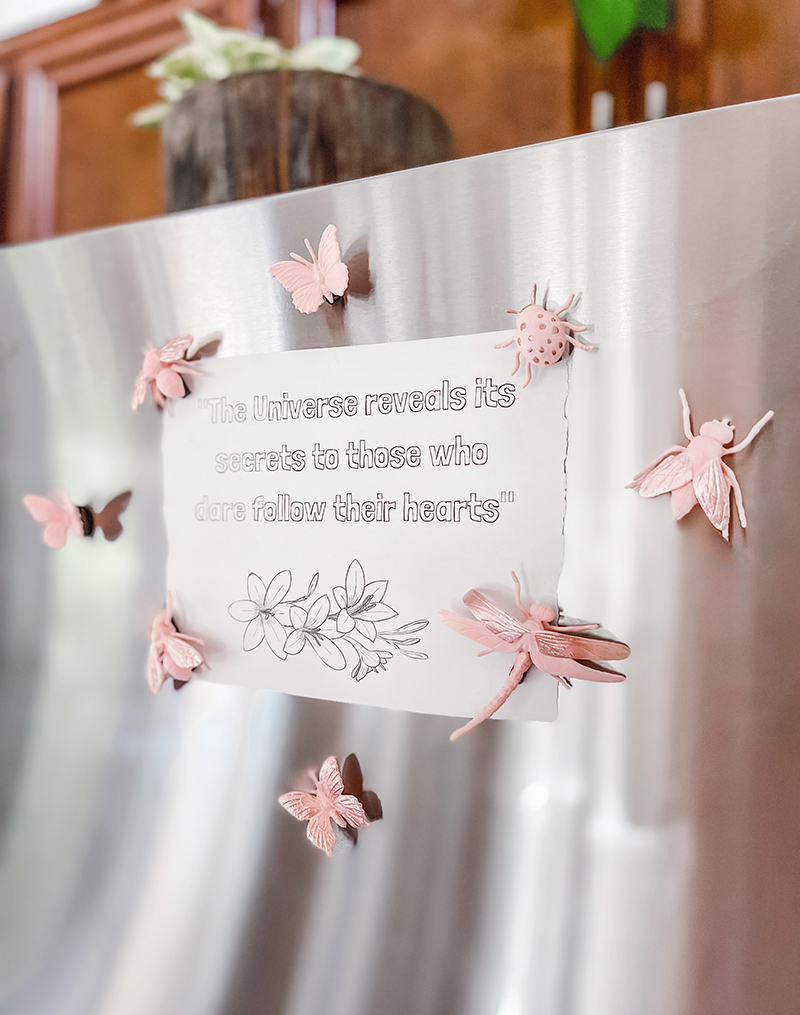
I’m usually not a huge fan of a cluttered fridge but recently I put up a few inspiring quotes which I had written on pink paper and decided I needed new magnets. I immediately went on amazon and etsy looking specifically for “pink refrigerator magnets” and didn’t find anything I loved… It wasn’t until I saw these pewter bee magnets that I had the idea to DIY my own little critter magnets and all in pink!
Since my kitchen has a bit of a nature theme already, aside from the pink, I loved the idea and went on a hunt for basic magnets I could use. It turned out my mom had a ton of these very narrow magnets from old screens she saved and gave me a handful of them to use. I LOVE being able to repurpose items used from other items, which is why we save little things like that, because you never know when you’ll need just the very thing!
This might be the LONGEST intro to a DIY ever, so LET’S GET TO IT!
Here’s What You’ll Need…
Before I start a DIY, I gather my materials BUT sometimes DURING the DIYing, I end up needing other materials, so I also listed the materials below I used that you DON’T see in the photo.
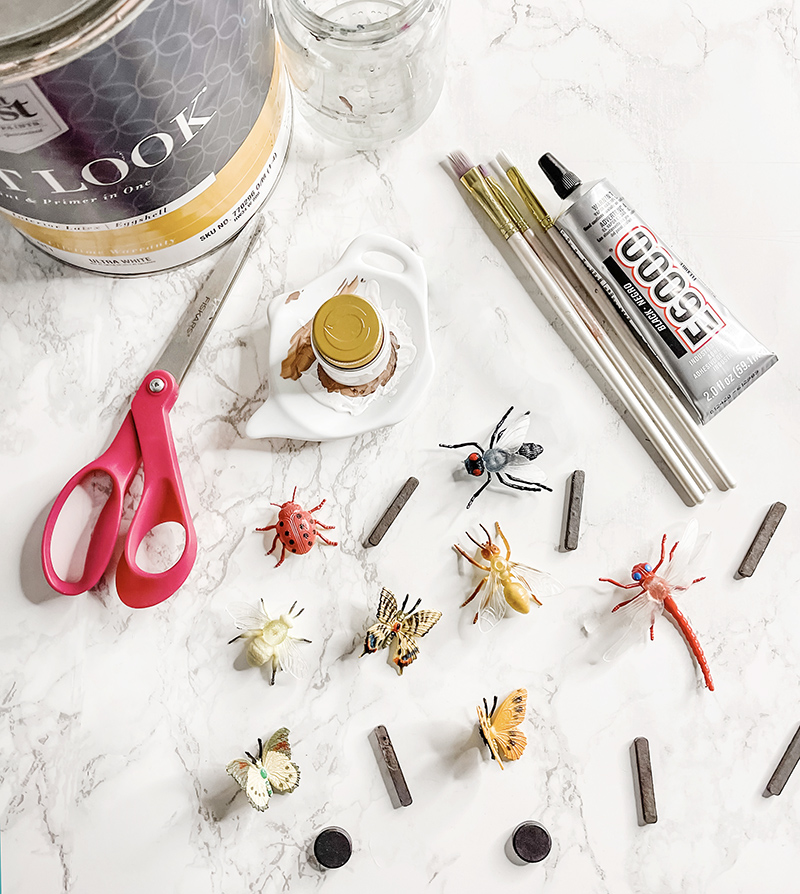
- Little plastic critters – bugs and butterflies (I have a little box of these because I’ve used them for projects in the past, like this 3D DIY Butterfly phone case – which I ADORED and used until I got a new phone. PS. look how tiny the iPhone was!)
- PAINT: You can most definitely use spray paint for this, and if I was going to go with a gold or silver metallic, I would have used spray paint and it would have been a much quicker project. Also, at the end I used nail polish and I think I probably could have used it for the entire project as well, but alas, I wanted a specific PINK… the pink I painted the little room that was going to be my tiny office in my old house. So I used that
- HOWEVER, I used my acrylic Gesso first to prime the critters so the paint would adhere and stay put. Again, I think if you use spray paint, you can skip this step
- Paint brushes
- Little magnets
- Wire Cutters
- E6000 adhesive glue (mine is black, but only by accident, I prefer the clear but either will work)
- Rose gold metallic nail polish
Here’s How I Did It…

Decide which bugs and butterflies you want to use. I chose a few butterflies and all the bugs with wings, aside from the ladybug, because she was so cute, I had to include her.
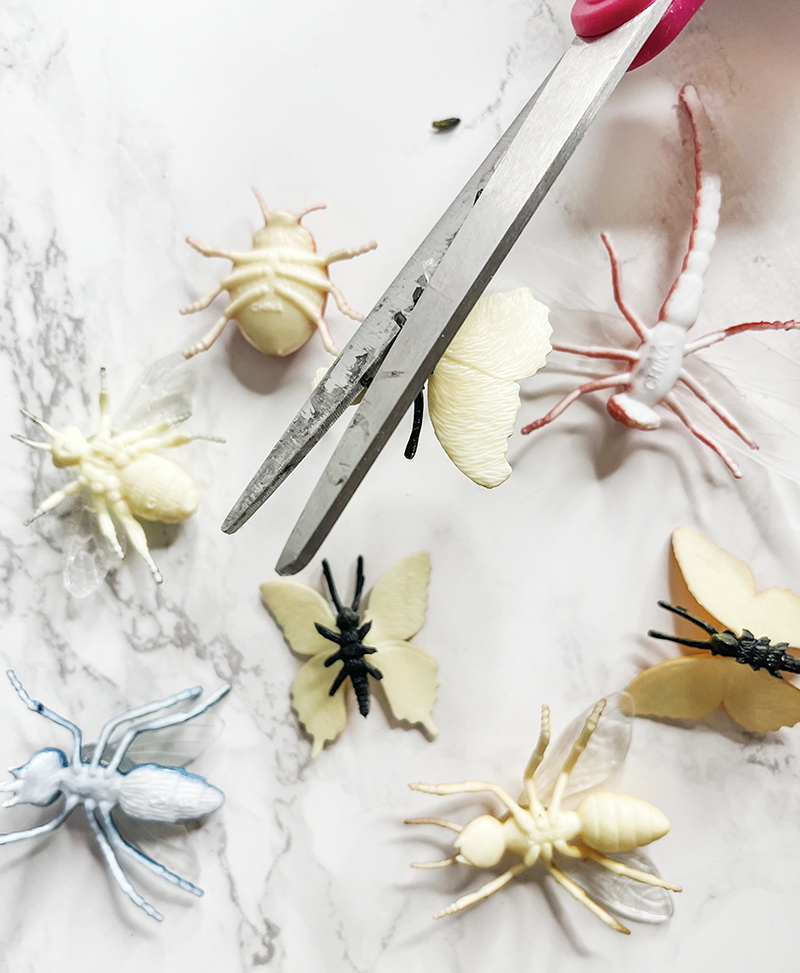
Flip them over and cut off any legs that will get in the way of gluing the magnets onto the bodies.
Generally only the butterflies had legs that got in the way.
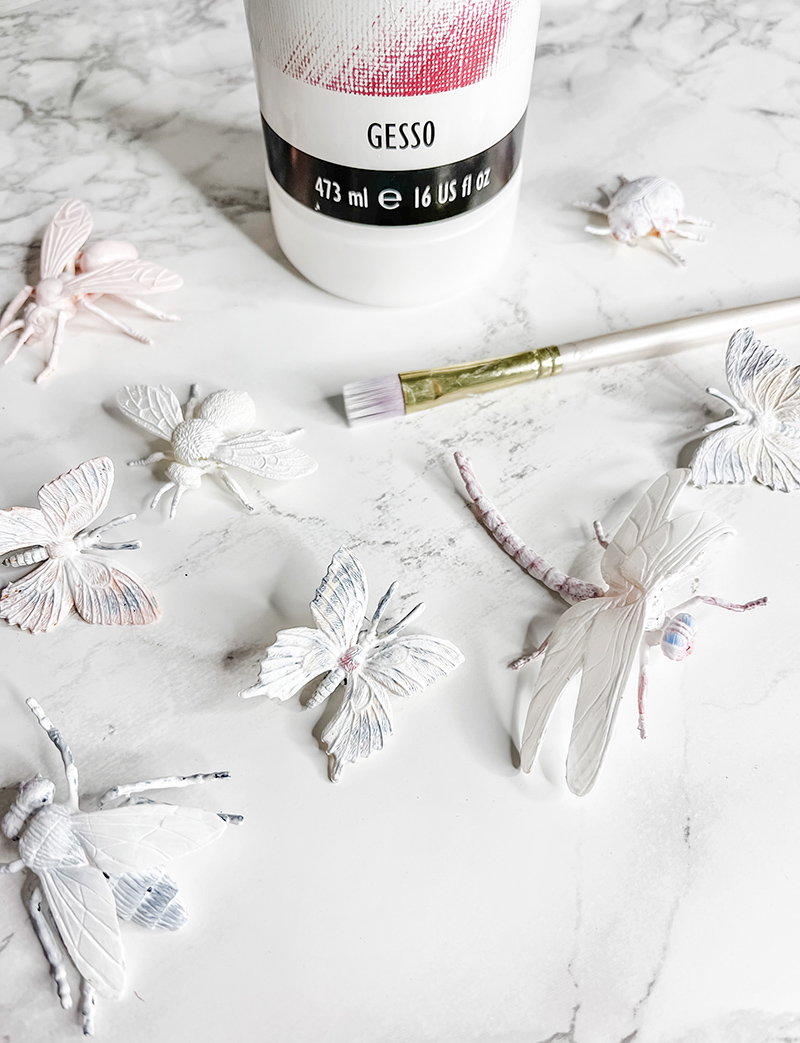
I used literal HOUSE PAINT to paint my bugs… and they needed a primer first.
With a little paintbrush, I simply painted all of my critters with GESSO and let them dry over night.

Then I painted a SECOND COAT of GESSO to cover all the dark spots front and back just to make sure they were completely primed and ready for pink.


I painted two (or maybe three) coats of pink paint and allowed them to dry over night.
NOTE: Spray painting this project would have been MUCH easier and quicker, but again, I didn’t have access to the pink color I wanted in a spray option and didn’t want to drive down the mountain to get it!
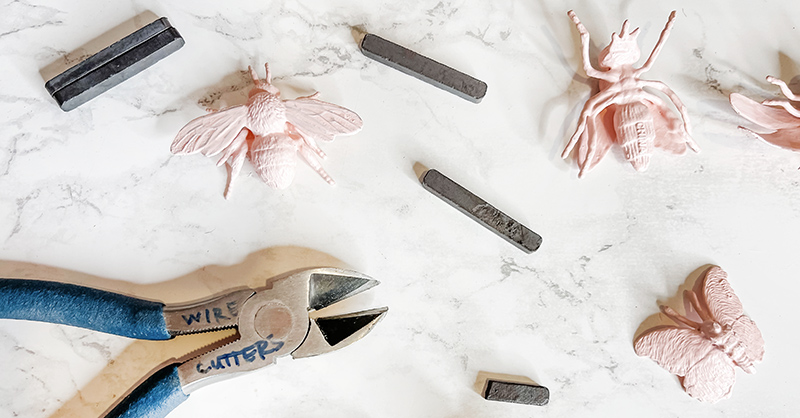
My magnets were a little too long so I grabbed my wire cutters and easily snipped them right in half.
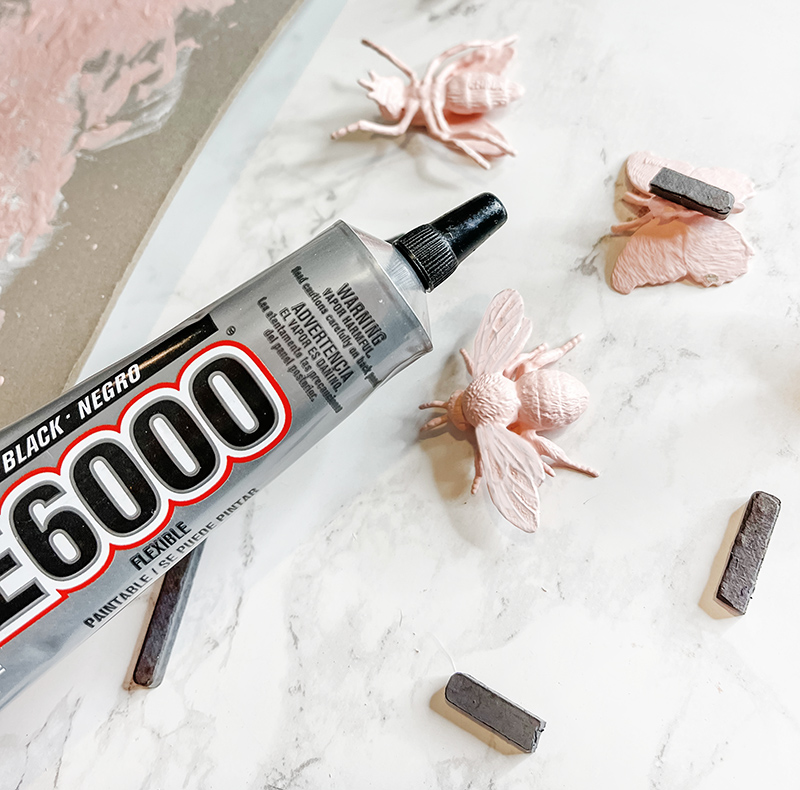
Apply a thin amount of glue to the body of your critter and carefully set your magnet in place. HOLD for a seconds so they don’t slip or slide.
Make sure you’re in a ventilated area. This glue is strong. Allow them to dry overnight.

Once the glue is dry, you can touch up the glue spots with your pink paint.
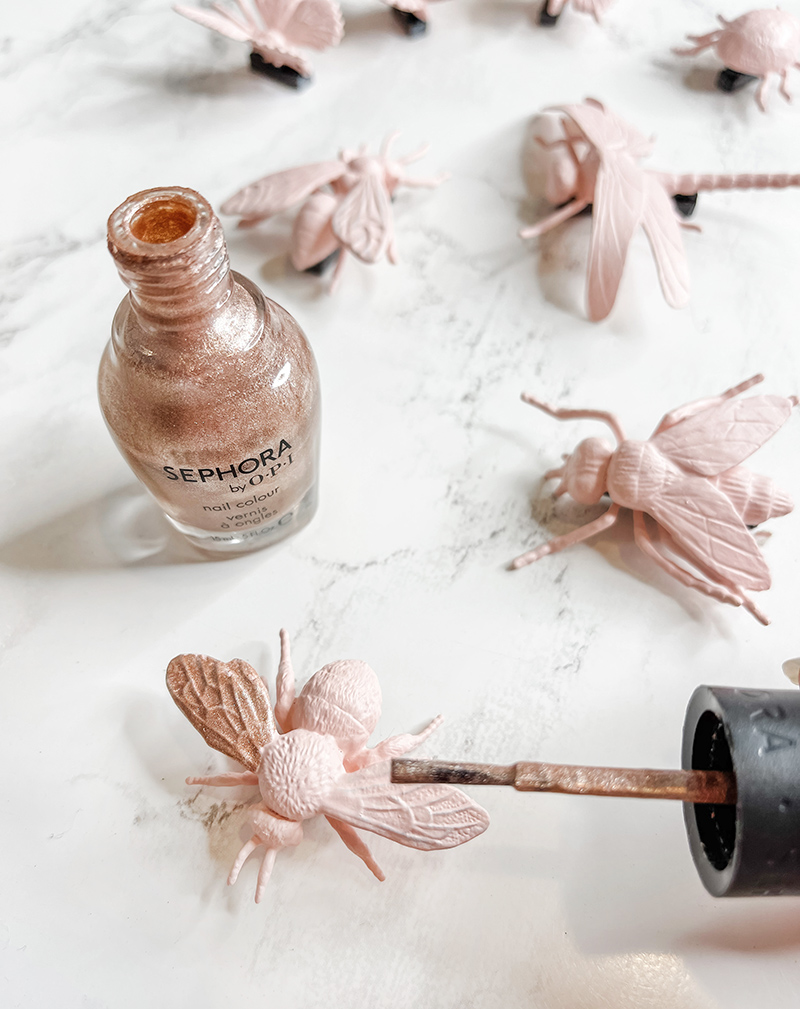
I wanted a bit of sparkly and was going to use a rose gold leafing on my wings but remembered I had this nail polish, which worked like a charm and was super easy and dried quickly.
NOTE: you might be able to do this entire project in nail polish? Test it out and see!

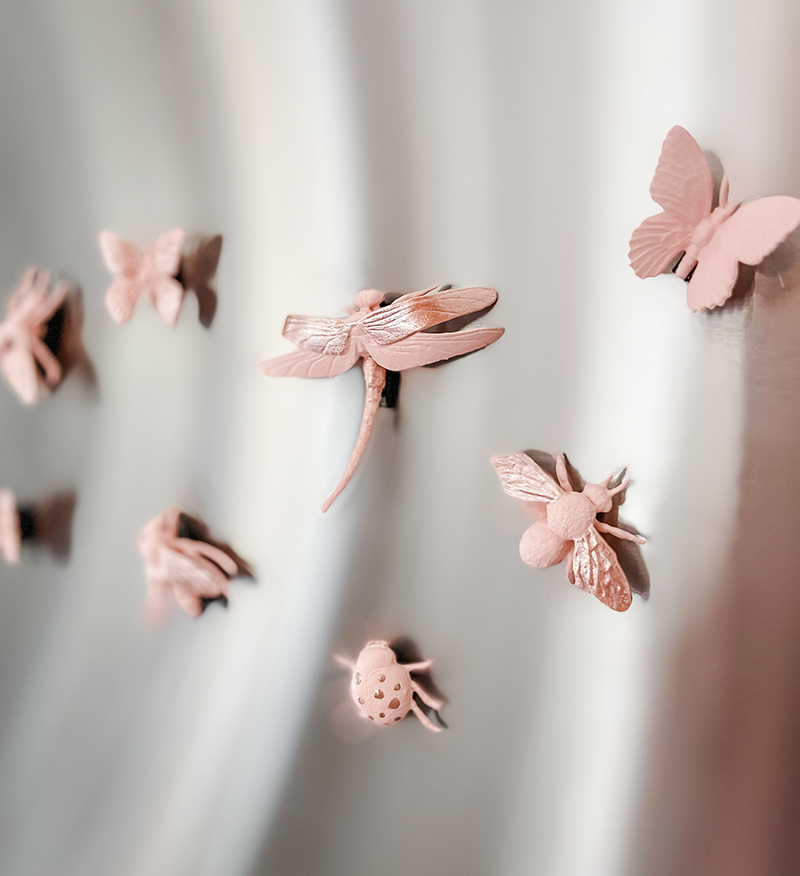
And… Voila!
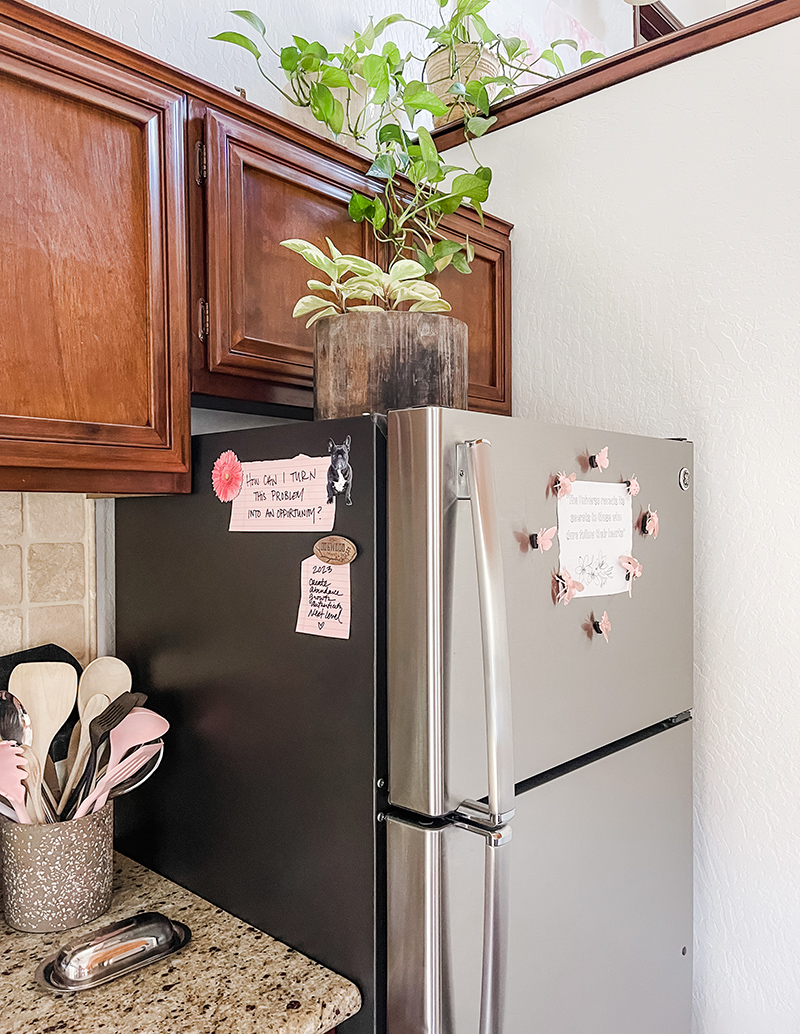
I put my older magnets on the side with my pink paper quotes 🙂
I hope you enjoyed this fun little project and I’ve inspired you to make your own custom refrigerator magnets or make it a fun project with the kids (and of course, use kid-friendly materials) or you don’t have to paint them at all! Just glue magnets onto the critters and leave them as-is. Easy peasy!
Have Fun!
* Find all my DIYs here
DIY Home Decor // Faux Stone Hand Sculpture, Statue, Art, Jewelry Holder
DIY / How To Turn a Ceiling Fan into a Pendant Lamp without Re-wiring


