I must admit, of all the DIYs I’ve done in my life, jewelry and beading has never really been high on my list. The only reason really is that I didn’t know how to do it. I never really learned or taught myself to DIY clasps and closures and so I avoided the whole category entirely.
UNTIL NOW!
When I got a DM on Instagram (from a friend about a friend) and the launch of Saskia DIY beading kits, I just said YES without thinking (because I like to help and promote women doing great things!). And when the adorable little kit arrived, I just well, figured it out. Also, it came with instructions and you know what? It’s really easy as long as you have the right tools 🙂
The story behind Saskia is really unique as well. They collect materials from around the world and bring them to their Brooklyn studio where they design and make each piece by hand – You can SHOP the Saskia collections of jewelry if you’re not into DIYing your own. Their journey began back in 2006 while traveling through Asia where they found a community through creation. Every SASKIA piece and bead connects you to cultures around the world (how cool is that?!). You can follow their continued journey on their blog.
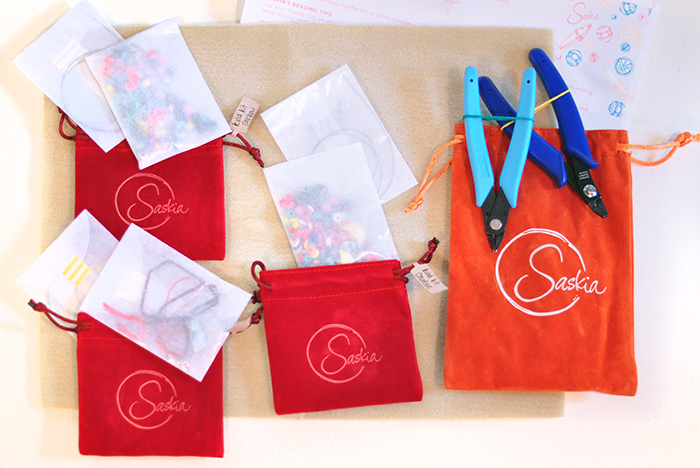
Here’s what was included in my Saskia DIY Kit…
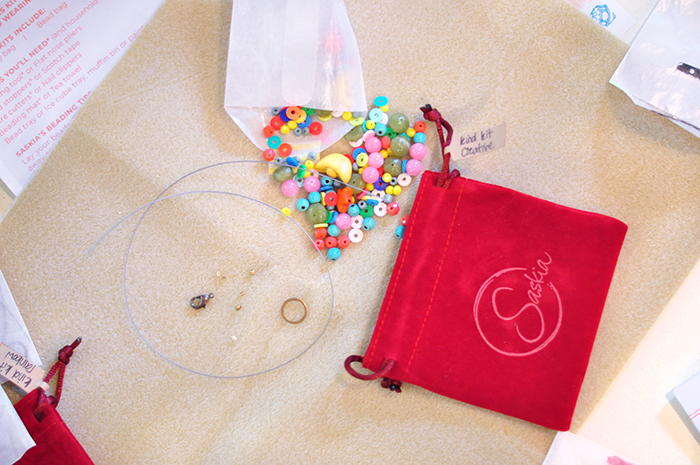
*NOTE: As I browsed through the DIY Collection Kits I didn’t see the exact one I received. Mine was a little bit of a few different kits as a kind of sampler I think.
Mine included a sample from the Kind Kit and the Ruby Onyx Creatief Kit which (aligns with the heart chakra and signifies strength and self confidence). I sort of created my own necklace without a pendant, which you can see at the end of the post… and I LOVE IT.
* The Studio Tool Bag is really handy and comes with high quality Wire cutters and a Crimping tool along with an 11″ x 14″ beading mat and 2 Bead Stoppers (which I had to google because I had no idea what they were used for)
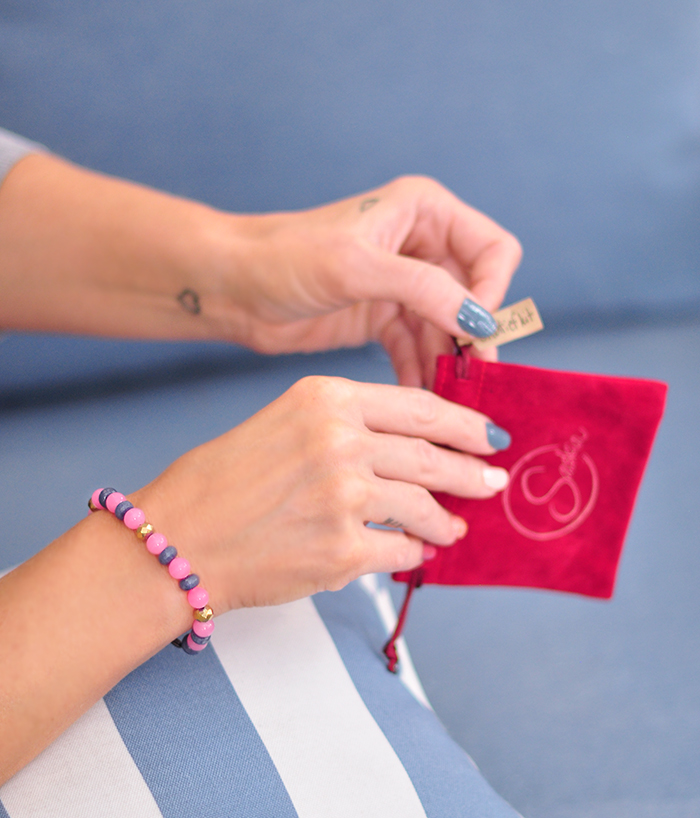
* The cute little red velvet draw string bags each had a bag of beads and a bag with the wire and the clasp and closures. Easy!
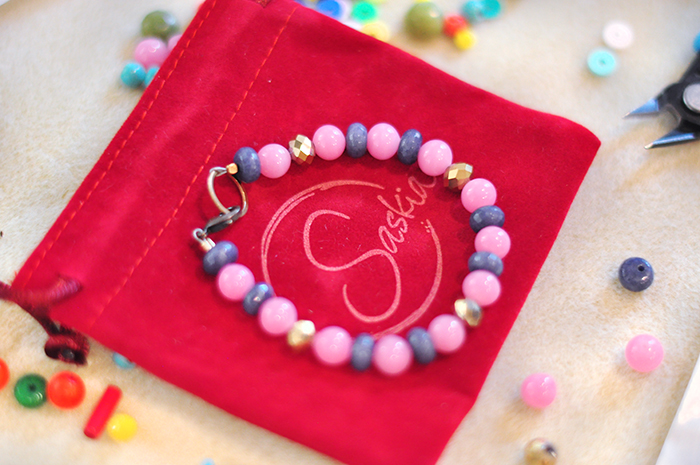
Here’s What I made…
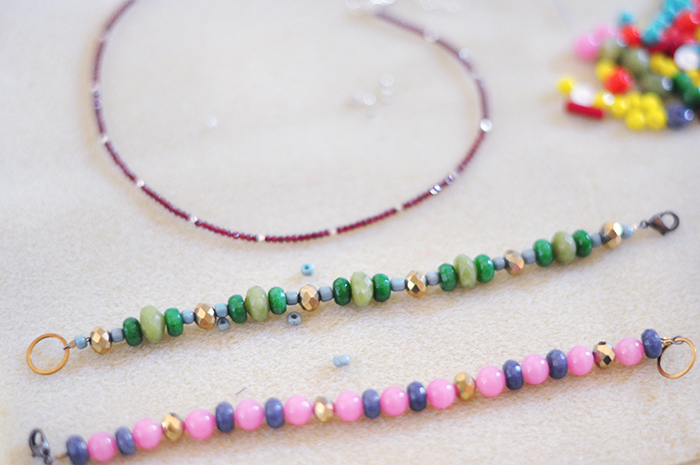
I was drawn to all the sort of muted stones and made two bracelets and one necklace. I’ve only highlighted one bracelet for the DIY section here, but you can see my other two creations at the end of the post.
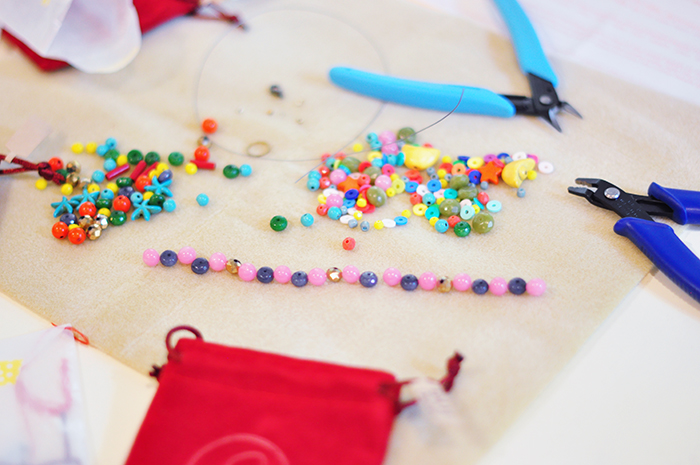
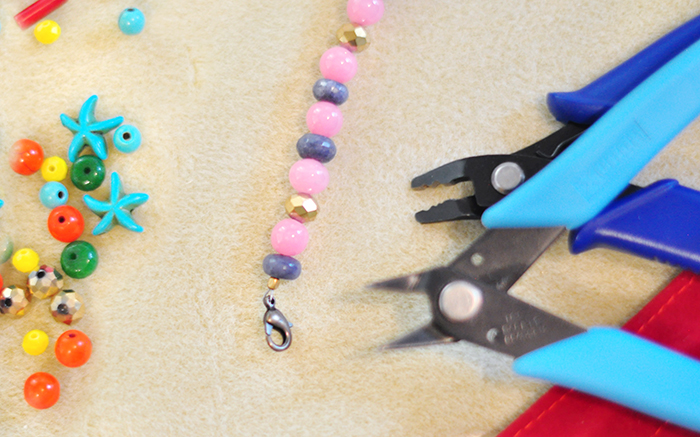
I chose my beads and lined them up first to make sure I liked the look and slid them onto my beading wire.

Then I secured my clasp by sliding on a crimp bead, threading my clasp, looping it back around and through the crimp bead…
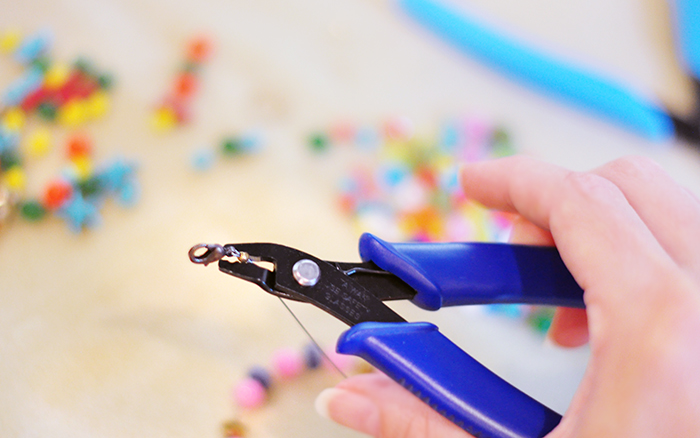
Then… using my crimpers, squeezed it together.
Once it was secure, I snipped the excess wire with my wire cutters.
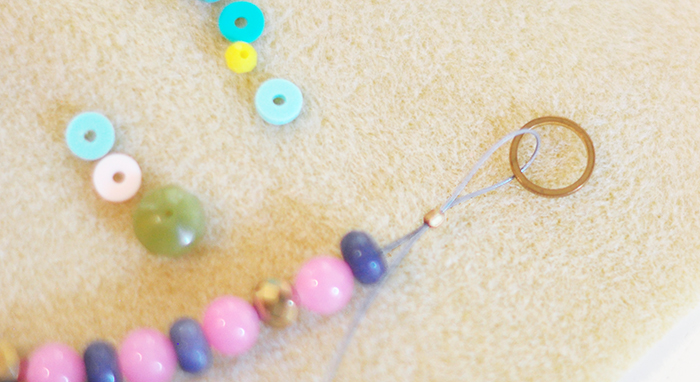
I repeated the steps above to attach the other side of my clasp, which is a large circle seen in the photo above, then pulled it tight, crimped and trimmed the excess wire.
The whole process was simple and fun!
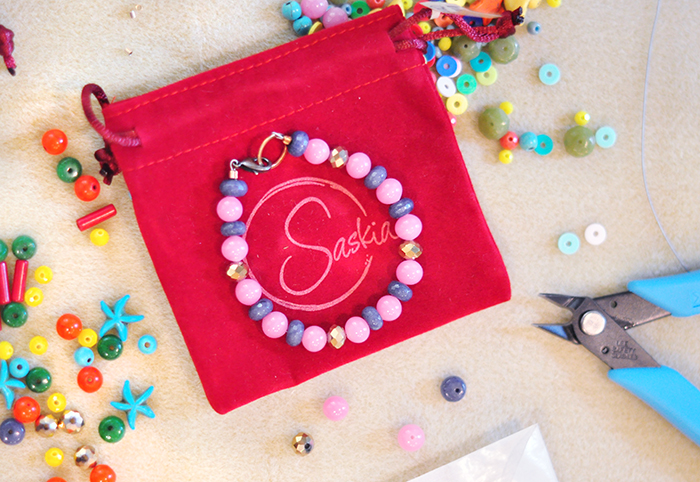
And… Voila!
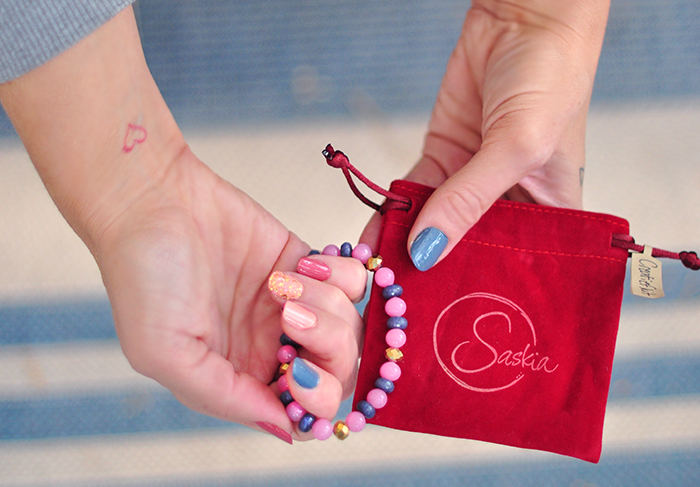
I was actually inspired to paint my nails to match 🙂
Or, as close as I could get to matching colors.
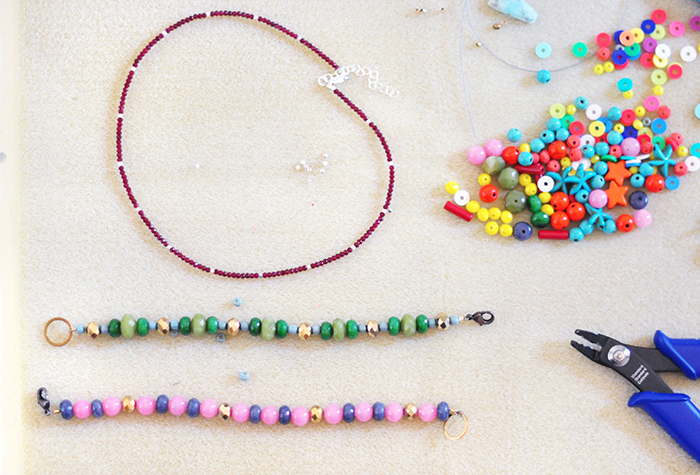
I made a similar bracelet in green tones and the ruby necklace with silver beads in between. I love the tiny stones in the necklace and think I’ll be wearing it often come Fall.
I really had fun with this little project and it motivated me to get creative… which is always a good thing.
F O L L O W // @madebysaskia on Instagram
…and, as always
Have Fun Lovecats!
* Find all my DIYS here