
The glitter nail polish I made last week has recently become a favorite. Yeah, I say that with each manicure I do, but this one has stayed on like nobody’s business, with very little chipping. I’m sure it has something to do with the fact that I used a base coat, but who knows.
About 4 days after I did my original manicure with my DIY glitter polish, I started seeing the edge of my bare nails peek out from the glitter. No chipping, but I had a little natural French manicure going on. So I decided to give eyeshadow a try, because so many nail polish DIYs use eyeshadow and I hadn’t tried it yet.
And it worked REALLY well, and added another fun texture to my nails. It’s been a week and I’m still wearing this manicure. It started pushing back as well, showing my bare tips about 4 days later, but still no actual chips.
Here’s What I Used…
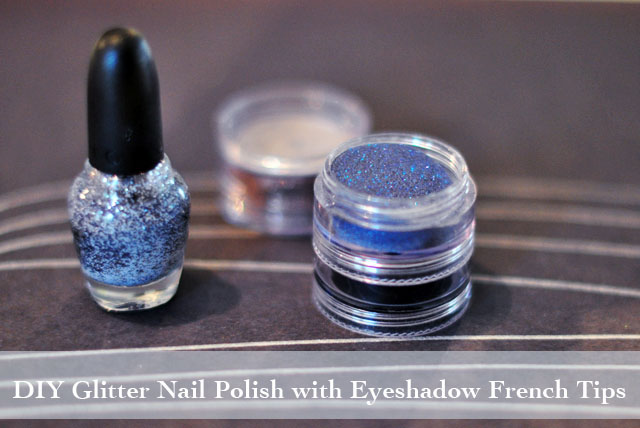
* My DIY glitter nail polish {any glitter polish or clear base coat will work}
* Loose {fine} glitter eyeshadow {mine is old, by Girlactik }
* Your favorite top coat {mine is Seche Vite}
Here’s How I Did It…
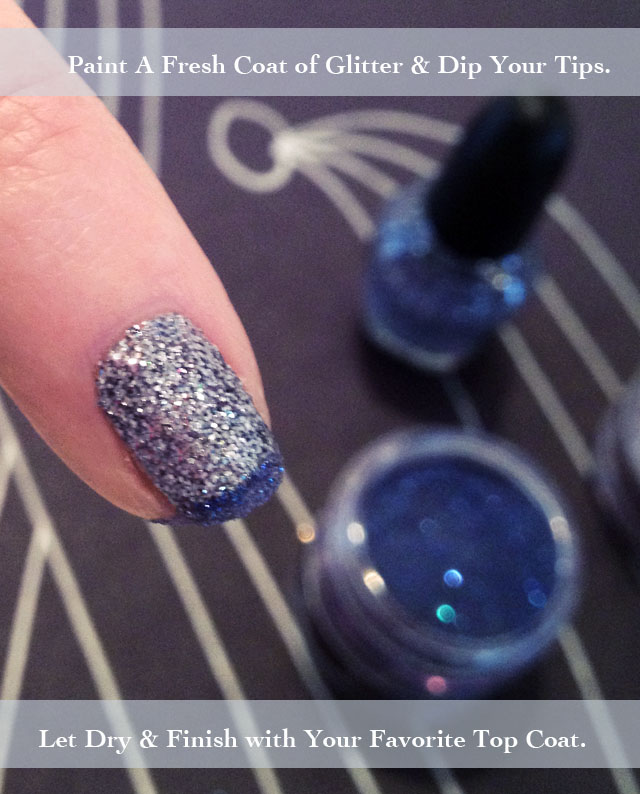
* Paint a fresh coat of glitter polish over what is already on your nails. {do one nail at a time}
* Carefully dip your tips into the shadow, and wipe away the excess from your skin.
* Let dry, add your top coat or another glitter coat and that’s it!
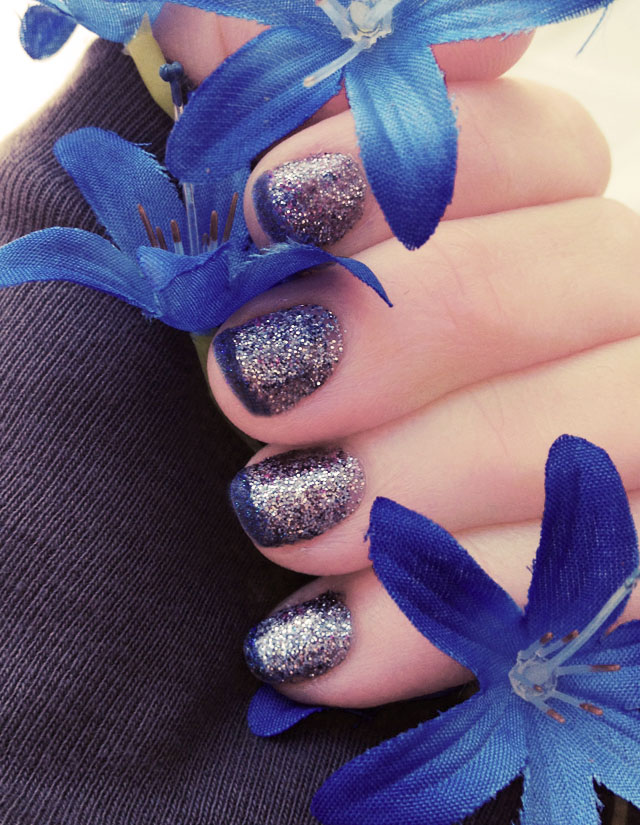
I ended up with the perfect tips because I didn’t have to hand-paint them or use stickers, I just dipped as much as I wanted. Obviously I don’t use this loose eyeshadow often {on my eyes}, if ever, which is why I had no problem dipping wet base coated nails into it, but it honestly didn’t leave an ounce of residue in the little pot. If you’re worried about it though, transfer it into something you can toss afterwards.
Voila… Voila!
Have Fun!
Find all my nail art tutorials here


