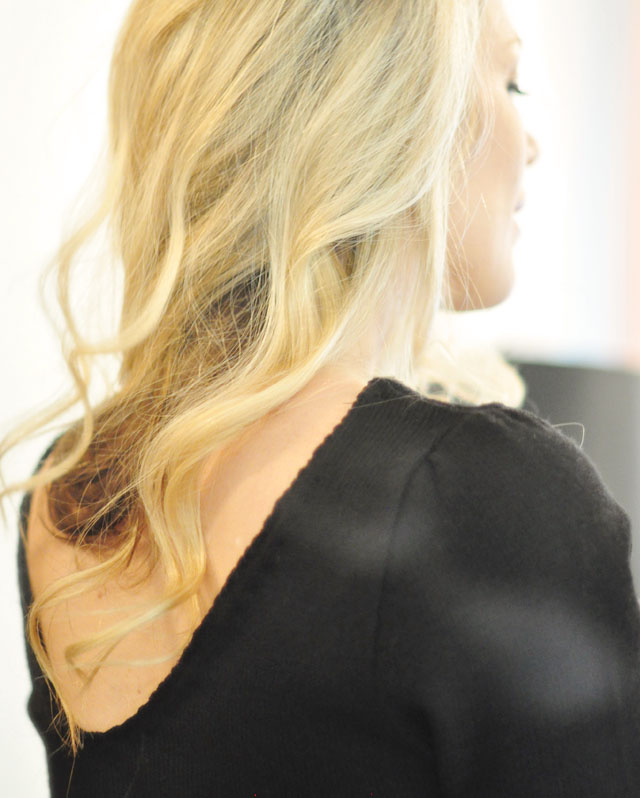
Well, I forgot to take a before shot of me wearing this sweater, but you can see in the photo below that it was a simple crew neck, and it was a big snug and uncomfortable, and though I’ve had it for ages, I’ve never worn it. But it’s vintage. And I usually have a little heart palpitation when I think about cutting into something vintage, but I had no choice. It would remain in my closet for decades unworn or I could cut new life into it. And now, of course, I just love it. It’s far prettier with this open back than it was before, AND I can still wear a bra with it.
You can also see it in the Pretty Punk Princess ~ DIY Black Floral Head Crown from last week.
Here’s How I Did It…
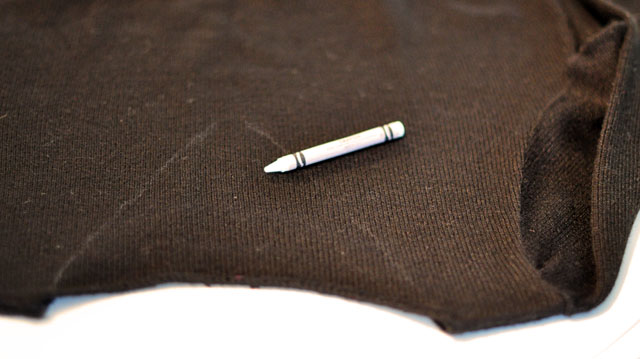
* Using a white crayon, pencil, or chalk, carefully draw a soft V in the back of your sweater beyond the shoulder seam. Make sure you do not cut the shoulder seam across the top at all.
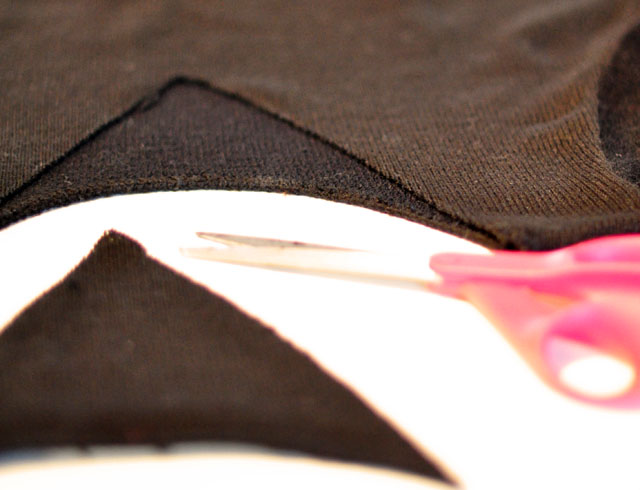
* With a sharp pair of scissors, cut along the INSIDE of your drawn line {or outside} whichever makes more sense to cut smaller than your drawn V and leave the white lines showing a bit.

* Thread your needle with matching thread and do an overhand hem stitch while rolling the edge in. Don’t do it so tightly that it gathers, stretch and lay your sweater flat before knotting your thread.
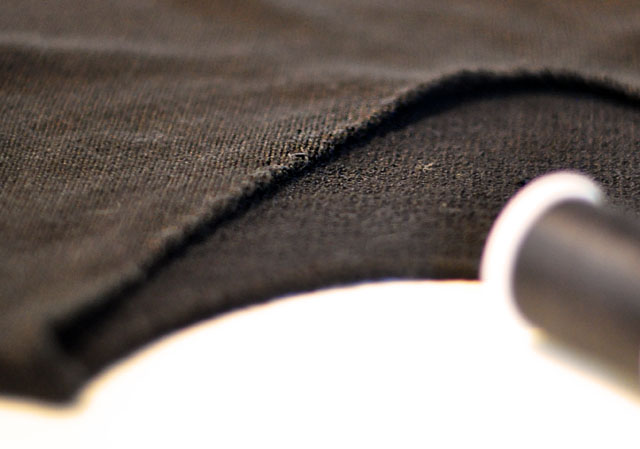
* It should look something like this.
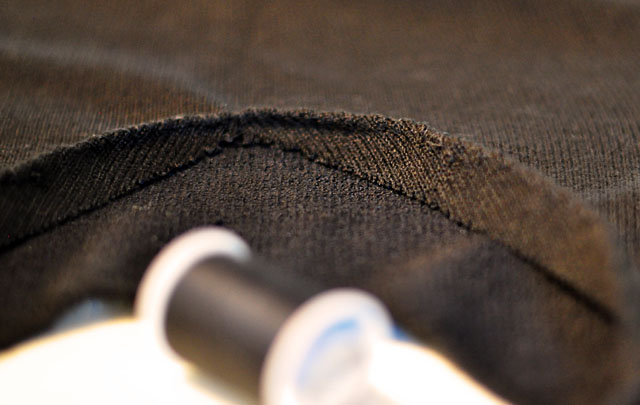
* You CAN trim this excess off, BUT a better option {to prevent any unraveling} is to fold the edge under and carefully blind stitch it to secure it down to your sweater and finish it properly. It will leave tiny pucker marks on the opposite or “right” side, but it’s okay, they sort of add to the romance and make it a bit more unique. {I like them anyway… you can see it in the photo below and if you look closely in all the photos.}
Voila… Voila!

It’s a fantastic way to update an old sweater and even make an unwearable one, totally wearable, and even prettier than its origins. If you stitch it right, you shouldn’t have any issues washing it, but just to be safe hand wash OR machine wash in cold and lay flat or line dry.
Have Fun
* Find all my DIYs here

