Read This…
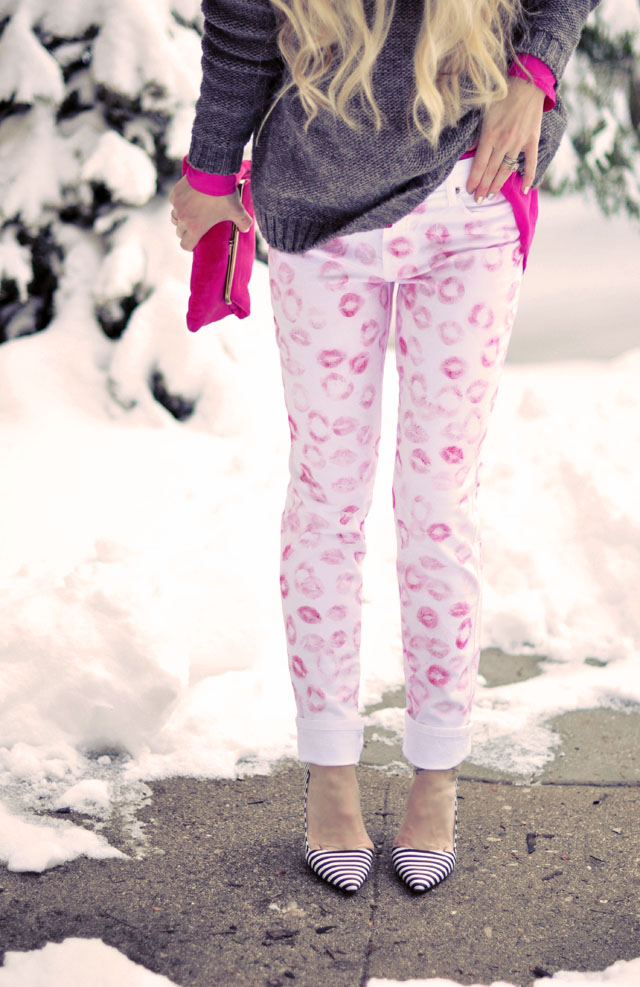
When I saw Erin Fetherston’s Sealed with a Kiss Collection for Spring/Summer 2013, more specifically, the kiss print Patricia Pant {sold for $195} I HAD TO MAKE A PAIR! They are just so cute I can’t stand it, and just in time for Valentine’s Day!
Because I am an impatient creature and have an insatiable NEED TO DO IT NOW attitude, AND because I had an extra pair of white pants lying around, AND because I know that lipstick stains are almost impossible to remove from clothing, I used lipstick and my very own lips to create this print. DISCLAIMER: I haven’t washed them yet, so even though I rubbed the lip stain in with a cloth, I would not trust sitting down in them in fear that I would leave a little path of kisses behind me {as cute as that sounds}. HOWEVER, I still think that when I wash them, the lips will remain planted smack all over my pants. But FIRST I will seal the lip stain using this method AND When I do finally wash them, I will update this post and let you know.
IF you would like to do this project and NOT worry about leaving lipstick stains everywhere or just don’t trust your pucker, then you should buy this Kisses STAMPS set of 21 for $6.99 … AND … VersaCraft Ink Pads for fabric for $10.10 {in pinks and reds!} and create an everlasting print of your own {though I’d still use the method linked above for setting the stain before washing them with the rest of your clothes}
What You’ll Need…
{SEE ABOVE FOR AN ALTERNATIVE TO LIPSTICK}
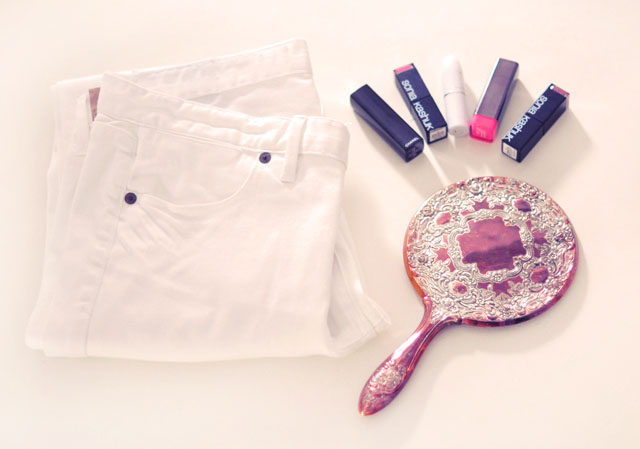
* White pants or jeans… mine are Jigsaw London Green Label white twill jeans {though it doesn’t look like they carry white anymore} Any white jeans or pants will do. These are a very light weight and may be a bit easier to work with. BUT if you use the stamp/ink set listed above instead, a heavier denim will be better & don’t forget to insert cardboard inside the legs so the ink won’t bleed through to the other side.
* Bright Red and Pink Lipsticks {or maybe blues, plums, and black? fun}. I used mainly Sonia Kashuk Luxe Lip ~ Classic Red and Sonia Kashuk Luxe Lip ~ Pink Punch
* Small mirror for easy application
* A clean cloth or rag
* Tissue paper, large packing paper, etc.
* CLICK HERE for details on setting your print for good
Steps…
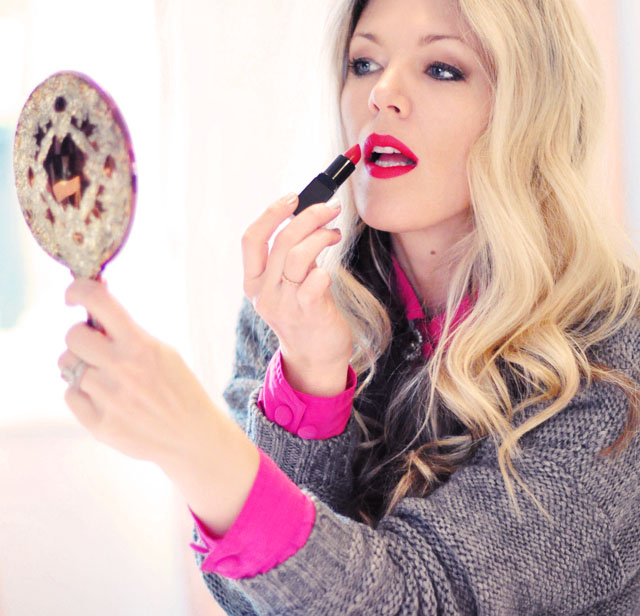
* Apply a GENEROUS amount of lipstick to your pout.
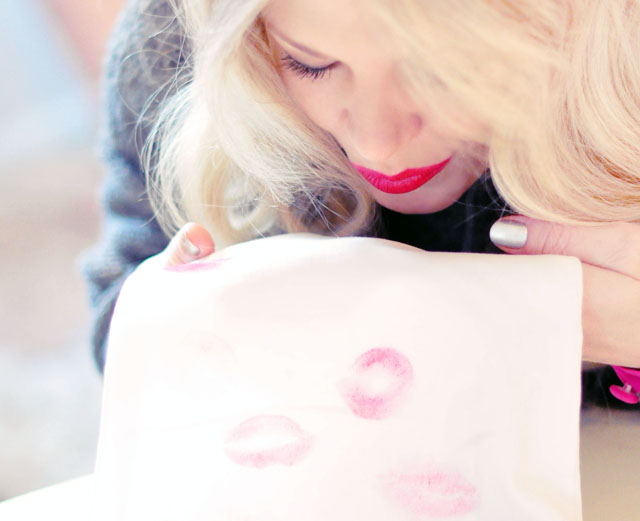
* Pucker up and Start Kissing! And really press those lips into your fabric! I would get one good dark print, then about 3-4 lighter ones. This made for nice texturing.
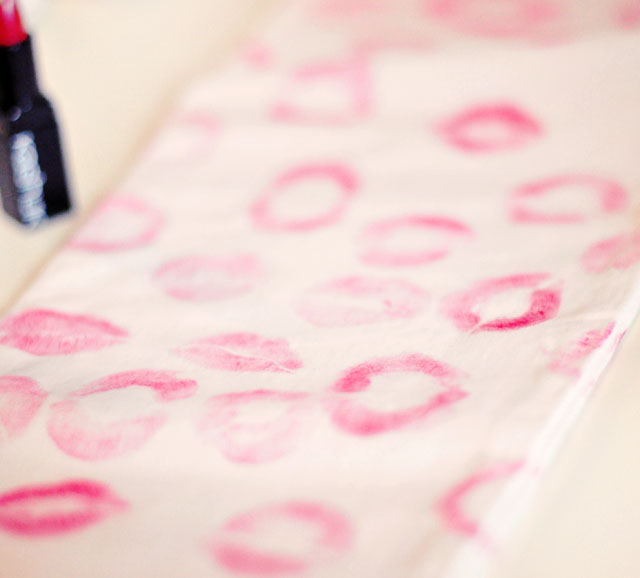
* You want a variety of different lip prints so experiment with open and closed-mouth kisses! When your lips run dry, just reapply your lipstick right over the last and start kissing again. I alternated red then pink, red then pink just reapplying over the last color.
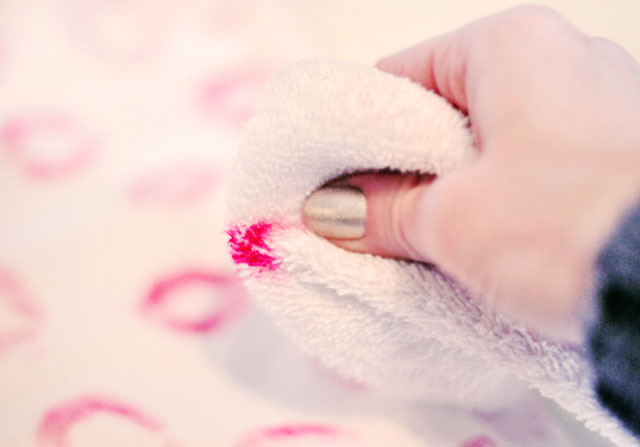
* When one entire side is complete with kisses, take your clean cloth and carefully just blend your lip prints, while pressing in, setting the stain. This smudges the lips a little and leaves a bit of pink shadowing in the background, which I really liked verses a hard-edged kiss print. Obviously if you use the ink/stamps, you’ll get more perfectly angled lip prints.
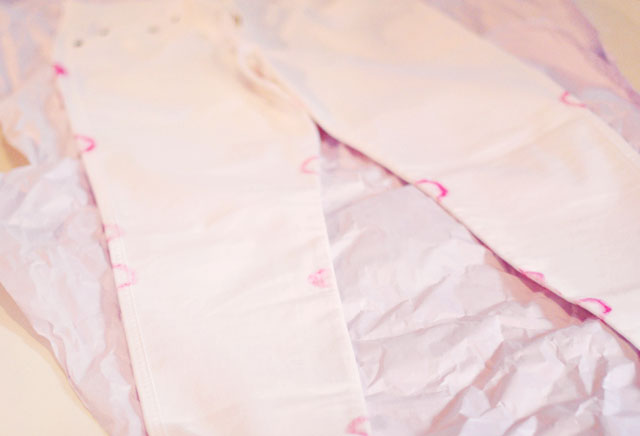
* Don’t forget your sides! I began in the back and did the sides as I went. Once I finished kissing the entire backside ;), I slid my tissue paper underneath so as not to mark up my workspace or smudge the prints any more than I wanted to… then begin kissing the opposite side.
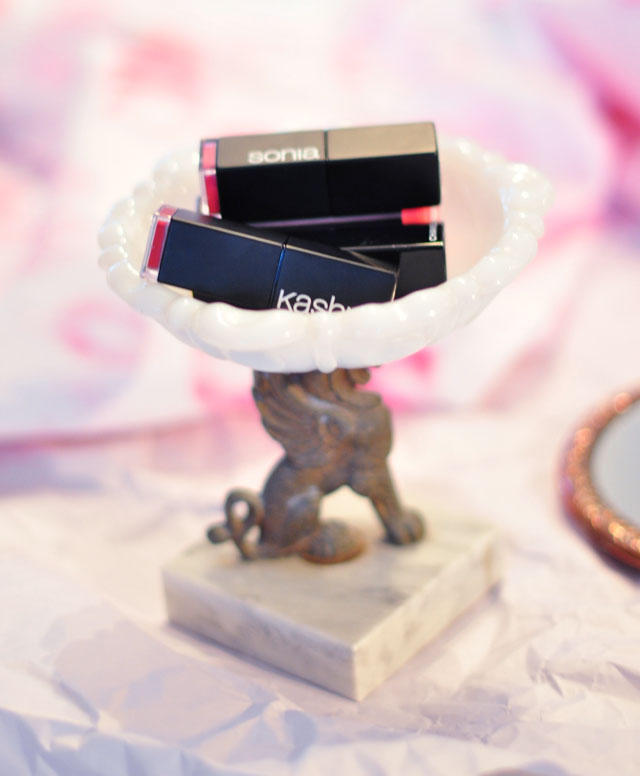
* I began with all of my bright lip hues, but ended up using only these two by Sonia Kashuk.
Voila… Voila!
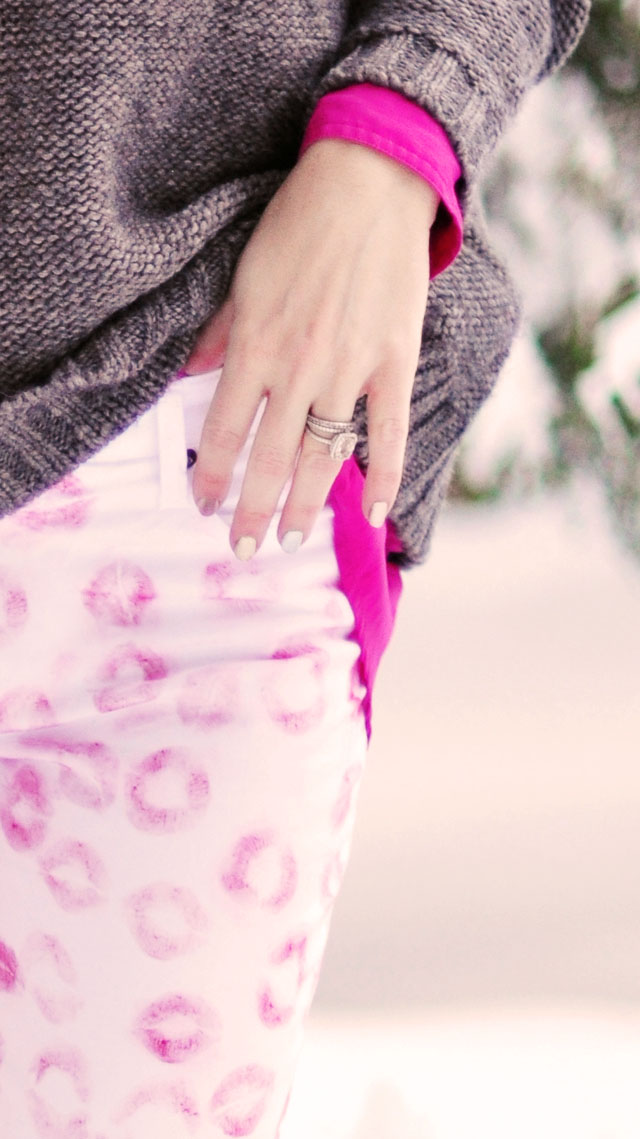

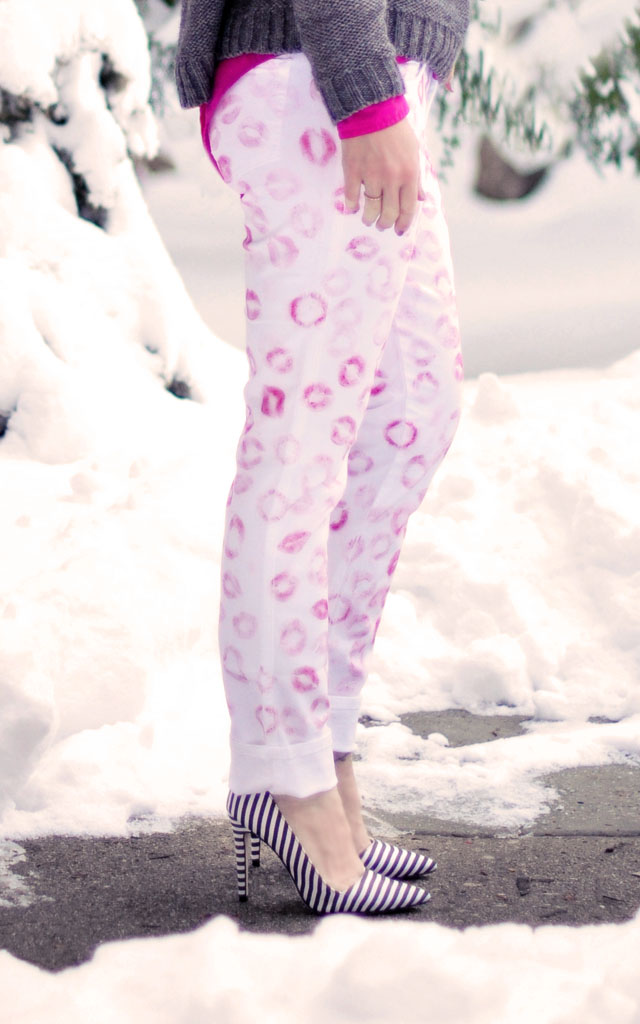
Find more outfit details here: I’ve Been Kissed by A Rose on the Gray
See me wearing outfits with these white twill pants prior to kisses here, here, and here
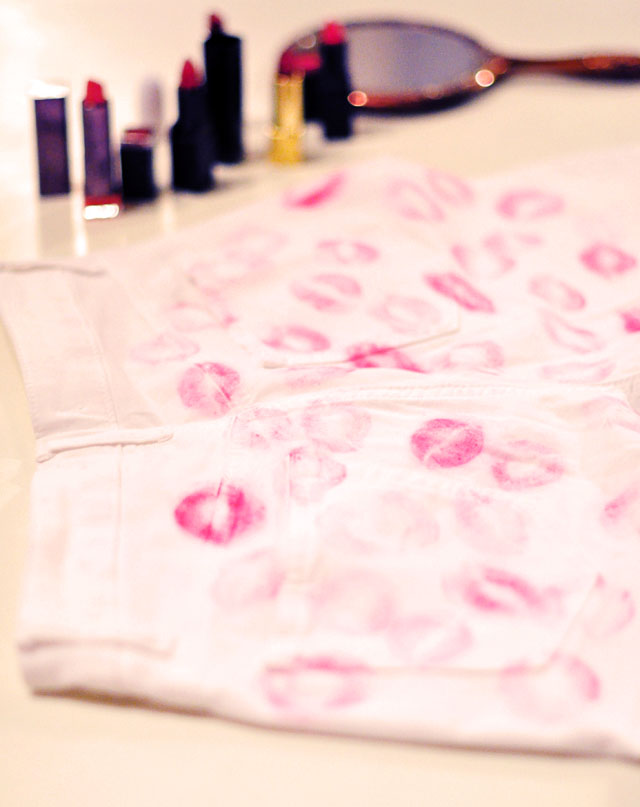

Happy Kissing, Lovecats!
See all my other Valentine’s Day posts here
Find all my DIYs here.
* FACEBOOK * TWITTER * BLOGLOVIN’ * PINTEREST *

