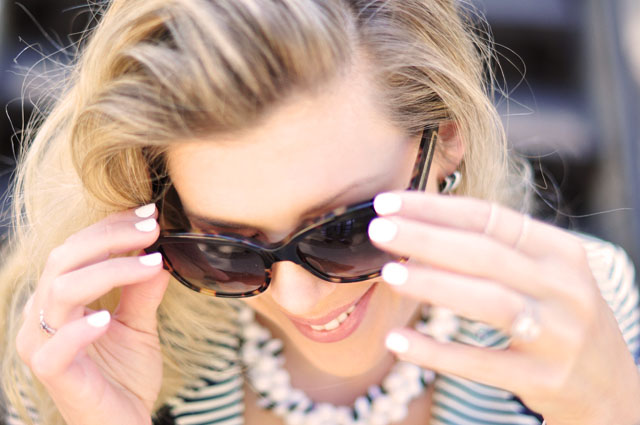
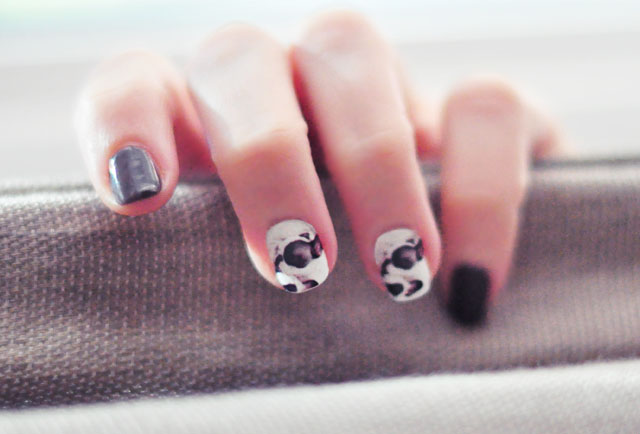
For obvious reasons, I fell instantly in love with the new MyNCLA app where you can customize your own nail wraps with photos right on your phone, and I did just that. You can read through my recent post where I demonstrated a step by step of the process using the app that you quickly tap through to create your own personalized nail stickers, and these are my custom Trevor and Randy nail wraps and of course, I’m in love.
I ordered them the day I posted about them last week, received an immediate email and the wraps were delivered within three days!
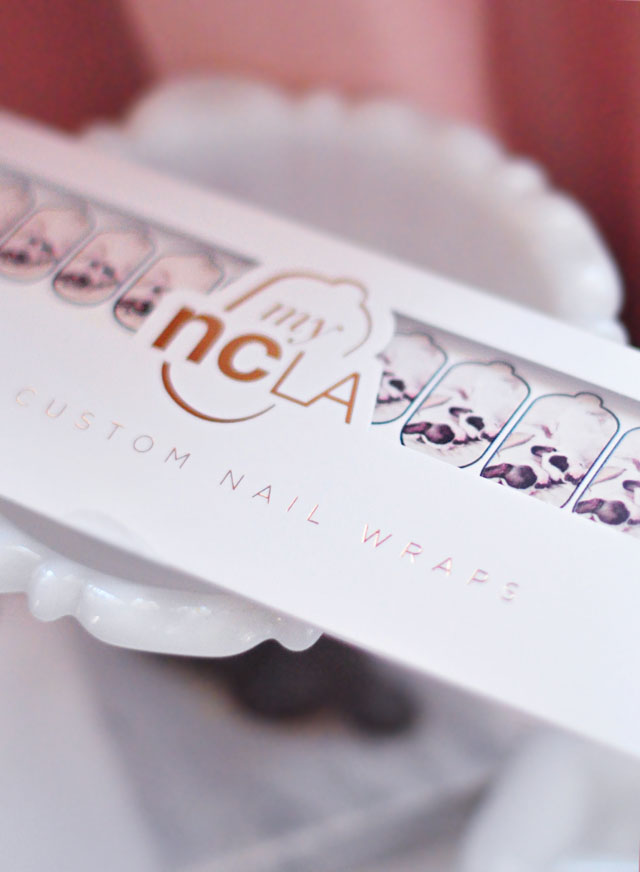
Due to the size of the nail wraps, I should have probably used only one doggy head, but the two cuddling were so cute I had to try it out. Since you place the curved edge along your cuticle, opt for a design that begins closest to that edge -though leave about 1/16 of an inch allowance around all of the edges or your design will get cut off a little.
I was a bit worried about the quality of the wraps too, but they’re great. Unfortunately I worried they’d be too thick like Jamberry nail stickers, and that you’d have to heat them up and cut the edges, but that’s not the case. These are much thinner and you can easily file off the edges smoothly. I don’t really want it to look like I have actual stickers on my nails… I want them to be seamless and look like nail art. And these do.
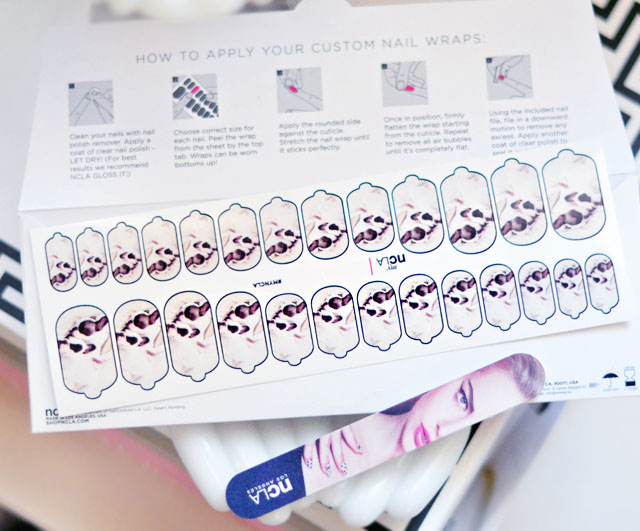
When they arrived and I looked at the sizes of the wraps, I thought they were HUGE… but as I tried them on, I ended up using the largest one available for my thumb and sizing down for my fingers from somewhere in the middle. Being that I think I have TINY nails, I thought that maybe they needed an even larger nail for people who have larger thumb nails.
Overall, I’m totally impressed and will 100% order custom nail wraps again because SO MUCH FUN! How cute would it be for a wedding or bachelorette party? Even if you just use one of the wraps for an accent nail and share the rest with the bridal party, etc. CUTE.
* Download the MyNCLA nail app for free here.
* Check out my step by step how-to order post here.
NOTE: this is NOT a sponsored post.
Here’s What I Used…
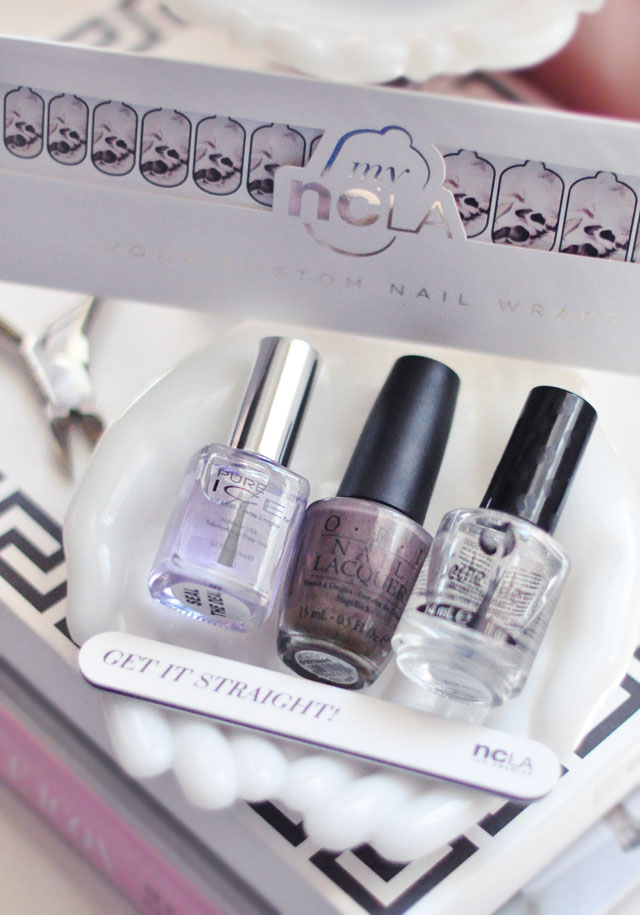
* Clear base coat with a lavender tint ‘Seal the Deal’ by Pure Ice
* OPI ‘You Don’t Know Jacques‘ matched the doggy spots perfectly
* Seche Vite top coat for quick drying
Since I didn’t want to use up all my wraps in one manicure, I decided to do three nails per hand and paint the other two in a matching hue. The directions on the package say to paint your nails with a clear coat first and then use a clear coat to seal it as well.
* NOTE: I never use a base coat when I paint my nails only a top/quick-dry coat, but I actually LOVED the way my polish went on over it. It made it much easier to stay in the lines and not get the polish in my cuticle and is a step I’ll be adding to all my manicures from now on. Obviously I was just being lazy before 😉
And… Voila!

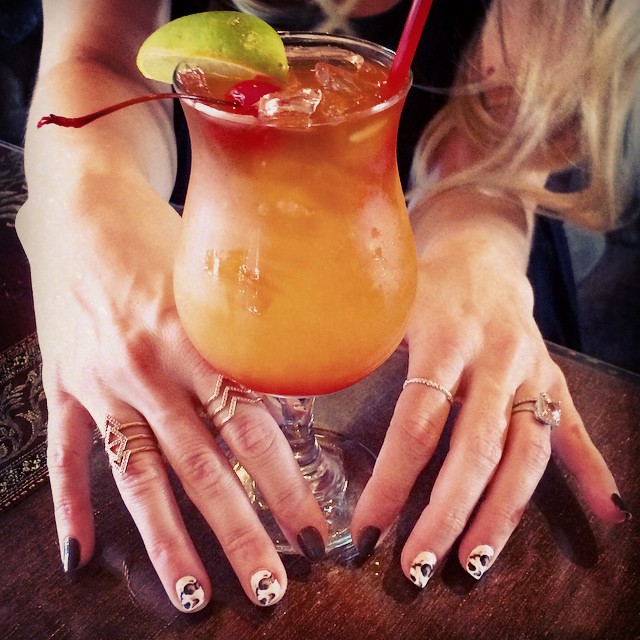
At dinner last night via Instagram… wedding ring info // stella and dot rings
Have Fun!
* Find all my nail art tutorials & manicures here
* Find out about custom nail wraps by MyNCLA

