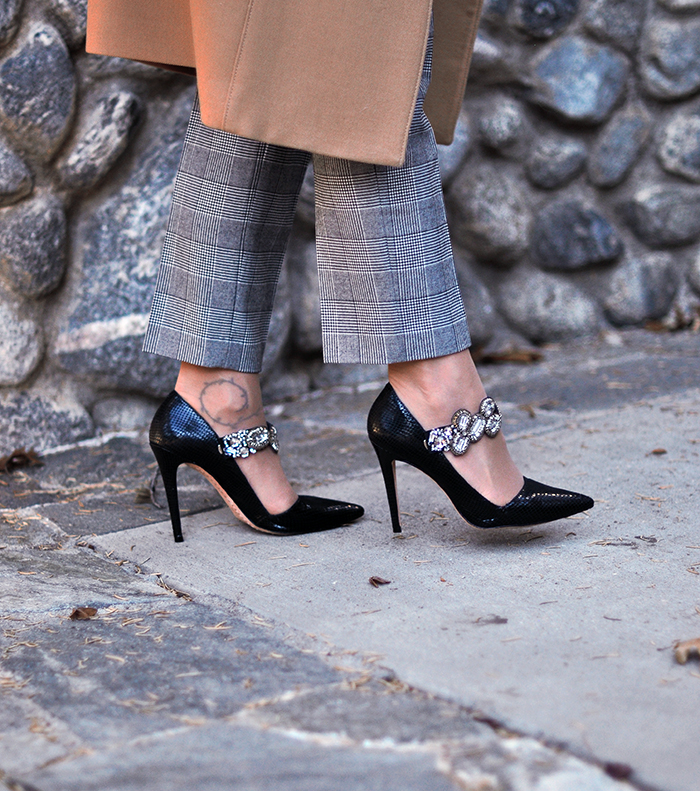
While I was on Pinterest one night last week, I found these adorable lace socklets and thought, obviously, I can totally make those! And so can you! I’m not sure if you remember, but last year I found these by a company called Kushyfoot with padding under the ball of the foot to make wearing heels more comfortable. They absolutely work, by the way, as well as add a little extra padding to a shoe or boot that’s a bit too big. I love them. But also, they worked swimmingly with this project… which is très easy. So I made two different pairs, in two very different styles.
What you’ll need…
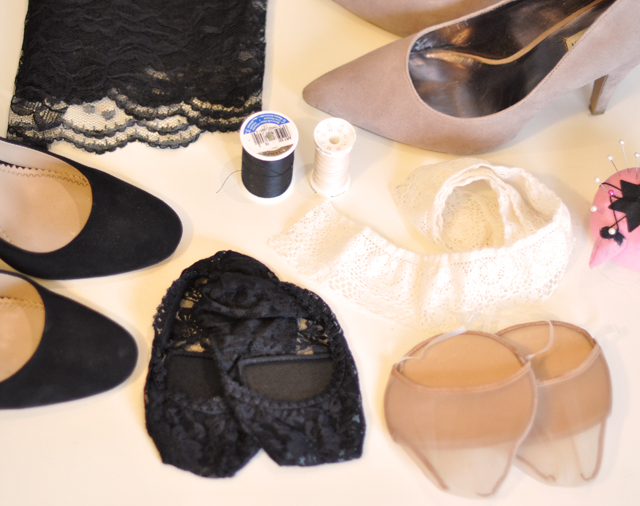
* Kushyfoot covers in nude and/or Kushyfoot covers in black or white lace {or anything similar – also called foot liners and also a toeless version if you want to preserve your peeps}
* Lace fabric or trim {trim will stand up, fabric will lay flat}
* Matching thread and needle
* Scissors
* Pins
* NOTE: these will look adorable with flats as well.
Steps…
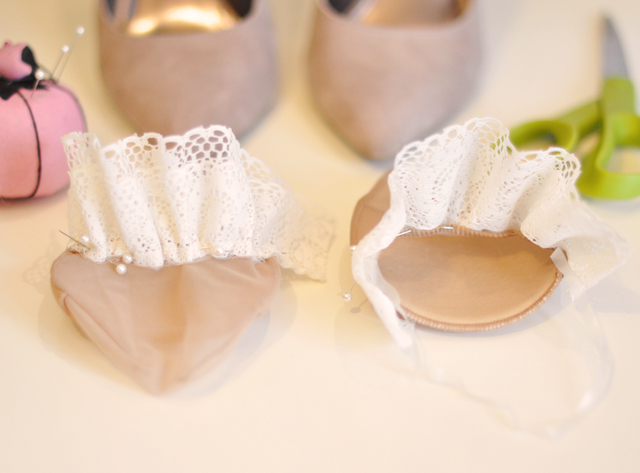
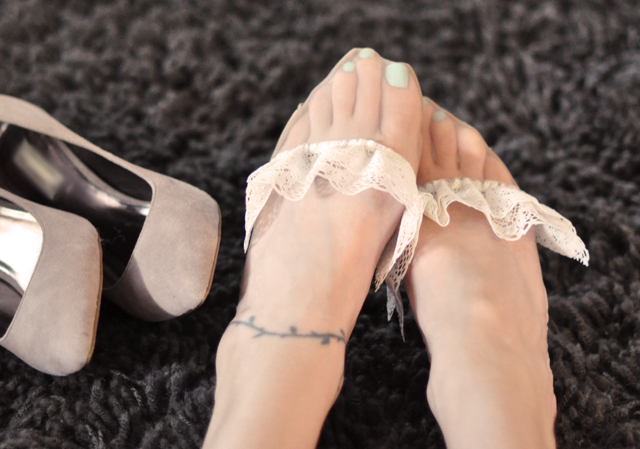
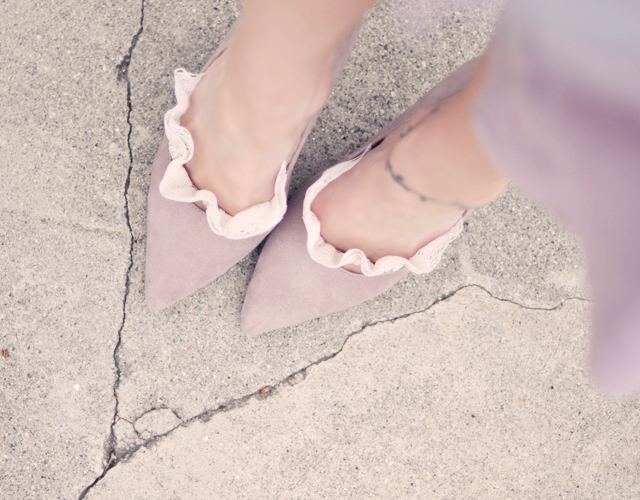
* Carefully pin your ivory lace trim from edge to edge, gathering it {or pinching it} in sections to make it pucker, then simply run a hem stitch along the inside. The gathering and hem stitch will allow for some stretch.
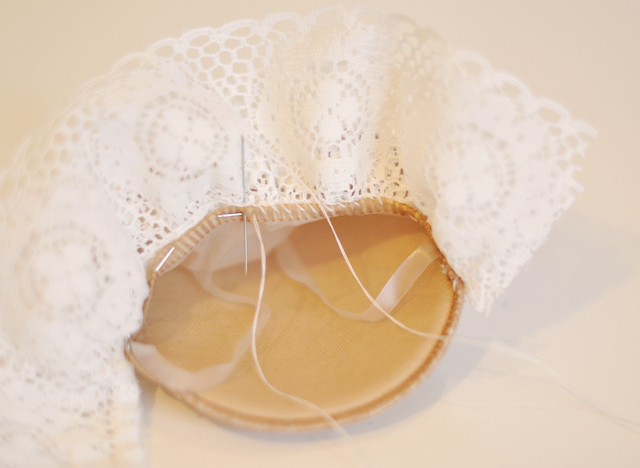
And… Voila!
Steps for the second look…
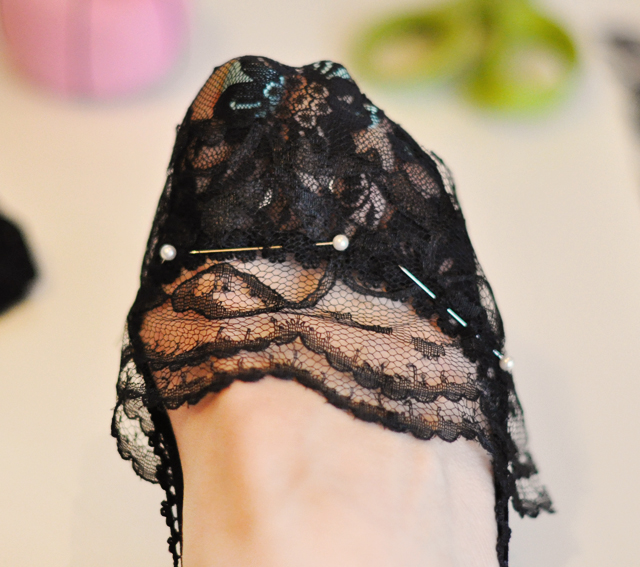
* Try on your lace socklets and with the pretty scalloped edge up, CAREFULLY pin your lace to the elastic area. You’ll want it to lie as flat as possible, so you may have to angle it. Try on your shoe to determine how much lace you’d like to show.
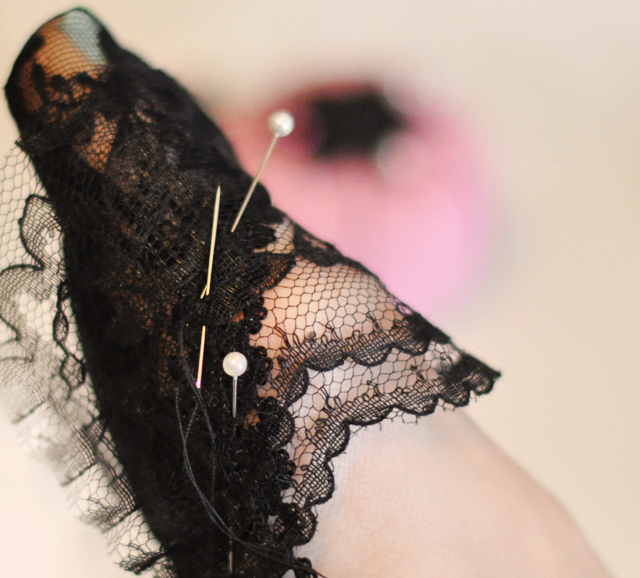
* Using a running stitch, with the small stitches on top and longer stitches underneath, CAREFULLY hand stitch your lace to the elastic area of your socklet, while it’s STILL ON YOUR FOOT.
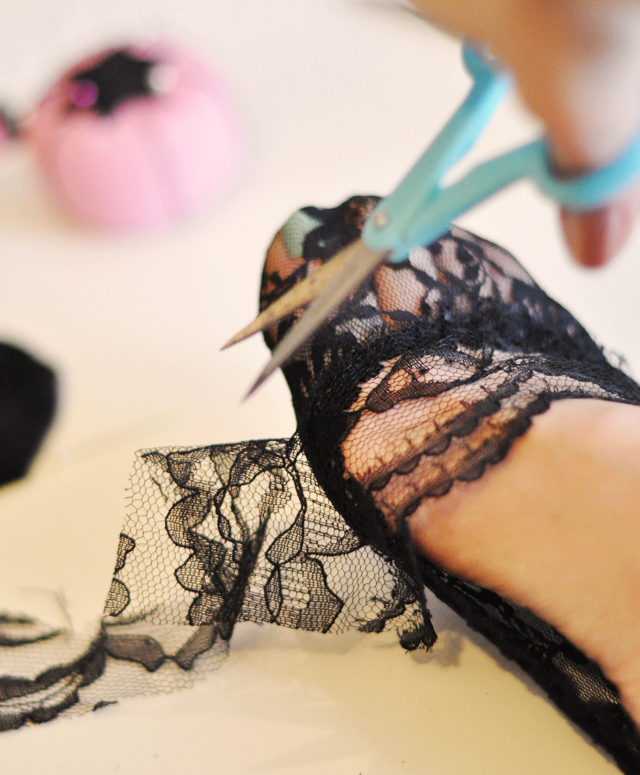
* CAREFULLY trim away your excess lace, again, keeping your socklet on.
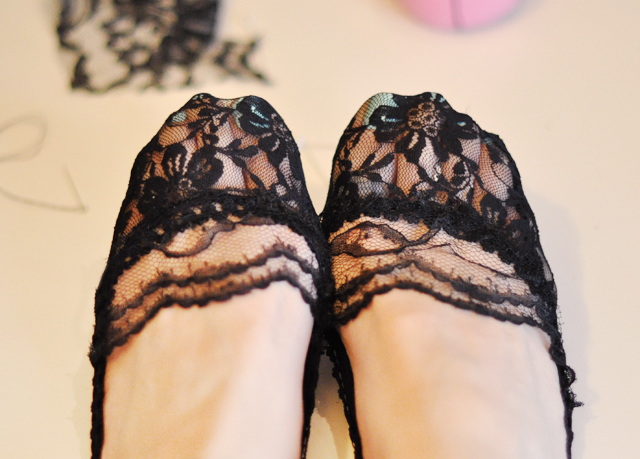
And… Voila!
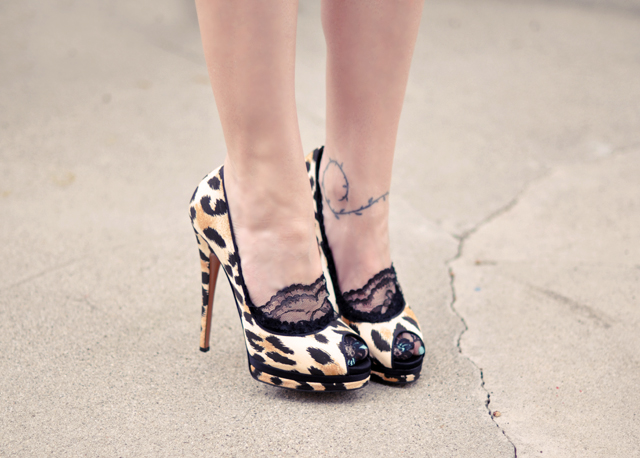
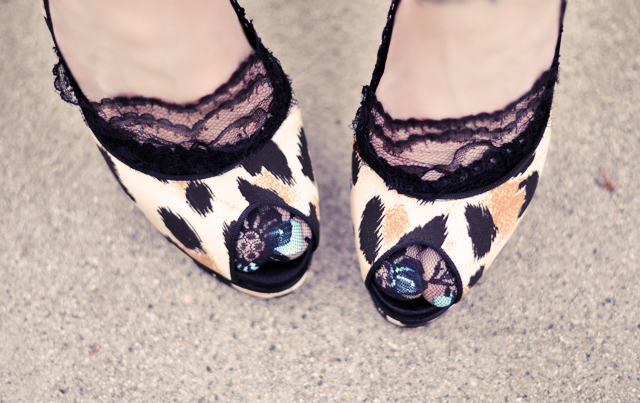
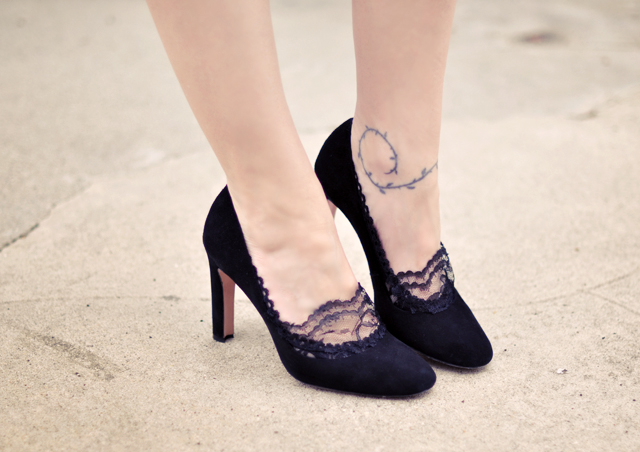
Have Fun!
* Find all my DIYs here!

