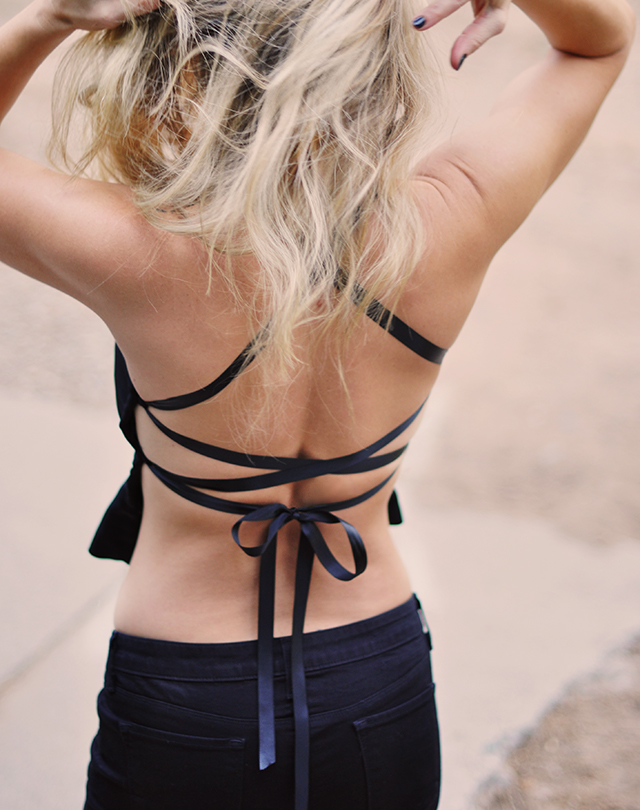
Okay, who remembers the early 2000’s? Let’s just start there 🙂
If you were at least say, 15 years old at the time, you might remember these tops, which were merely a piece of fabric in the front and laced up the back. They’re borderline apron tops really… I had a few that were fitted in the front and a metallic one that draped and barely covered anything. They were fun… and I feel them a’comin’ back.
While flipping through September Vogue last week, I noticed this sort of shield version by Vera Wang {see below} and knew I had a top that would be perfect to cut up and create something similar with. It came as part of a three piece suit situation with this vintage beaded lapel blazer, but was too big and I never wore it anyway, so to make something new from it was a no-brainer.
It’s got a bit of structure, and that definitely made it easier to work with, but any similar tank will work. So look through your closet and get to refashioning.
Inspo…
 Vera Wang Fall 2016
Here’s What You’ll Need…
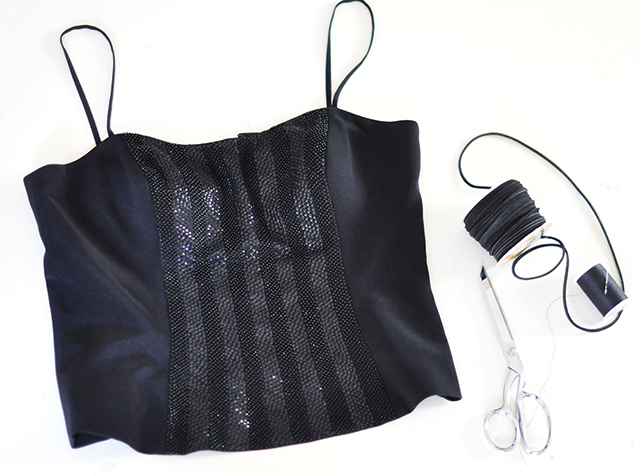
* Spaghetti strap tank top with more weight than cotton… you can obviously make this from scratch if you’ve got the skills.
* Ribbon, rope, or leather lacing {I was going to use leather but I ended up wanting a thicker strap look, so I used satin ribbon. Grosgrain would work a bit better though.}
* Matching thread / needle / scissors
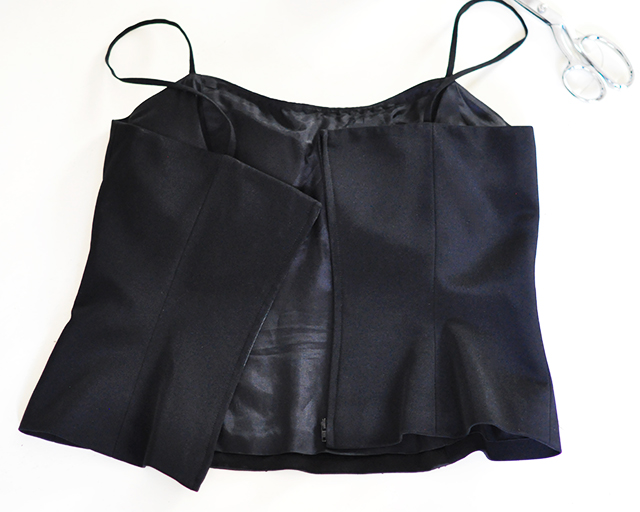
My tank is lined with a zipper up the back and I can’t tell if it’s got boning in the front, but the beadwork definitely makes it sturdier.
Steps…
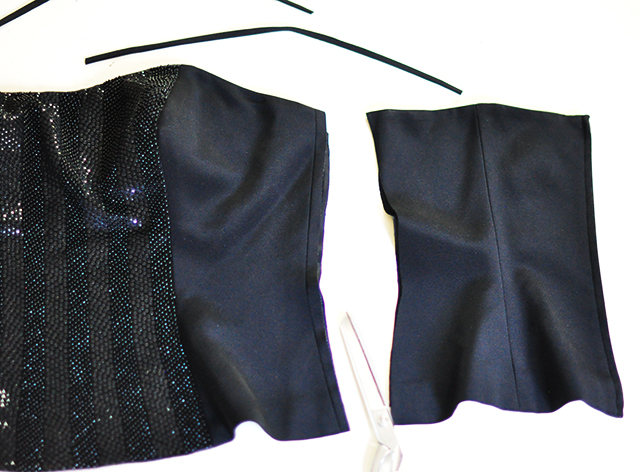
Carefully cut the straps off as close to the seam as possible and set them aside… you will use them later.
Cut your tank about 1/4″ past the side seam.
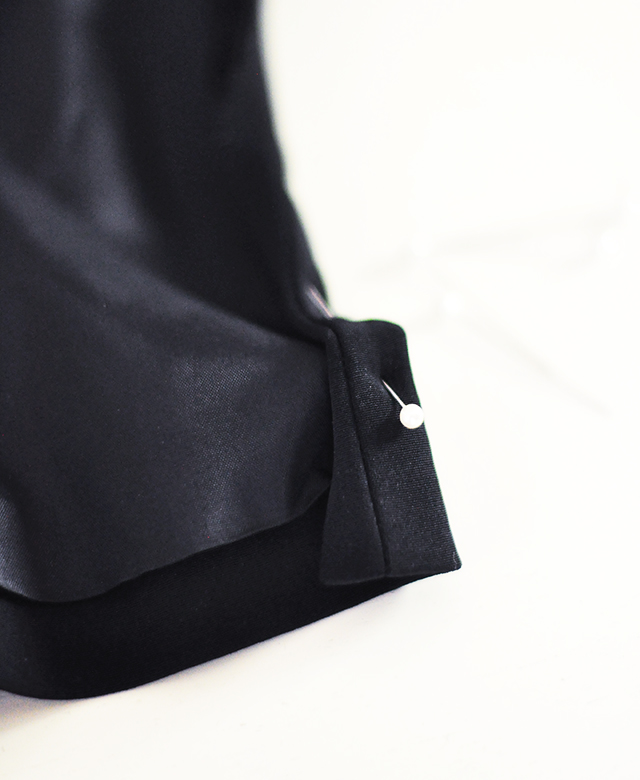
Fold it in twice and pin it in place…
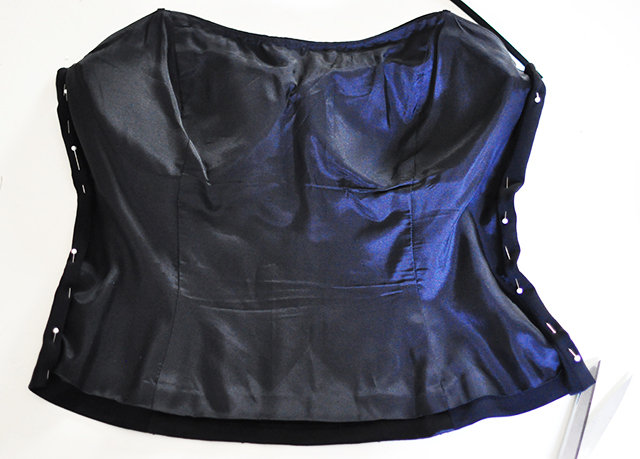
It will look something like this.
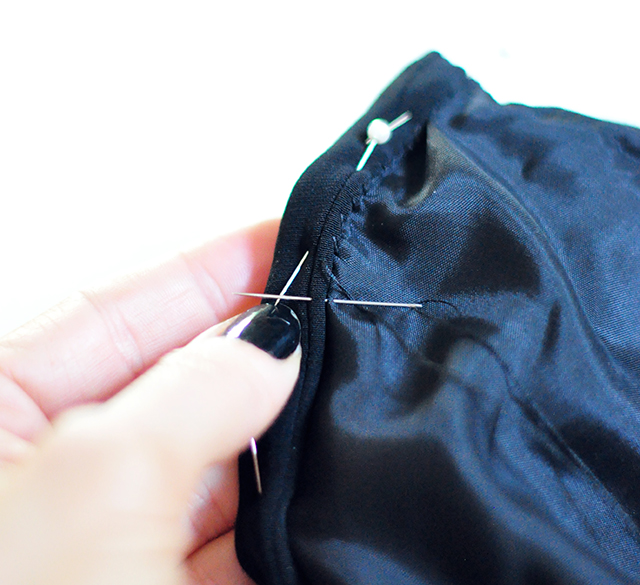
Carefully hand stitch your new side “hem” making sure it doesn’t pucker in the front… I have a few puckers in mine, sometimes it just can’t be helped, but black disguises it well.
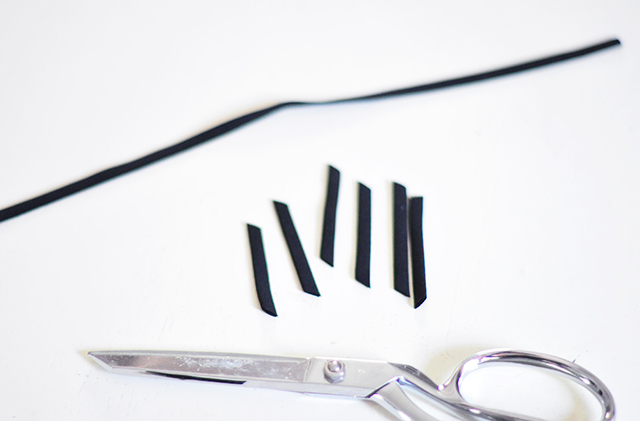
Grab your straps and cut 4-6 strips about 1-1/2-2″ long each.
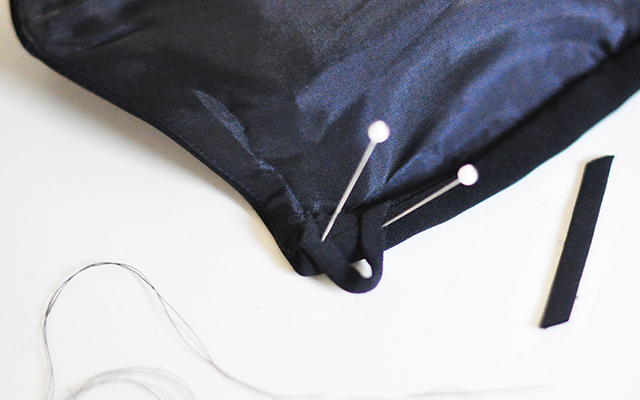
Create a “loop” with them and stitch them to the very top/side of your new hem {on the back side, obviously}
Fold your top in half to make sure they line up while you’re stitching them on. If your fabric frays, use a fray adhesive or cut them longer and fold them under while stitching them in place.
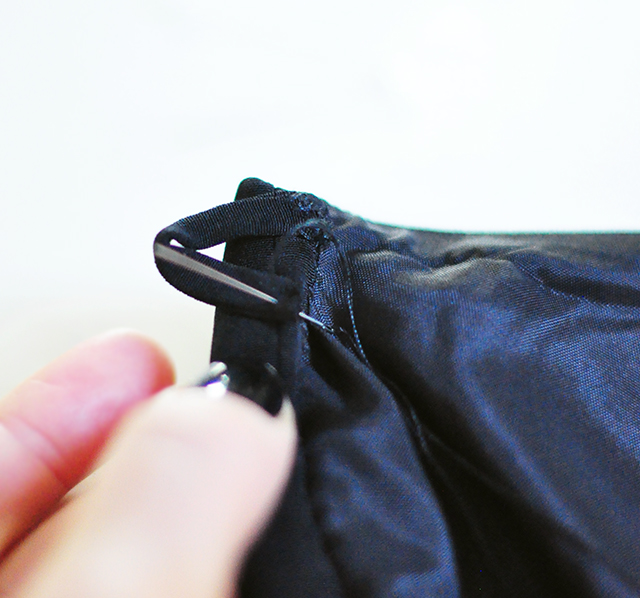
I originally stitched three loops on each side, but when I tried it on, it looked better just using the top two, so I removed the bottom one.
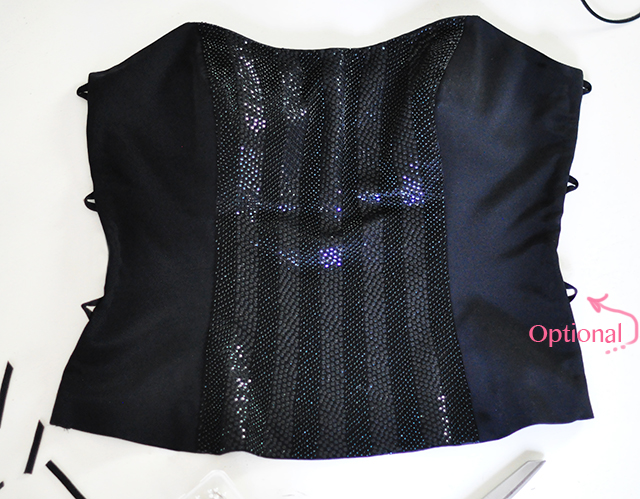
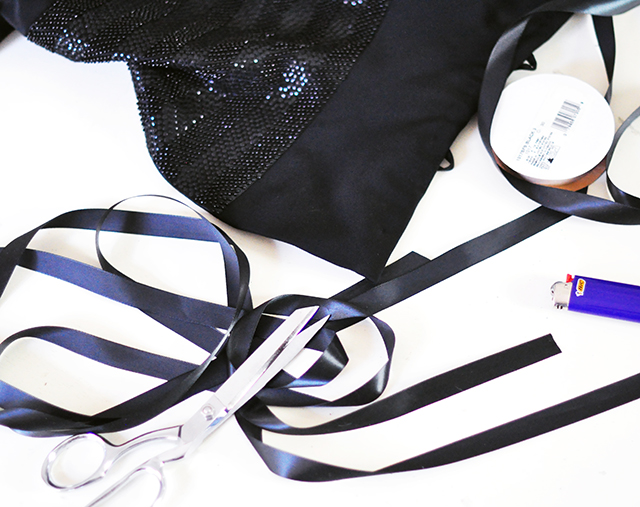
Grab your lacing of choice, cut two pieces between 40-50″ long {you can always cut away, but you can’t add} and…
Stitch one of each of the ends to the spot where the original straps were… If using ribbon, begin as shown, then fold your ribbon over and stitch in place to finish it off making sure you don’t stitch through the front of your tank.
Don’t forget to singe the edges if you’re using ribbon so it won’t fray.
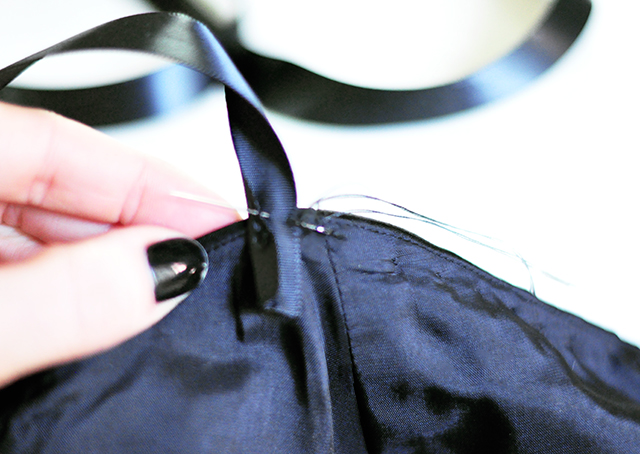
Run your laces through your loops and that’s it!
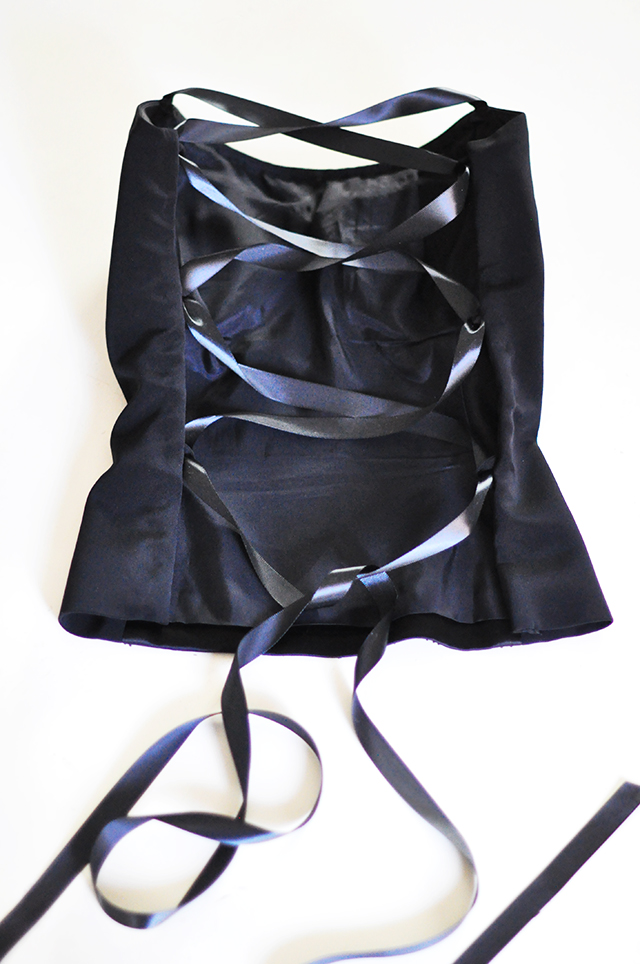
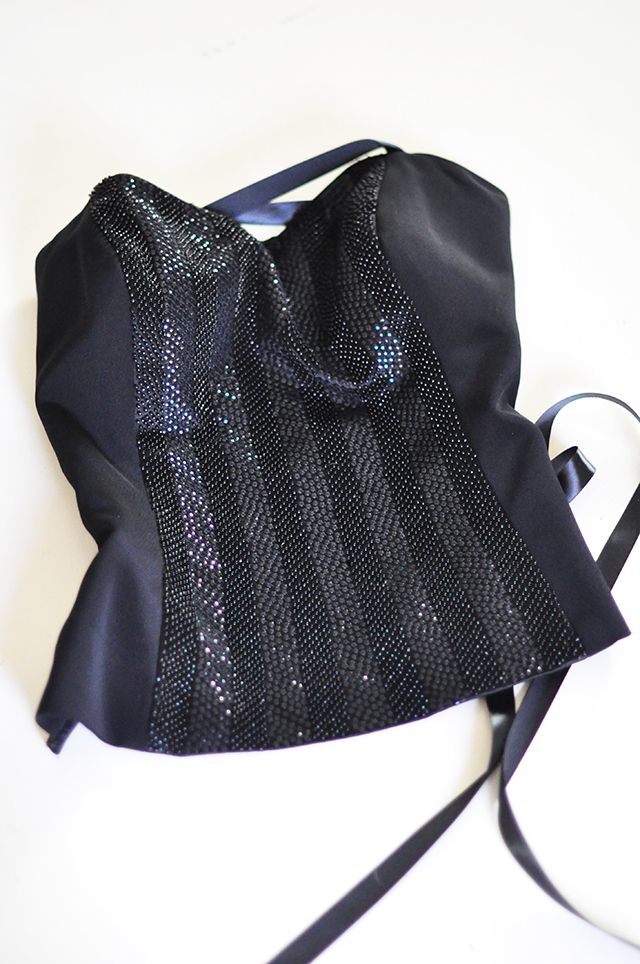
And… Voila!
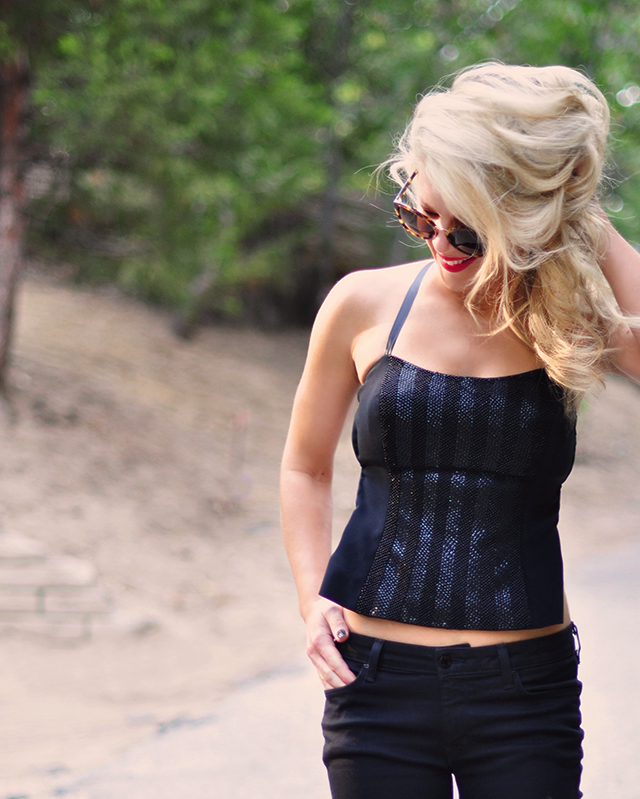
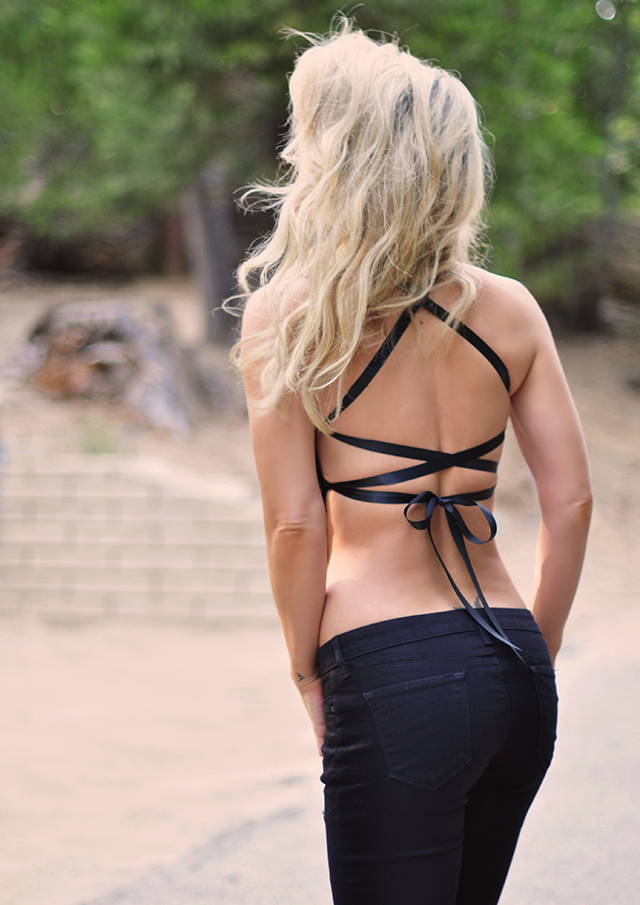

I folded the side/bottom edges under here for more of the Vera Wang shield look… I can’t decide how I like it better… but if you prefer this look, carefully fold in your edges while you’re wearing it so you like the way it looks, and stitch in place. You can also trim away the fabric if it’s too thick
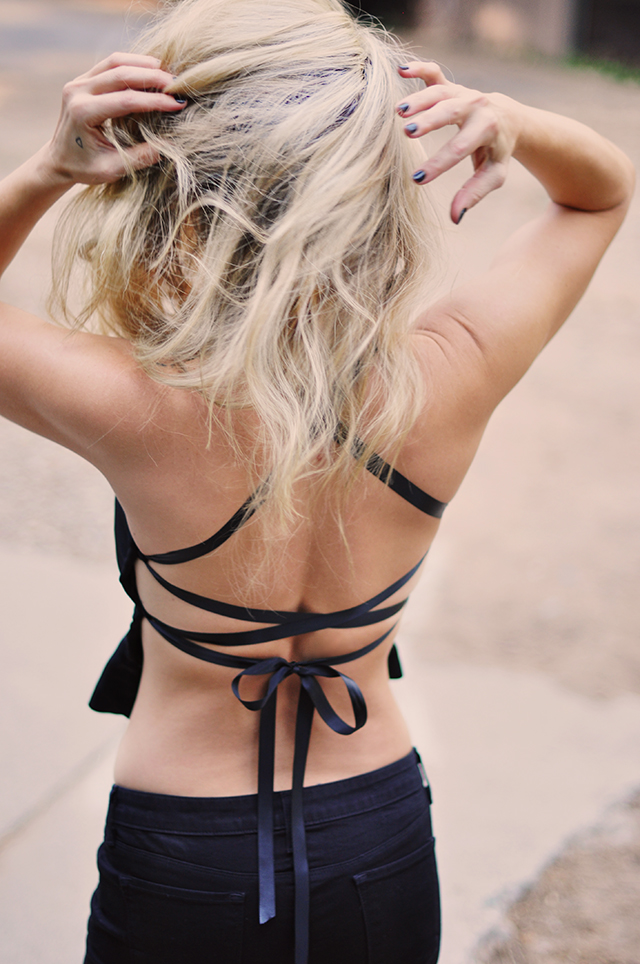
Have Fun!
* Find all my DIYs here


