So I’m still rockin’ the iPhone 5s and a few months ago {or more} I bought this clear phone case with an hilariously gaudy rhinestone peacock stuck on the back of it because it was the only case {in my local vicinity} that was clear and I thought I’d ultimately rip off the rhinestones and DIY it into something else. Annnnnd then I sort of liked the gaudy peacock and loved the weight of having it in my hand, so I’ve been using it unapologetically since August, though I have been made fun of by more than one person while using said phone case, but I stood by it.
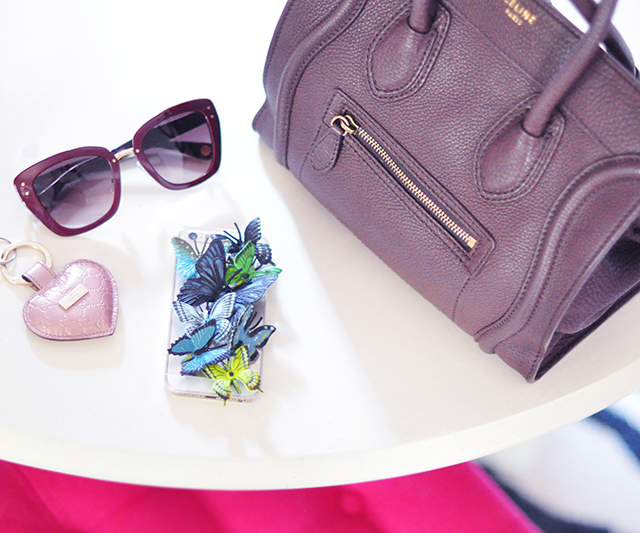
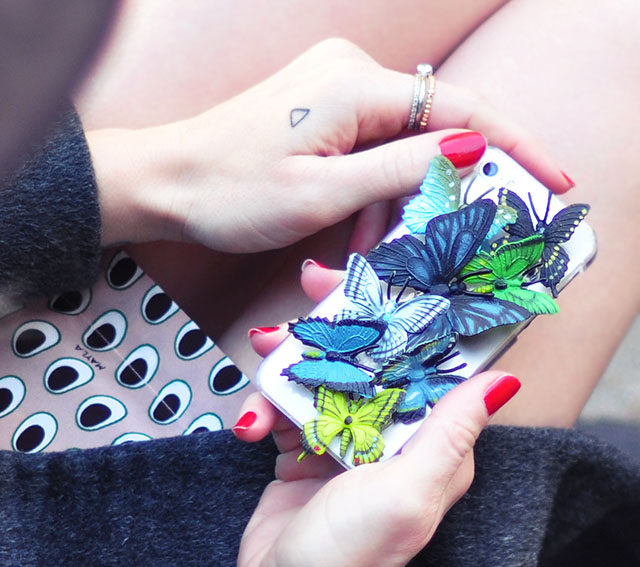
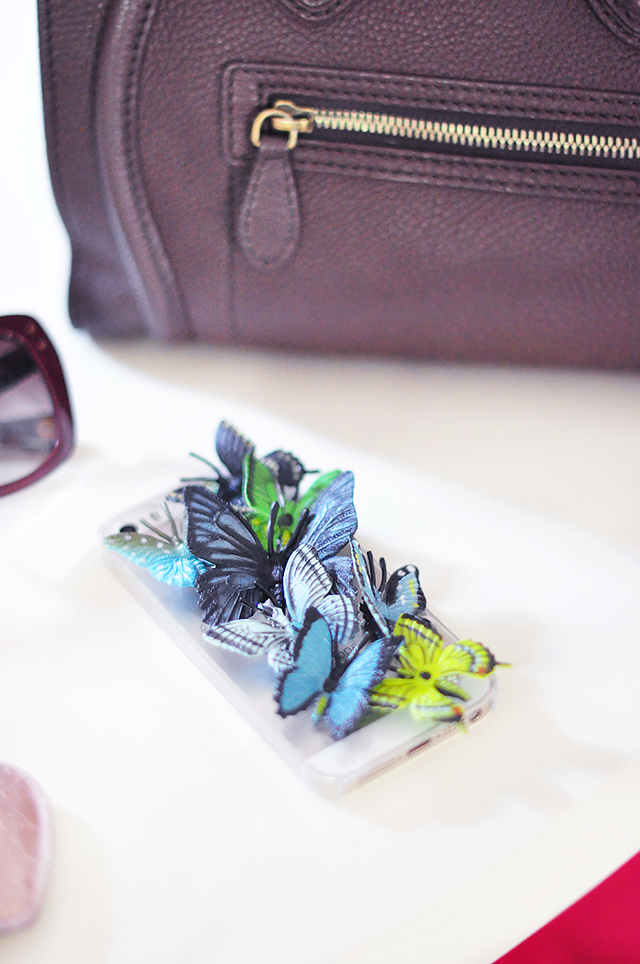
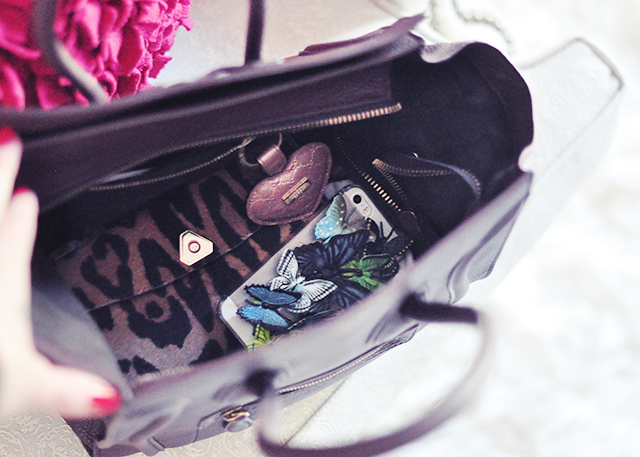
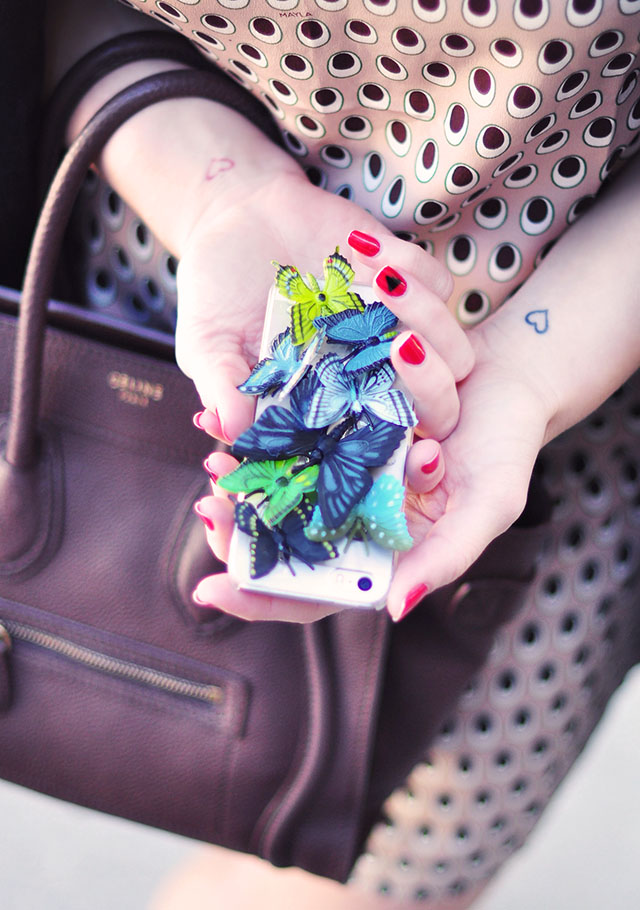
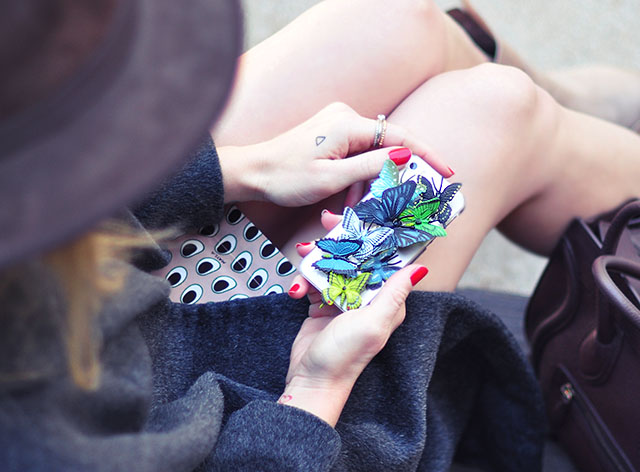
Finally though, I had had enough and with a butter knife, slowly wedged the peacock and rhinestones from the case, leaving it clear, though a bit scratched up, and using it as is on my phone. But a few days later, I missed the bulkiness and weight from the peacock and had this idea to create a 3D butterfly case instead. I’ve been using it for a little over a week now, and I really love it. The only downsides to it are the plastic butterflies are a bit pokey on my palm when holding it for long periods, but not in a way that would make me stop using it, AND it gets caught on knits. Other than that, I’m in love.
Here’s What You’ll Need…
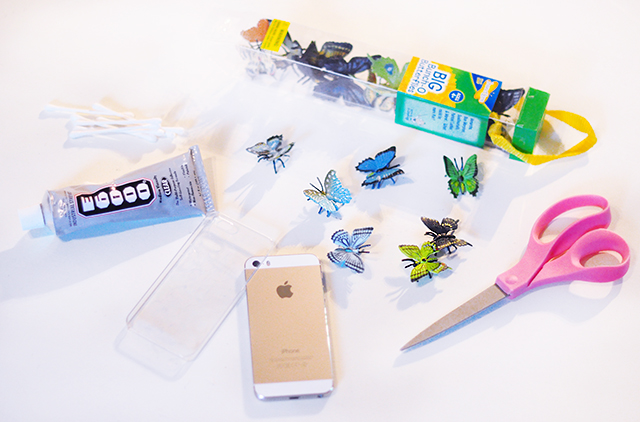
- Clear phone case ~ any old solid/plain case will do really, if you don’t mind a color. I liked my phone showing through, which gives it a bit more of a 3D feel as well, since the butterflies are kind of emerging from it.
- Plastic butterflies / toys I found at my local toy store. I thought about spray painting them gold, but I liked their original colors better, but painting them is an option as well.
- Scissors
- E6000 adhesive NO OTHER GLUE WILL HOLD and q-tips
Steps…
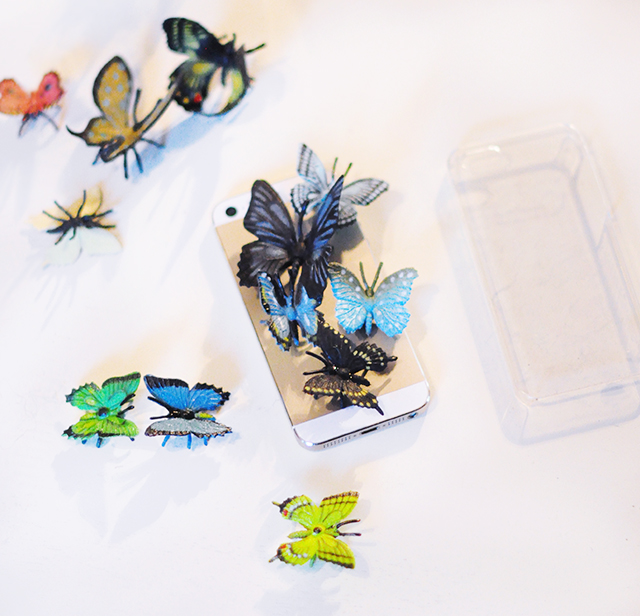
Choose your butterflies and lay out your arrangement options until you find your favorite.
I began with a large butterfly in the center and worked out from there with smaller butterflies, mostly in blue hues, but added a few yellows and green for contrast.
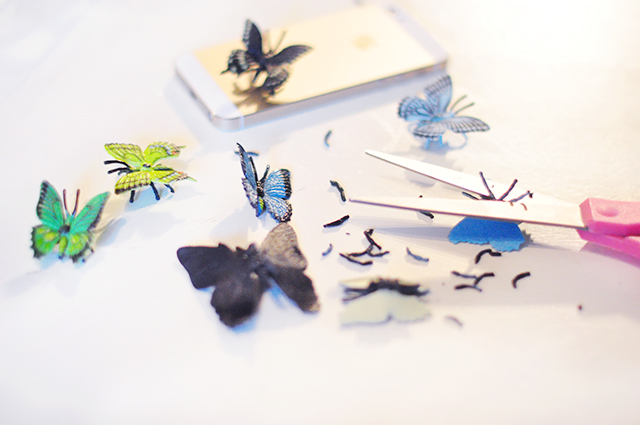
Cut off the legs of your critters… and flatten out the centers of some of the ones with the larger bodies.
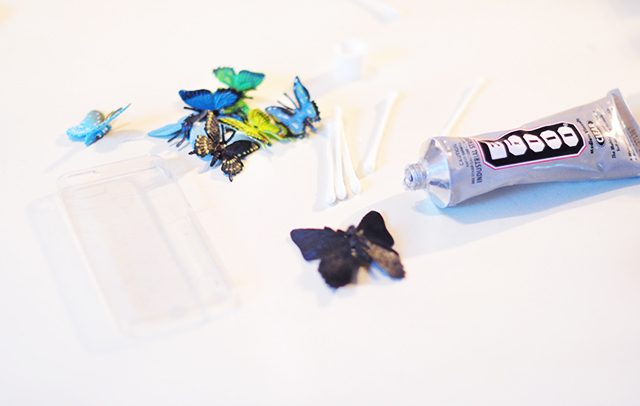
In a WELL-VENTILATED area, squeeze on your E6000 glue generously onto the bodies of your butterflies and set them on your phone case where you want them… and hold them in place until they set enough to stand up on their own without falling over. I only used the q-tips for clean-ups.
Continue layering on your butterflies and moving them into place among each other until you like the arrangement.
The only thing you really have to watch out for is their wings getting in front of your camera lens, otherwise, the more the merrier!
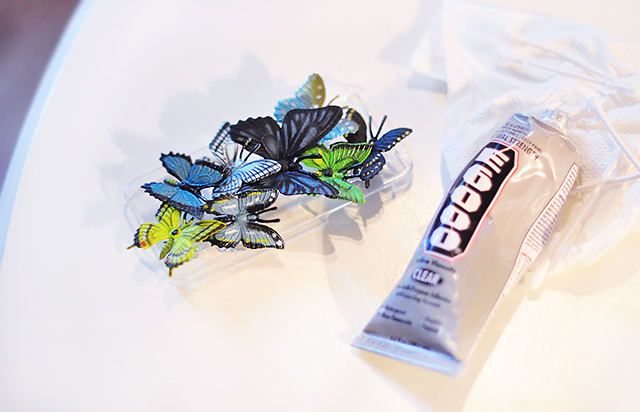
Let them dry overnight… I left it outside for a few hours to dry, then in the garage overnight so the glue didn’t smell up the entire house, but after sitting outside, the toxicity was pretty much gone.
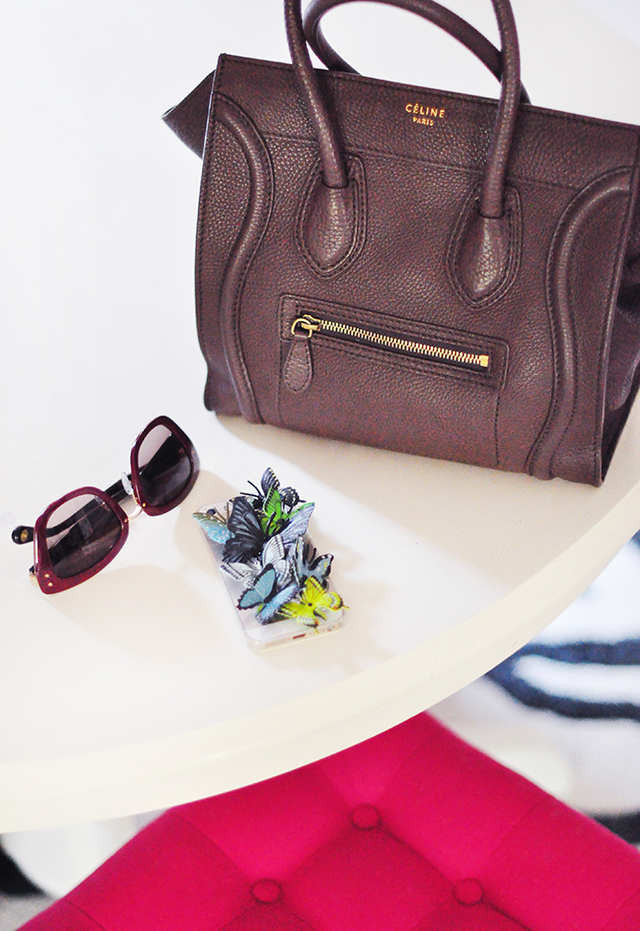
And… Voila!
Have Fun!
* Find all my DIYs here.

