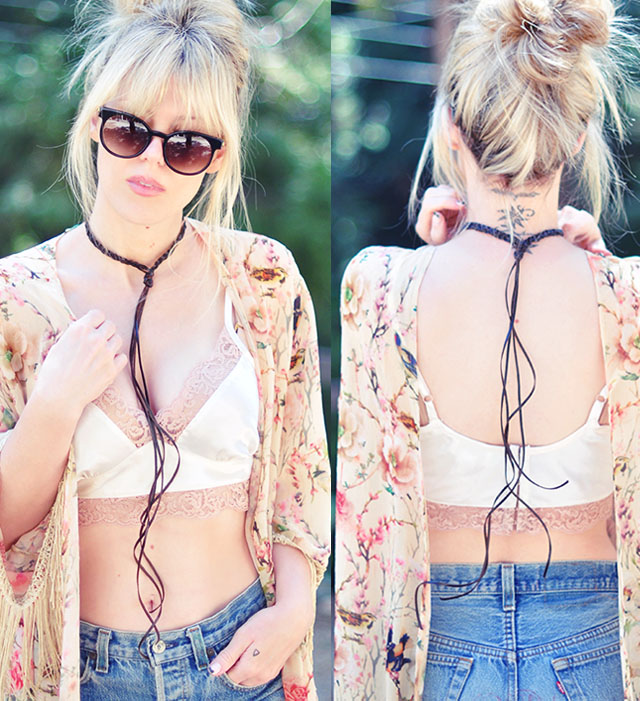
I used to make these boho braided leather chokers for the leather designer I worked with years and years ago and sell them via all the hot boutiques in Hollywood in the ’90s. It was one of my favorite designs and wore mine religiously at the time. In fact, I think I randomly gave one of mine to Reese Witherspoon at a club in my early twenties… if memory serves me correctly, but I could have been tipsy, in which case I made it all up 🙂
Anyway, since all things ’90s are here to stay, and I hope you are enjoying it as much as I am, though many of the trends originated in the ’70s – I thought I’d finally whip one up and share it with you… AND I just may sell a few, but I’m still deciding on that, so I probably shouldn’t have even brought it up, but I digress… Because chokers haven’t really been in style for a while, I’ve made different versions of this design over the years. From my DIY Braided Jersey Belt, to my DIY Braided Jersey Hair Tie/Bracelet, no matter the material, the steps are the same, and fairly simple once you get the hang of it.
Note, if you have long enough leather lacing, you can also make this a belt, which would then double around your neck for a double braided choker. What I love about it is you can wear the hanging leather fringe in the front or the back making it even more versatile. I made my braided section a little longer so that it V’s a bit and is not so tight around my neck. This was a choice, you can make it tighter so that it sits perfectly around your neck and trim your streamers shorter or leave them long, it’s all up to you.
What You’ll Need…
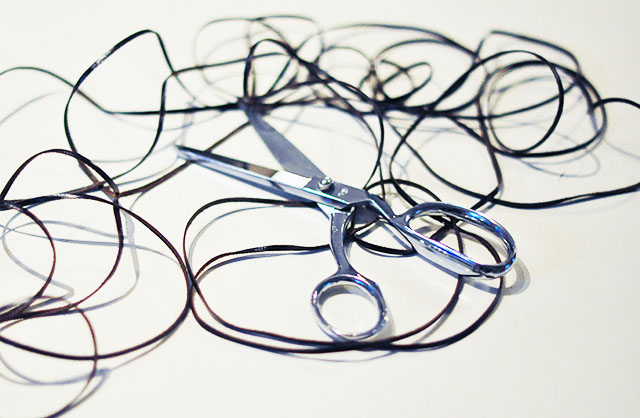
- 1/8″ soft leather or faux suede lacing {the larger your lace width, the wider your choker will be}
- Scissors
- A small rounded stick or pole or something you use to wrap your leather around.
Steps…
1. Cut TWO long laces about 100″ each. I cut mine 120″ each and they were WAY too long for just a choker, but I do like the long streamers hanging down, the length of those is up to you. But better safe with it too long than sorry that it’s too short.
2. Find a proper rounded stick or pole, find the center of your TWO laces, and using your stick as a base, center the laces behind it. Your braid will commence in front of it and around it.
NOTE: this will ultimately become an opening and a place to slip your knot to use as a closure for your choker.
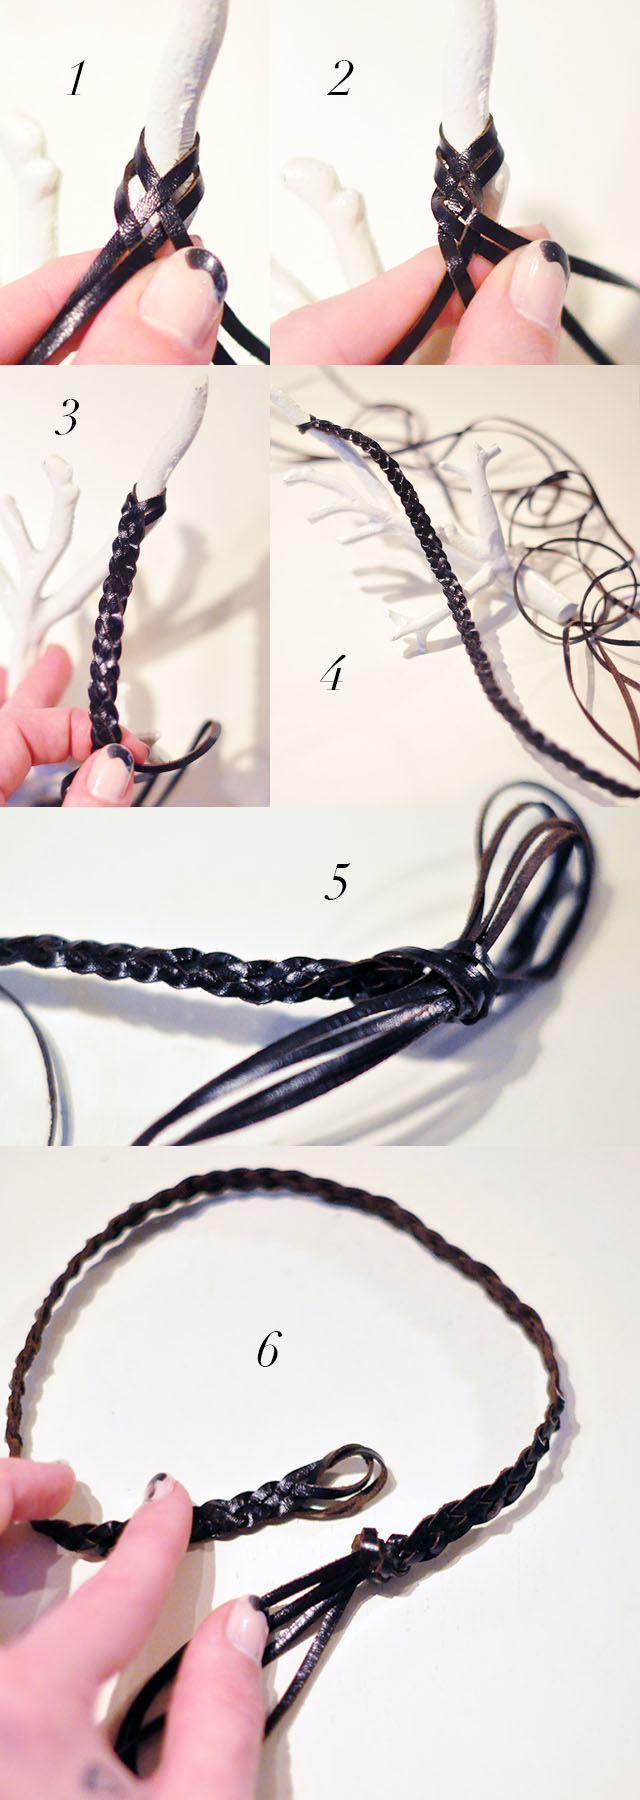
Now you’re ready to begin your 4 strand braid…
1. Begin with an outside lace and weave it over the next in line, then under, then over, etc.
2. Grab the outside lace on the opposite side and weave it under, over, under, over, etc.
3. Repeat this step over and over, tightening your braid as you go, making sure the leather lacing doesn’t get twisted as you go. Each lace should lay flat on top of the next.
4. It’s tricky at first but you’ll find a groove and then once you’re on a braiding roll, you’ll feel as if you’re simply taking one side and weaving/braiding it under and taking the other side and weaving/braiding it over repetetively.
5. Keep going until it’s long enough to fit around your neck. I just keep measuring it up against my neck as I go, but you can measure your neck first if you’d like a little more precision.
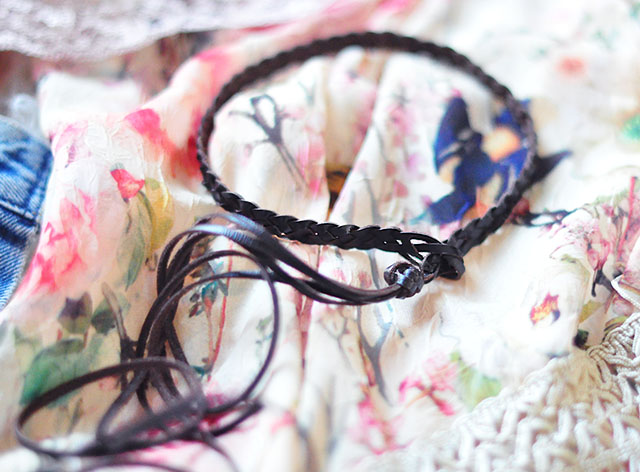
6. Finish by knotting the end and trimming away the excess streamers/fringe. I cut mine each about two inches shorter than the last so it has a nice layered effect when it hangs.
Mine are a little long here, but it’s just to show that you can leave them long or cut them shorter.
And… Voila!

Wear it in the front or the back
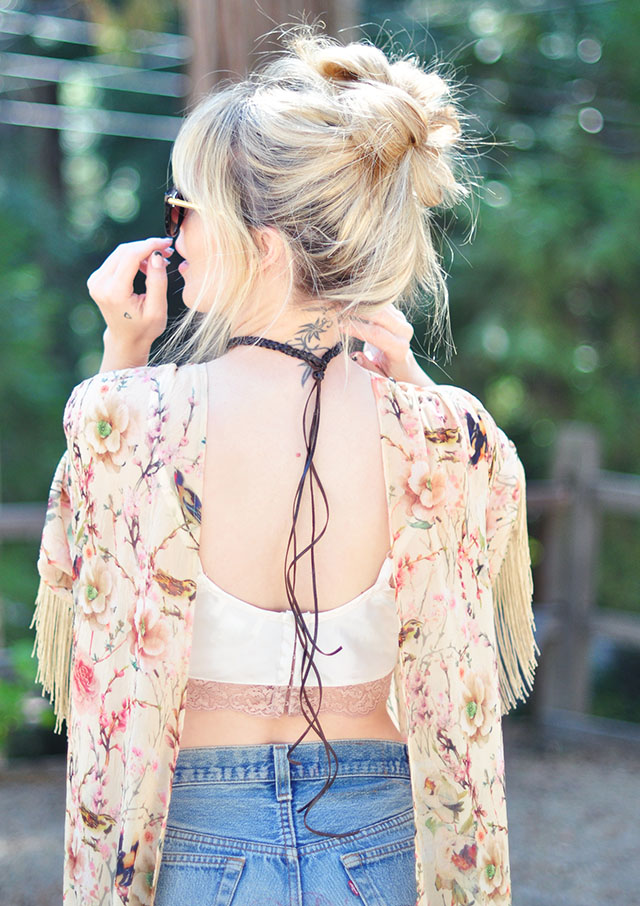

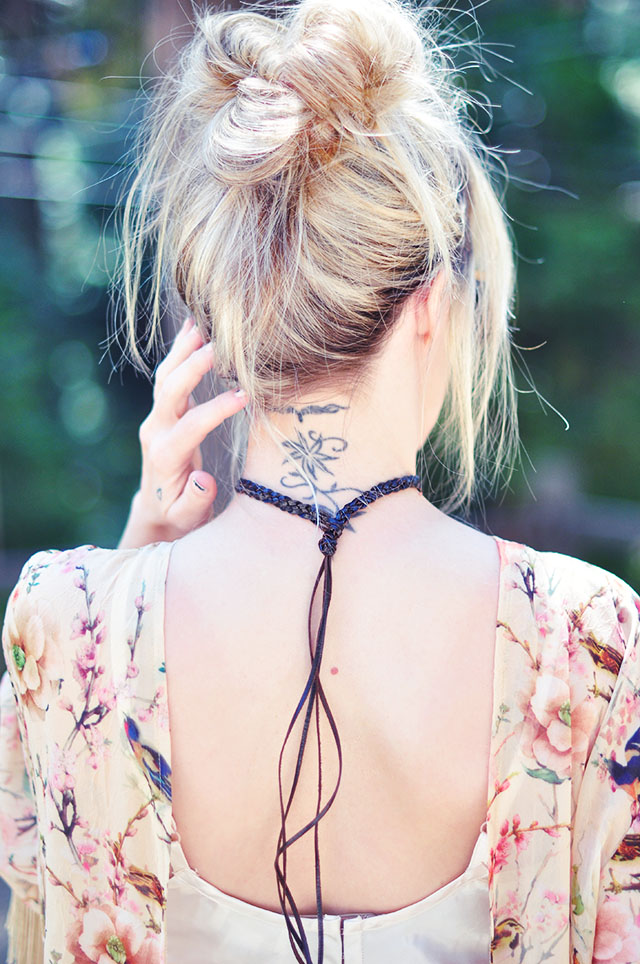
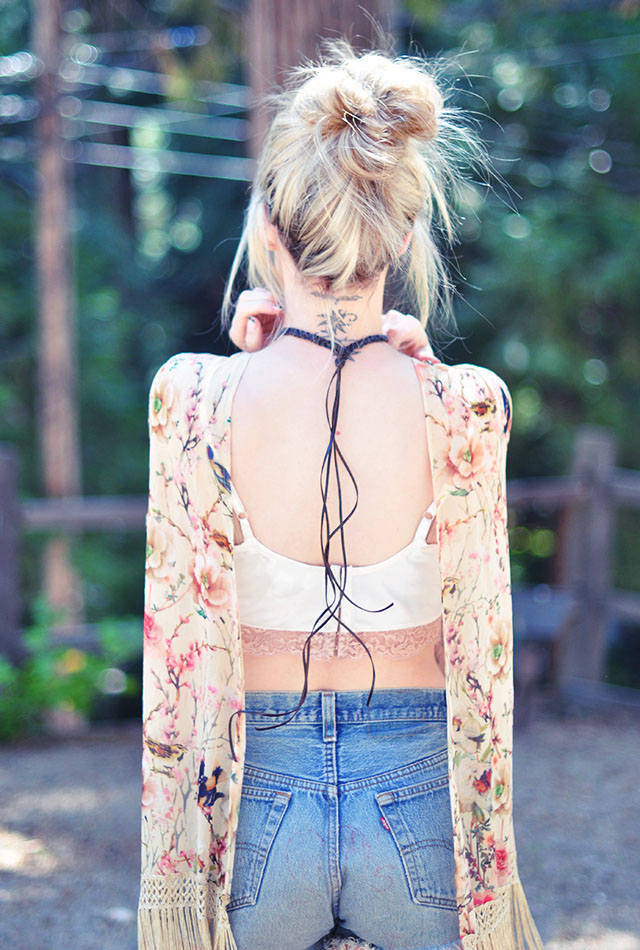
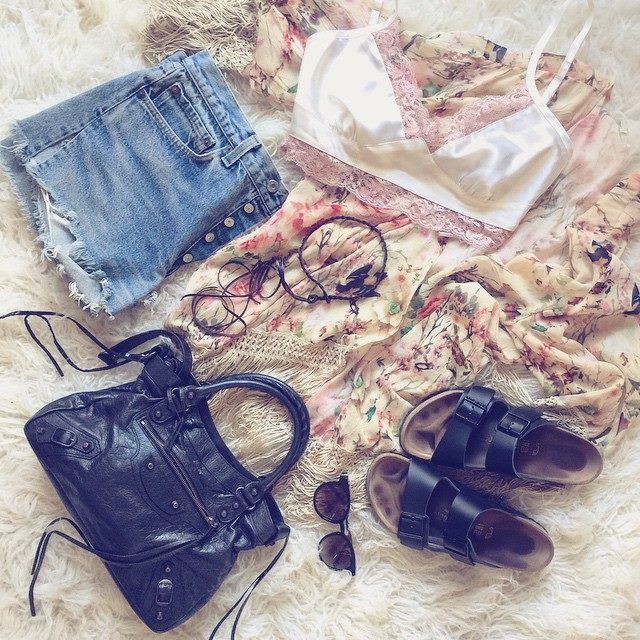
#OOTD Details // Vintage Levi’s {mine from the ’90s} // Fringe kimono by No Rest for Bridget // Vintage lace/satin bra top I died also back in the ’90s // Sunglasses by Thierry Lasry // Balenciaga town bag // Birkenstocks // {view shopping options here}
Have Fun!
* Find all my DIYs here
* Find all my Leather DIYs here
* Find all my DIY Necklaces here

