This post was sponsored by Ace Hardware.
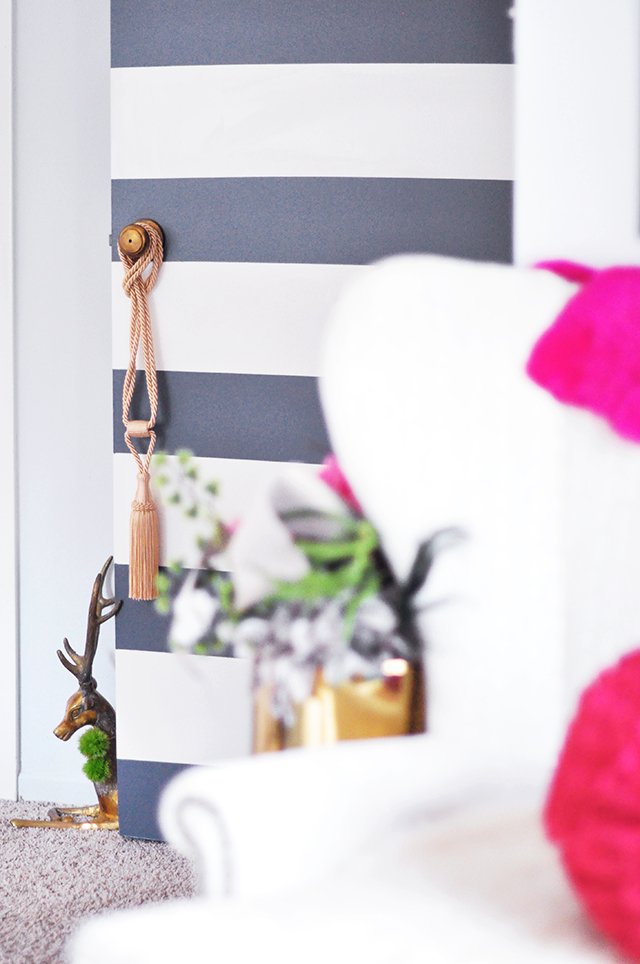
The best way to give new life to something is with a little paint, don’t you think? It’s the quickest way to add a really fun, colorful, and artistic element to any space and make it unique and 100% your own in very little time with very little skill!
I was super excited to collaborate with Ace Hardware –the authority on color– and to participate in this year’s 31 Days of Color Campaign, where the Ace Hardware Paint Studio uncovers a new Color of the Day each day in March. And TODAY IS MY DAY!
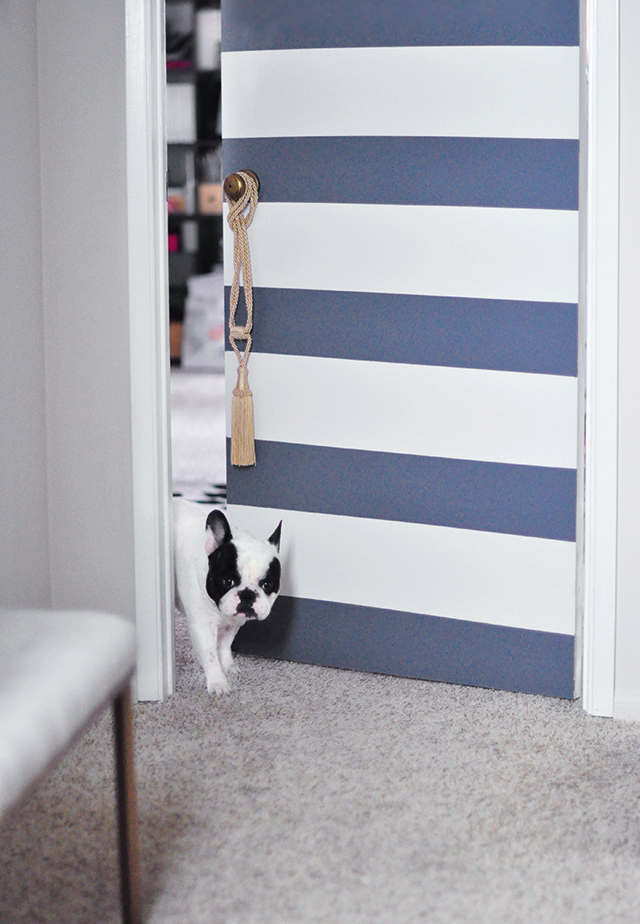
I chose to give my once BORING office door a BIG personality with a BOLD striped makeover in a deep grey paint color called Foggy Port. As you can see, it does happen to have a hint of lavender-purple depending on the lighting-just like any foggy port, naturally, which makes it all the more fun!
My Office Door Before + After…
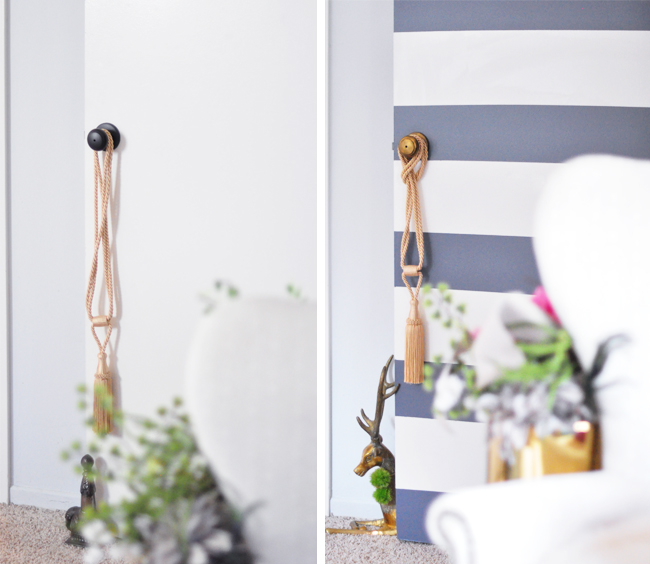
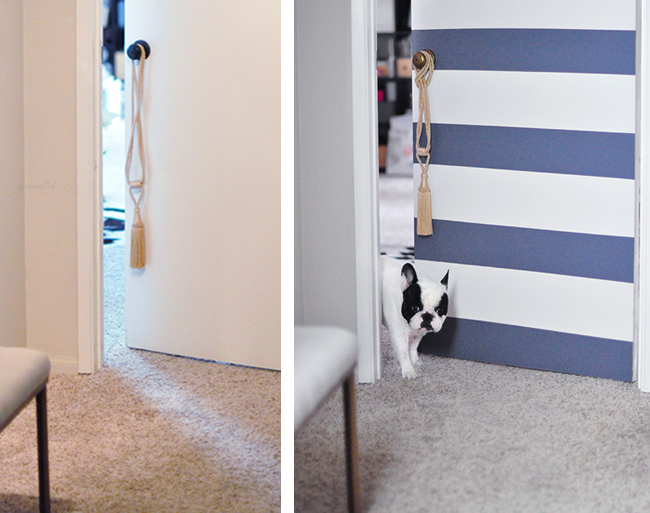
For the past three years, I’ve been DYING to do a fun door makeover that spoke to me every time I walked into my office, but couldn’t really decide what to do. This project and fun color choice from Ace Hardware gave me the perfect opportunity to finally do something about my drab door and I’m so happy with the finished product. It’s perfect!
What I LOVE about it now is that, in addition to making me smile every time I pass it, it looks like a really fun large-scale art piece. It’s so simple, yet it makes such a statement with just a little bit of paint and a little bit of elbow grease. I can see it from my desk, and since I usually have my door open, just as it’s shown in the photos below, I can see it at all times. I loved the color so much, I bought an extra can of paint so I could give my closet and bathroom doors in my office a makeover too!
I really wanted to make sure, though, that if it was visible from the living room, the colors wouldn’t clash, and it was the perfect shade of grey to complement the blue tones in our open floor plan. So it’s a win-win and the best of both worlds. I’m really excited about it – can you tell?
So let’s get to it!
Here’s What You’ll Need…
NOTE: All supplies seen here are available and were purchased at Ace Hardware.
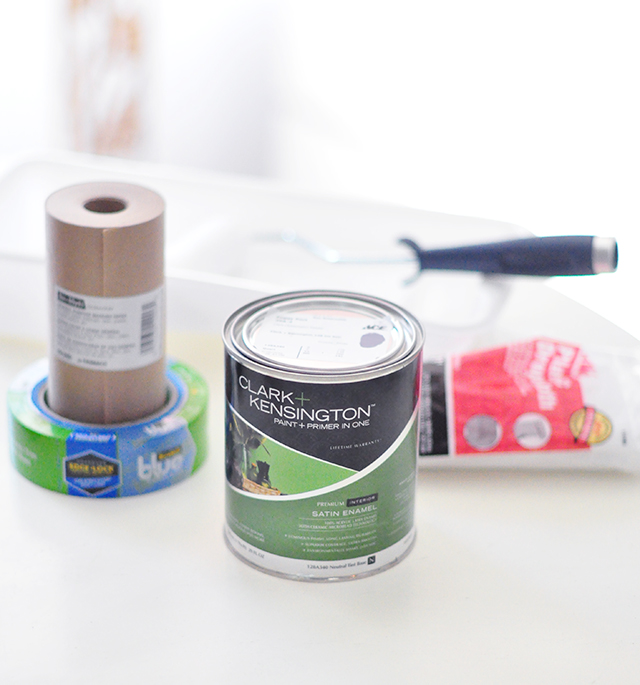
- Clark + Kensington Paint and Primer in One in Foggy Port Satin Enamel from the Ace Hardware Paint Studio
- 6-inch general-purpose masking paper
- Painter’s tape
- Drop cloth
- Small paint roller
- Screwdriver {to remove your doorknob}
- Gold finish buffer & a cloth to antique your knob
NOTE: Because I did this project throughout the day, the lighting varies and changes the color of the paint visually in the photos. Foggy Port is the perfect deep grey, but with a cool tone, it does read just a little bit on the purple side.
Also note, the color of my walls is a very, very light grey, which also has a cool blue tone to it.
Steps…
First, before you do anything, wash your door. If your door has a finish on it, give it a light sanding so that all of your hard work doesn’t peel right off!
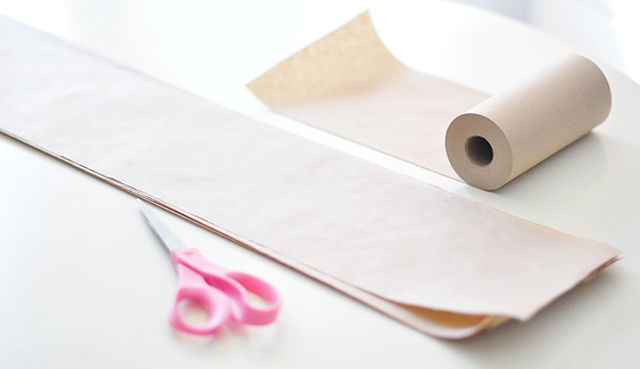
Begin by measuring the width of your door and cutting 6-8 strips of your 6-inch masking paper.
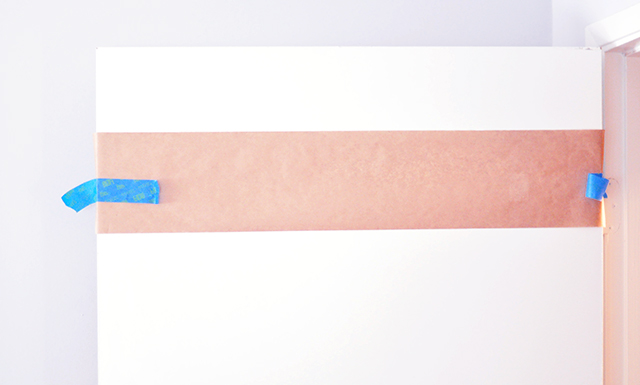
Set your paper in place by taping the sides down. I knew I wanted the very top of my door to be grey, so I began about 6-inches down.
I just eyeballed mine, and I was pretty excited that only one turned out a bit askew, but But to get the perfect alignment and spacing, measure and mark your door prior to taping it down..
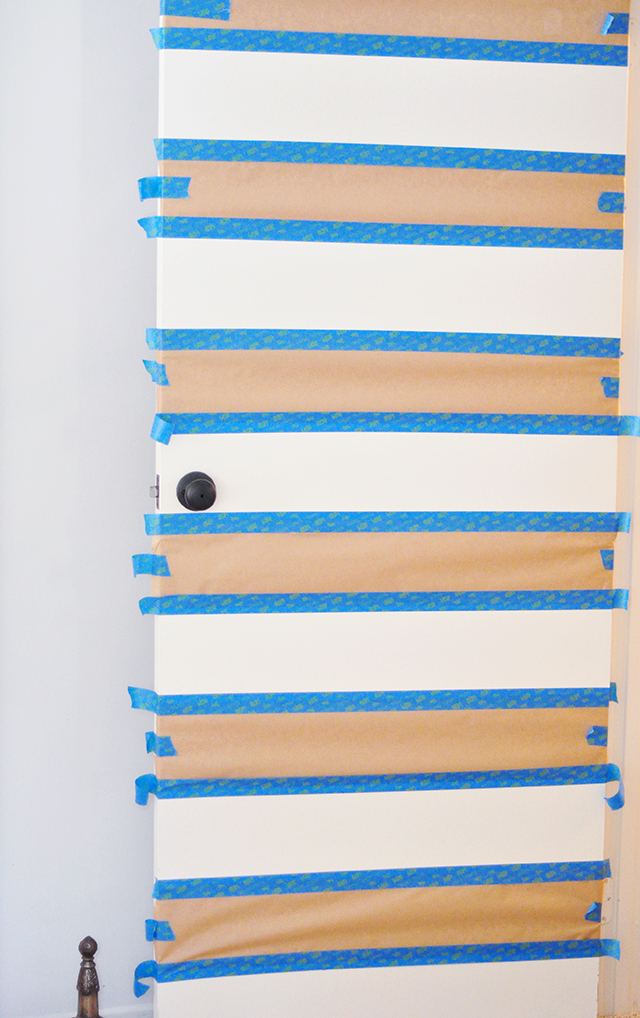
Finish by taping down the entire top and bottom sections of the masking paper.
You can also choose to skip the masking paper use only the tape, but though the paper was a little bit of an extra step, it made it much easier for me in the end.
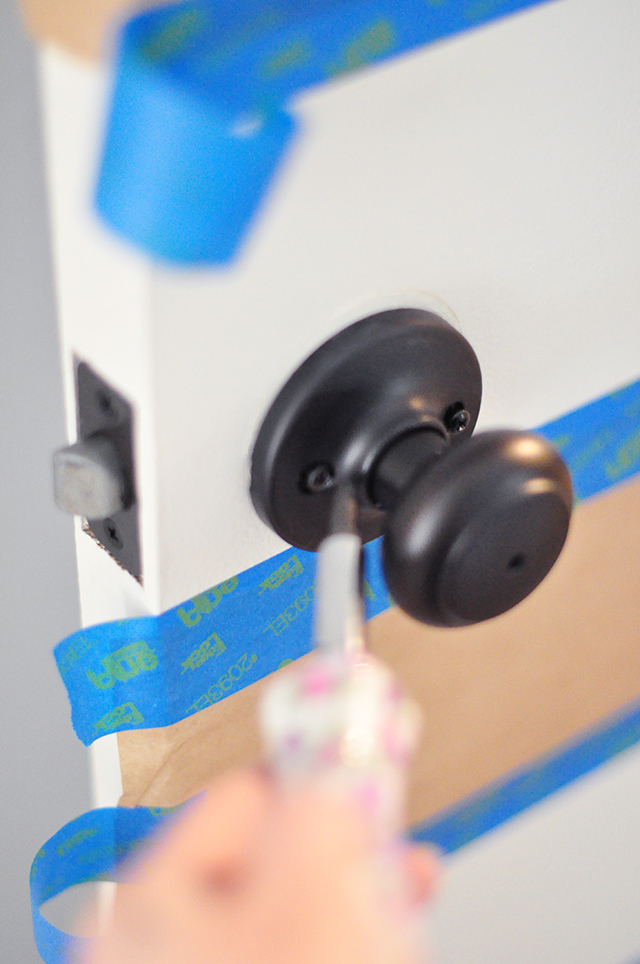
I was secretly hoping that I’d tape off the doorknob section so that I wouldn’t have to remove it. But since it landed in an open stripe that WOULD be painted, I simply unscrewed the knob because I knew it would look better than if I was lazy and painted around it.
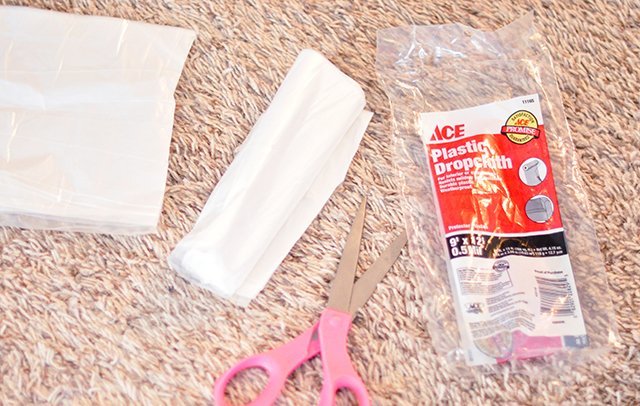
Lay down your drop cloth. Since it’s such a small area, I cut mine in half and saved the rest.
Shake, open, and pour your paint into your tray.
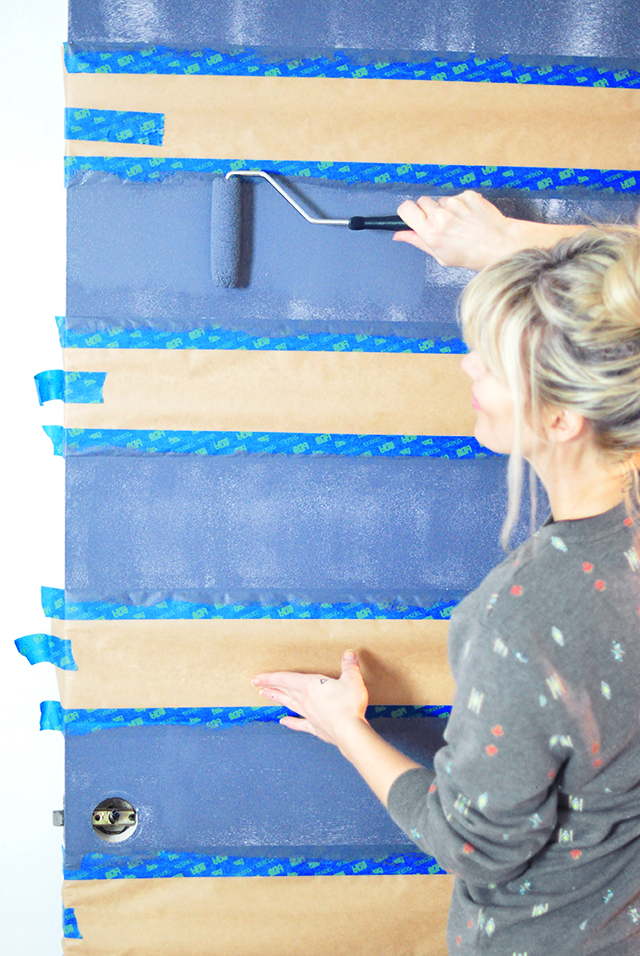
Carefully begin painting your stripes.
It took about three coats to get my desired look, but the paint dried really quickly in between coats with almost no scent or fumes at all. I have a super sensitive nose, and I’m telling you, I couldn’t smell it at all!
I used an electric floor heater to speed up the process.
NOTE: It’s reading VERY PURPLE in the above photo because I had a bright studio light shining in the area where I worked. Please see the final photos below for the proper color.
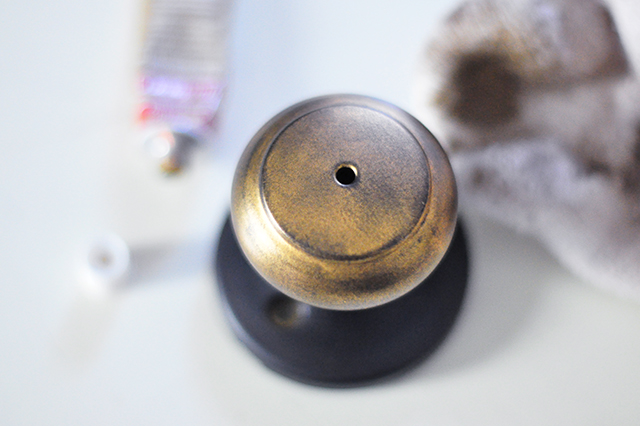
While my paint was drying, I grabbed my gold metallic finish buffer to give my dark doorknob a quick antiqued look and feel. I LOVE this stuff for the aged brassy effect, and it does NOT rub off!
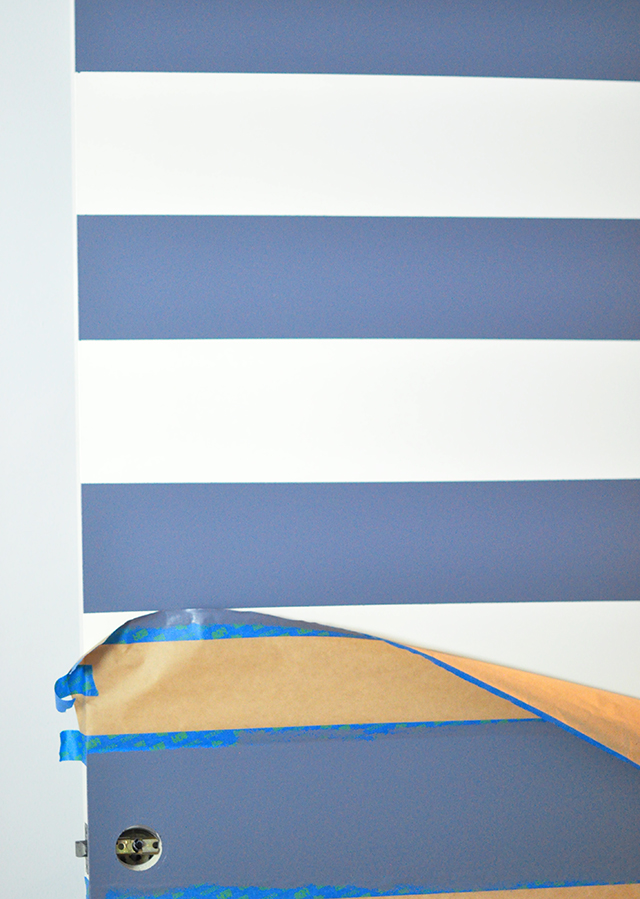
Lastly, once your paint is completely dry, CAREFULLY remove your masking paper and tape.
And… Voila!
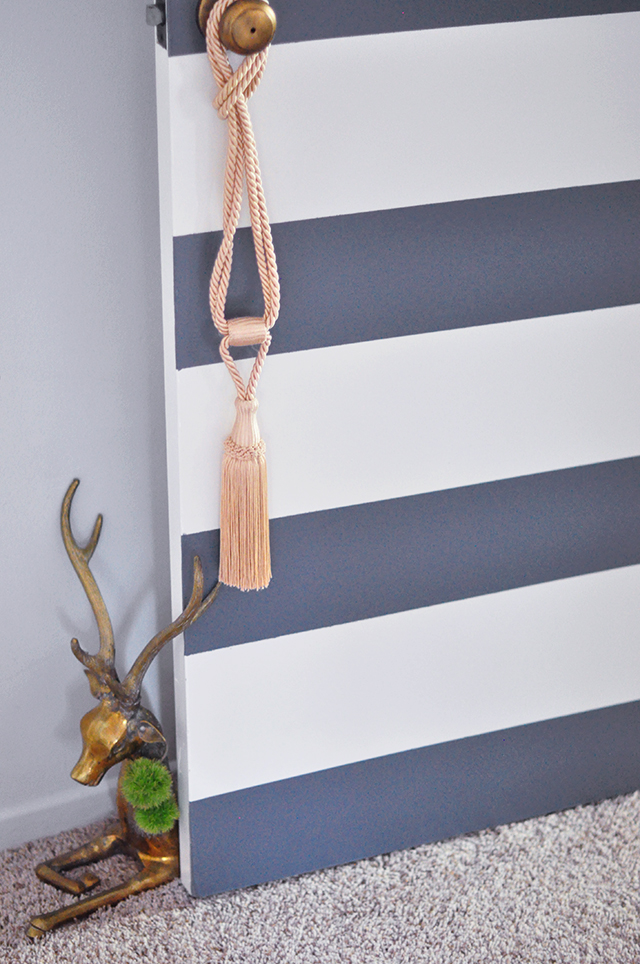
Vintage brass figurine and vintage blush curtain tassel, both left by the previous owners of my mom’s new house.
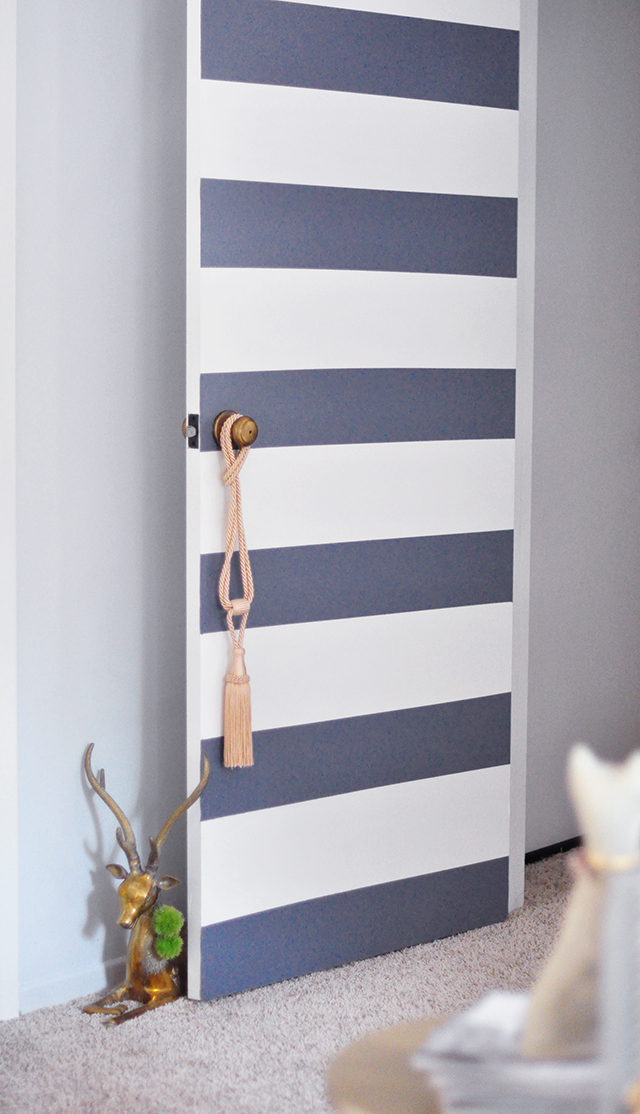
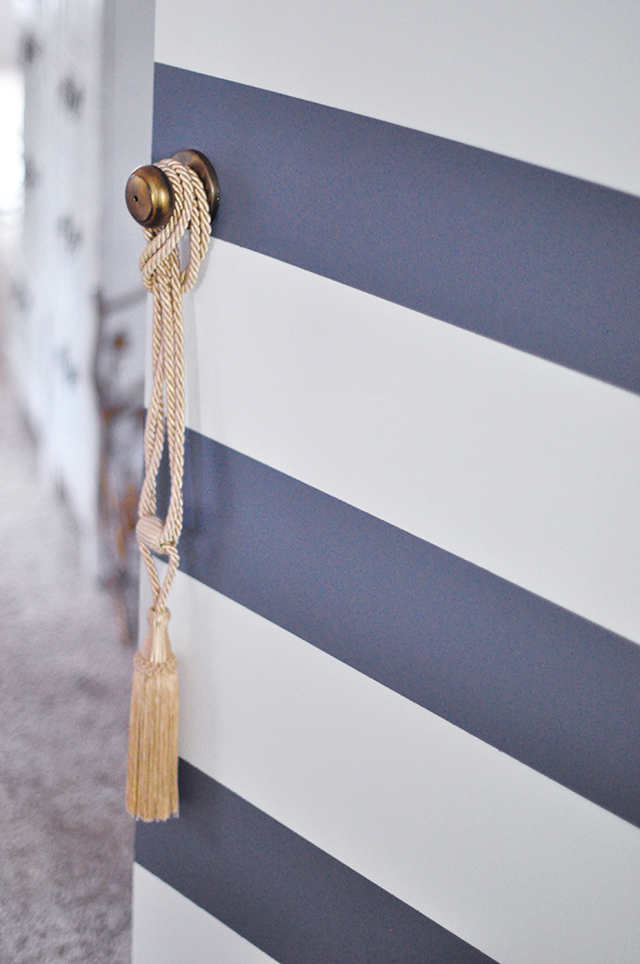
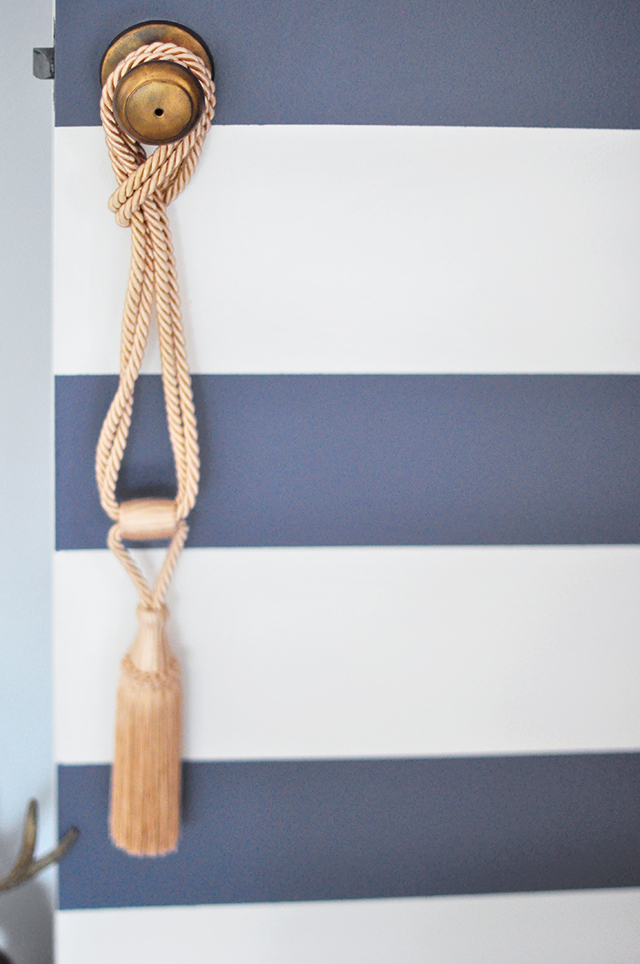
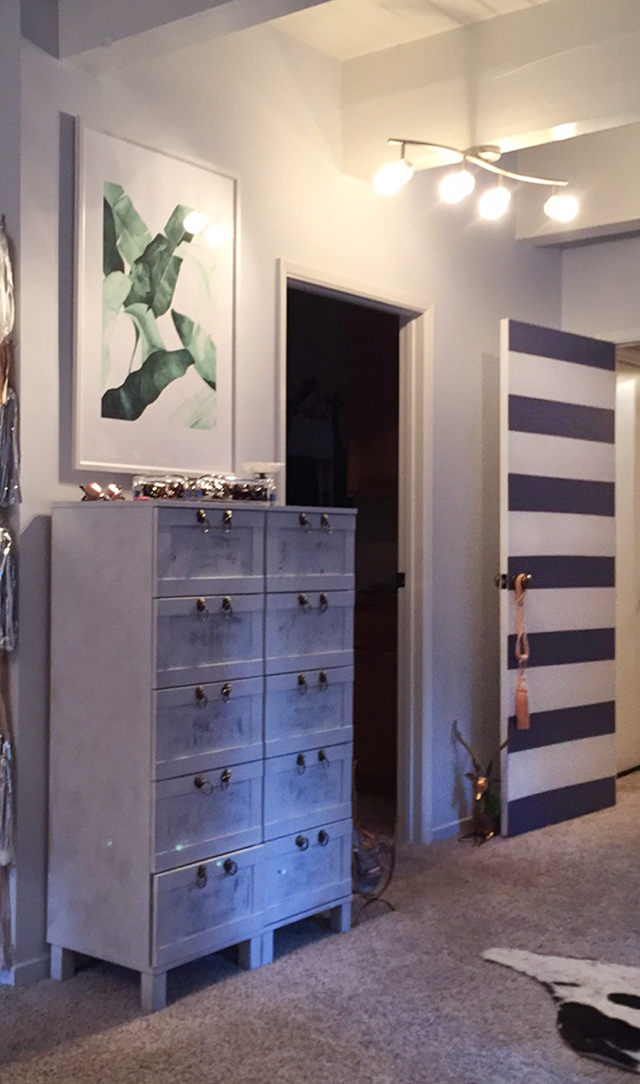
Above is a view from my desk taken via Snapchat, which is why the quality isn’t fantastic, but you can really get a feel for the look here.
My usual quality-control check by Trevor -approved!
Check out the Ace Hardware Paint Studio 31 Days of Color every day in March to uncover new colors, get inspired for your own projects and get expert tips from the pros. Visit the Paint Studio to enter the 31 Days of Color sweepstakes for the chance to win a $10,000 paint makeover and daily gift cards!
No purchase or payment necessary to enter or win. Open to legal US residents residing in the contiguous United States and the District of Columbia who are at least twenty-one (21) years of age and who are homeowners. Sweepstakes will run from 3/1/16-3/31/16. Full rules located here: http://www.thepaintstudio.com/31daysofcolor/pdf/2016AceHardware31DaysofColorSweepstakesRules.pdf
Have Fun!
* Find all my DIY projects here
* Check out my DIY Crosswalk Striped Nesting Tables for the 2015 31 Days of Color!


