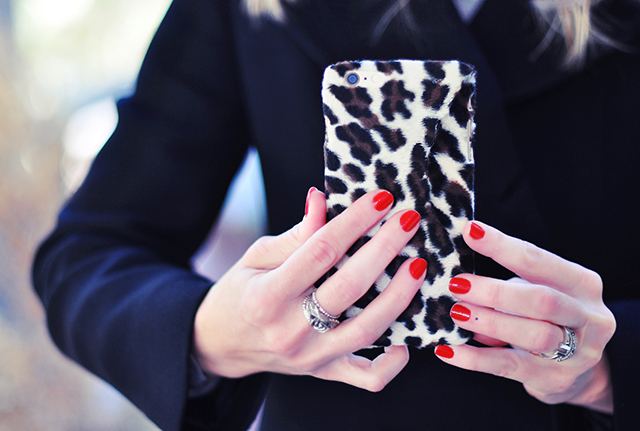
FIRST let me say that you can create this DIY for ANY phone size or brand as long as you have a suitable plastic base in which to use as your phone case. We are simply going to cover it up!
Second, I can NEVER find a phone case that I really love… which is why I usually end up making my own. My DIY 3D Butterflies Phone Case REMAINS ONE OF MY FAVORITES EVER!!!
I recently bought a clear-ish case with green and gold palms printed on it, which I actually did love, but the sides were black when they should have been gold or clear at least, and it felt so big and bulky I just couldn’t take it. On the other hand, a case that’s too flimsy doesn’t seem to protect as it should. When I first got my iPhone 6 plus, I picked up two inexpensive cases that would suffice until I found something better and since they were sitting in a drawer unused, I decided to try covering one with a little faux fur just to see… and I actually really love it. I originally spotted this black faux fur case at NastyGal and thought I’d use a fluffy faux fur but instead I used a very short pile leopard print faux fur that worked even better.
So grab an old phone case you’re not using any more and let’s get to work.
Here’s What You’ll Need…
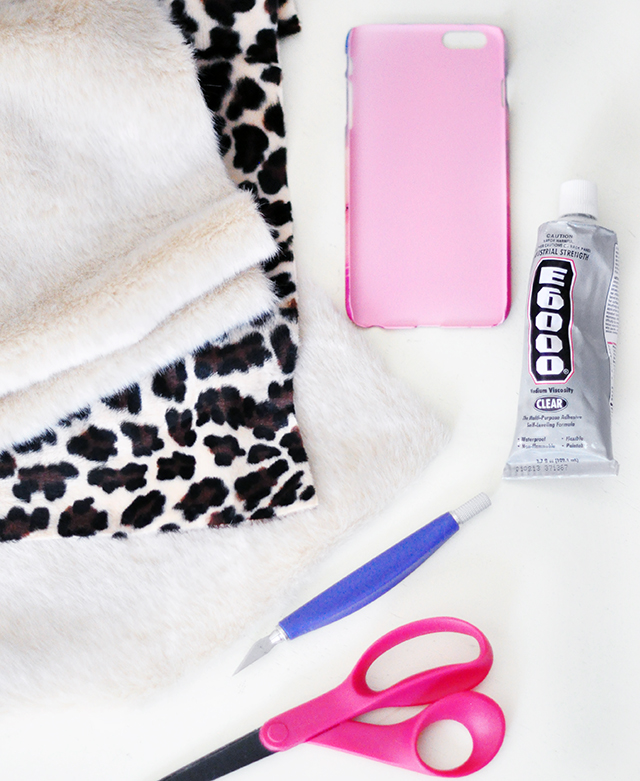
- Plastic phone case
- Scissors & Precision Scissors – Blade/optional
- E6000® Craft Adhesive A MUST! NO other glue will hold
- Faux fur of choice
Steps…

Place your phone case over the back side of your fur and cut a piece at least 1/4″ larger around all edges.
Make sure you’re in a ventilated area or outside for the next step… this glue is TOXIC!
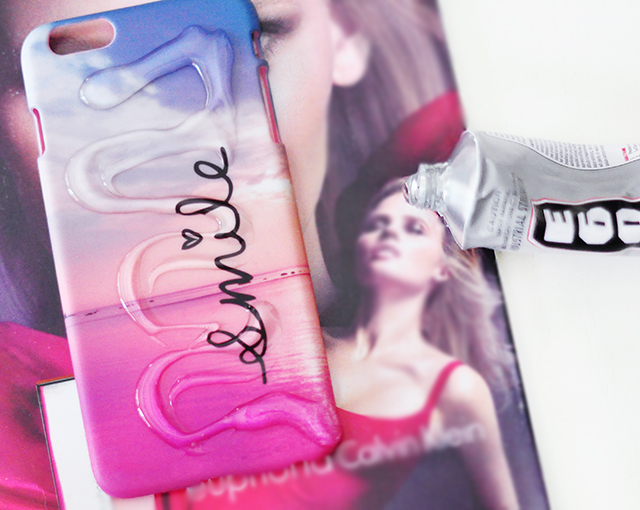
Squeeze a fairly large amount of glue onto the back of your case…
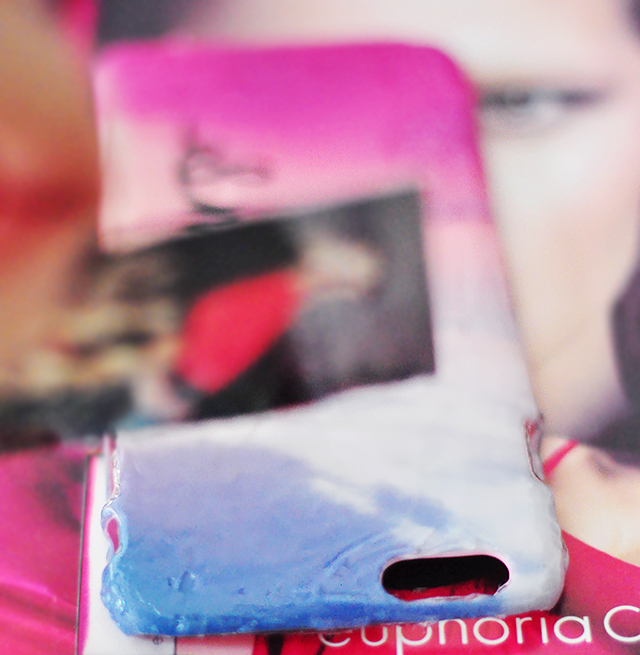
I used a business card to spread it out evenly along the back and edges of my case.
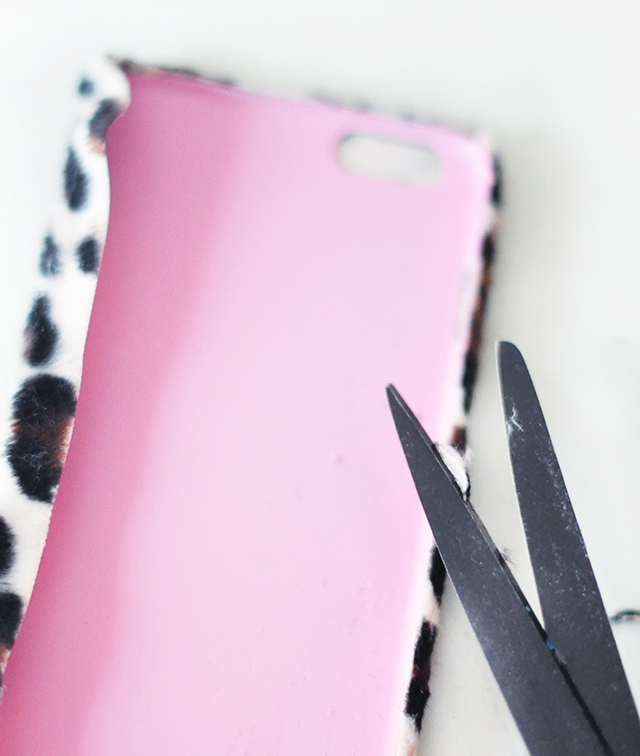
Set your adhesive-sided phone case onto the back of your fur and press down so it sets in place. While pressing the back flat down, pull up the sides tightly so they adhere to the edges of the case and stick to the glue.
Once it dries a bit {about 20 mins} trim away the edges and smooth out the front and sides.
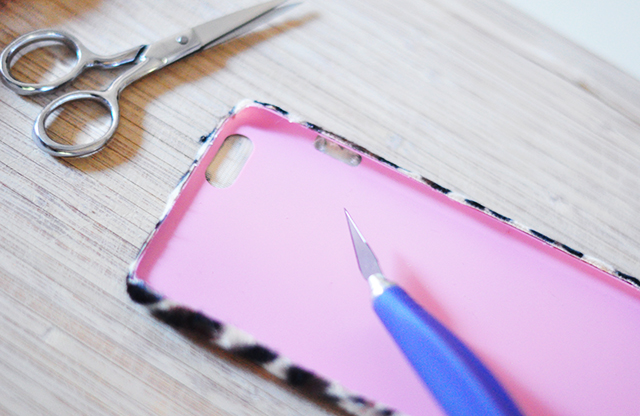
Using a blade or precision scissors, carefully cut out the holes for your camera lens + buttons along the bottom and edges.
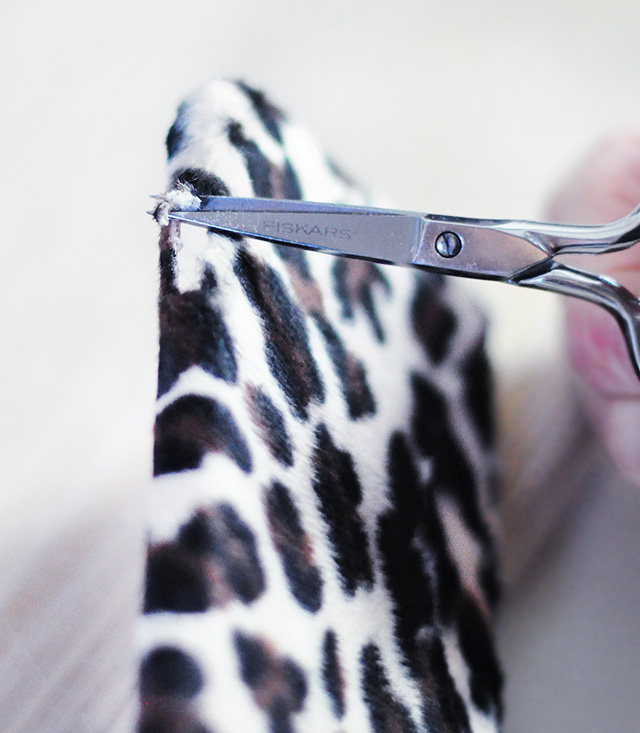
I mostly used precision scissors, as I found it easier than the blade.
Allow it to dry over night or until you can’t smell the ridiculously strong glue scent any longer.
And… Voila!
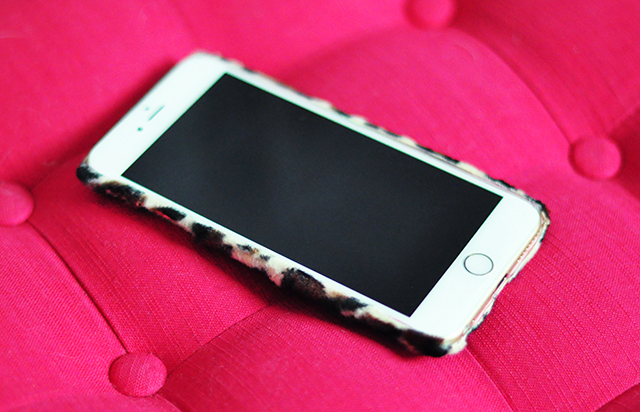
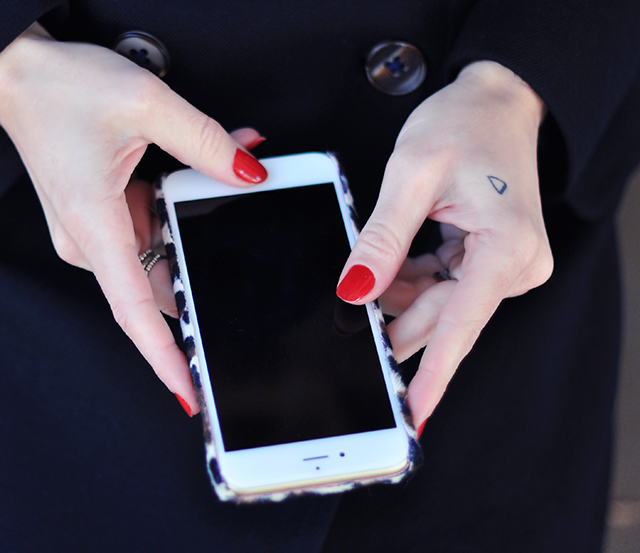

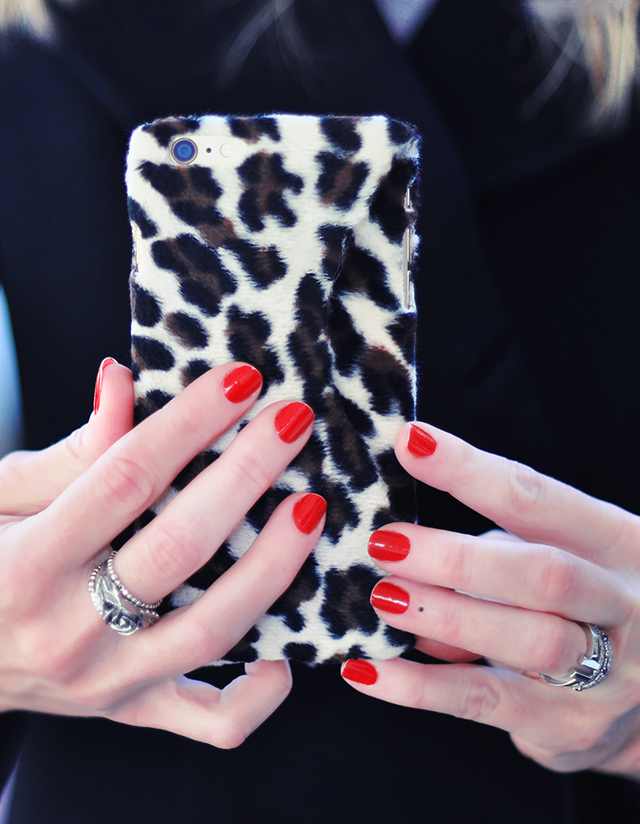
Snapping OOTDs in my closet…
I’ve been using it for about two weeks now and it’s holding up quite nicely. The edges where my fingers are on it the most have gotten a little fuzzy, like a sweater does, but it’s easy enough to just pull the fuzz off. I’m happy with the results visually as well as the feel when I’m using it, so get your DIY on! This makes a great gift too!
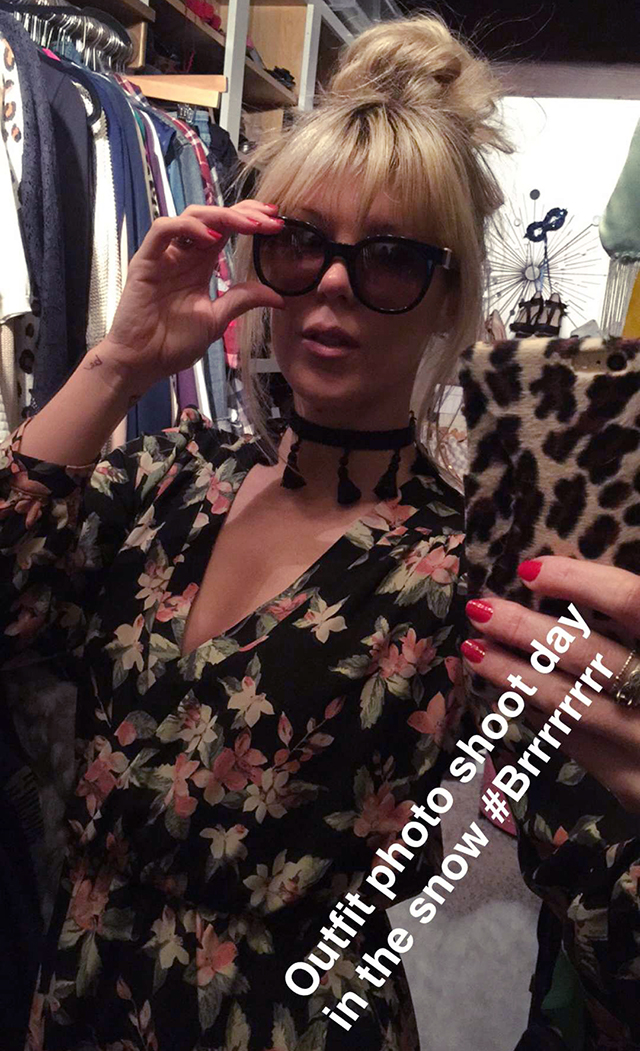
Have Fun!
* Find all my DIYs here

