Fashion’s having an embroidery moment… actually, it kind of began a few years ago, but it’s just kind of hitting bigger now… Most probably with the return of all things ’70s, which is always super fun.
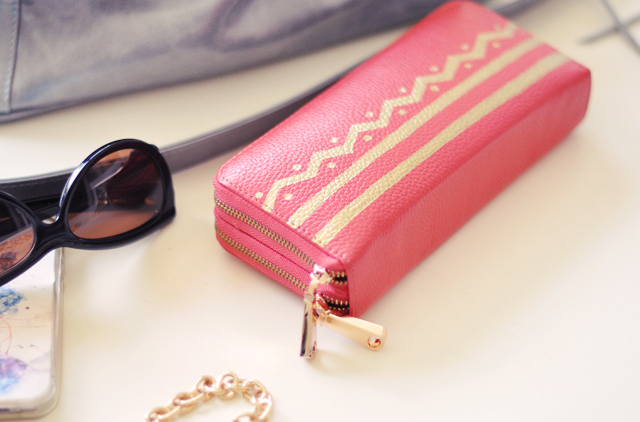
I first felt it via Dolce & Gabbana’s 2014 RTW collection which inspired this faux Floral Embroidered Clutch, though I wish I would have hand-stitched those on as well because the glue left it a bit stiff, and you know how I despise using glue in fashion-related projects… Anyway, I think we’ll be seeing more and more of these pretty details from the East in the coming years in all things fashion, home and decor… because it’s a cycle, you know. Anyone remember the last time it was here in the late ’90s? I LOVED every MINUTE of it! I had a GORGEOUS red antique Chinese cabinet that I left behind in the master bedroom of a past relationship, but it was stunning.
Inspiration…


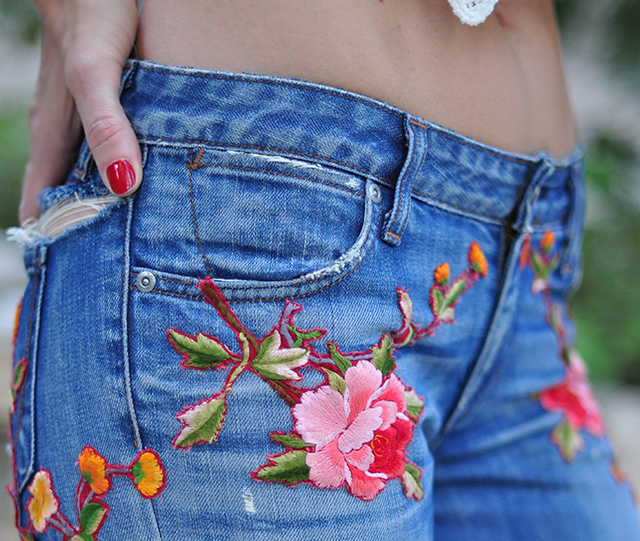
Since I don’t have an embroidery machine though {and you may not either}, I’m going to do the next best thing, and grab my vintage silk embroidered fabric, carefully cut out the floral designs, then hand stitch them down onto my jeans.
It’s a painstaking process, and one I particularly have to have a gentle hand with because my fabric is so old and delicate, it ill fall apart otherwise. But they turned out quite beautiful, I must admit.
TIP: Look for gorgeous embroidered fabrics at your local thrift shops… find them on old pillow cases and home decor items like table runners, but the best ones are on old silk and satin robes!
Alternately though, if you don’t trust your sewing skills, you could create a similar look with iron-on patches and floral appliqués.
Here’s What You Need…

- A pair of jeans or jean shorts, WITH NO STRETCH – that’s essential. No stretch denim!
- Fabric with pretty embroidery on it or patches
- Scissors
- Needle/Matching thread
- Patience. This took some time to complete, but not ridiculous.
Steps…

Carefully cut out your embroidered sections, making sure to leave about 1/8″ around the edges.

Make sure you DON’T CUT INTO THE EMBROIDERY or it will unravel.
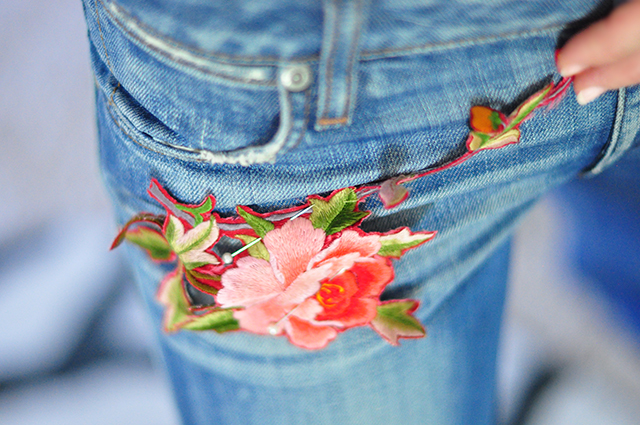
Try on your jeans and decide where you want your embroidery to go. If you can, carefully pin in place.
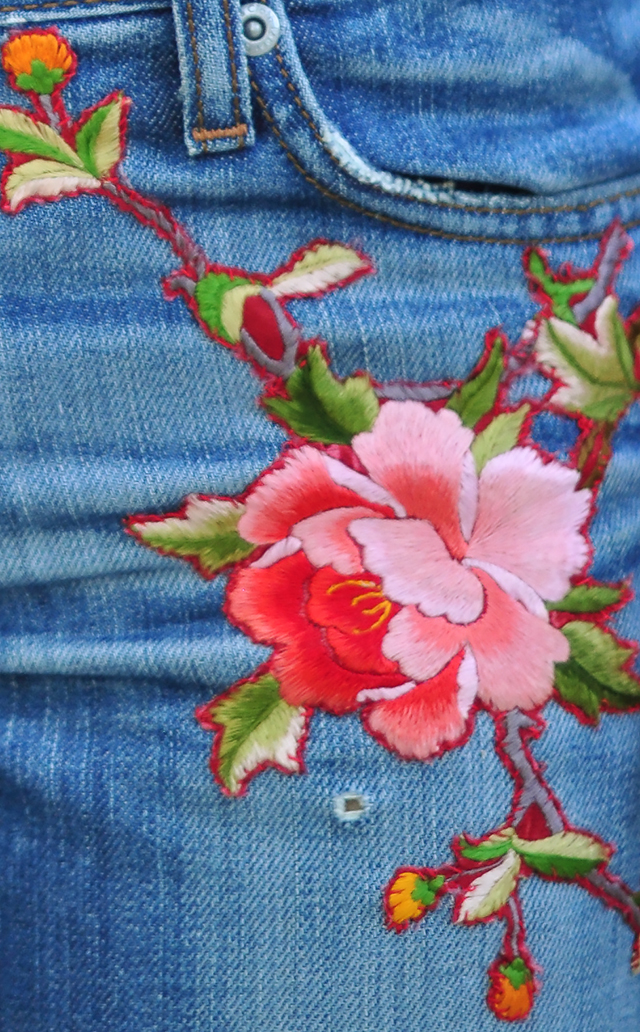
It’s easiest to stitch the largest areas of the embroidery down first…
Carefully, run your needle/thread around the edges with a hem stitch, making sure to run it through the edges of the embroidery, so the thread loops will keep it in place.
This is important if you’re working with a silk fabric like I am, which will eventually just fray away, so to make sure it stays put, you have to grab some of the embroidery in each stitch.
Make sure it’s laying flat as you work. You don’t want any puckers or pleats in your jeans OR in your embroidery.
* IF using patches, simply follow the directions on the packaging, and iron them on!
* IF using a vintage embroidery or any fragile fabric like I am, your jeans will probably need to be hand-washed and hung dry from now on.
And… Voila!


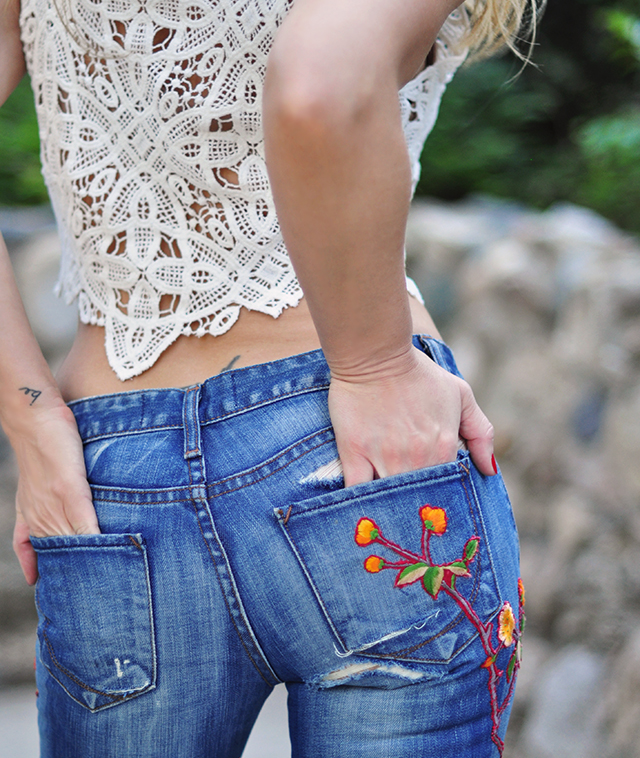
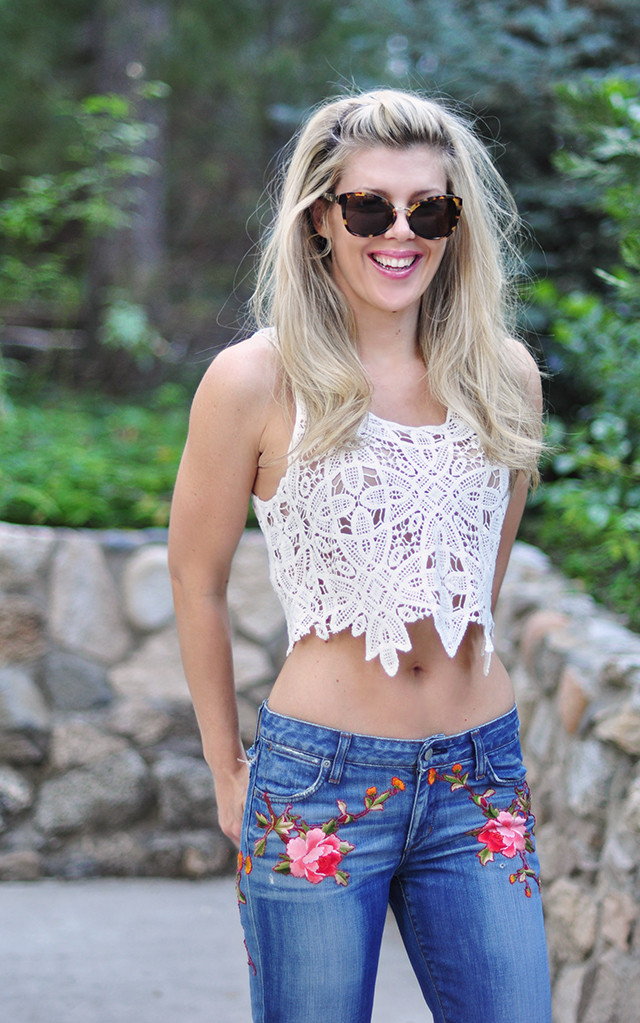

Have Fun!
* Find all my DIYs here

