

It seems as though scrunchies are pushing hard to make a comeback AND if you’re anything like me, you probably still have a few from the ’90s in an old box somewhere or shoved in the back of one of your hair accessory drawers in your bathroom… no? Then maybe your daughters are wearing them and conjuring up flashbacks of your youth or of that episode of Sex and the City we’ll never forget when Carrie and Burger get in a HUGE fight over them.
ANYWAY, I’m seeing scrunchies for sale for what I consider astronomical prices ($20-$40) for an item that is just about the easiest thing to make in the world. My first scrunchies I ever made were back when I was about twelve years old (I think), after hemming my Catholic school uniform skirt up (because damn they were so long) I’d take the excess material and make scrunchies out of them so that my hair accessories matched my uniforms (obviously). And I have to say that my handmade scrunchies were better than any I ever bought!
Let’s get started! This is so simple!
Here’s What You’ll Need…

* Fabric… any will work, but preferably easy-to-sew fabric like stiff cotton is the best but denim will work as well as fine leather as seen here
* Elastic… the thickness is up to you but I find the 3/4″ width works best.
* Scissors
* Matching thread and needle
* Sewing machine: Optional – though it will be far quicker if you use one, this is simple enough to do by hand.
Steps…
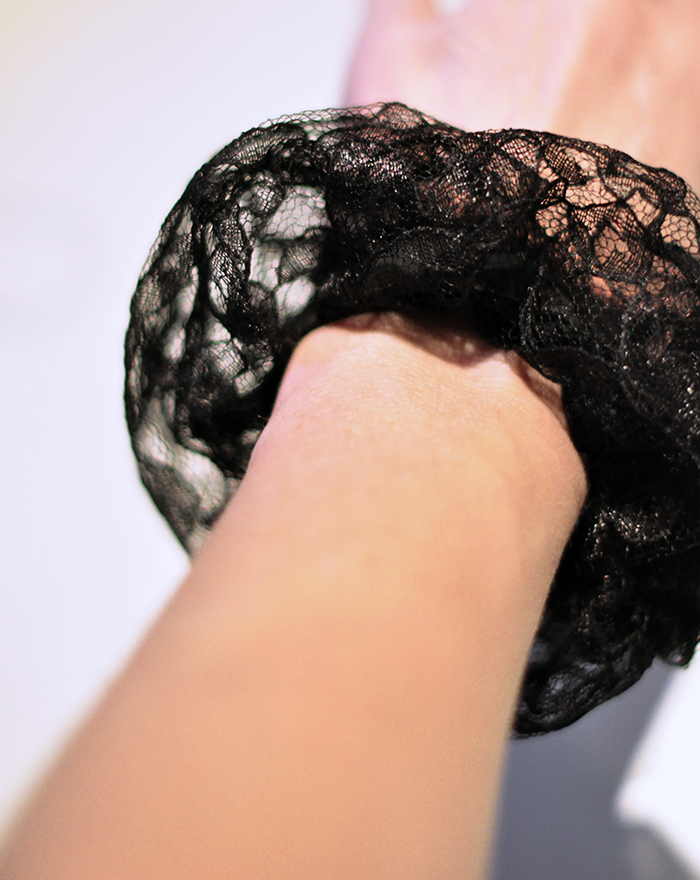
Begin by cutting a piece of elastic about the width of it wrapped around your wrist, then add a half an inch.

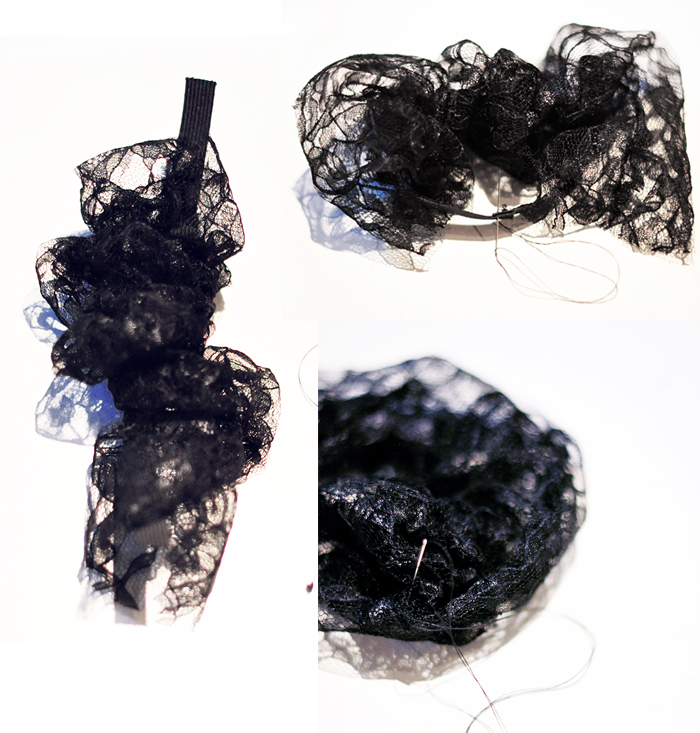
Cut a piece of lace or fabric about 4″ in width by at least 20″ in length.
NOTE: Your width will determine how large it is. If you want a smaller/thinner scrunchie, cut it about 2.75-3.25″ in width.
Your length will determine how much it scrunches. The longer the length, the more it scrunches, the shorter the length = less scrunching (gathering).

Fold your fabric in half on the “wrong” side, lining up all the edges.
Using a simple running stitch (or a sewing machine) run a stitch from end to end about 1/4″ of the way from the edge to create a long tube.
Turn your tube right side out so the stitching is hidden on the inside and you only see a seam on the finished side.
Slide your elastic through your tube and stitch the ends together heavily.
NOTE: you’ll want to make sure it’s really sewn strong on this end.
Hand stitch your two fabric tube ends together…
And… Voila!

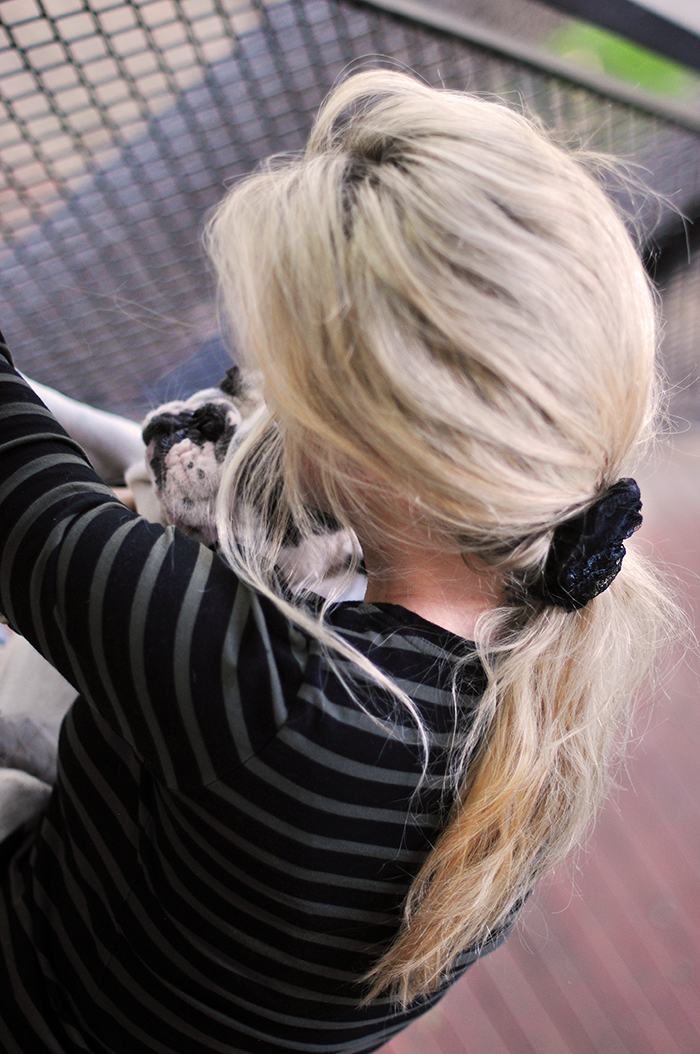
Have Fun!
* Find all my DIYs here
* Find all my DIY Hair Accessories here

