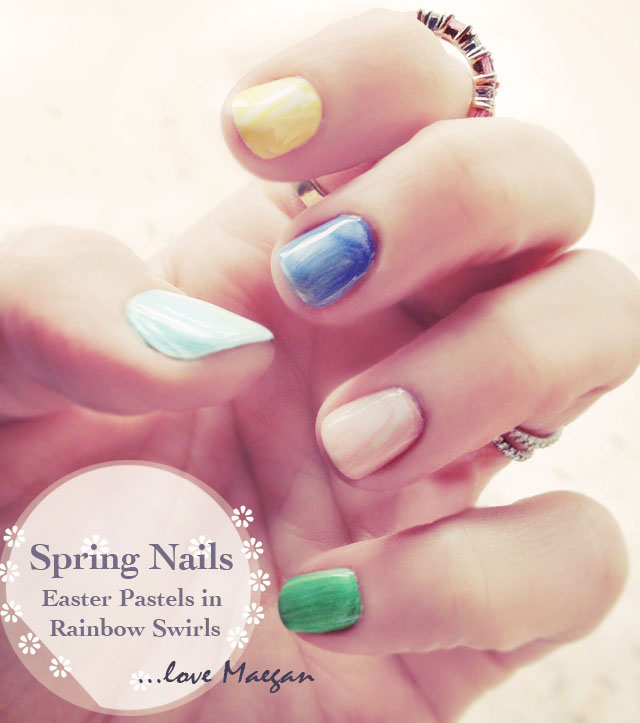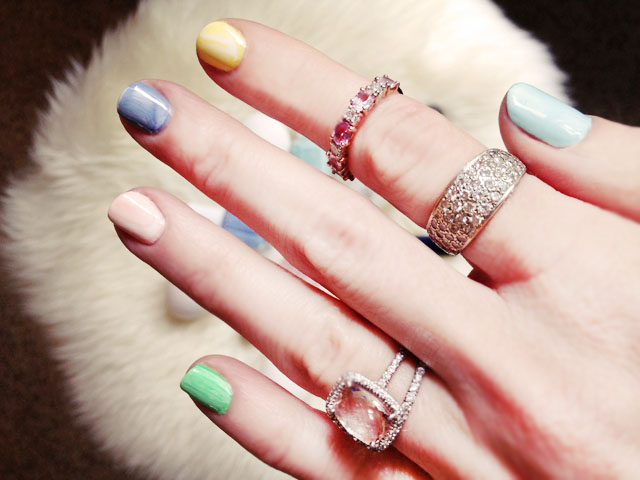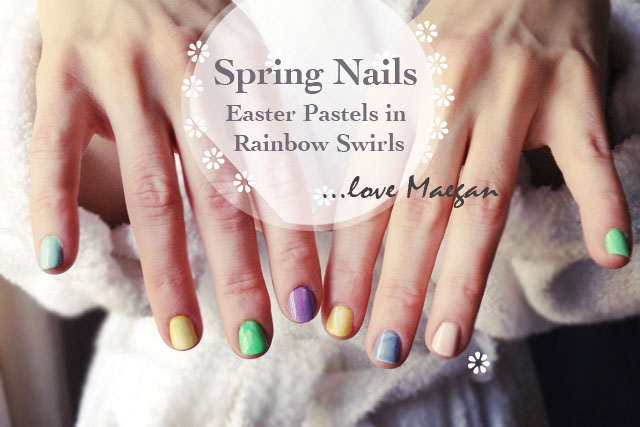
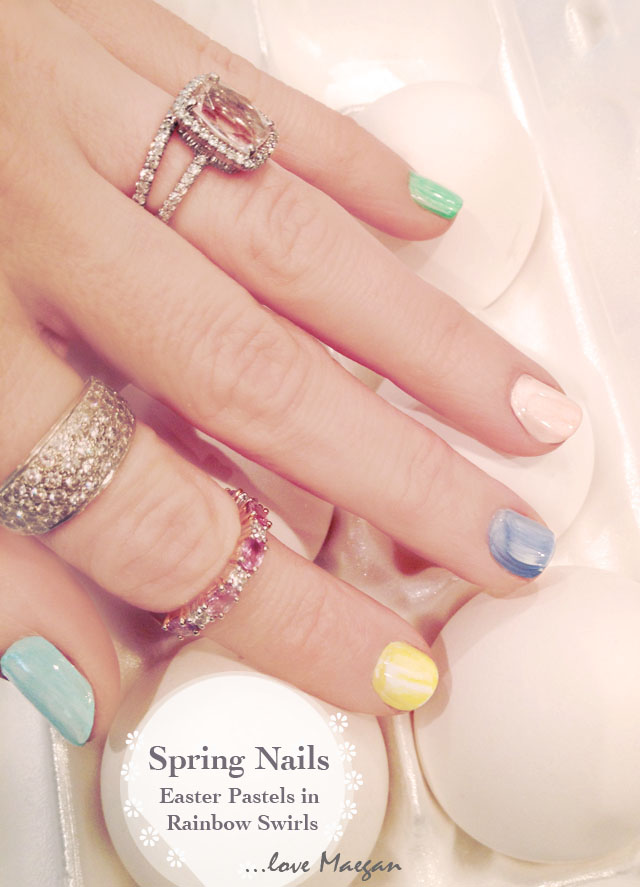
Pastels for Spring?!?! Groundbreaking I know, but I suppose it’s the Springtime version of my Bejeweled Manicure from last Fall/Winter, and though the alternating pastel manicure has been done before, I’ve never done it, so I thought I would. But rather than just leave my nails flat with chalky pastel goodness, I added a little swirly flavor which reminded me of dying marbled Easter eggs when I was young. It’s a very slight difference, but somehow makes them stand out much more, adding depth and dimension, without being crazy… and it’s just so easy.
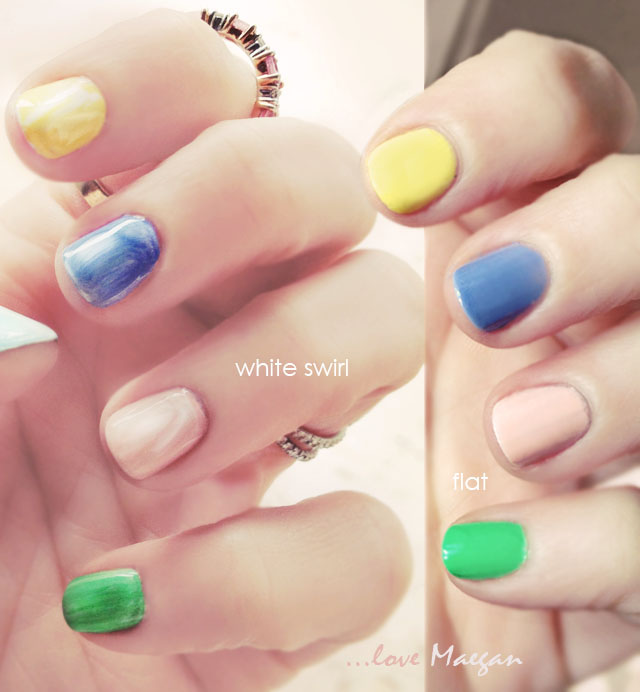
See the difference?
Here’s What I Used…
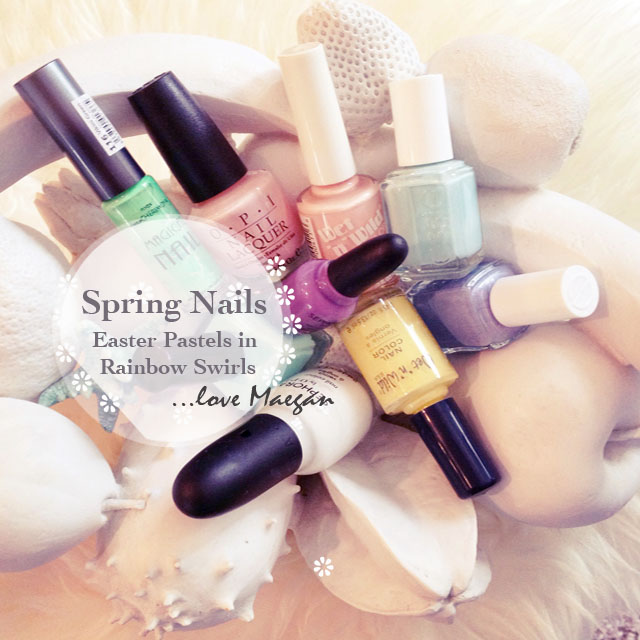
Grab all your pastel polishes and even a few darker shades that read “SPRING”! Adding the white will brighten them right up!
Here’s How I Did It…
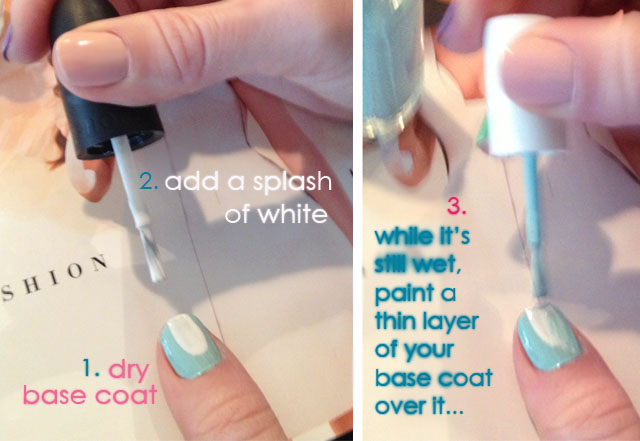
1. Paint one or two coats of your base color on each nail & let dry.
2. Now add a swipe of white polish {to each nail, one at a time}… and while it’s still wet,
3. Take your original base color, gently wipe off your brush, then apply it to the white, mixing and swirling the two colors into one.
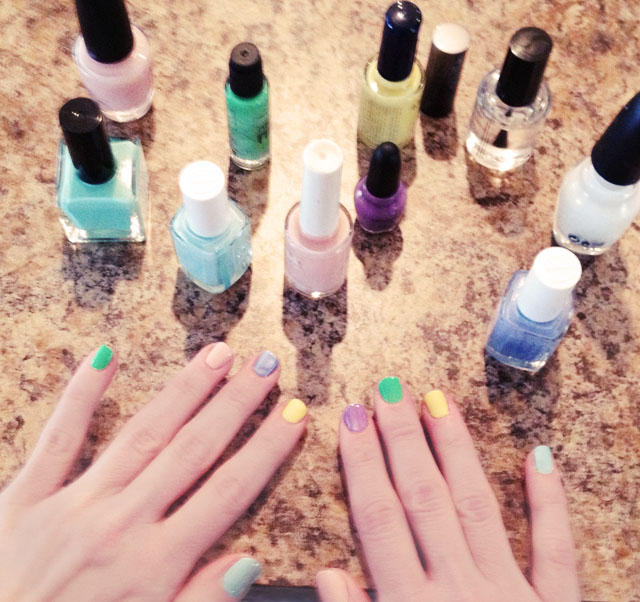
* Finish with your favorite top coat {mine’s Seche Vite}
And that’s it! Voila… Voila!
Have Fun!
Find all my nail art tutorials here
Read about my wedding rings here and all other rings here
Happy Friday Lovecats!


