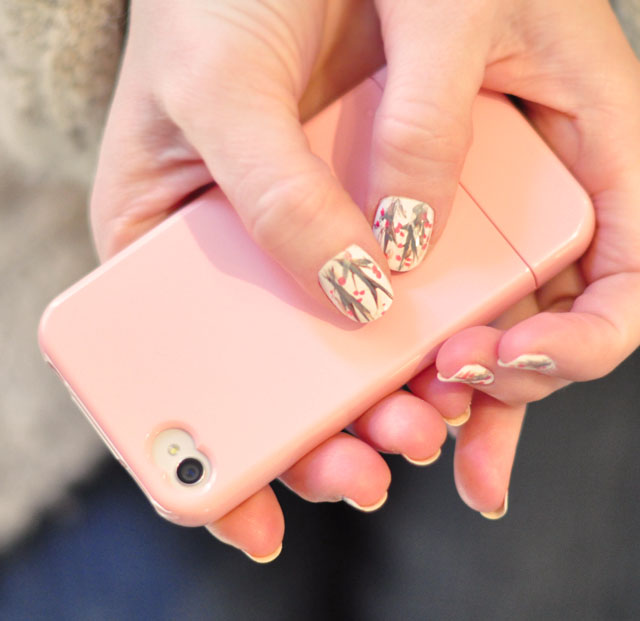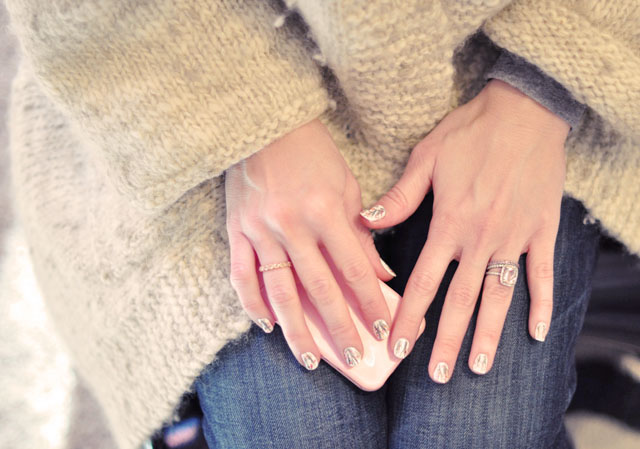
As you may have guessed, I was inspired by Monday’s post: Decorating with Branches, and decided to create a little branch nail art manicure, which could also be construed as Cherry Blossoms due to the pink flowers I added. I love that this manicure is in line with all the pale nails we saw on the Spring runways and with a hint of “Far East” inspiration too boot. This, of course, has become one of my favorites {but I’m pretty sure I always say that}.

Here’s What I Used…

* Base: Sephora “White Hot”
* Branches: OPI “You Don’t Know Jacques” | RGB “Steel” | Sally Hansen “Cafe au lait” | Art Deco “Silver” {but any silver will do, this brand just happens to have very thin and long brushes}
* Fine Nail Art Brush… I have this set, but this brush set is only $2.74
* A bright color for your flowers. I used a shimmery pink because this brand already came with a long narrow brush, but any color would be cute, even a light blue or lavender.
* Paper, Tissue, Zoya Nail polish remover… and a bit of patience. There are quite a few steps to this one.
* Your favorite top coat… mine is Seche Vite
Here’s How I Did It…
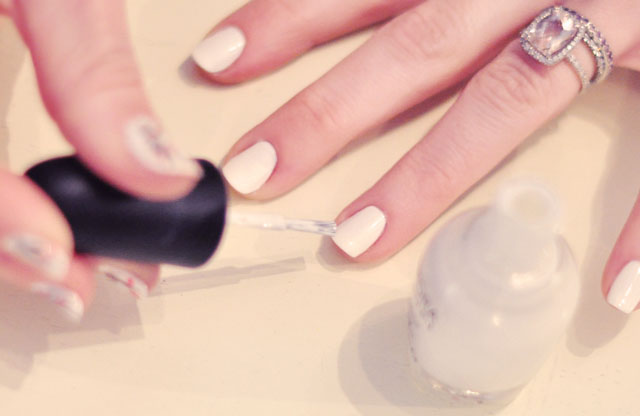
* Begin with two coats of white as your base and let dry.
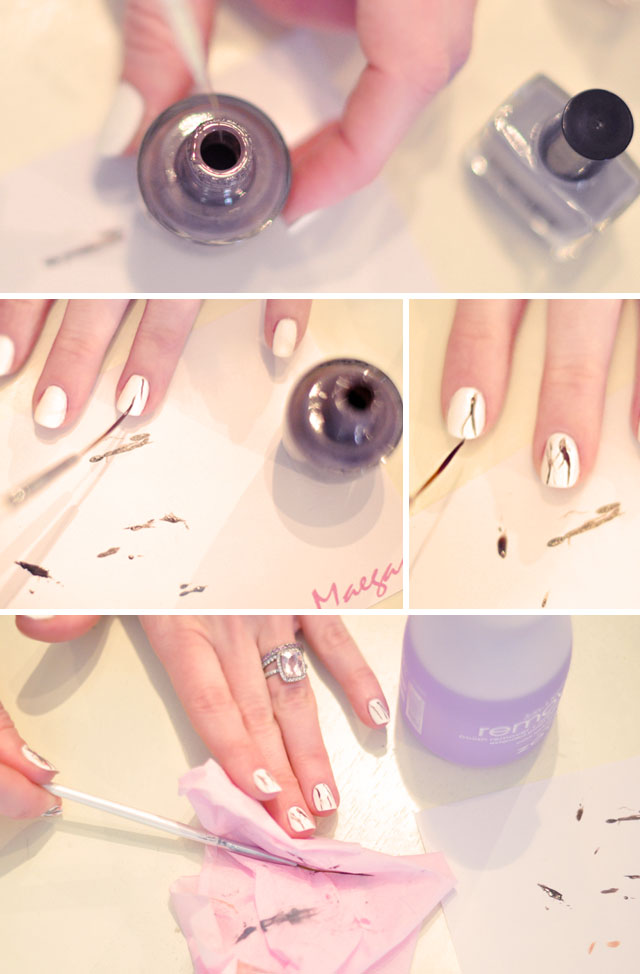
* Begin with your darkest color… I chose a taupe-brown, unscrew your top, remove all excess paint from the brush that comes with it and set it to the side. Using your fine nail art brush {or fine paint brush} dip it into your lacquer, remove excess paint using the side of the bottle or your scrap paper and carefully draw your first set of branches. I started basic, with about two branches per nail and drew outward from there.
You may choose to stop here or after any color, I wanted the depth and hues to vary.
* When finished with your first color, dip your brush in your remover and wipe it clean with your tissue.

* Clean off your brush… open your next color, mine was gray, and repeat that steps above, adding depth to your branches.
* After the gray I added a flesh tone and then a silver on top to finish the branches.
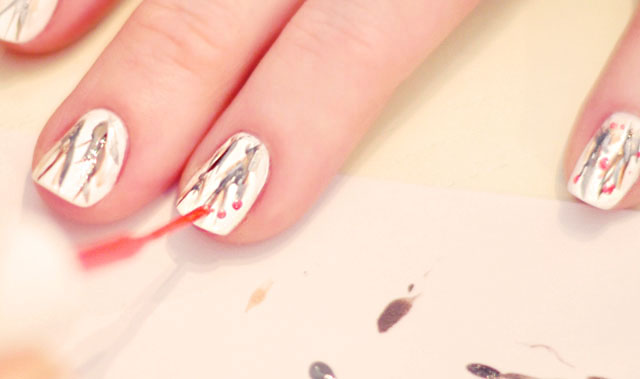
* Taking your bright hue, and using your fine brush {unless you have this random Art Deco polish brand with fine brushes} carefully add tiny dots alone or in groups of three to create your flowers. Add as many or as few as you wish.
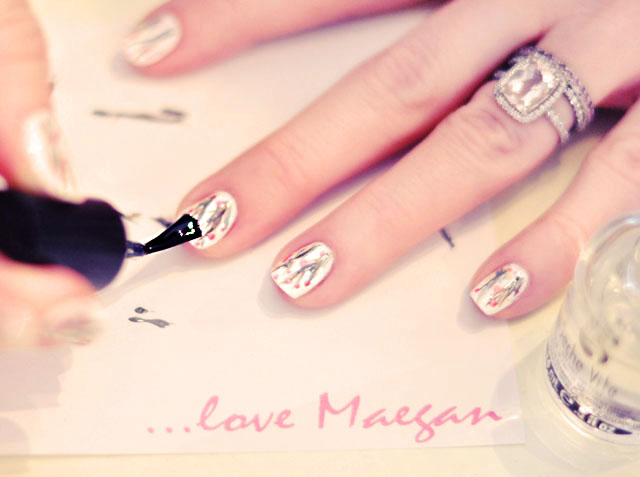
* Finish with your top coat. My favorite is Seche Vite… sometimes I even add another the following day just to keep it chip-proof!
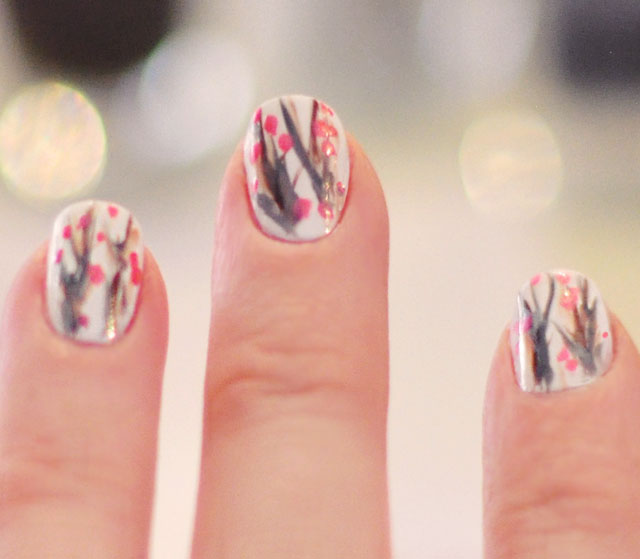
* It should look something like this… but it’s up to you, you can choose to create fewer branches or even just add a few accent nails.
Voila… Voila!

Looking for my pink iPhone case {4s} find it for the iPhone 5 here {I love this brand}
Have Fun!
* Find all my nail art tutorials here

