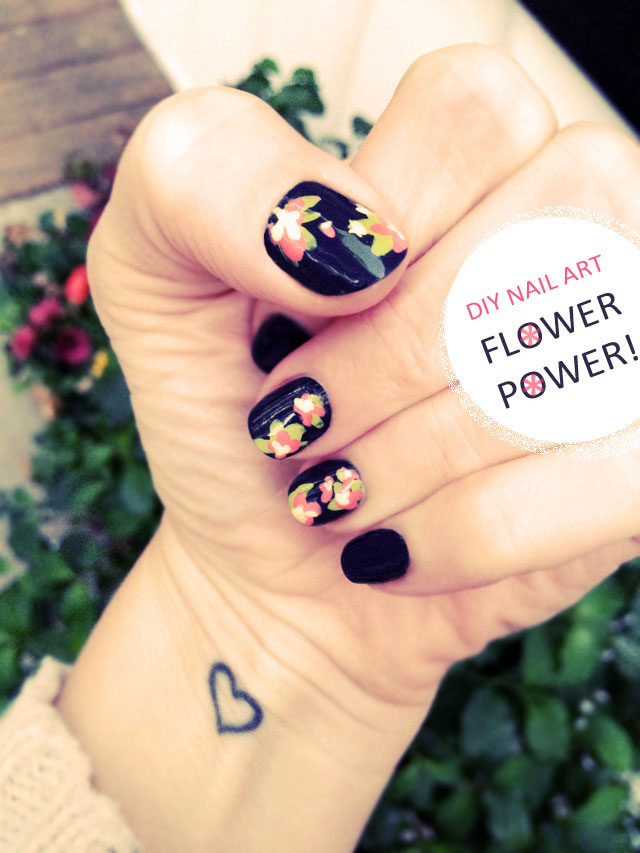
I’ve been wanting to create a pretty floral
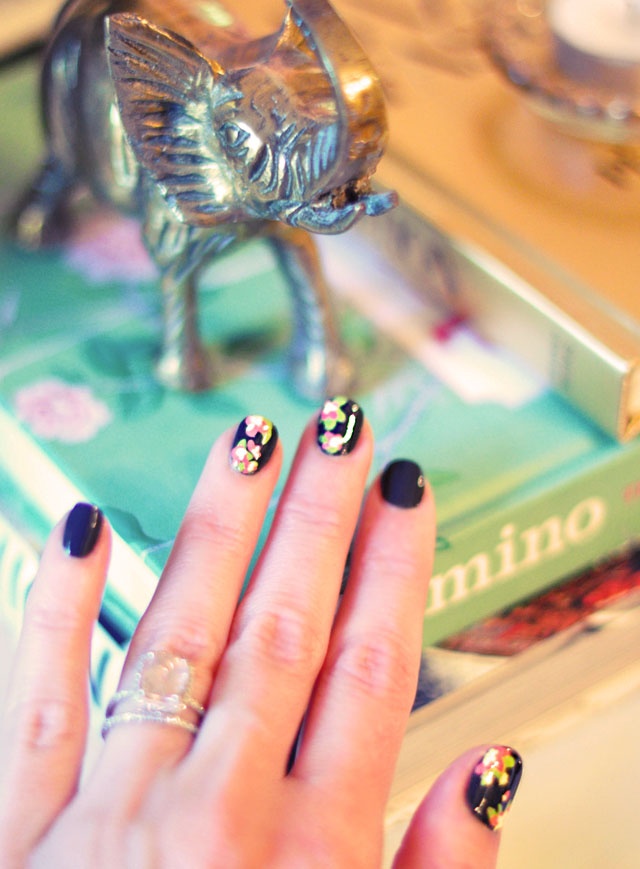
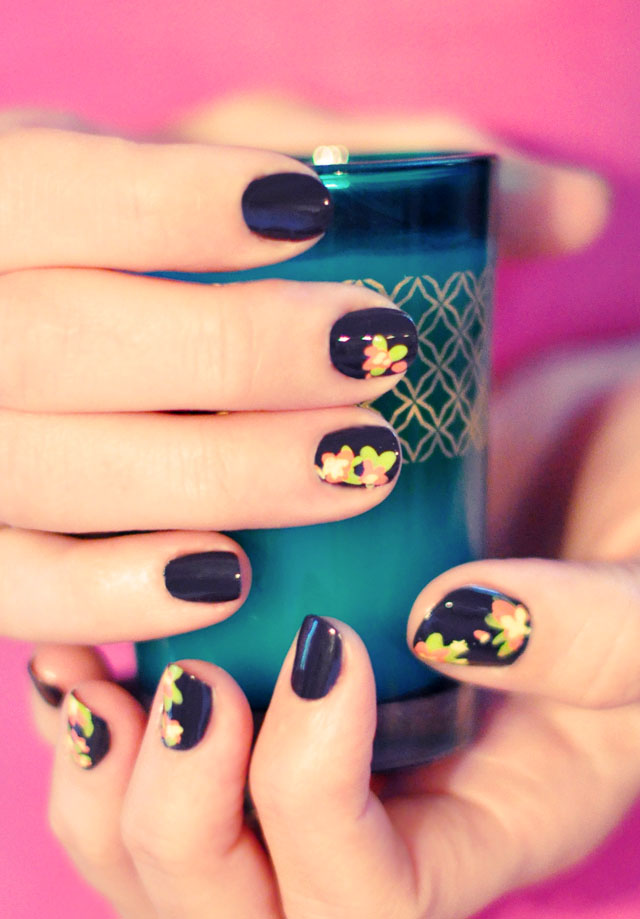
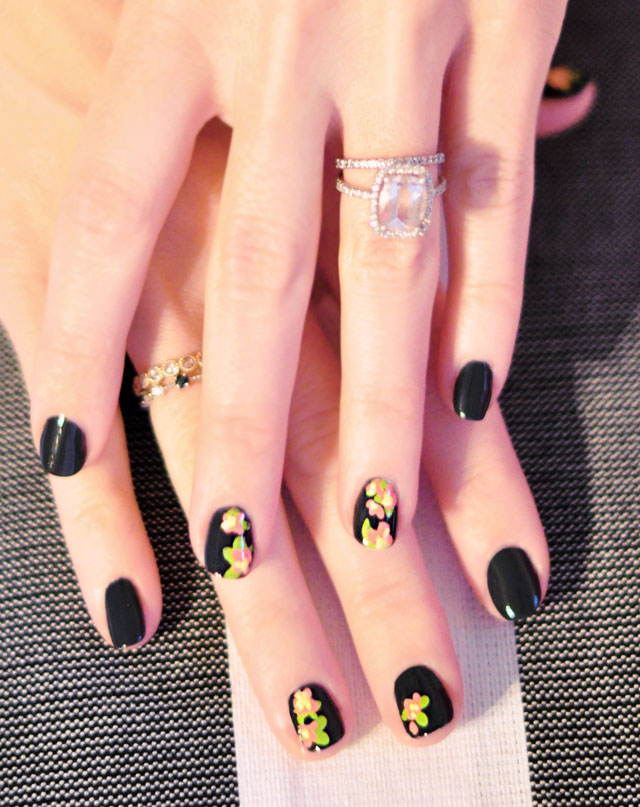
nail art manicure for some time now and these two L’Oreal mod 1960′s inspired nail polish colors gave me the inspiration to do so. And I just LOVE IT! Of course, each new nail art manicure I give myself becomes my new favorite and my obsession with this
deep charcoal gray nail lacquer by Sinful Colors is the perfect base.
Originally created for: DIY Nail Art | Hand Painted Flower Accent Nails
Here’s what you’ll need…
* 3-4 nail polish colors, a top coat and a fine nail art brush, paint brush or even tooth pick will suffice.
Here’s What I Used…
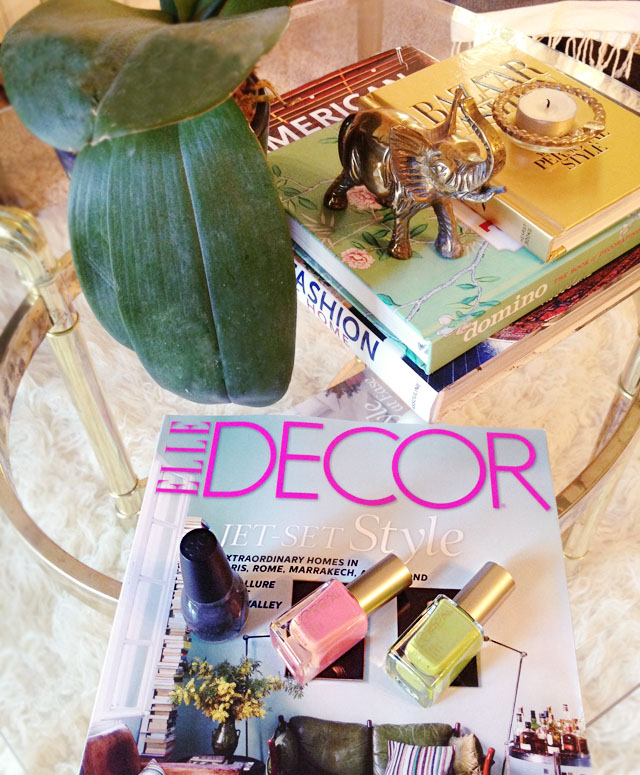
*
Sinful Colors “Ardoise {Night Magic} 1037″
*
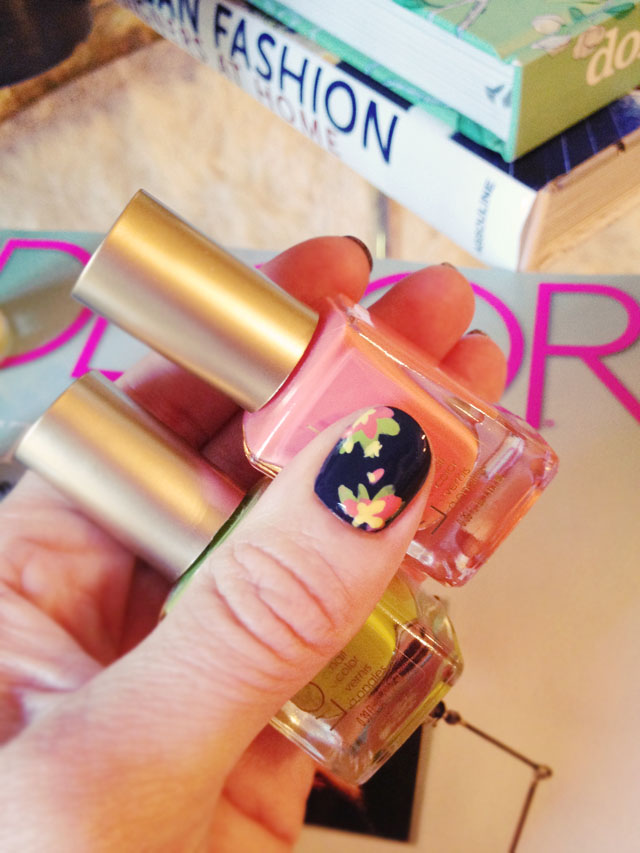
L’Oreal Nail Polish in New Money {108} and Orange You Jealouse {109}
* An old buttery yellow nail polish by Wet n’ Wild
*
Nail Art Design Tool Kit fine tipped brush
*
Seche Vite {my favorite top coat}
Steps…
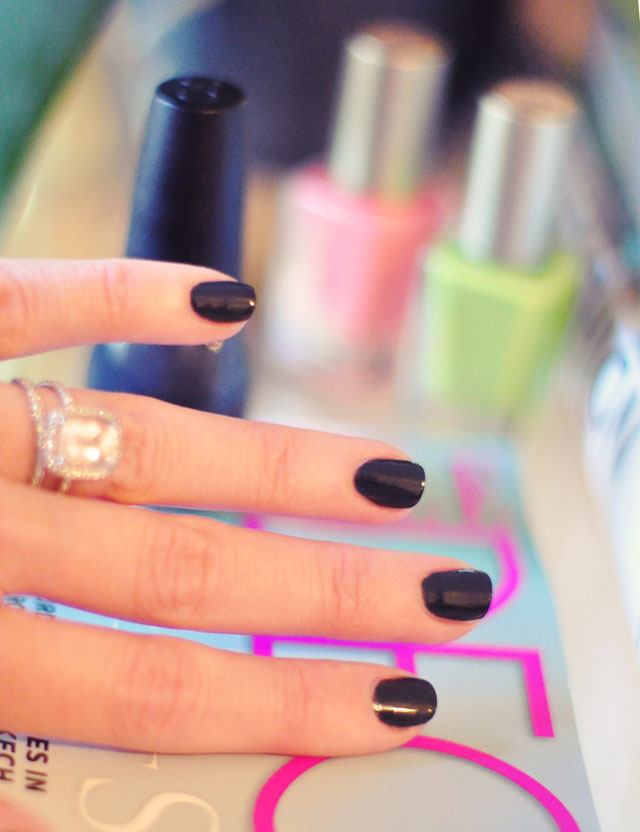
Begin by applying two coats of your base color and let dry.

Grab your fine nail art brush, paint brush, or tooth pick, and pick up some green polish.
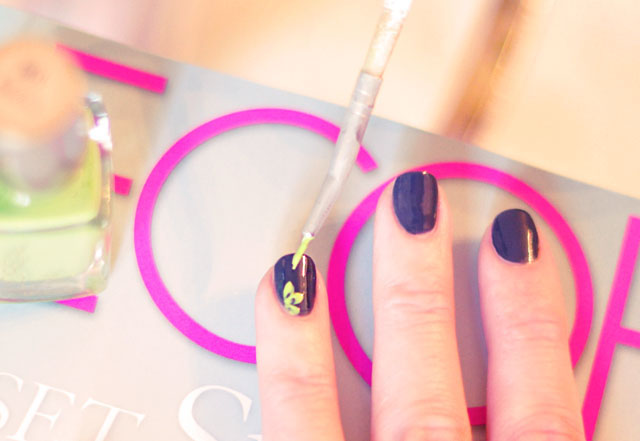
Carefully apply what will become your leaves to your ring fingers, middle fingers, and thumbs. * This looks more difficult than it is. You can simply “dot” or “splotch” bits of green, usually in a three-way pattern, which in the end, will look like leaves {even if you mess up}. Let dry.
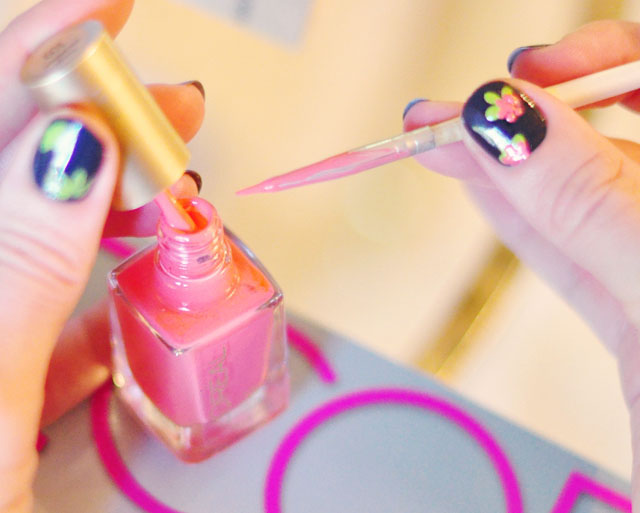
Now pick up some of your pink polish on your nail art brush {or whatever color you’re using for your flowers}.
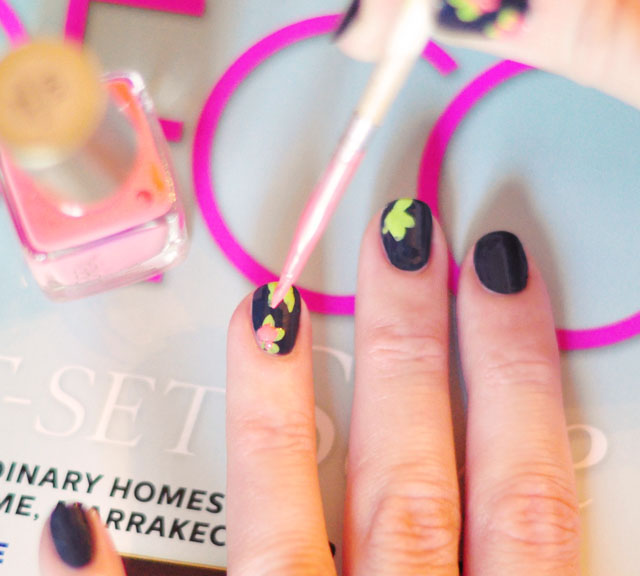
And with your pink, simply create your petals by layering 3-5 small dots on top of your green leaves. Again, it’s okay if you mess up, as long as your green is showing beneath your pink, you’ll still achieve a floral look.
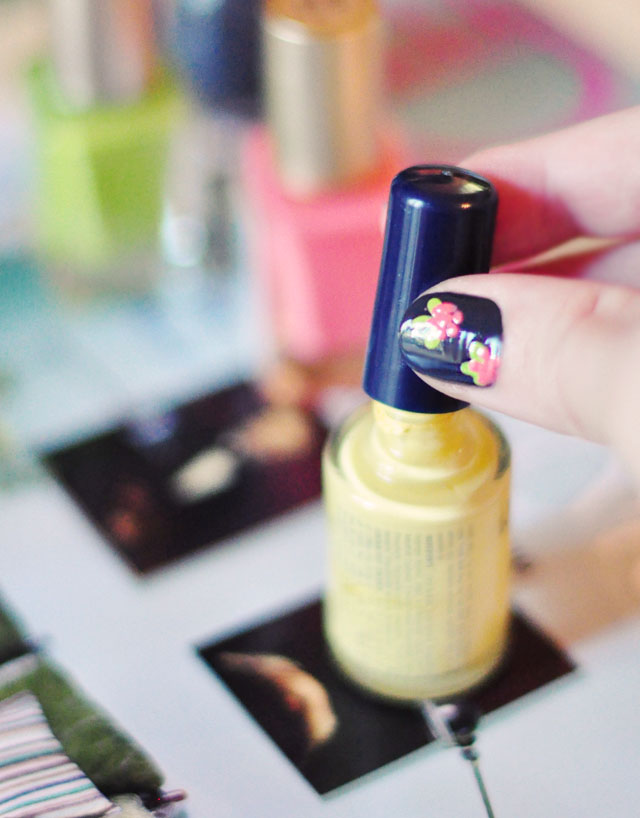
Grab your third color, I chose yellow, and follow the steps above, applying even smaller dots on top of your pink petals to create depth and texture.
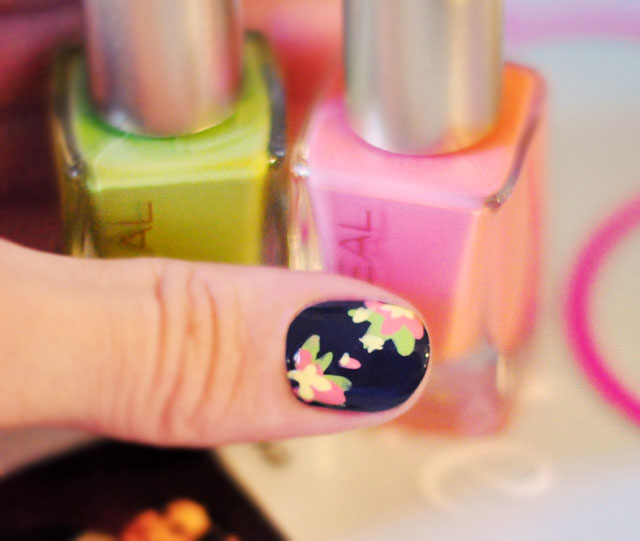
Apply your favorite top coat. You will see that your top coat smooths and sets your flowers into place, creating a pretty floral pattern.


Have Fun!
* Find all my nail art tutorials here | DIY Nail Art Manicure Archive


