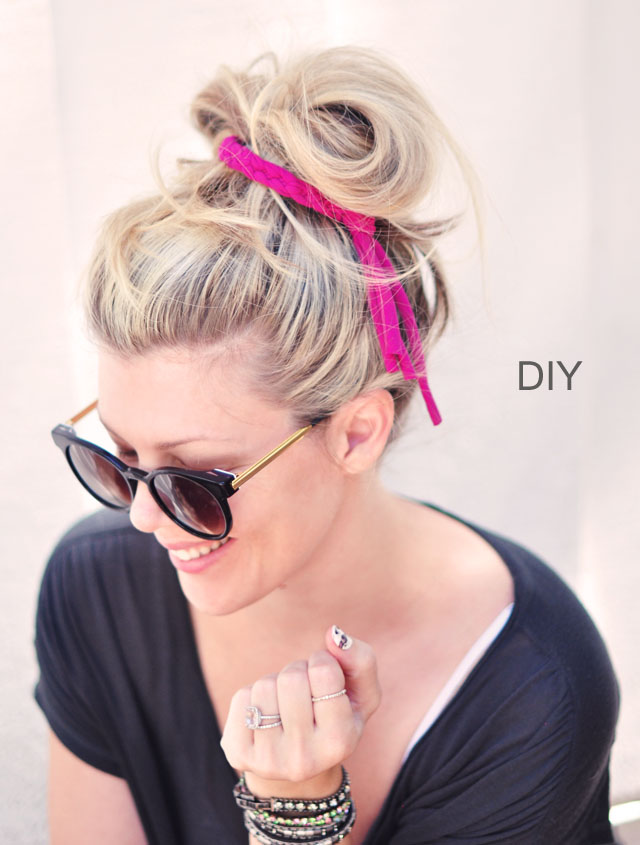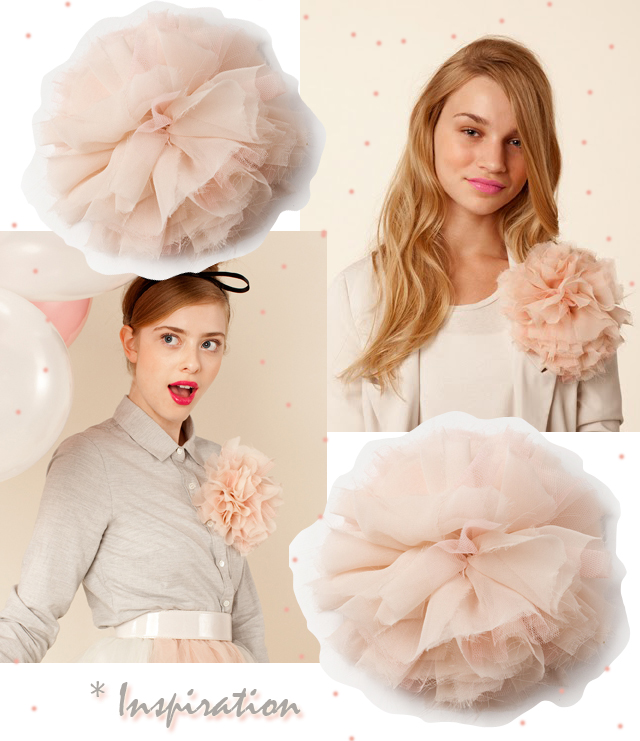
I’ve been reading Seventeen Magazine since before I can remember, obviously well before I was seventeen and probably well after. When they reached out a few months ago asking about featuring a few of my hair accessory DIYs in their Prom issue, I was giddy! (scroll to the bottom to see the feature!)
They were already interested in two previous DIYs I have shared here in recent years, my DIY Floating Hair Flowers and DIY Gold Leaf Hair Combs, but they wanted one more that had a starry theme.
I had materials to make this Starry Night Headband but it wasn’t quite what they were looking for, so they sent me this celestial headband by Jennifer Behr, which retails at nearly $300, and asked if I could recreate it for less.
OF COURSE I love a challenge, but it was DEFINITELY difficult to find the little stars and moons crystals to replicate it. I finally found a box of what looked like only colorful star crystals at Michael’s in the party decor section, but the only moons I found were little necklace pendants. I bought them anyway because it was my only option, but when I returned home to begin my DIY headband and opened the box of crystal stars, THERE WERE MOONS INCLUDED AS WELL!
I was super excited and got right to work.
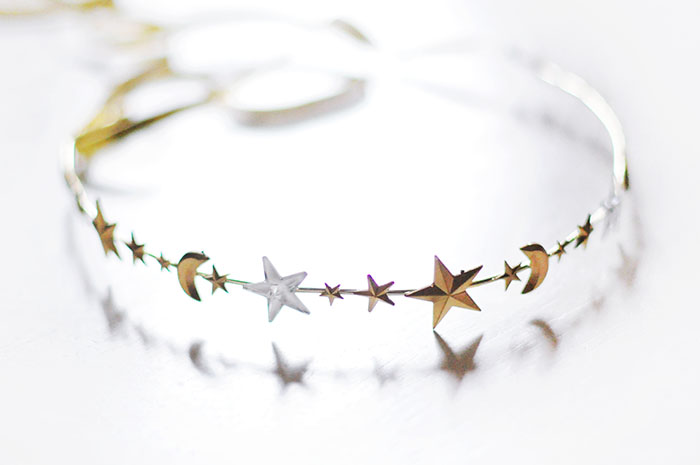
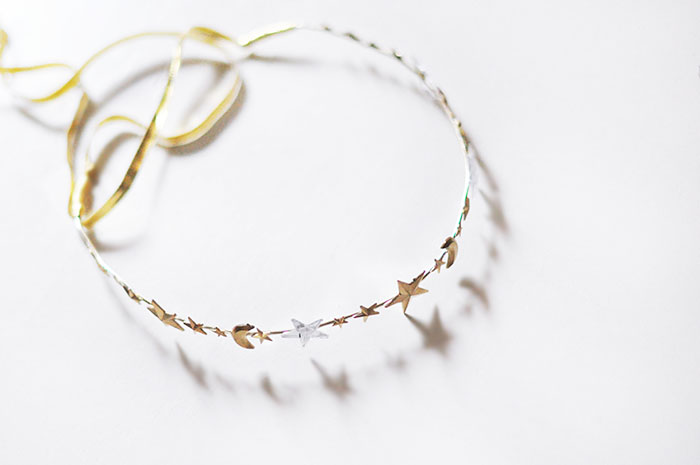
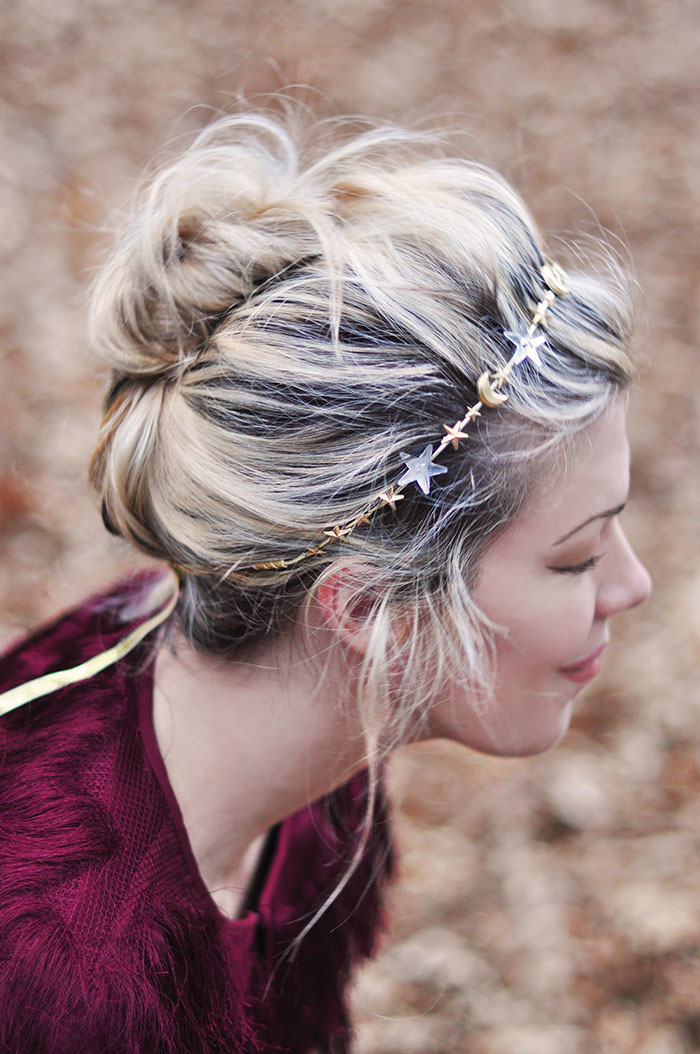
I ADORE this headband/crown. It came out really nicely, and though it’s delicate, it’s also pretty simple to make as long as you have a little patience. It’s perfect for the holidays, NYE, and of course, Prom 😉
So let’s get to it!
Here’s What You’ll Need…

* Bead Landing™ Assorted Faceted Acrylic Jewels, Moon & Stars
* Decorative gold wire 12 gauge
* Fine gold ribbon
* Wire cutters
* E6000 adhesive
Steps…

1. Unravel your wire and hold it up to your head to measure. Using your wire cutters, trim a piece of wire that is at least long enough to hit below and behind your ears.

2. In a ventilated area, apply glue to the ends of your metal headband crown and carefully wrap your gold ribbon around and around to cover about an inch of space as well as the bottom/ends of your metal. Tie a knot in your ribbon and allow the remaining ribbon to hang as long or as short as you like. Do this to each end separately and allow to dry.

3. Prepare your jewels by spray painting stars and moons in various sizes gold. Make sure to use any kind of spray paint outdoors or in a ventilated area and allow to dry.

4. Line up your stars and moons to create the desired design on your headband crown.

5. Begin in the top/center area of your headband and using beading tweezers or just your hands, apply a small amount of glue to one gem at a time, and set in place.
NOTE: It’s easier to apply gems if you have your headband in a standing, upright position. They may fall to a side occasionally as they are drying, just set them back in place.

6. Slowly repeat the step above until all of your gems are secured to your headband crown and allow to dry over night.

And… Voila!

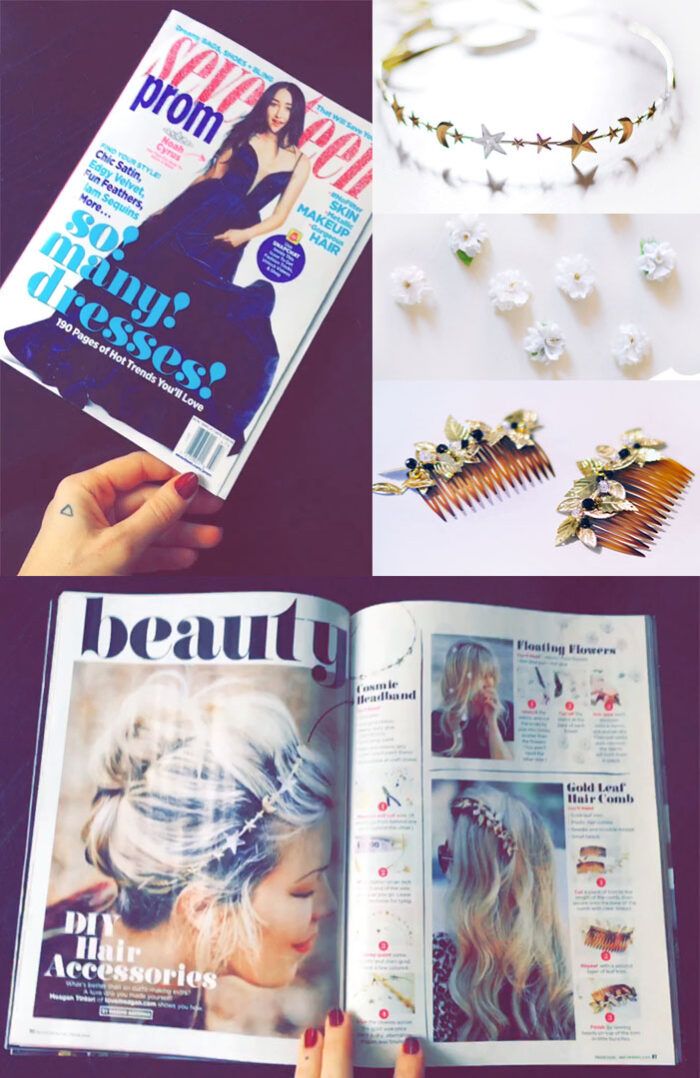
I’m so honored to be featured in the Prom issue of Seventeen magazine which is available to buy in stores now! Find my DIY Floating Hair Flowers and DIY Gold Leaf Hair Combs tutorials by following the links.
W E B S I T E // Seventeen.com
I N S T A G R A M // @seventeen
Have Fun! Happy Holidays Lovecats!
* Find all my DIY Hair Accessories here
* FInd all my DIYs here


