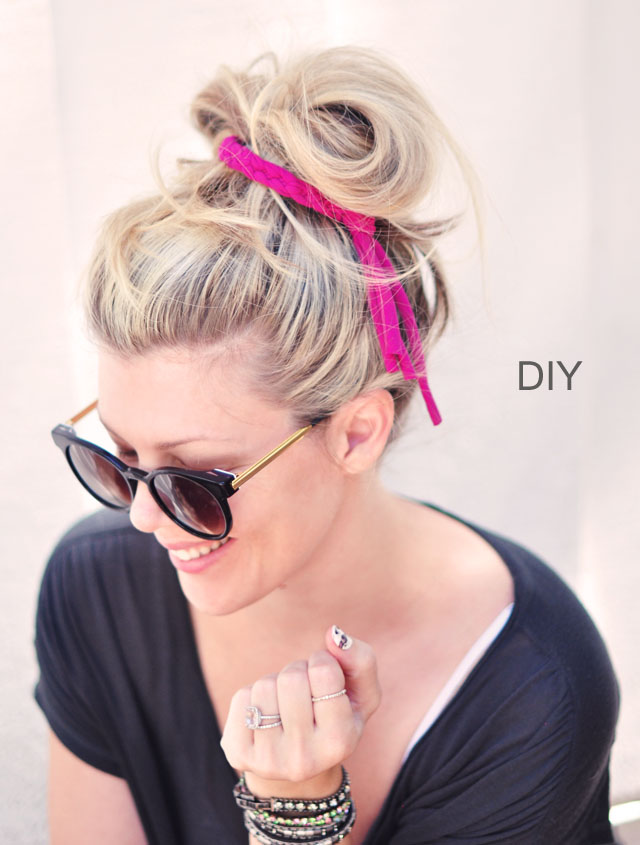
Inspired by the super cute hair tie in my Summer Dreamin’ Sweet Ice Cream Cones post a few months ago, I’ve been DYING to make this simple little braided hair band and finally, near the end of Summer, I got around to doing it.
Inspo…

Unfortunately though, I did it based on memory instead of looking at the original inspo photo above, and as you can see, I made it a bit too narrow. It’s still cute AND it can also be wrapped twice and worn as a bracelet… BUT I wanted it a bit fluffier like the one shown. Either way, it’s a 4 strand braid that’s super cute, super versatile, and super easy to make {takes about 5 minutes!}.
I originally made this design back in the ’90s out of leather and as a choker… which I should probably just DIY again here for you since chokers are back in style, but this is the same design. I did a braided jersey belt a few years ago {2009} as well.
Here’s What You’ll Need…
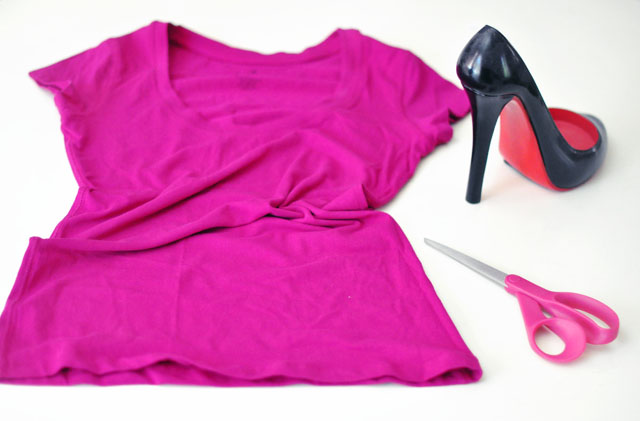
* Stretch jersey AKA an old T-shirt {the stretchier the BETTER!}
* Scissors
* A stick, large marker, or in my case, a Louboutin wine holder to use as a base and to create a “hole”
Steps…
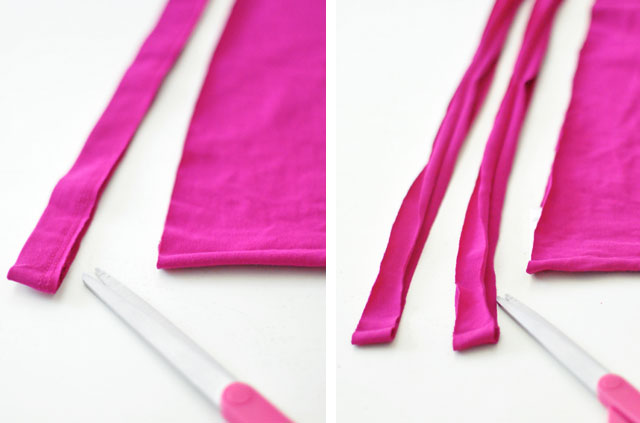
* With your t-shirt lying flat, carefully cut off the bottom seam and toss.
* Now cut two strips at least one inch in width. The larger the strips, the thicker your braid will be.
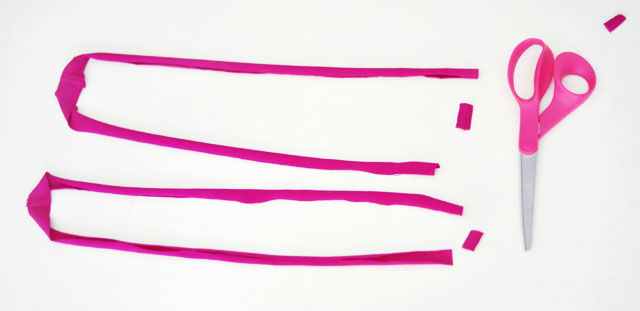
* Cut off the seams at one end of each of your circles. Holding the centers, stretch out your strips so the edges turn in a little {and disappear}.

* Layer your strips on top of one another and secure behind your “stick”. You will have 4 strips available to braid.
* Take an outside strip and weave it over the next in line, then under, then over, etc.
* Grab the outside strip on the opposite and weave it under, over, under, over, etc.
* Repeat this step over and over, tightening your braid as you go.
* When you’re on a braiding roll, you’ll feel as if you’re simply taking one side and weaving/braiding it under and taking the other side and weaving/braiding it over repetetively.
* Keep going until you’ve got about two inches left over
My braided jersey belt may have more in-depth instructions if you need them.
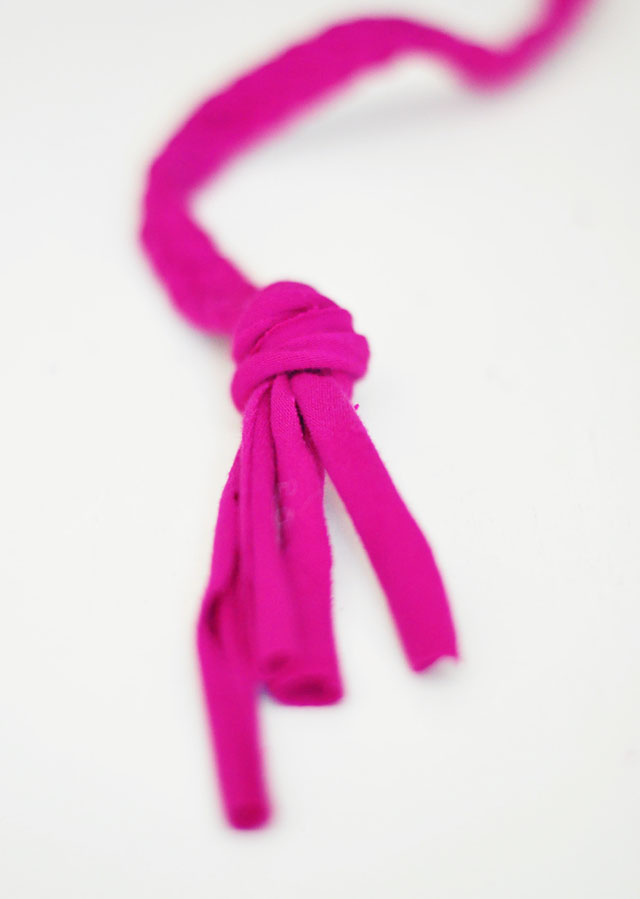
* Tie the loose end into a knot and pull each strip separately to tighten it.

* Slip your braid off of your “stick” and you will see a hole in which you will slip your knot through to secure.
And… Voila!


Have Fun!
* Find all my DIYs here
* Find all my T-shirt DIYs here