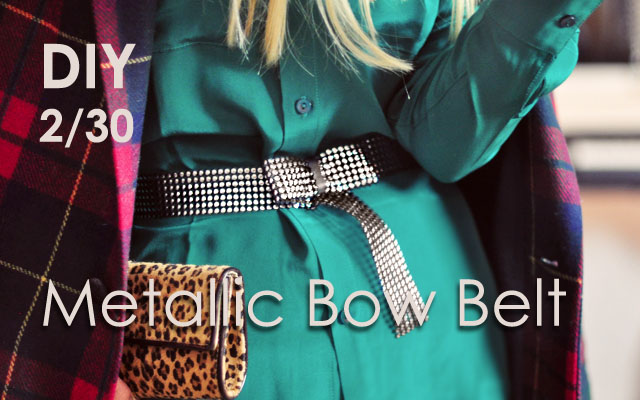
Well, I thought I was totally original when I came up with this idea late last night {not in that it was a “bow belt” obviously}, but today, in searching for the materials, I found a similar bow belt project using the same studded ribbon. However, mine is still different enough and you don’t need an actual belt for the project. So that’s good. I really don’t like creating the same DIYs that are already out there, though it seems nothing is original anymore, right? I still can’t find this exact ribbon online anywhere, so if you can locate it, leave the link in the comments section if you don’t mind 🙂
This is not only a really fun accessory to pump up your holiday looks, but an easy gift to make for friends!
What You’ll Need…
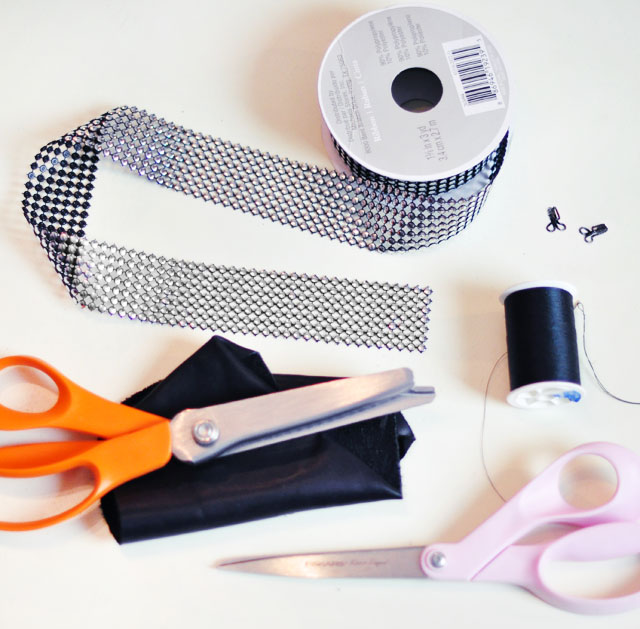
- 1-3/8″ studded ribbon from Michaels. This ribbon is not actually ribbon, but tiny silver rounds mounted on plastic backing, stitched together in a netting of sorts. It’s very strong and durable and super fun to play with. I found it at a Michaels store last year.
- Leather scraps
- Scissors: regular and pinking shears
- Needle/Thread
- Hook and Eye closures, two small or one large will work, as long as they fit through the netting
Steps…

Measure your waist. Cut ribbon to desired belt length. Leave extra to cut away just in case.
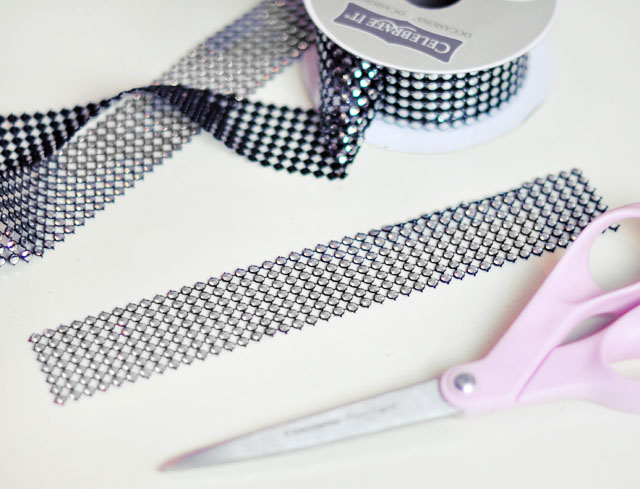
Cut about 8-1/4″ piece of ribbon to create your bow
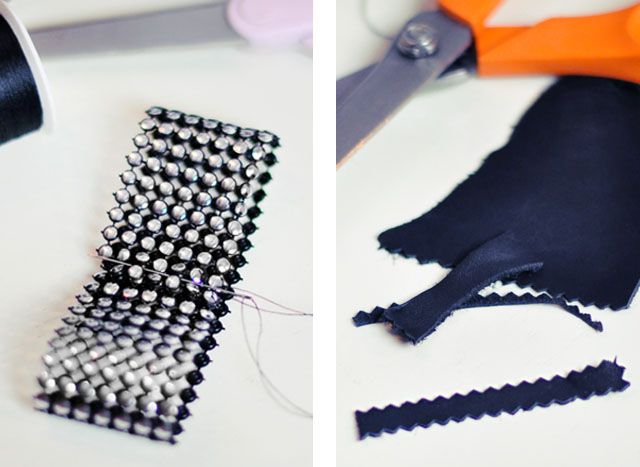
Fold over and stitch ends together. Cut a narrow piece of leather with your pinking shears
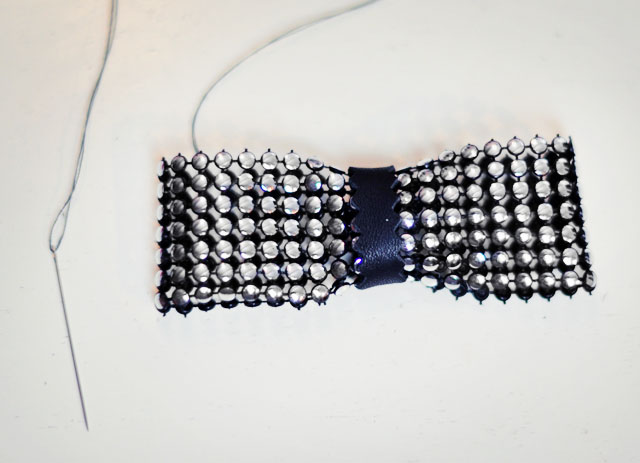
Wrap your leather around the center of your bow and stitch in the back
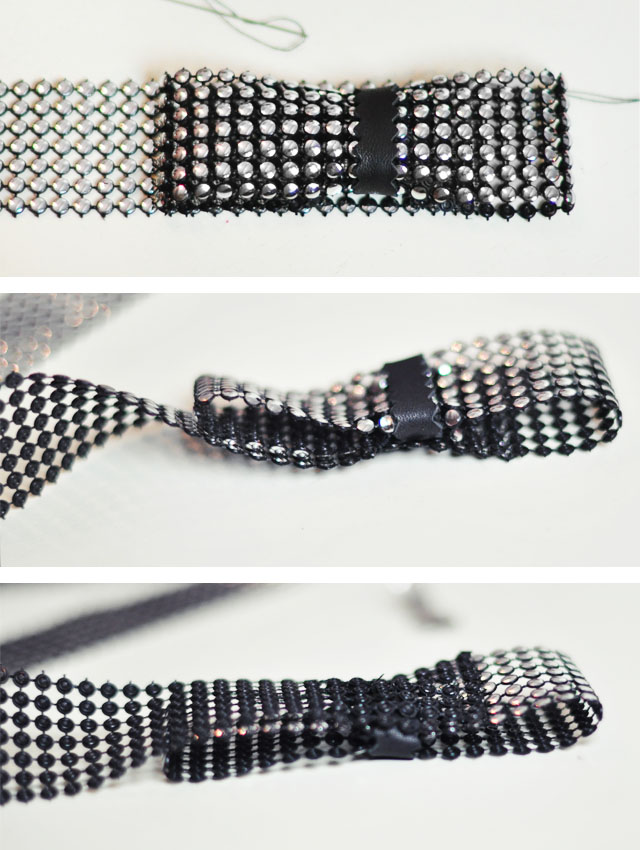
Now stitch your bow to one of the ends of your “belt”. It should overlap a little as shown in the bottom photo and make your bow stronger and more durable.
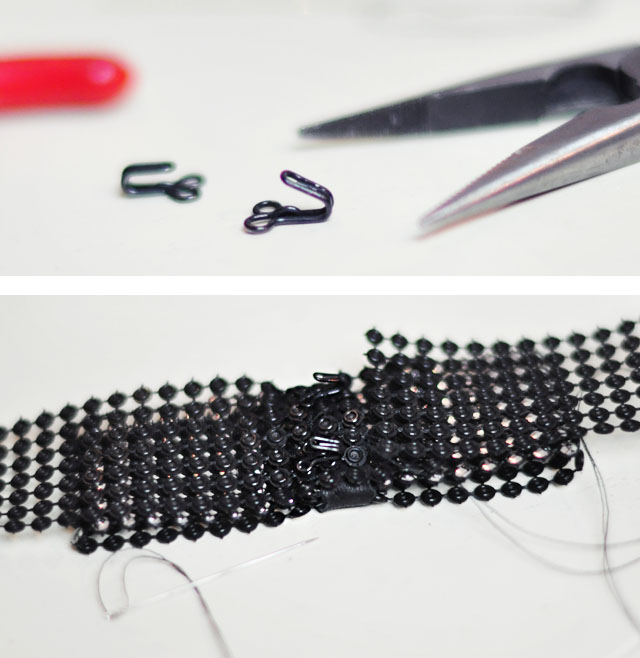
Bend up your hooks just a little with pliers then stitch them evenly to the back of your bow, making sure they align with the holes on the opposite side of the belt.
And… Voila!
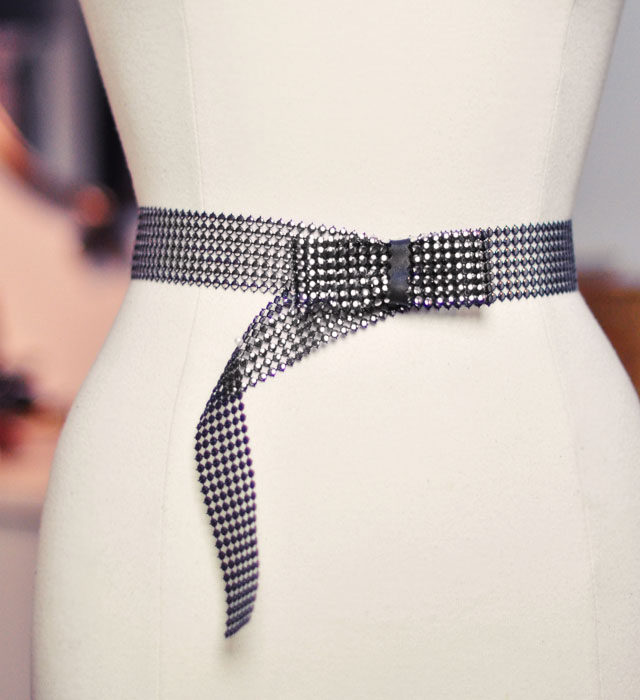
Cut away the excess if you like… I actually liked it hanging down.
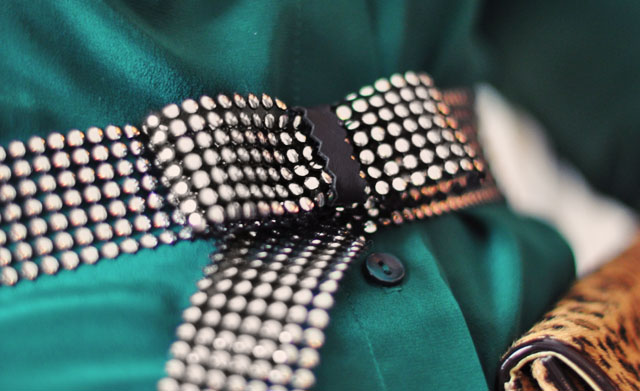
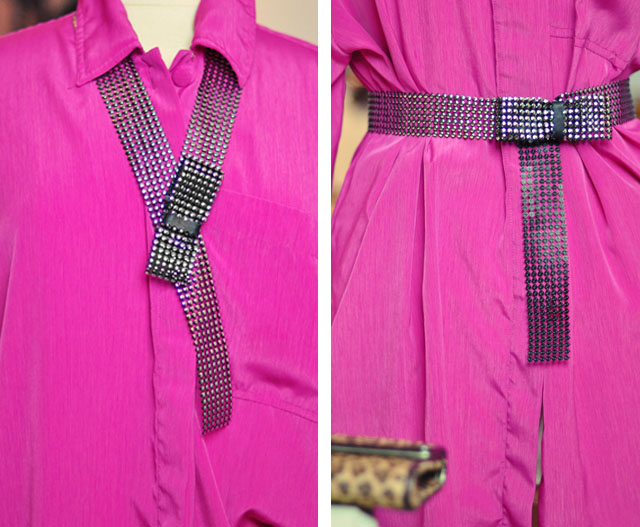
Wear it as a necklace/tie! It hangs really nicely around the neck and would look cute against a blouse as shown here, OR against skin, and the focal point of a deep V!
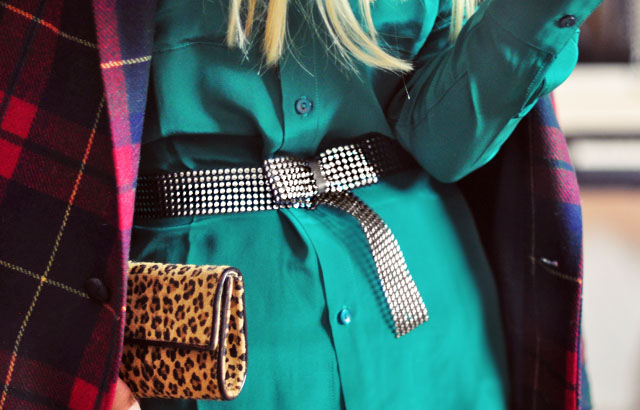
You can also trim your end into a “W” to really give it a “bow” feeling!
This is DIY #2 of 30… Click Below to see them all!

Have Fun!
Find all my DIYS here

