
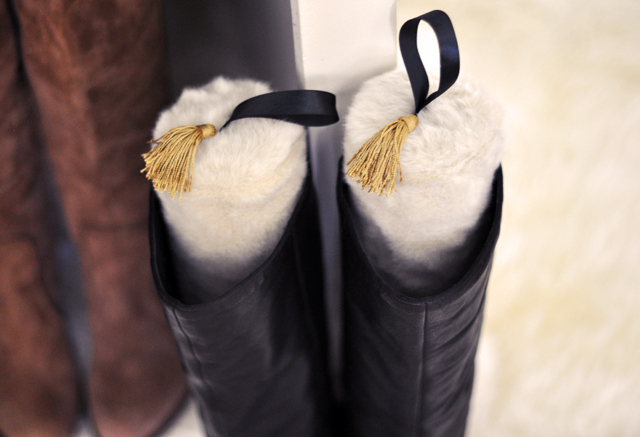
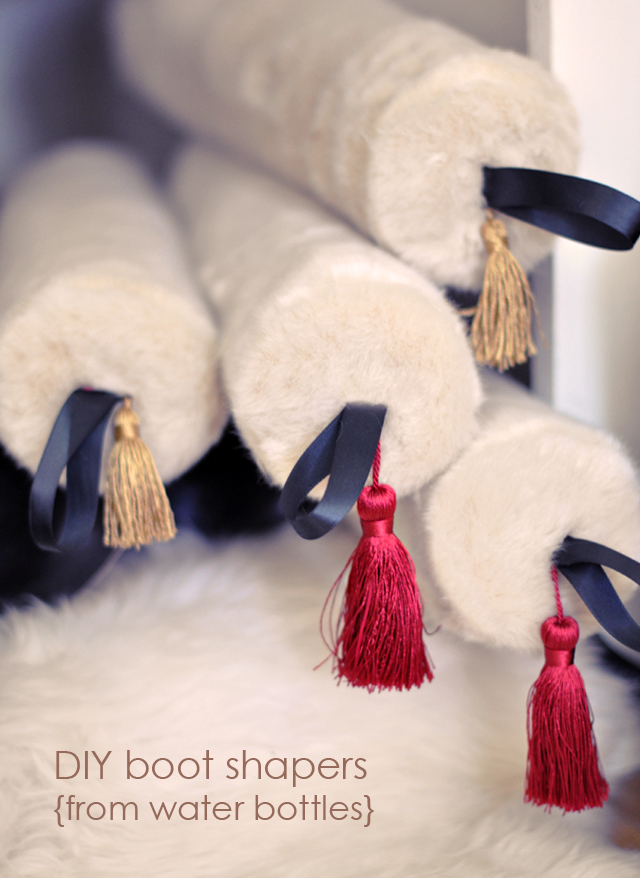
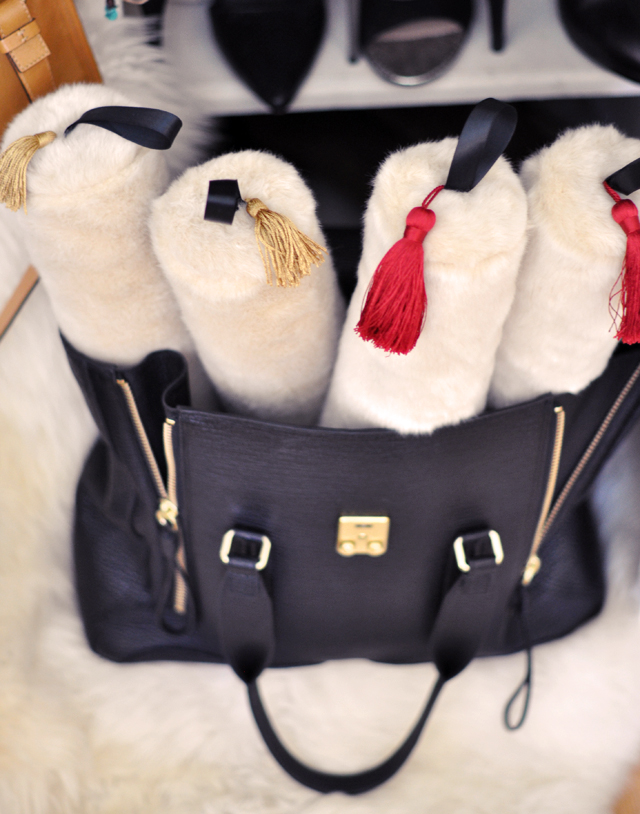
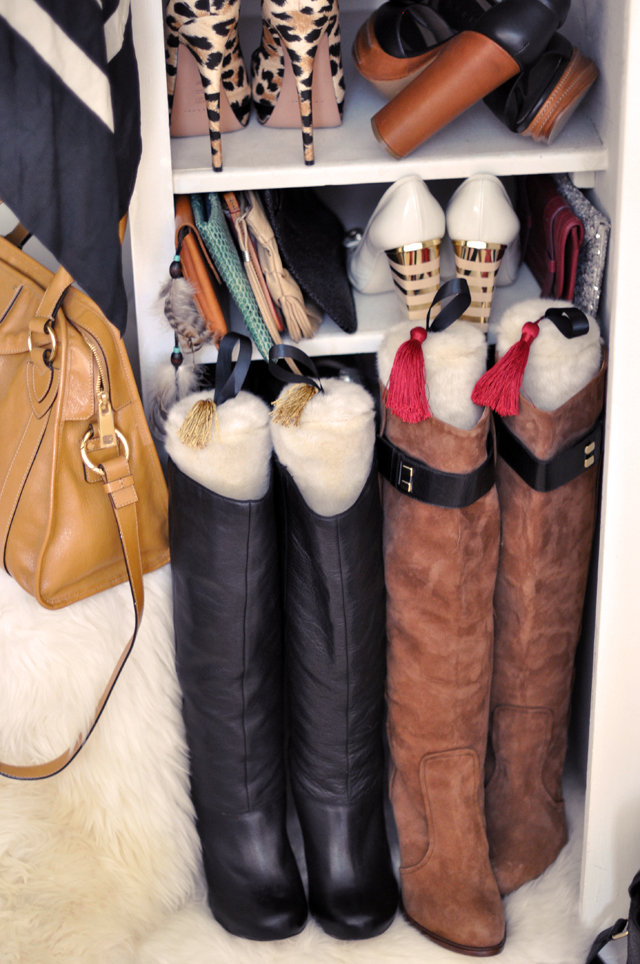
Let me first start by saying that this may be one of my all-time favorite DIYs EVER… and I think my best DIYs come from pure necessity and/or a real desire to have something fabulous that I can’t find elsewhere. For instance, I can NEVER find really great boot shapers… thus, some of my boots are lying flat in their original boxes & others are standing with their original paper boards & tissue paper that came with them {very unchic!}. Really, when it comes down to it, I don’t want to spend money on boot shapers but I also don’t want to look in my closet and see a bunch of wine bottles or plastic bottles sticking out of my shoes. So this is my solution… and as soon as I finish more SmartWater bottles, I’ll be making sets for all my boots in my closet.
NOTE: Though this DIY is not complicated, there are a lot of steps.
What You’ll Need…
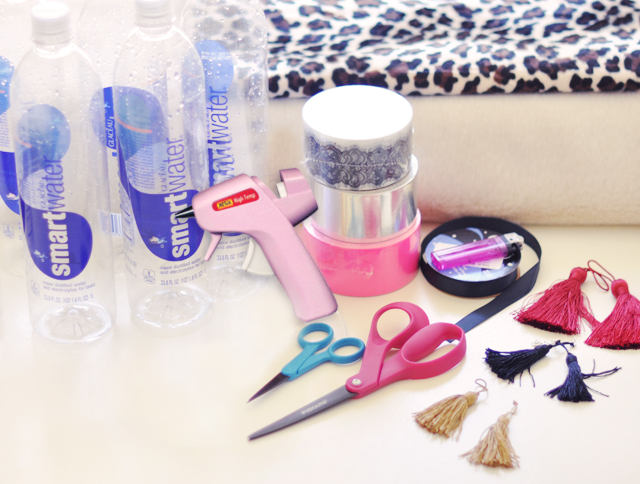
* SmartWater bottles {two 33.8 fl.oz.bottles per each boot stay}
* Scissors
* Duct Tape
* Hot Glue Gun {I started with Mod Podge – big mistake! Huge.}
* Short Pile… Faux fur {or another thick fabric or textile}
* Ribbon {+ a lighter}
* Tassels
Steps…

* Cut the tops off of your bottles {stab and cut around carefully}

* Allow them to dry COMPLETELY {upside down in the warm sun is quick!}

* Cut 4 slits evenly around the tops of your bottles.
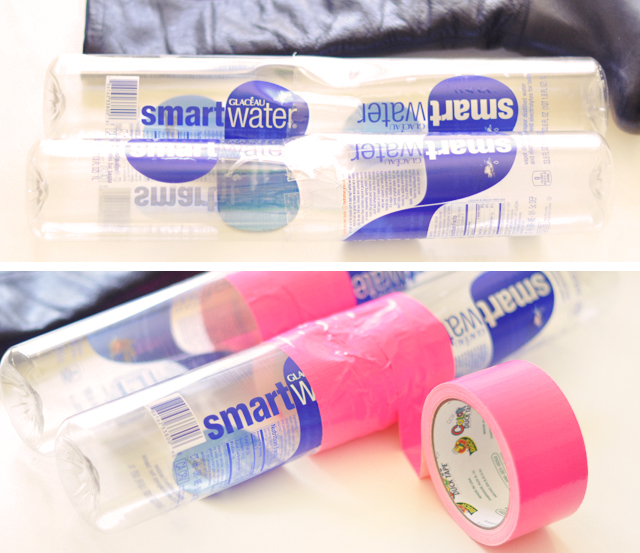
* Insert one bottle into the other… adjust for height {make some taller than others but match your “pairs” in height}
* Duct tape them together. I overlapped mine and went about 6″ wide to make my bottles sturdier.
Optional but Special…

* Cut off about a foot of duct tape… Cut a slit in the center… Cut a piece of ribbon about 6″ or longer and singe the ends with your lighter…

* Slip your ribbon through the slit in the tape creating a loop on the unsticky side… slide your tassel through the center of your ribbon loop… Slip the tassel loop through the ribbon and tie the ribbon in a double knot… press your knotted ribbon down onto the tape to secure it in place.
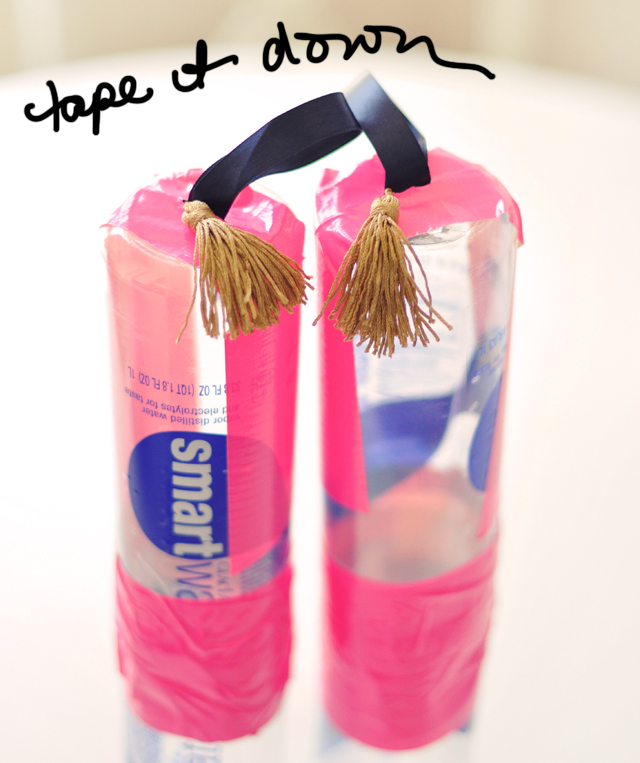
* At the center of each of the ends of ONE side of your bottles, tape down and secure sides.

* Roll your fabric around the bottle to measure it and cut {cut larger than you need}
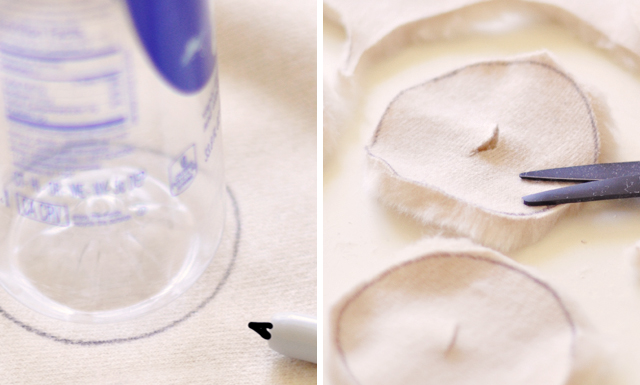
* Use your bottle base as a template, draw & cut out two circles & cut a slit in the center of each.
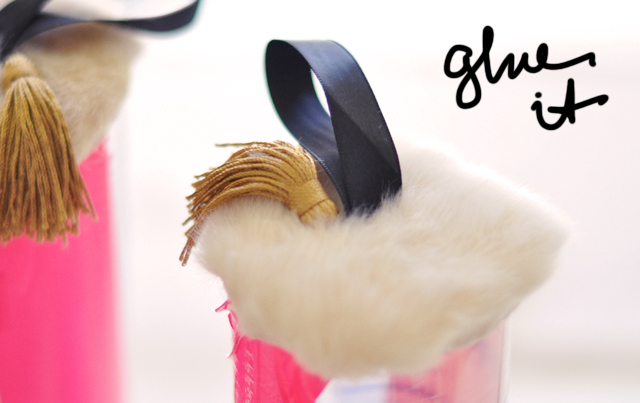
* Pull your tassel & ribbon loop through the center slit & hot glue your fur circle to the bottle and over the edges {if it’s a little big that’s okay}.
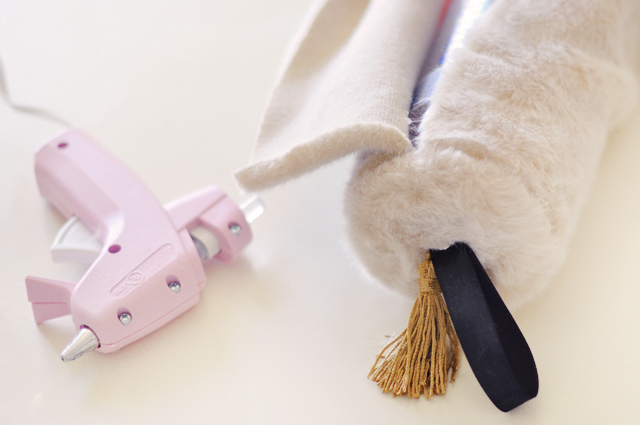
* Beginning at the furry top edge, carefully hot glue gun the top of your fabric around the bottle, edging it against the fur circle top seamlessly so there is no space in between.
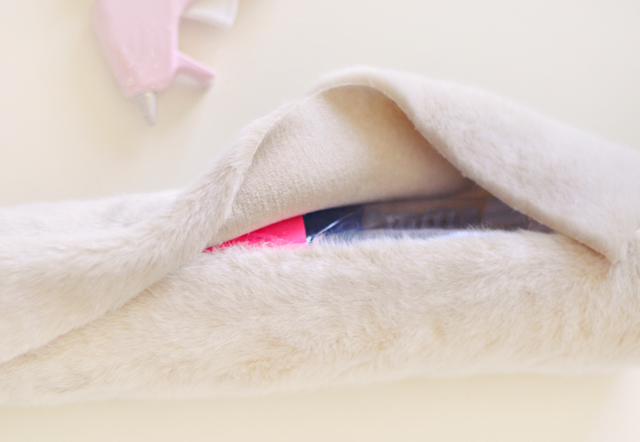
* Straighten out your fur and hot glue gun the starting side all the way down your bottle… then do the opposite side only glueing up to the edge, do not overlap.

* Trim off your excess material {around the bottom as well, leaving about 1/2″ at the base}
TIP: if you want a “finished” seam along the side of your shaper after you cut off the excess, carefully apply more hot glue to the small areas in between the edges and tuck your edge under a bit while simultaneously glueing it down.

* Apply hot glue to the edge and bottom then pinch your left-over fabric and press it down and secure it to the edge & bottom. Cut a small circle, apply glue to the center and add your final bit of fur to finish off the bottom.
Voila!
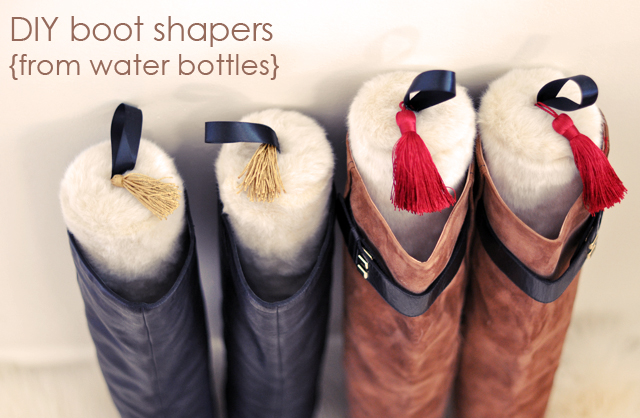

Have Fun!
Find all my DIYs here!


