Anyone who grew up in the ’90s knows this trend is not new. But the oversized barrettes and embellishments are totally remeniscent of the ’80s – so it’s a fun new mix of both throwback trends AND barrettes and clipped hair styles were also huge in the ’70s.
As with all things, old is new again, but with a spin…
And I wasn’t sure I was fully on board with the look, given my age (lol) but once I tried mine on, I kind of loved it. Also, I minimized mine just a little bit in comparison so they’d be a little more wearable… But I love a good hair accessory DIY and c’mon, these are super simple to make!
So let’s get to it.
But first…
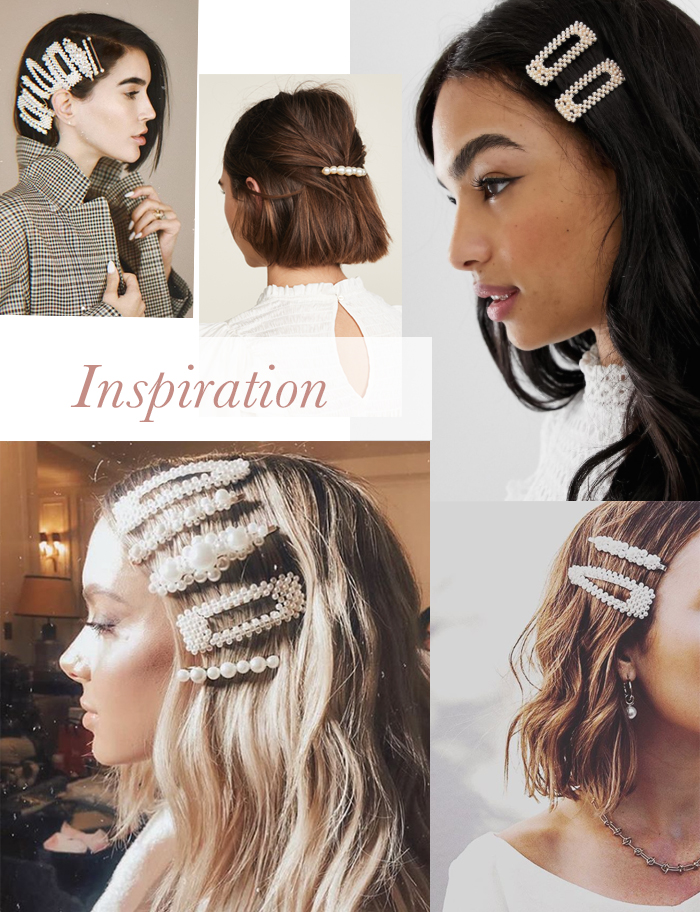
The price points on all these barrettes and hair clips are as you’d expect; super duper cheap to super duper expensive. I’ve linked a bunch below in the widget so you can see the difference.
Also, Amazon has some super affordable options (though I’m not sure about quality) and there are tons of pretty hair clips on Etsy too!
Here’s What You’ll Need…
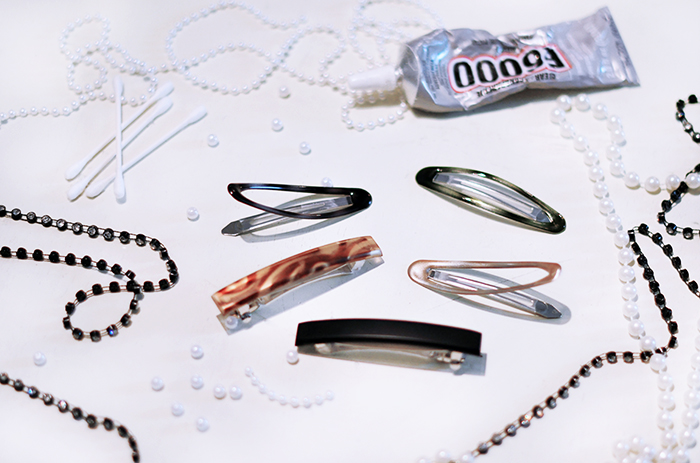
- Huge hair clips and barrettes. I had some old ones I thought I’d use, but went to the local drug store to pick up some new ones to make it easier on anyone who also wanted to do the DIY and get the look. I found great options from the Scunci brand.
- Strings of pearls and crystals or loose gems and pearls work as well (but I found the strung options much easier)
- Glue – E6000 adhesive is my favorite choice, but it’s toxic, so do this in a ventilated area
- Q-tips were helpful as well
Steps…
Decide which barrettes you want to use and choose your embellishments! I had strings of baby pearls and larger pearls I used and a string of crystals with black settings. Use the lighter barrettes with lighter gems and pearls and darker barrettes for your darker ones so they look more seamless – unless you want the contrast.
Also note: flat barrettes are easier to work with than rounded ones.

Measure the amount of pearls or stones you need to cover the barrettes and cut them so they’re ready to place.
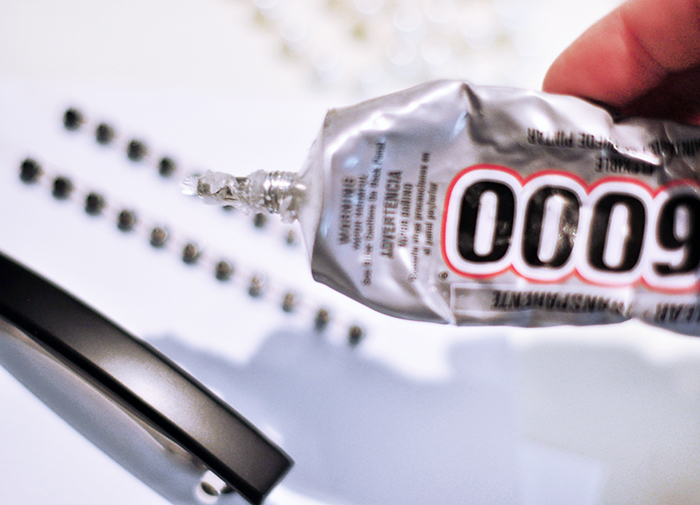
Grab your barrette and smother it with glue… spread the glue with your q-tips – let it set for a second…
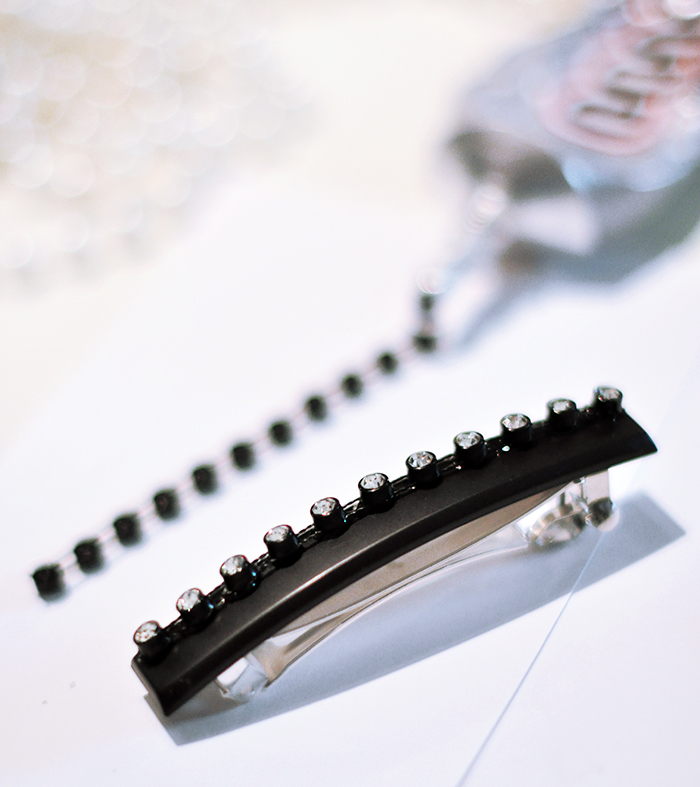
Then carefully set your strings of embellishments on the barrettes… move them around until you get the look you want and set them in place. You will have to keep playing with the placement for a few minutes until the glue sets them in place.
Otherwise when you set them down, they’ll fall off to the sides.
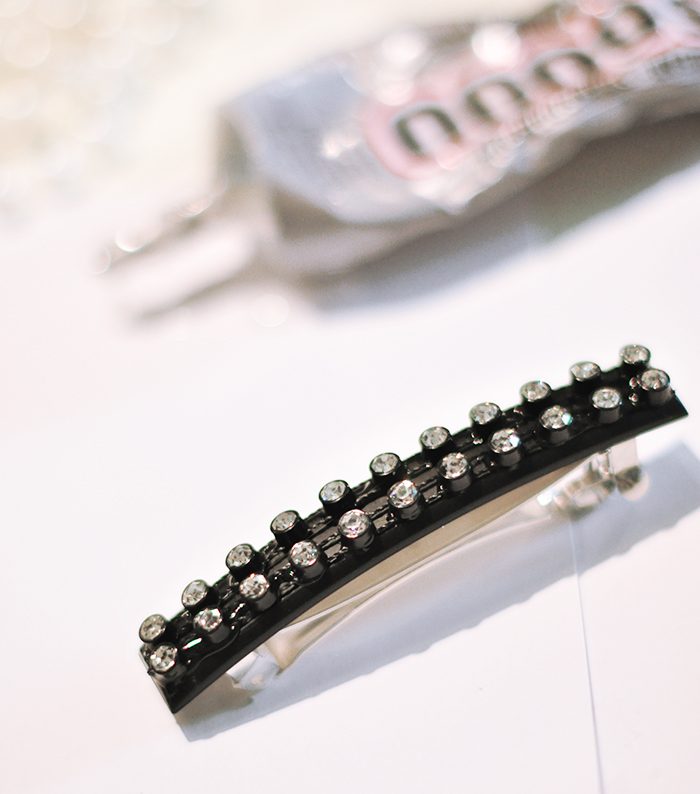
So basically you do the same thing with all of them. Glue. Embellishments. On.
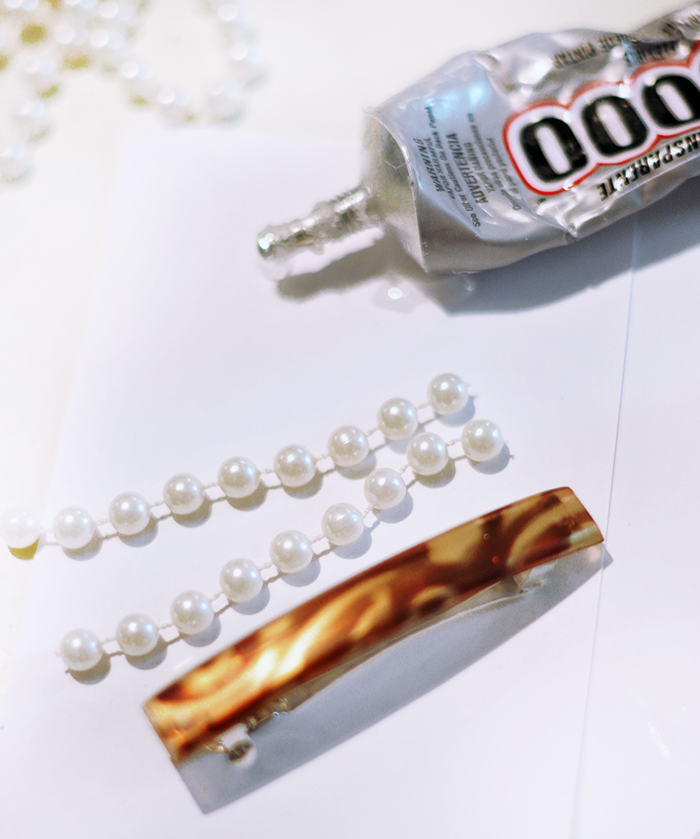
It’s pretty easy 😉 Even though I don’t like working with glue, lol.
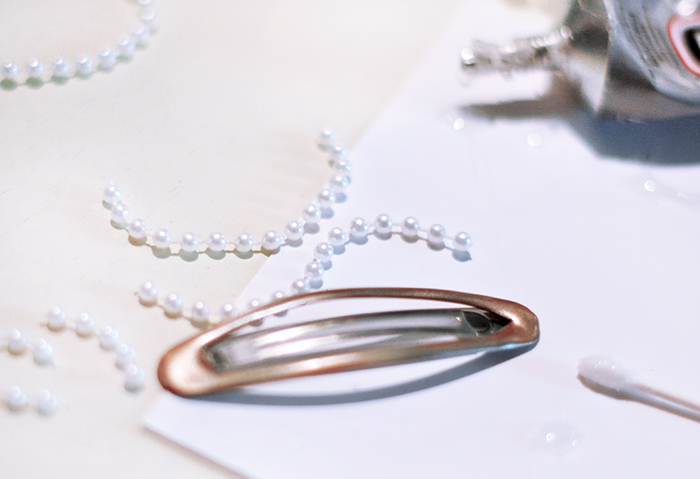
Let them dry overnight and boom. That’s it!
I made a few flat barrettes and large clips as well. The flat barrettes were much easier than the clips, but both still took about 5 minutes for each barrette.
And… Voila!
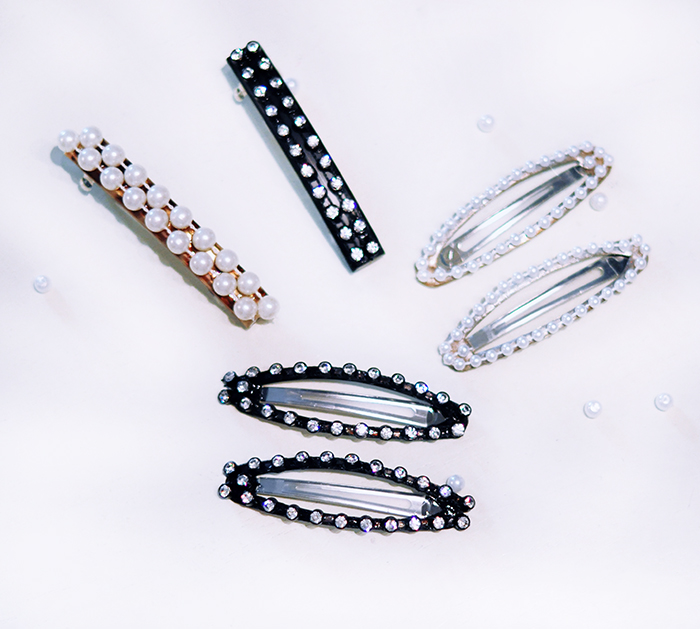
I think the ones below are my favorite…
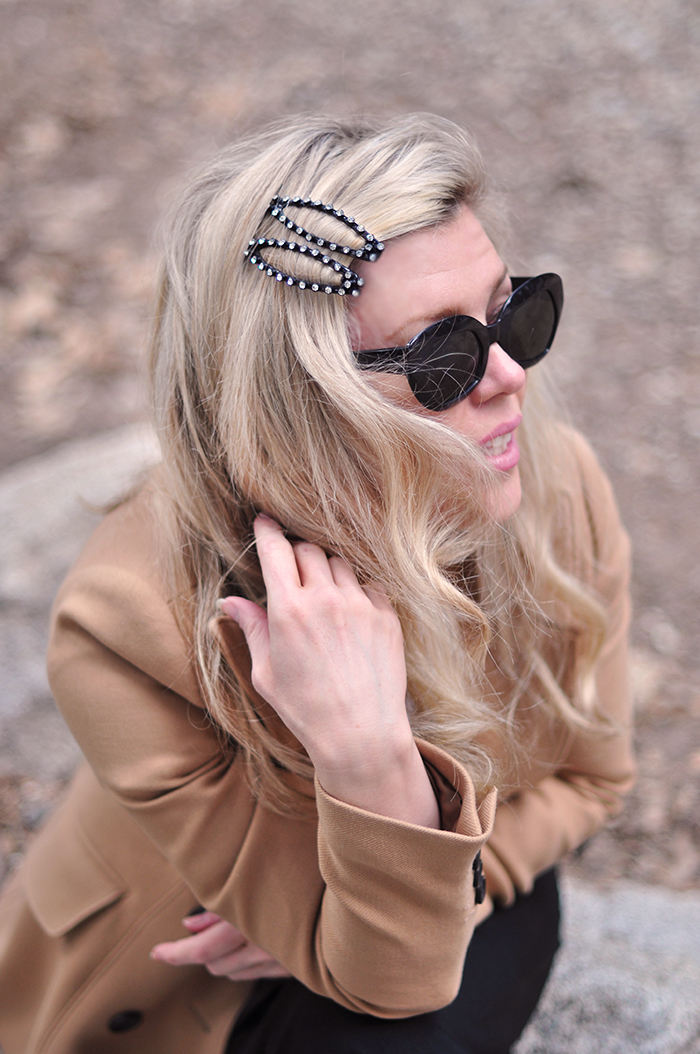
Though, I like these too.
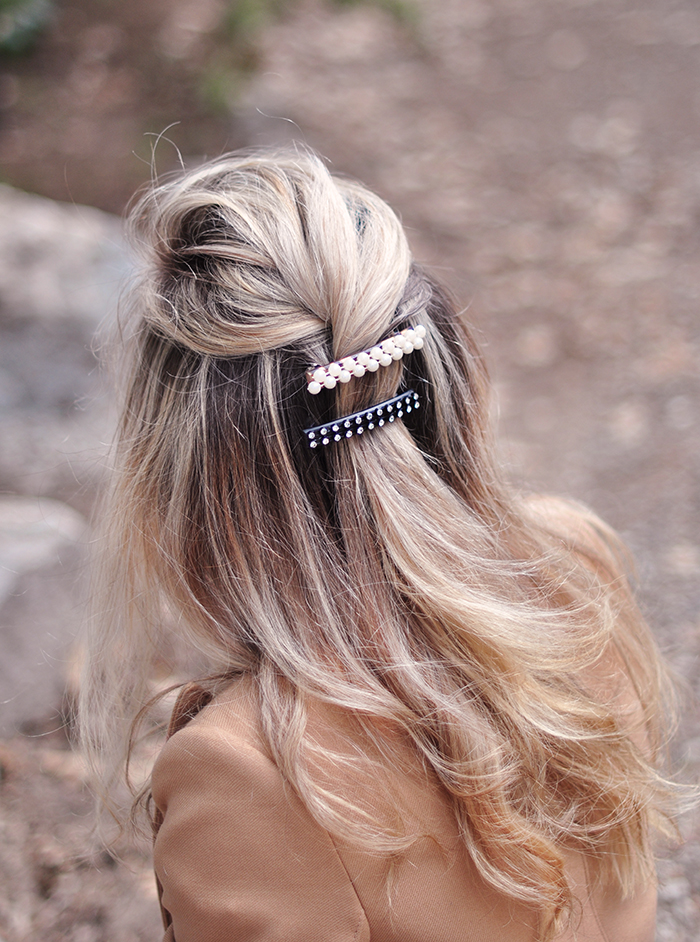
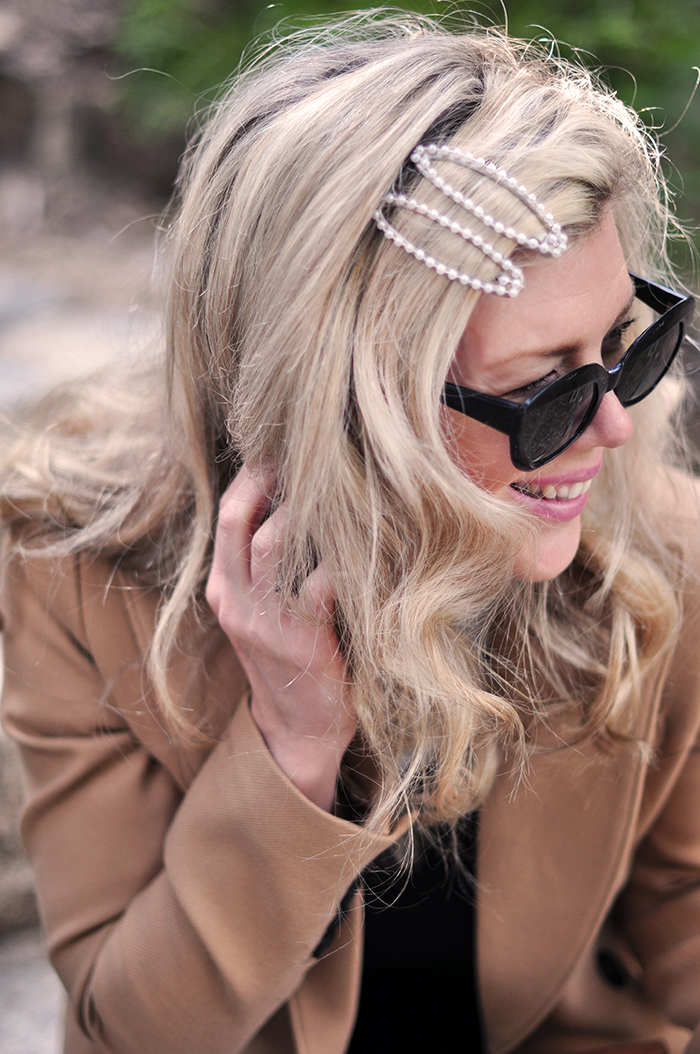
Have Fun!
* Find all my DIY Hair Accessories here


