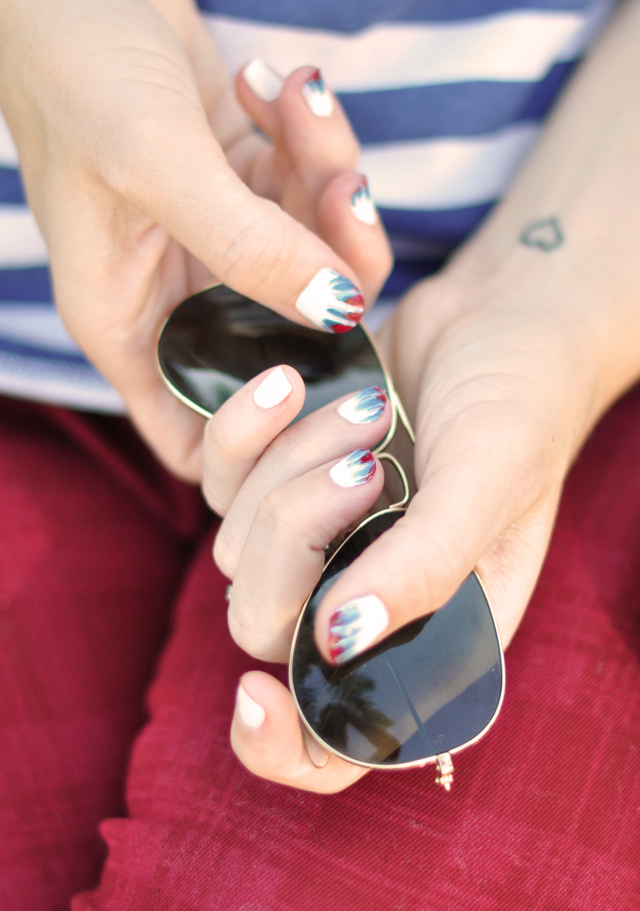
I’d been planning a festive red, white, & blue manicure for the 4th of July but hadn’t really come up with any original ideas until I featured a fun tie dye manicure tutorial on BlogHer Style over the weekend and was instantly hit with inspiration. But let me just warn you… this is not a project for the impatient or short-tempered, and why I decided to tie dye only six of my ten nails. However, my nails are very short at the moment and this, along with many nail art techniques are far easier with a larger canvas to paint on. Obviously then, my thumbs turned out the best. But I think with a little practice, the results could be even better, though I do love the final product and how they kind of look like stars AND stripes.

Here’s what I used…
1. OPI “Kennebuck Port” 2. OPI Sephora “A-Ha! Moment” 3. OPI “Suzi Says Feng Shui”
* I used Essie “Good to Go” top coat and ALMOST added a little glitter sparkles for fun.
* You’ll need a pin or toothpick to create your tie dyed effect.

How I achieved my tie dye nails… this video tutorial may help if you need it.
1. Paint a base coat, I chose white, but it depends on what order you’d like your colors to display.
2. When your base coat dries, begin with your first color {white} & at your cuticle, diagonally paint about half way up your nail.
3. Add a large stripe of your next color {blue}.
4. And then your final color to the tip {red}.
5. With your pin or toothpick, AND to your WET NAIL, touch your first color {white} and drag it through your others and to the end of your nail.
6. Wipe off your pin.
7. Repeat step 5 & 6 until you have what looks similar to a star.
* Repeat all the steps on each nail you’d like to tie dye, one at a time.

Hudson jeans | C&C California tank | Rebecca Minkoff MAB | Ray-Ban Aviators
Have Fun!
* Find all of my Nail Art Tutorials Here


