Now that Dogwood Tavern is finally open (THANK THE GOOD LORD) I can give you little insight into the renovation process, and I’m beginning with the restrooms. Why you ask? Because it’s the easiest place to start 🙂
We signed the lease on the building and it was finalized around November 2016 and by December, we had already begun renovating. The building is ancient, has been added onto about a million times and was in far worse condition than we could have ever imagined.
We took on the project ourselves. Yes, the three of us decided we were going to do all the work ourselves. But what began as just a few repairs and fix-its and a minor facelift, turned into a full blown renovation, because honestly, we had no other choice. Each time we tackled one problem, it left us with ten more to fix, and it was truly a nightmare and a money pit. But somehow, we did it, we made it work, the three of us and a few random helpers along the way, and I already find myself missing it, as horrible as it became, especially in the end days, we did it all ourselves and I’m proud of that.
While my two business partners worked at breaking out walls and creating new walls and sanding all the wood in the place, the original restrooms were one of the first projects I tackled, because well, it was one of the only things I could do at the time. I wanted to be as hands on as they were and the restrooms were the easiest place for me to start.
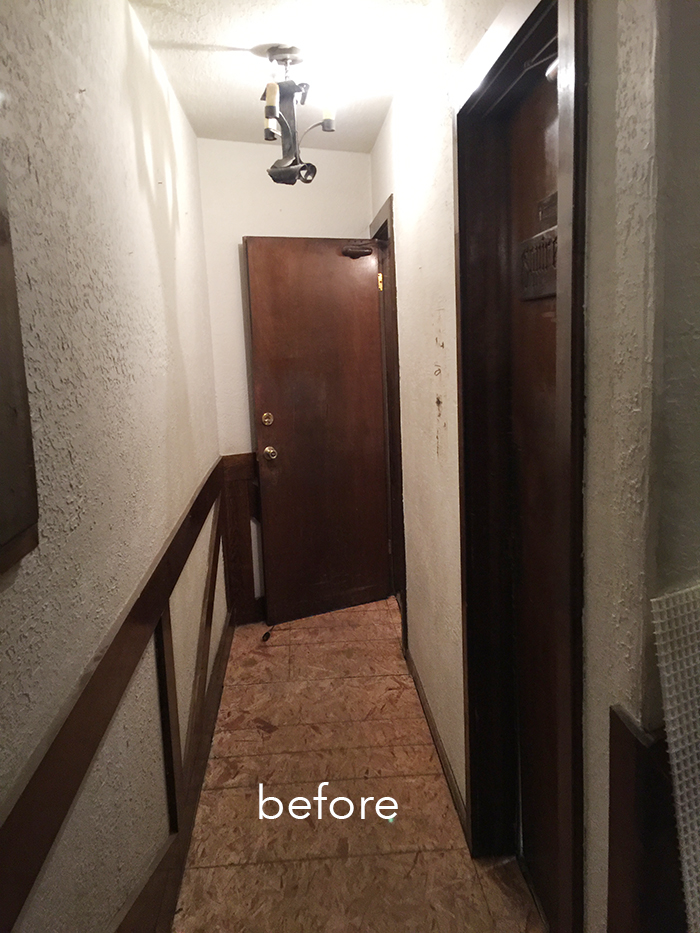
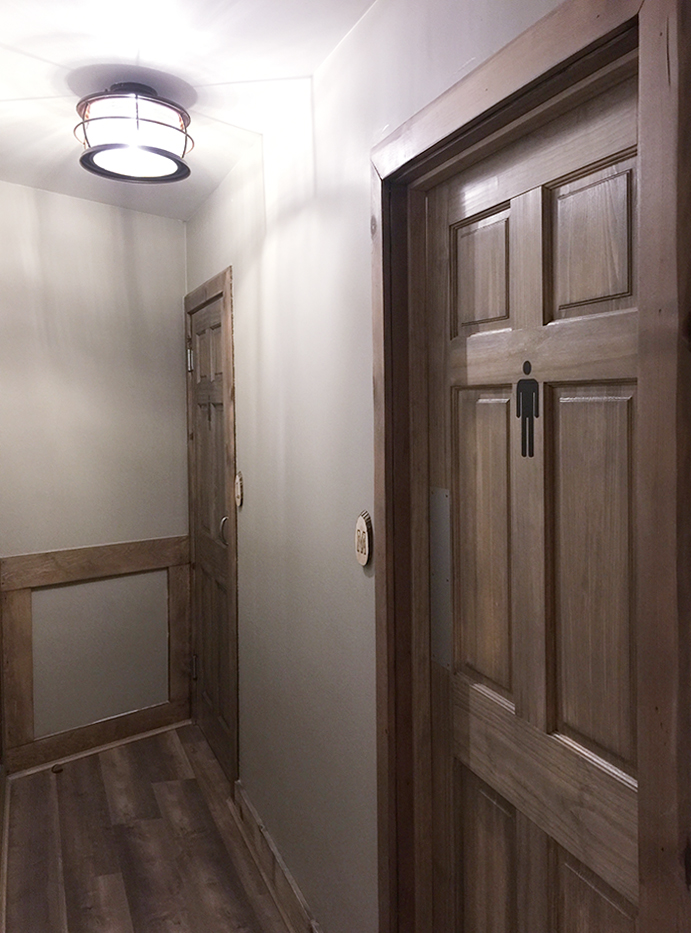
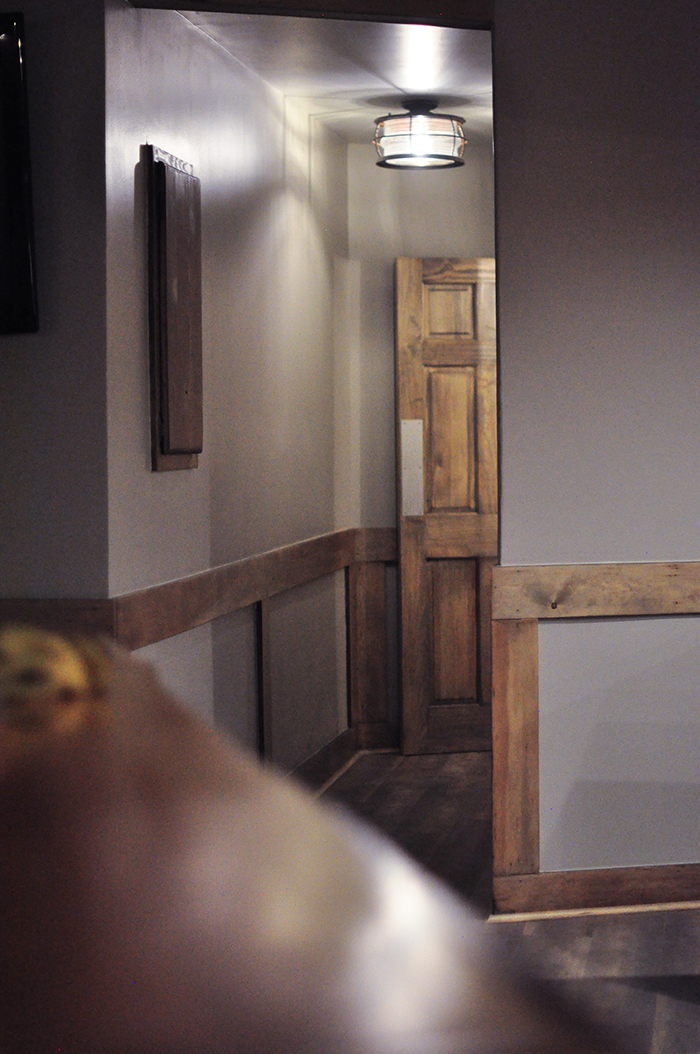
Restroom Hallway Before/After…
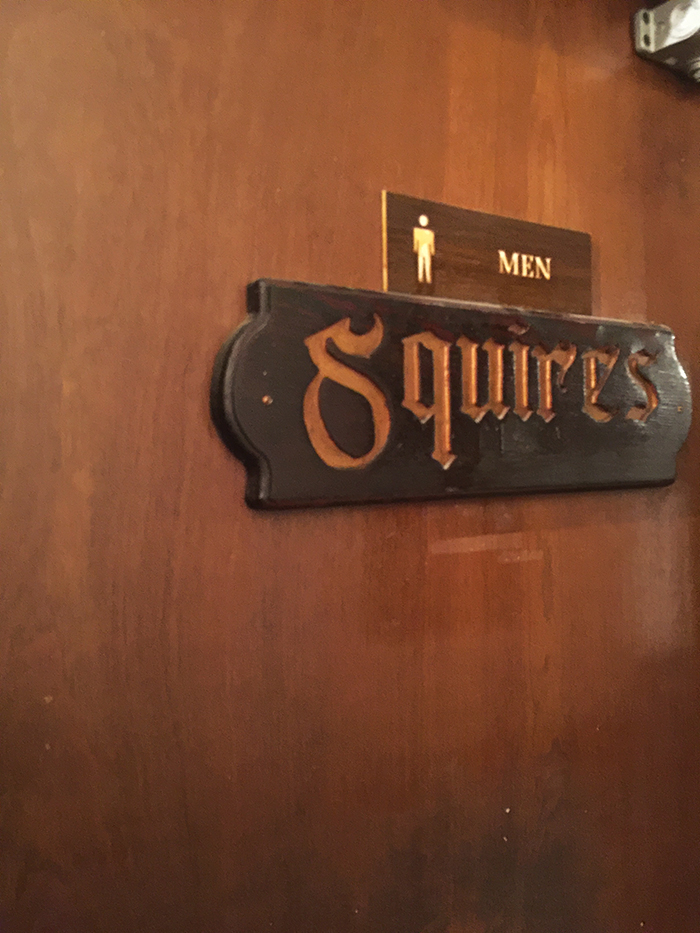
You can see here that the original interior had chalky textured walls and dark stained woodworking and beams throughout. We lightened everything up to give it a rustic modern feel and the restrooms had to be consistent with our theme.
We sanded all the wood down to the raw and stained it a few times with different aging stains until we found one that worked. We also had the walls smooth coated and we painted them a light gray.
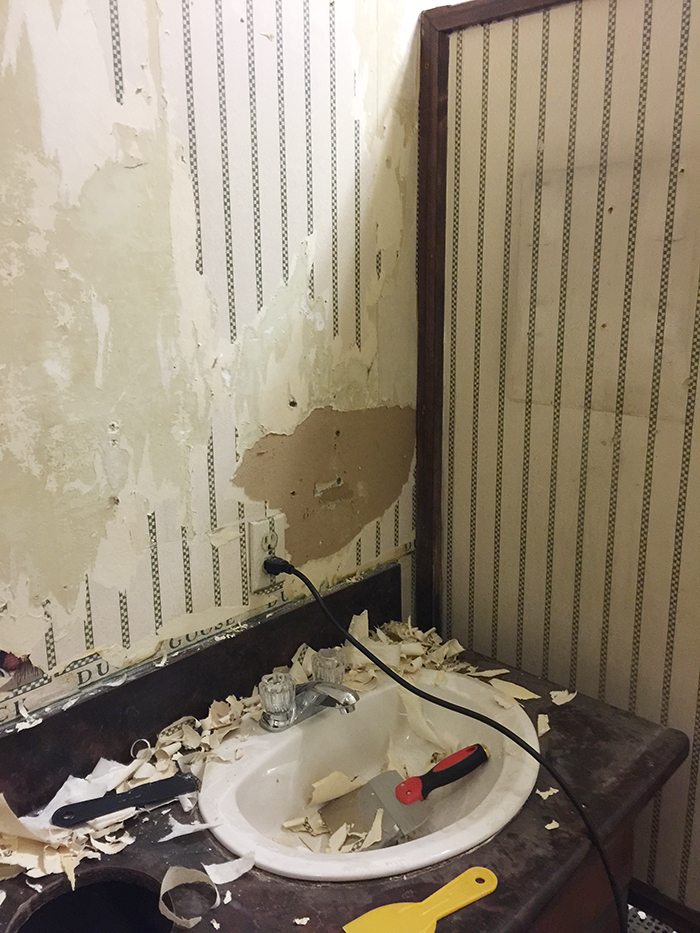
We originally thought we’d wallpaper the bathrooms with this gorgeous tree lined wallpaper, and I even collaborated with Wallpaper Direct to do so, but as I stripped layer after layer of paper (since the ’70s) off the walls, it became very clear that if we wanted to repaper, we’d also have to re-drywall, and that was an expense we did not want to take on.
With the walls in disrepair, our only option for a commercial restroom was floor to ceiling FRP (fiberglass reinforced plastic wall sheets -because I had no idea what it was either). And technically, if we did repaper the walls, we would have had to go halfway up with the FRP anyway to meet health requirements, which I wasn’t entirely happy about.
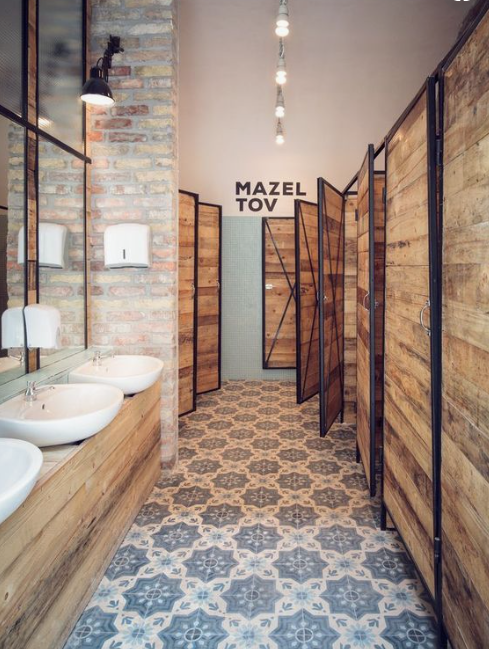
Once we decided that white would be the cleanest option, we had to figure out how to create a rustic modern look that was consistent with the rest of our design throughout while making sure it met certain standards. I knew we’d take the wood flooring that is throughout the space into the restrooms as well, so it was really just about figuring out how to create countertops and stalls to complete the look.
I found this photo for inspiration…
* See my Dogwood Tavern Inspiration Board on Pinterest and my Dogwood Tavern mood board post for more.
One of my business partners, Chad, is an electrical engineer, but he can pretty much fix and/or build anything. Once we had the inspiration, he custom built the cabinet/countertops for both restrooms as well as the stalls, welding the metal pieces together and fitting the wood slats in to match. He installed the bowl sinks (which I still think should be turned 180degrees so the “hole” is on the opposite side) but he insisted on doing it his way 😉 It was a complete collaboration though and we all worked together on creating the look.
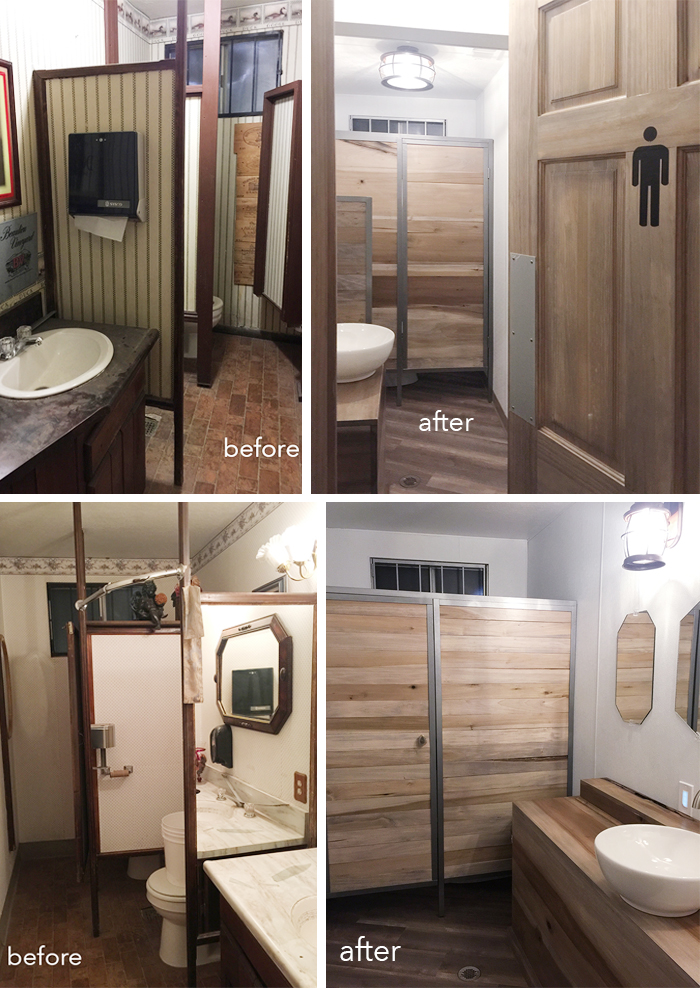
Below is a quick visual breakdown of the restrooms before and after.
Our main sources for materials were Peterman Lumber and Home Depot and I found all the mirrors vintage, and ripped the frames off of them and we hung them directly on the walls. The agate door pulls are from West Elm – I had two left over from my house 😉
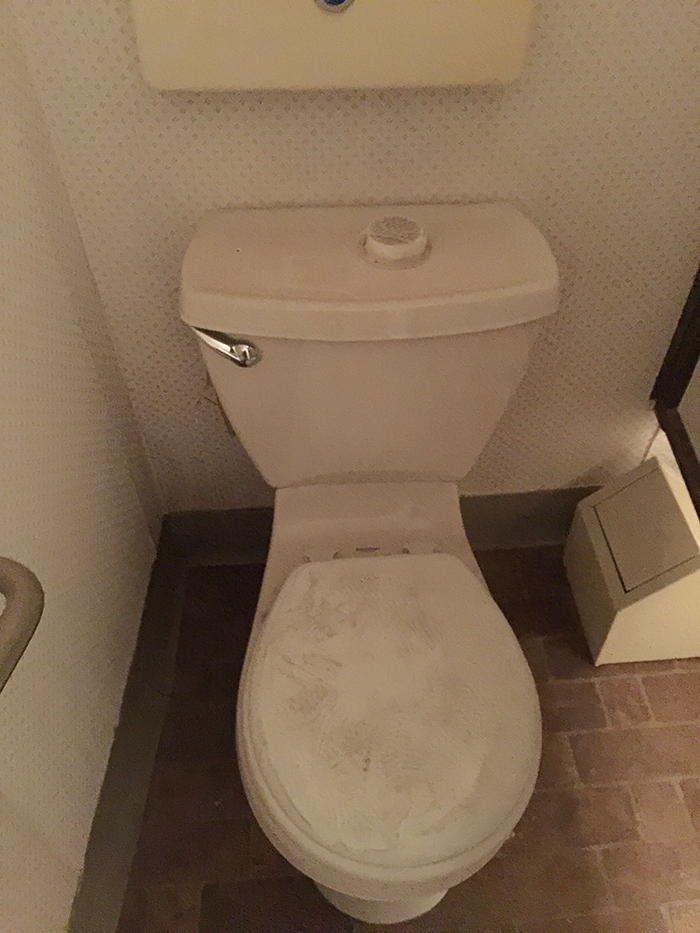
Ladies Room B E F O R E…
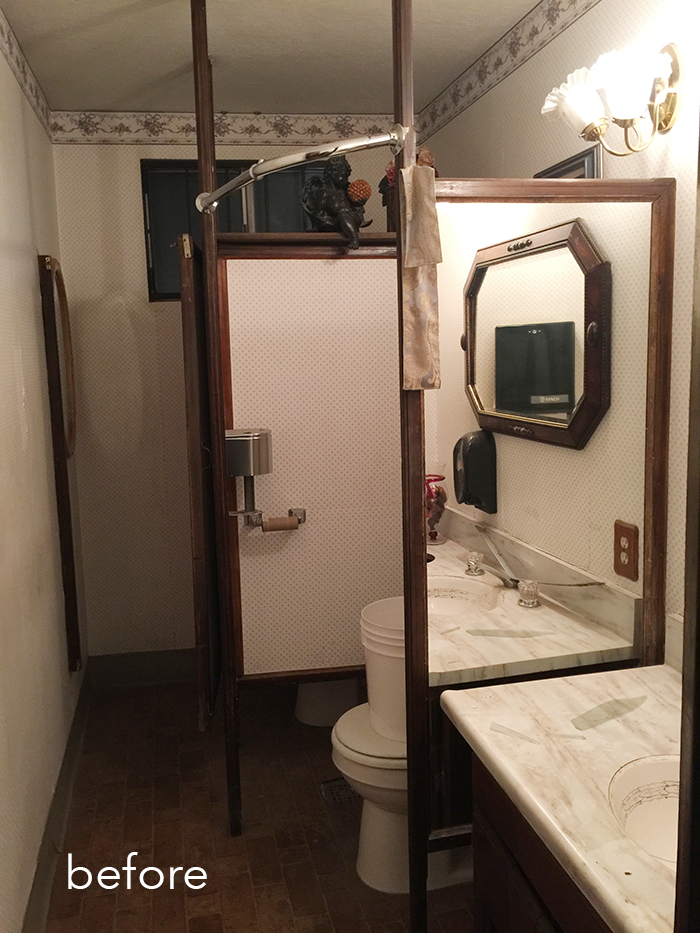
As you can see, it was a gem 😉
It had two toilets with one stall that had a door and the second stall which had a bent rod with a shower curtain hanging around it. The area was so small that when you bent over to sit down, your head would stick out from the curtain.
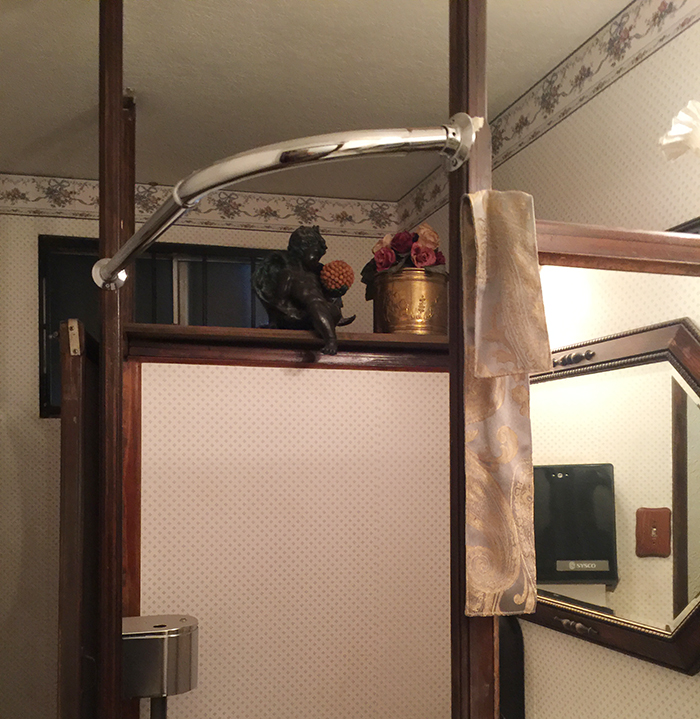
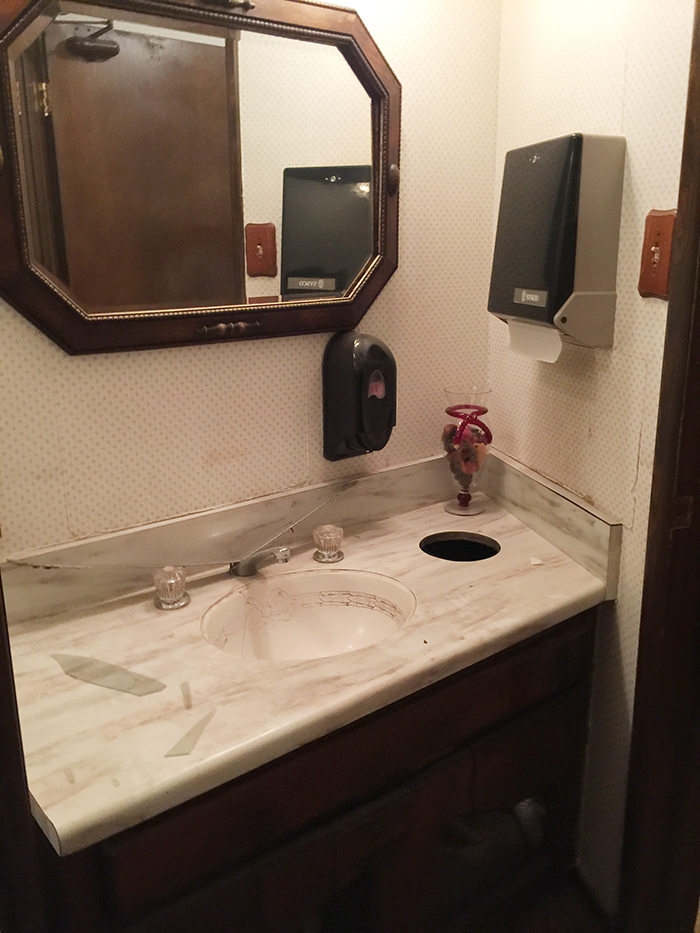
What I didn’t realize until now is that we kept a similar mirror shape! It was by complete accident really, but I wish I had that original mirror because I would have used it!
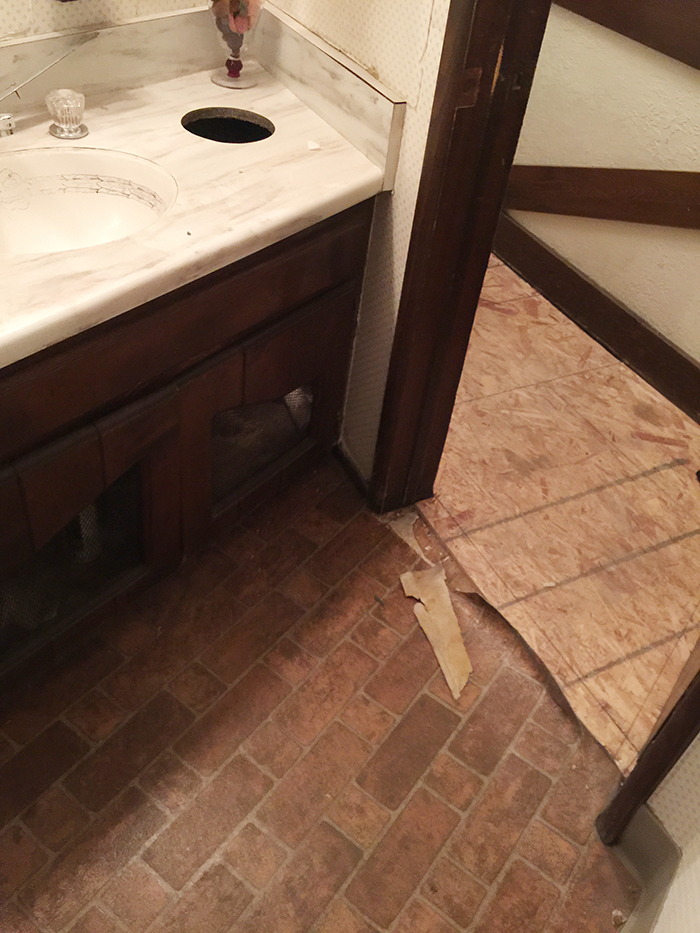
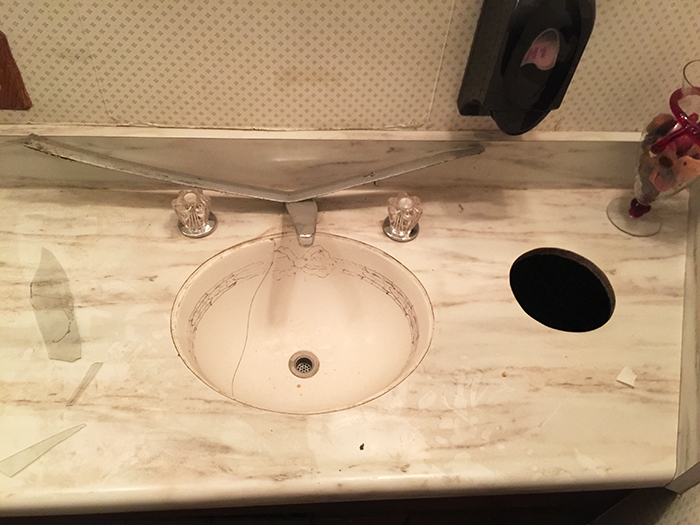
During…
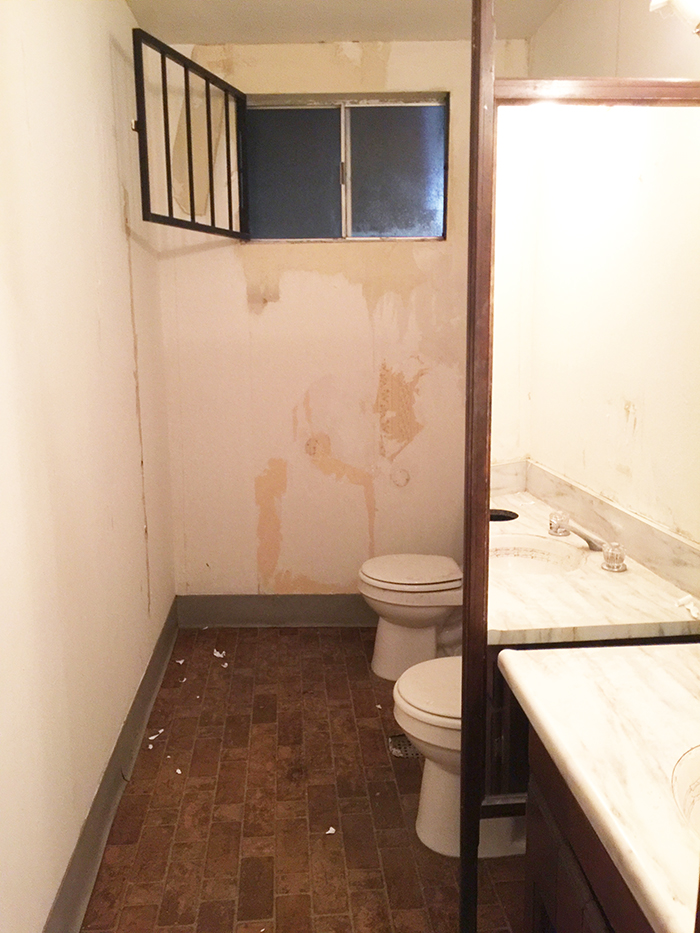
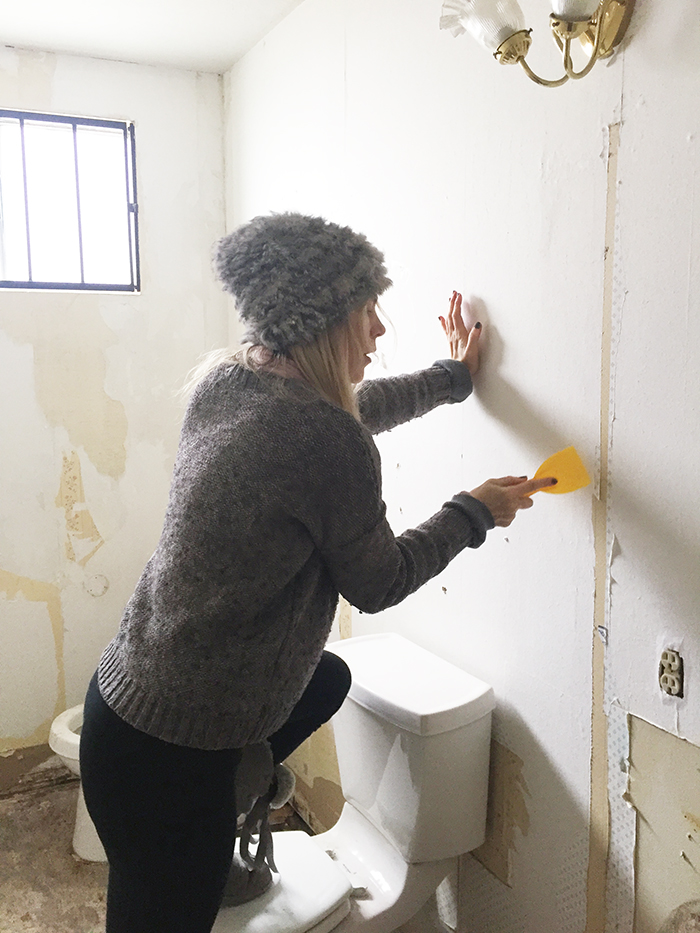
Ultimately we ripped everything out and since the space was so small, ended up keeping only one toilet and creating a longer/larger countertop with a second little mirror for makeup retouches.
Ladies Room A F T E R…
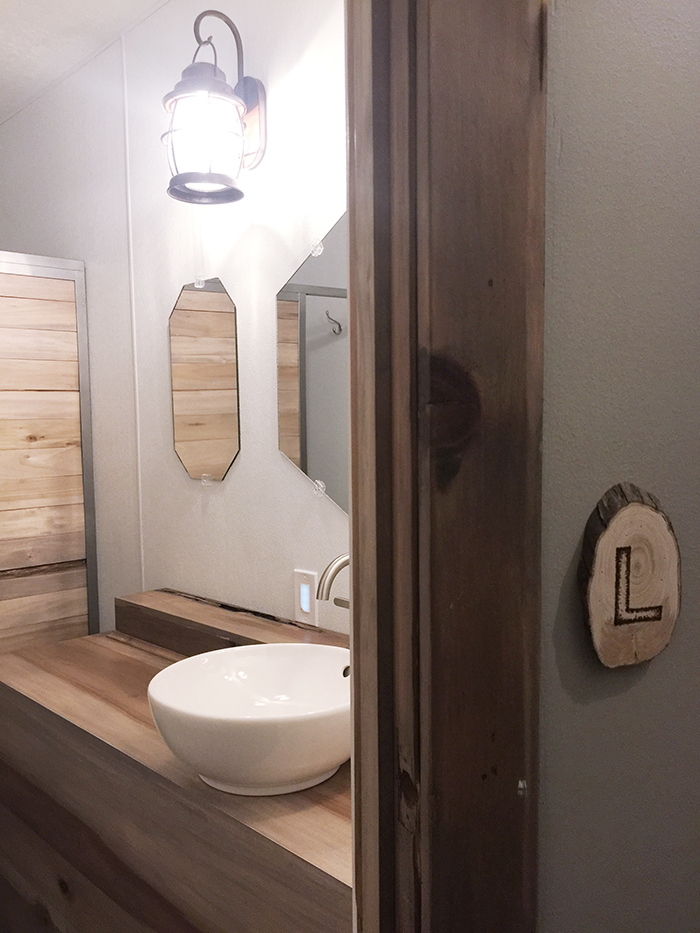
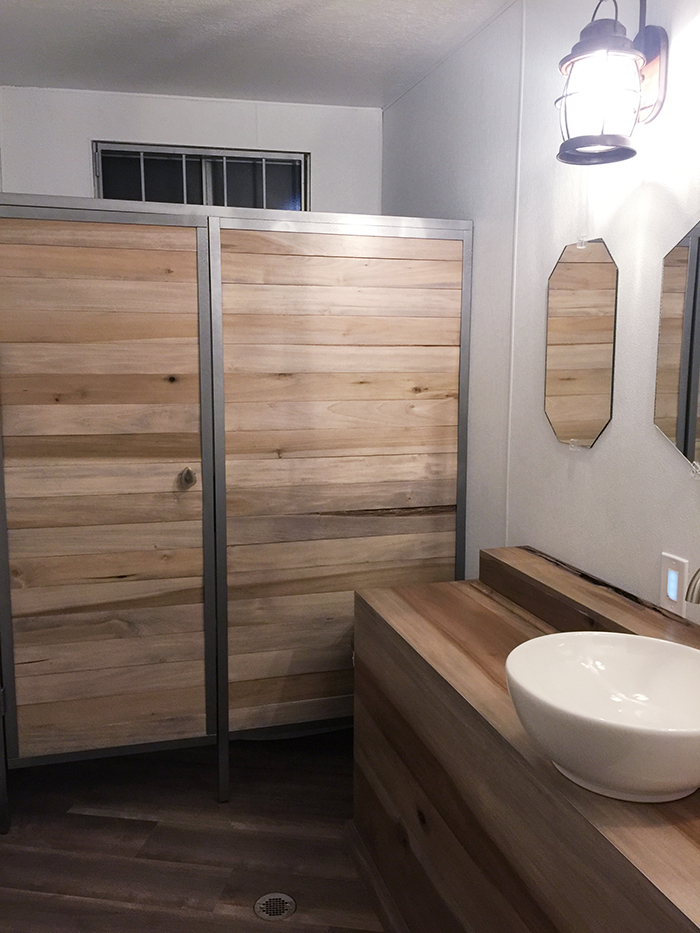
The space is so small, it’s difficult to get a full shot of the space.
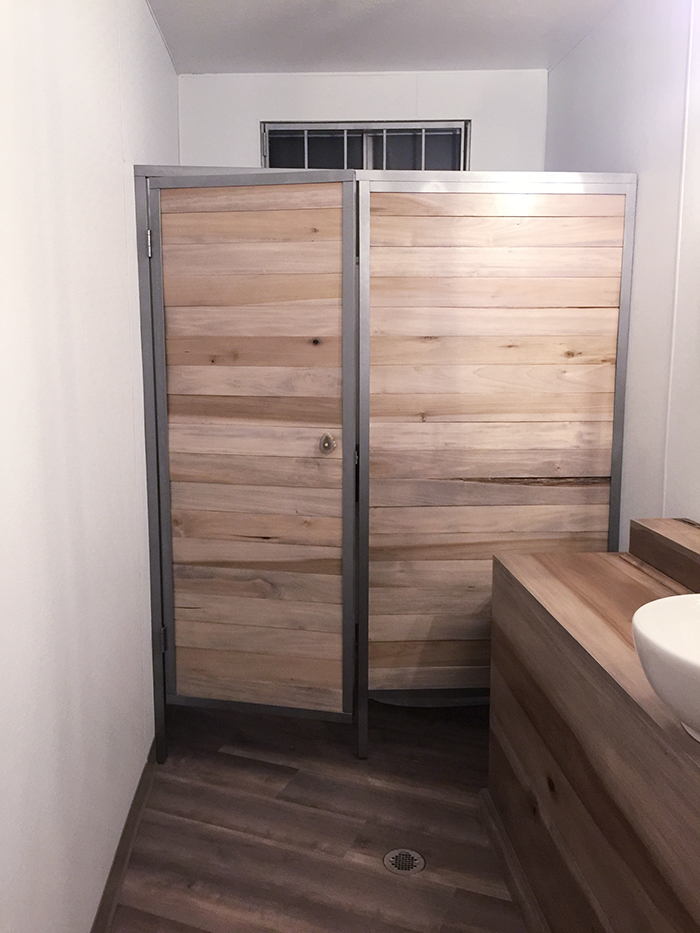
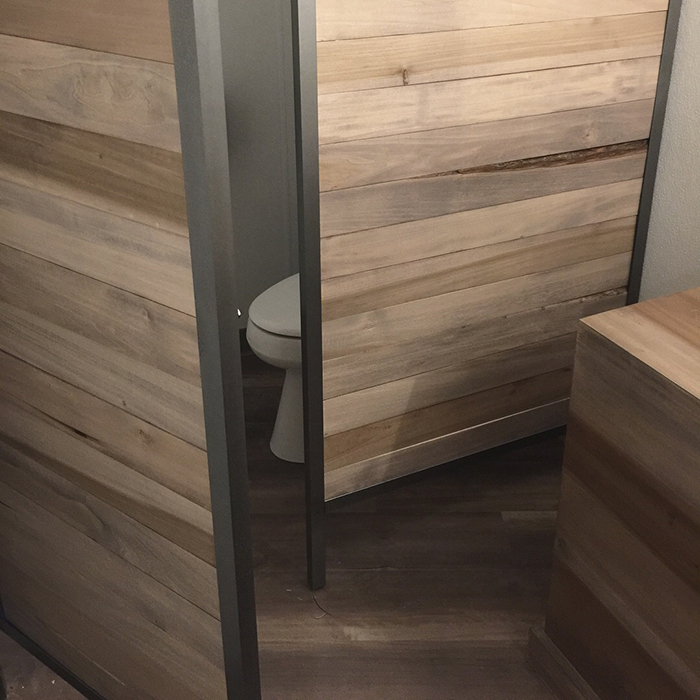
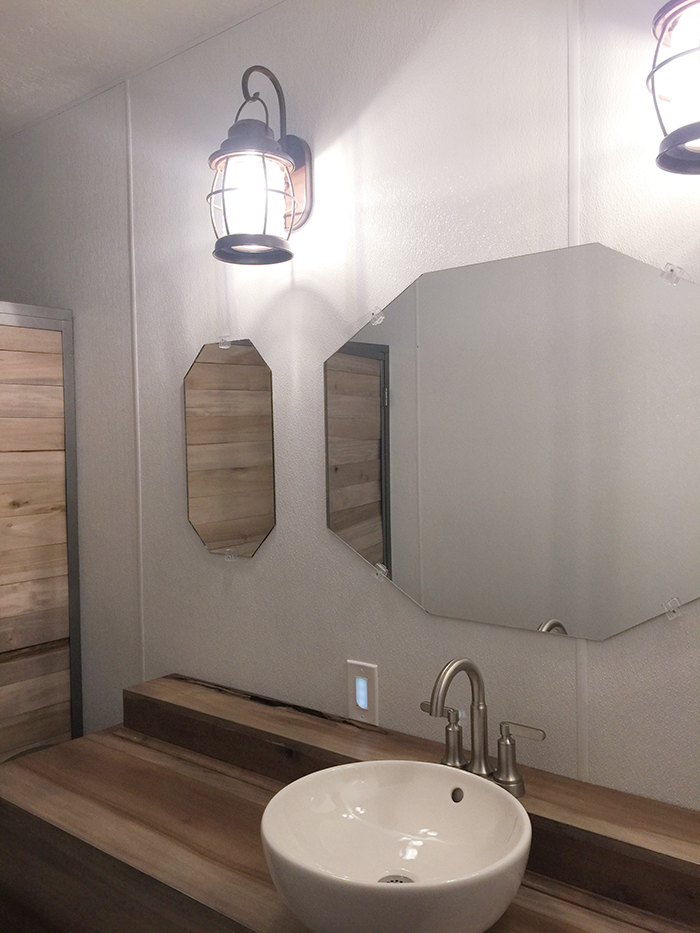
I’m really happy with the way they turned out though, and I try to get a selfie a few nights a week when I’m there and remember. You can see them on my Instagram stories/highlights.
Men’s Room B E F O R E…
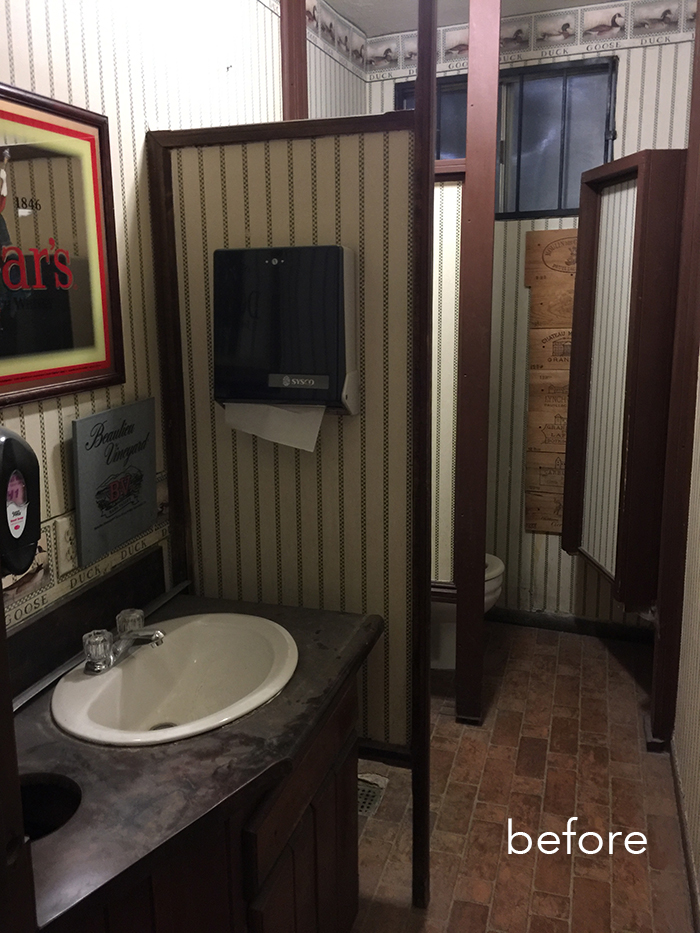
Another gem!
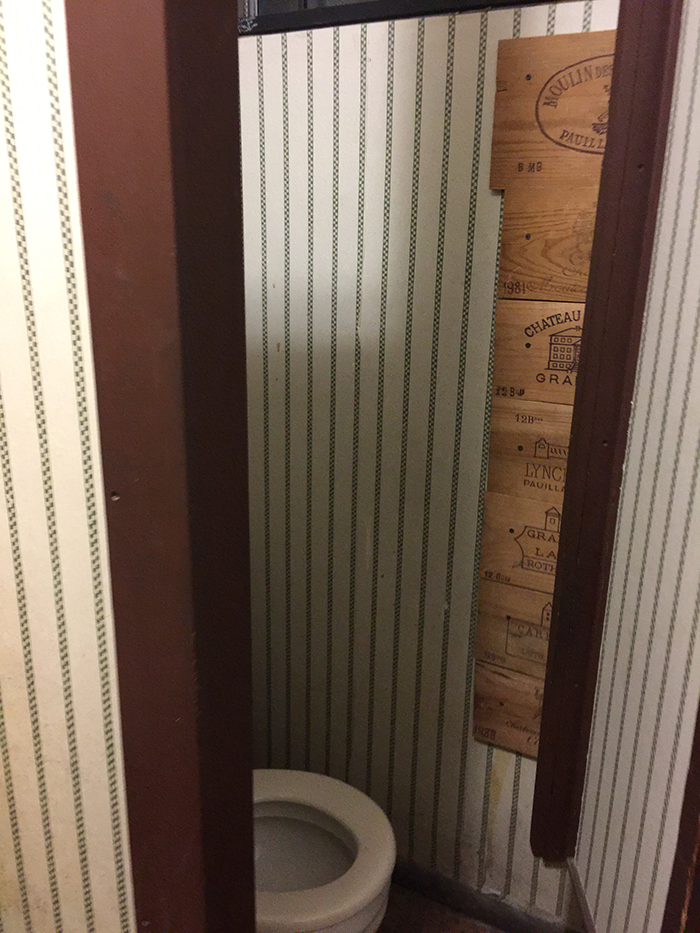
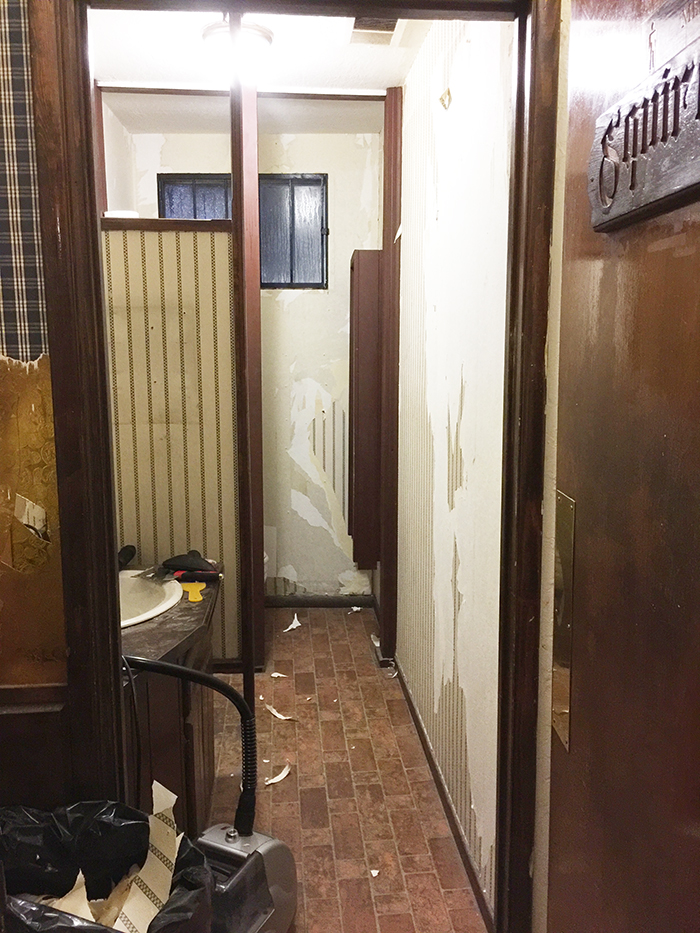
Also covered in about 4-5 different layers of wallpaper spanning the decades, the men’s room also had the bonus of rotted walls and flooring around the urinal and toilet. There was wallpaper covering an old plastic covered wall, which was broken, so we ripped it out, along with everything else.
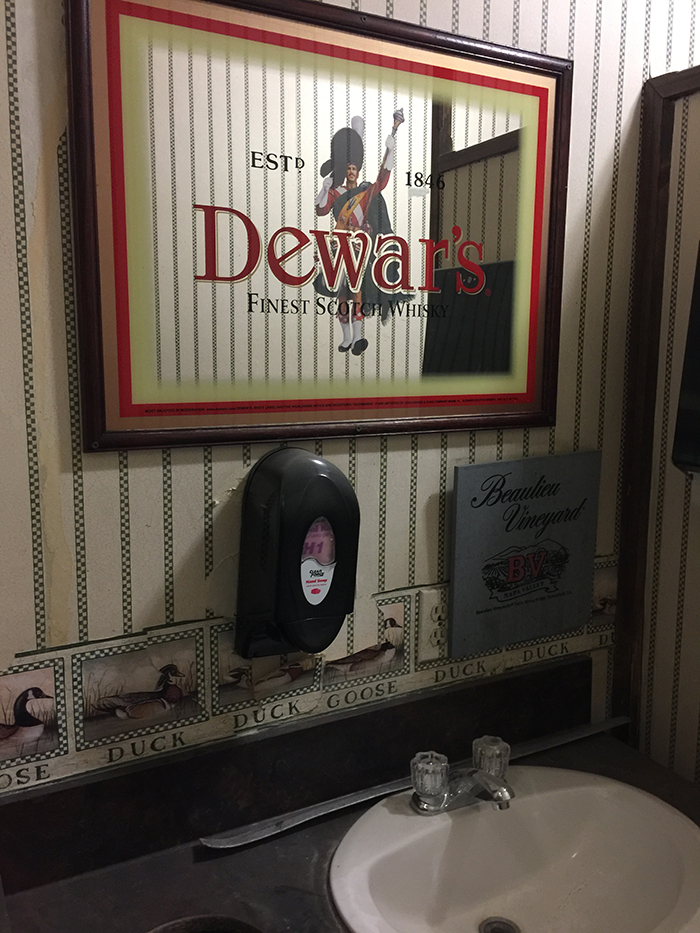
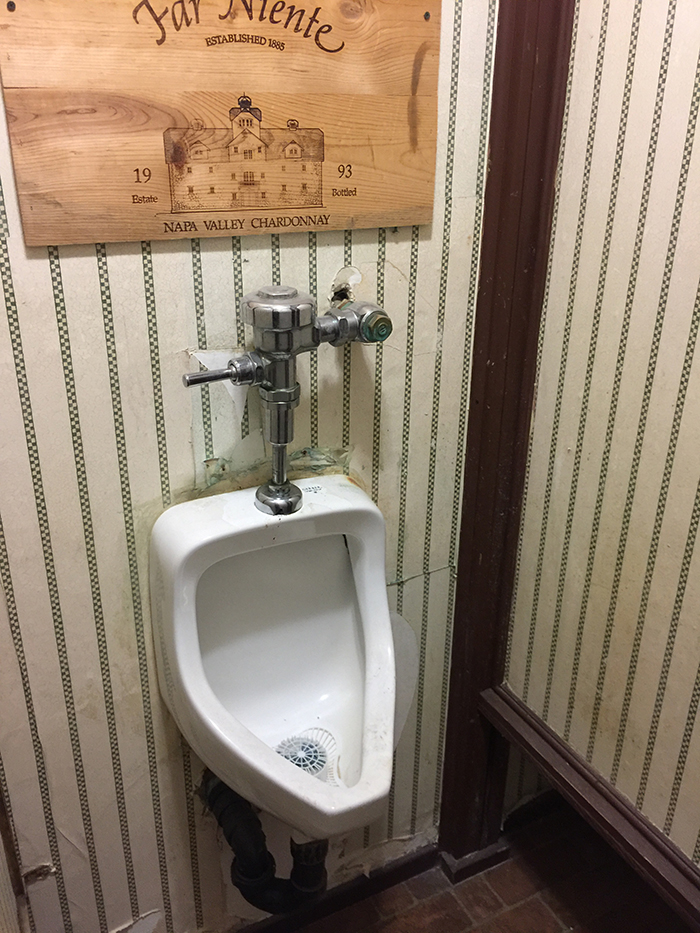
Also note: THIS wood wine box lid was conveniently covering a hole in the wall above the urinal.
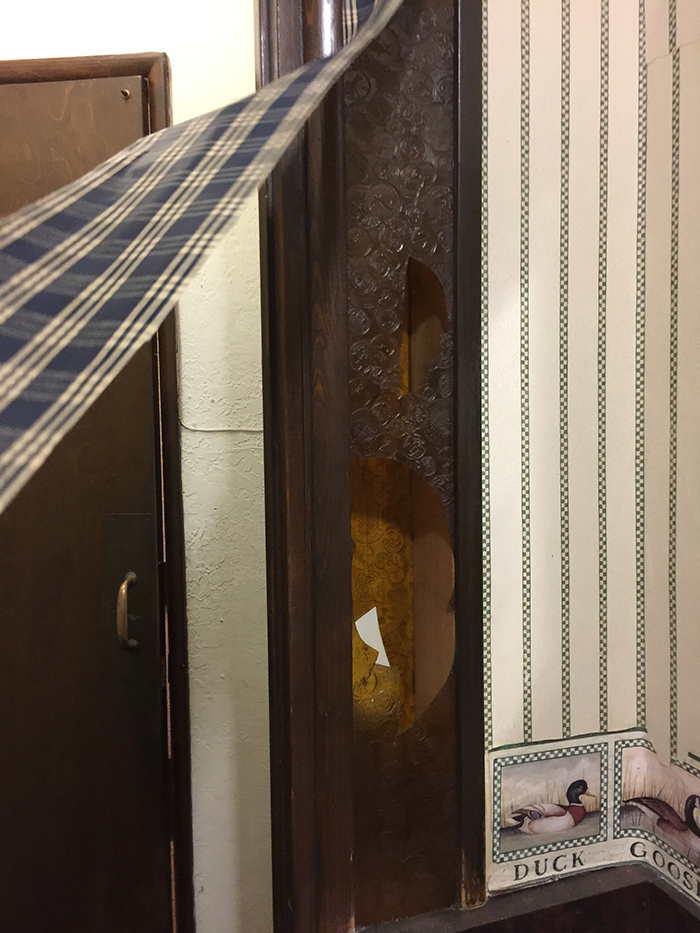
During…
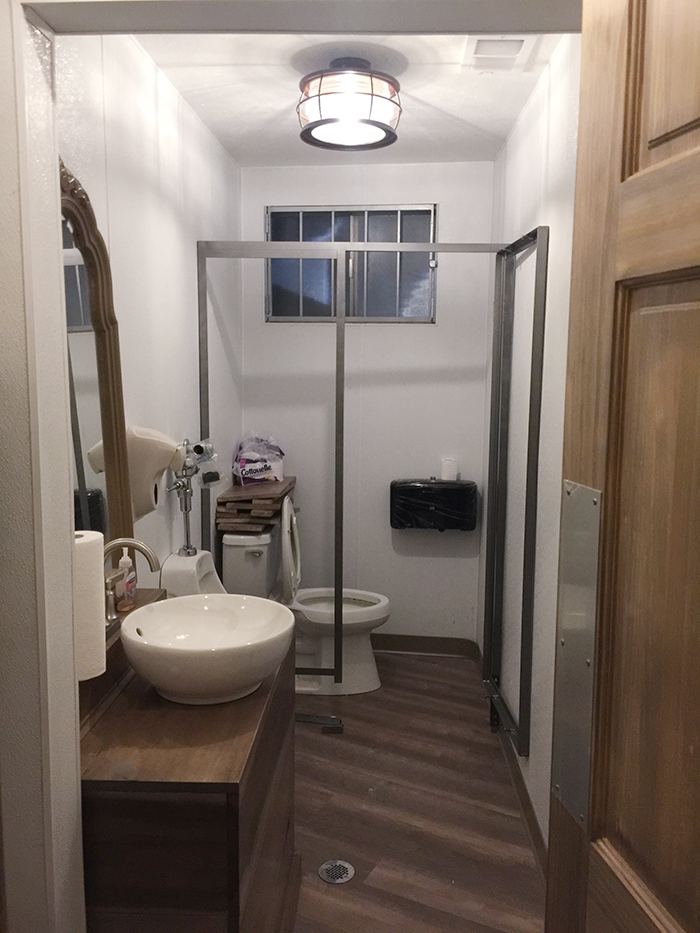
Men’s Room A F T E R…
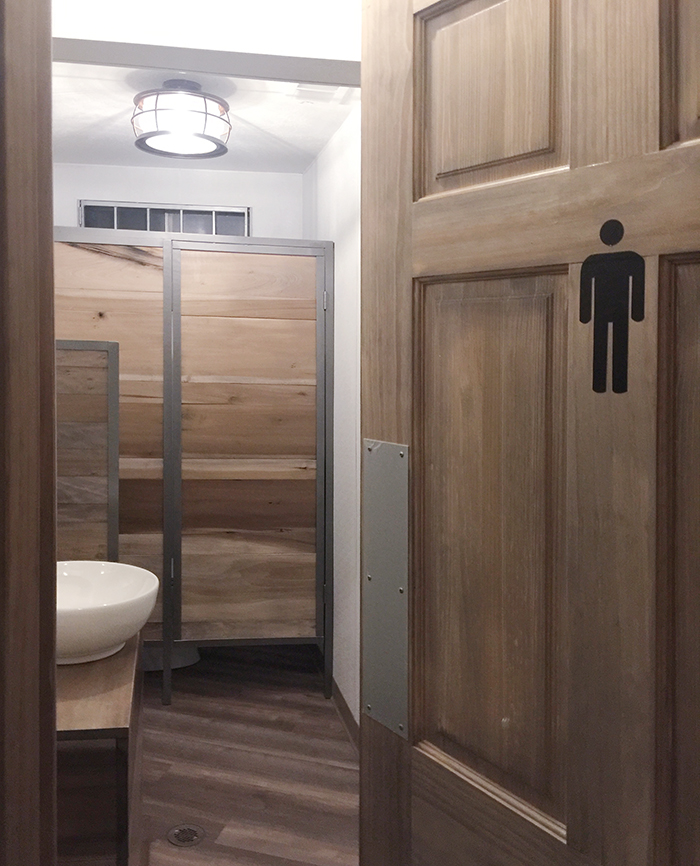
Unfortunately this is the only full shot I have of the men’s room as of now… but we kept the toilet and the urinal, adding a half wall next to a shorter countertop cabinet for a little privacy. It has one large mirror above the sink and ceiling lanterns vs the wall lanterns that are in the women’s room.
While both restrooms are a bit different, there are obviously consistent details, which you can see below.
Consistent details in both…
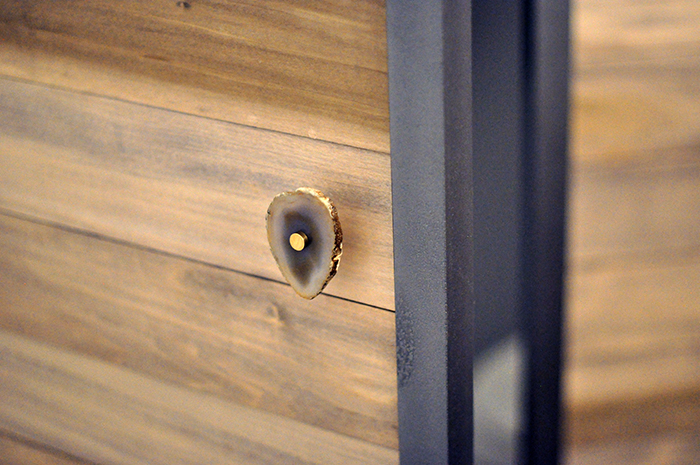

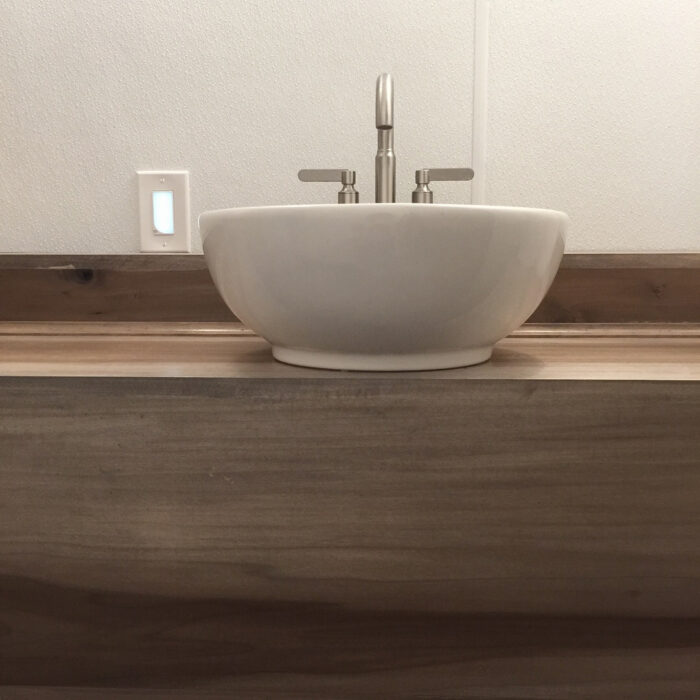
Because these two existing restrooms were so small, we had to build an entirely new restroom that was handicap accessible. It took us a year to get the permits for it, which held up construction, but now we technically have three brand new restrooms consistent with the design of our entire space.
Stay tuned for more Dogwood renovation posts, I’m just getting started 😉
Happy Thursday Lovecats!
* Find all my Dogwood Tavern posts here

