Redlands Pottery Project is a community pottery studio that just opened this year. It’s quite large in size with multiple work areas, a cozy lounge-sitting area and a group pottery wheel station for up to 8-10, hidden down a cute little alleyway in downtown Redlands. You can join and become a member and work on projects whenever they’re open or you can just a take a class, like I did!
Beginner classes are $80 and about 2 hours long. They begin with a 30 minute intro where an instructor goes through each step to make your first piece, a bowl, and then they give you all the clay and tools you need to begin your own project. Obviously I worried I’d forget everything once I received my clay, but alas, I did not!
It was my very first time and so much fun. The instructor was there to guide us through the steps and help out as we needed. They also offered little tripods to film and at the very last minute I decided I’d film a time lapse of mine, so I missed the “throwing” of the clay, but caught the rest and am so glad I did… you can see it in my Instagram Reel here.
I just picked up my finished piece a few days ago so I thought I’d share a look into my evening at the Redlands Pottery Project.
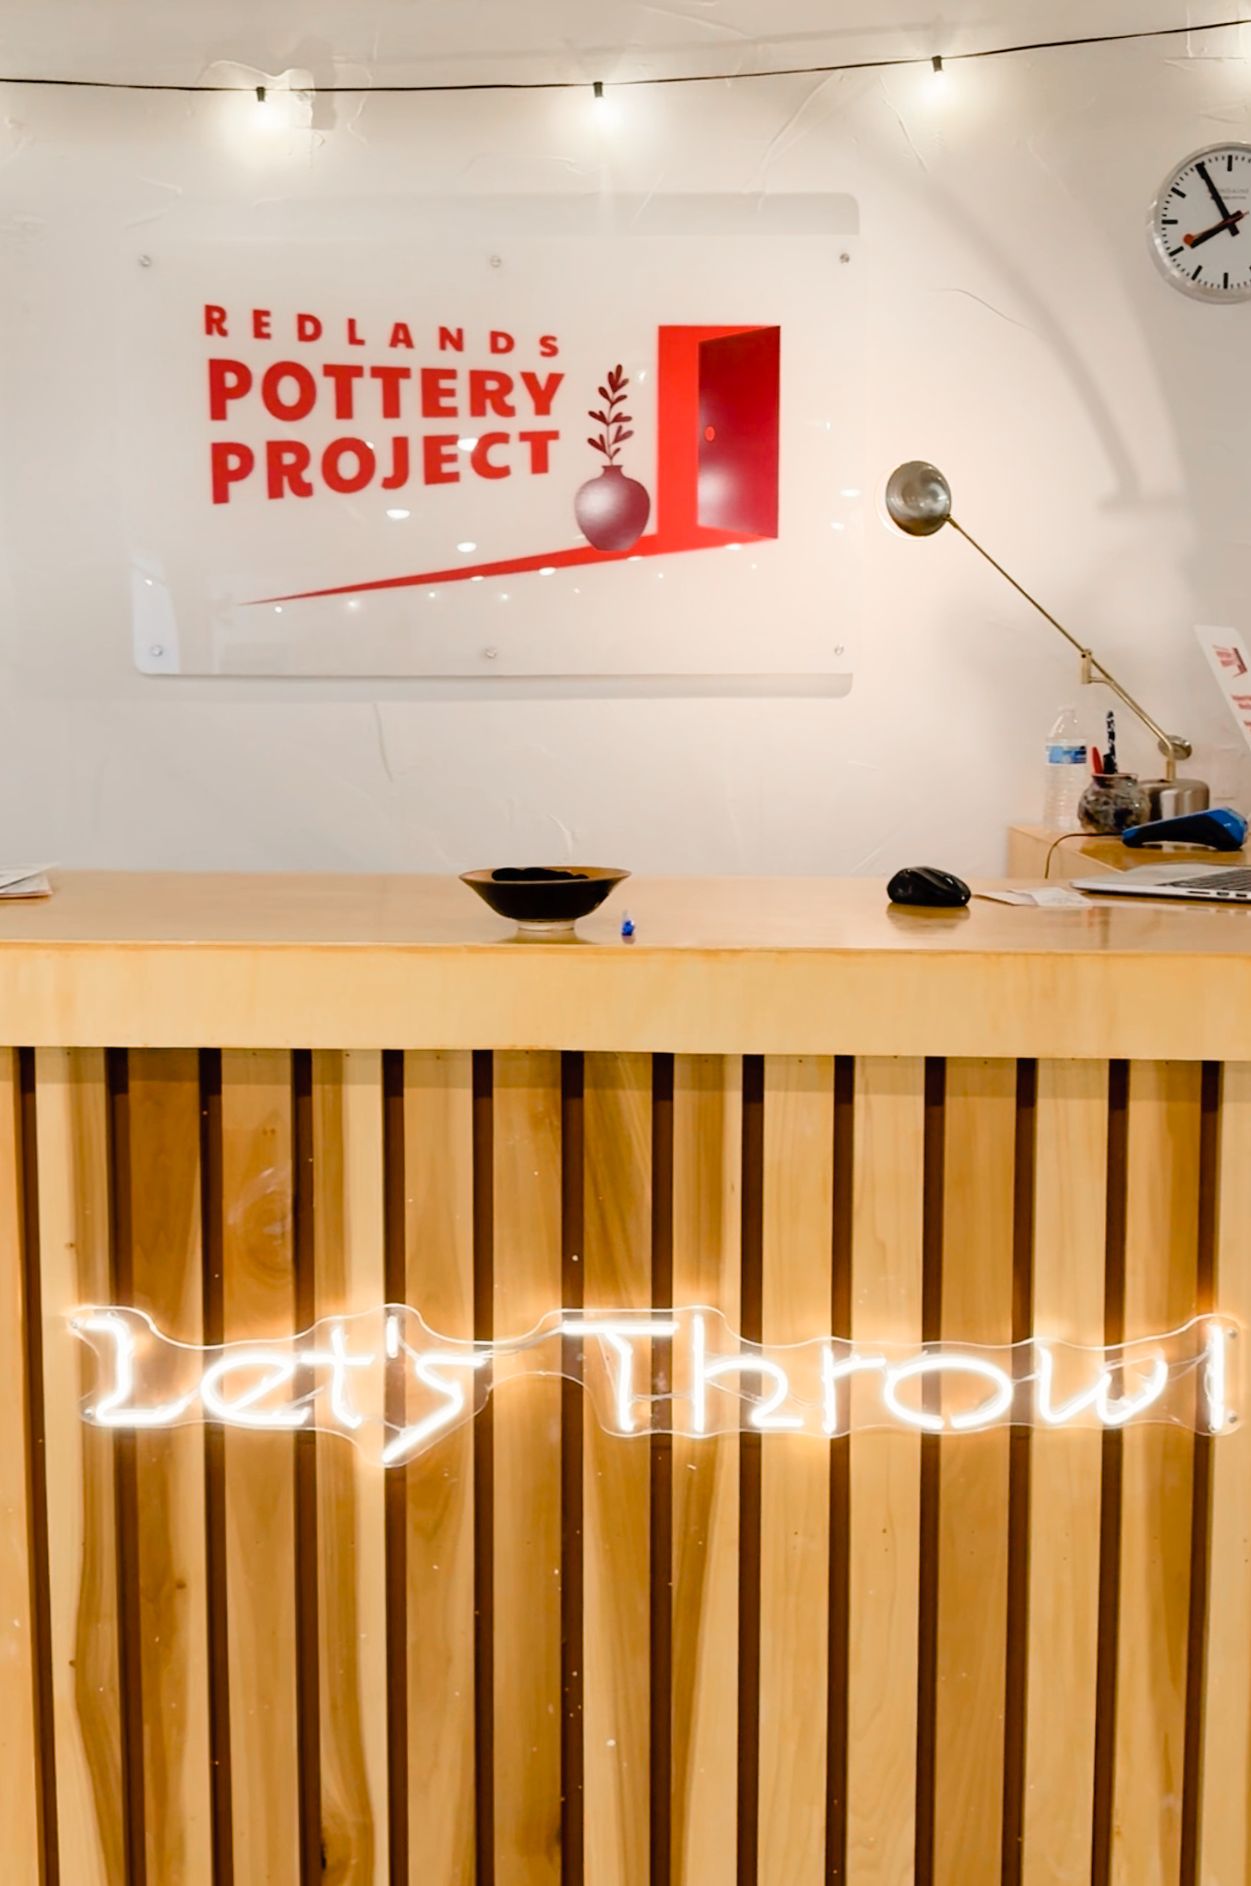
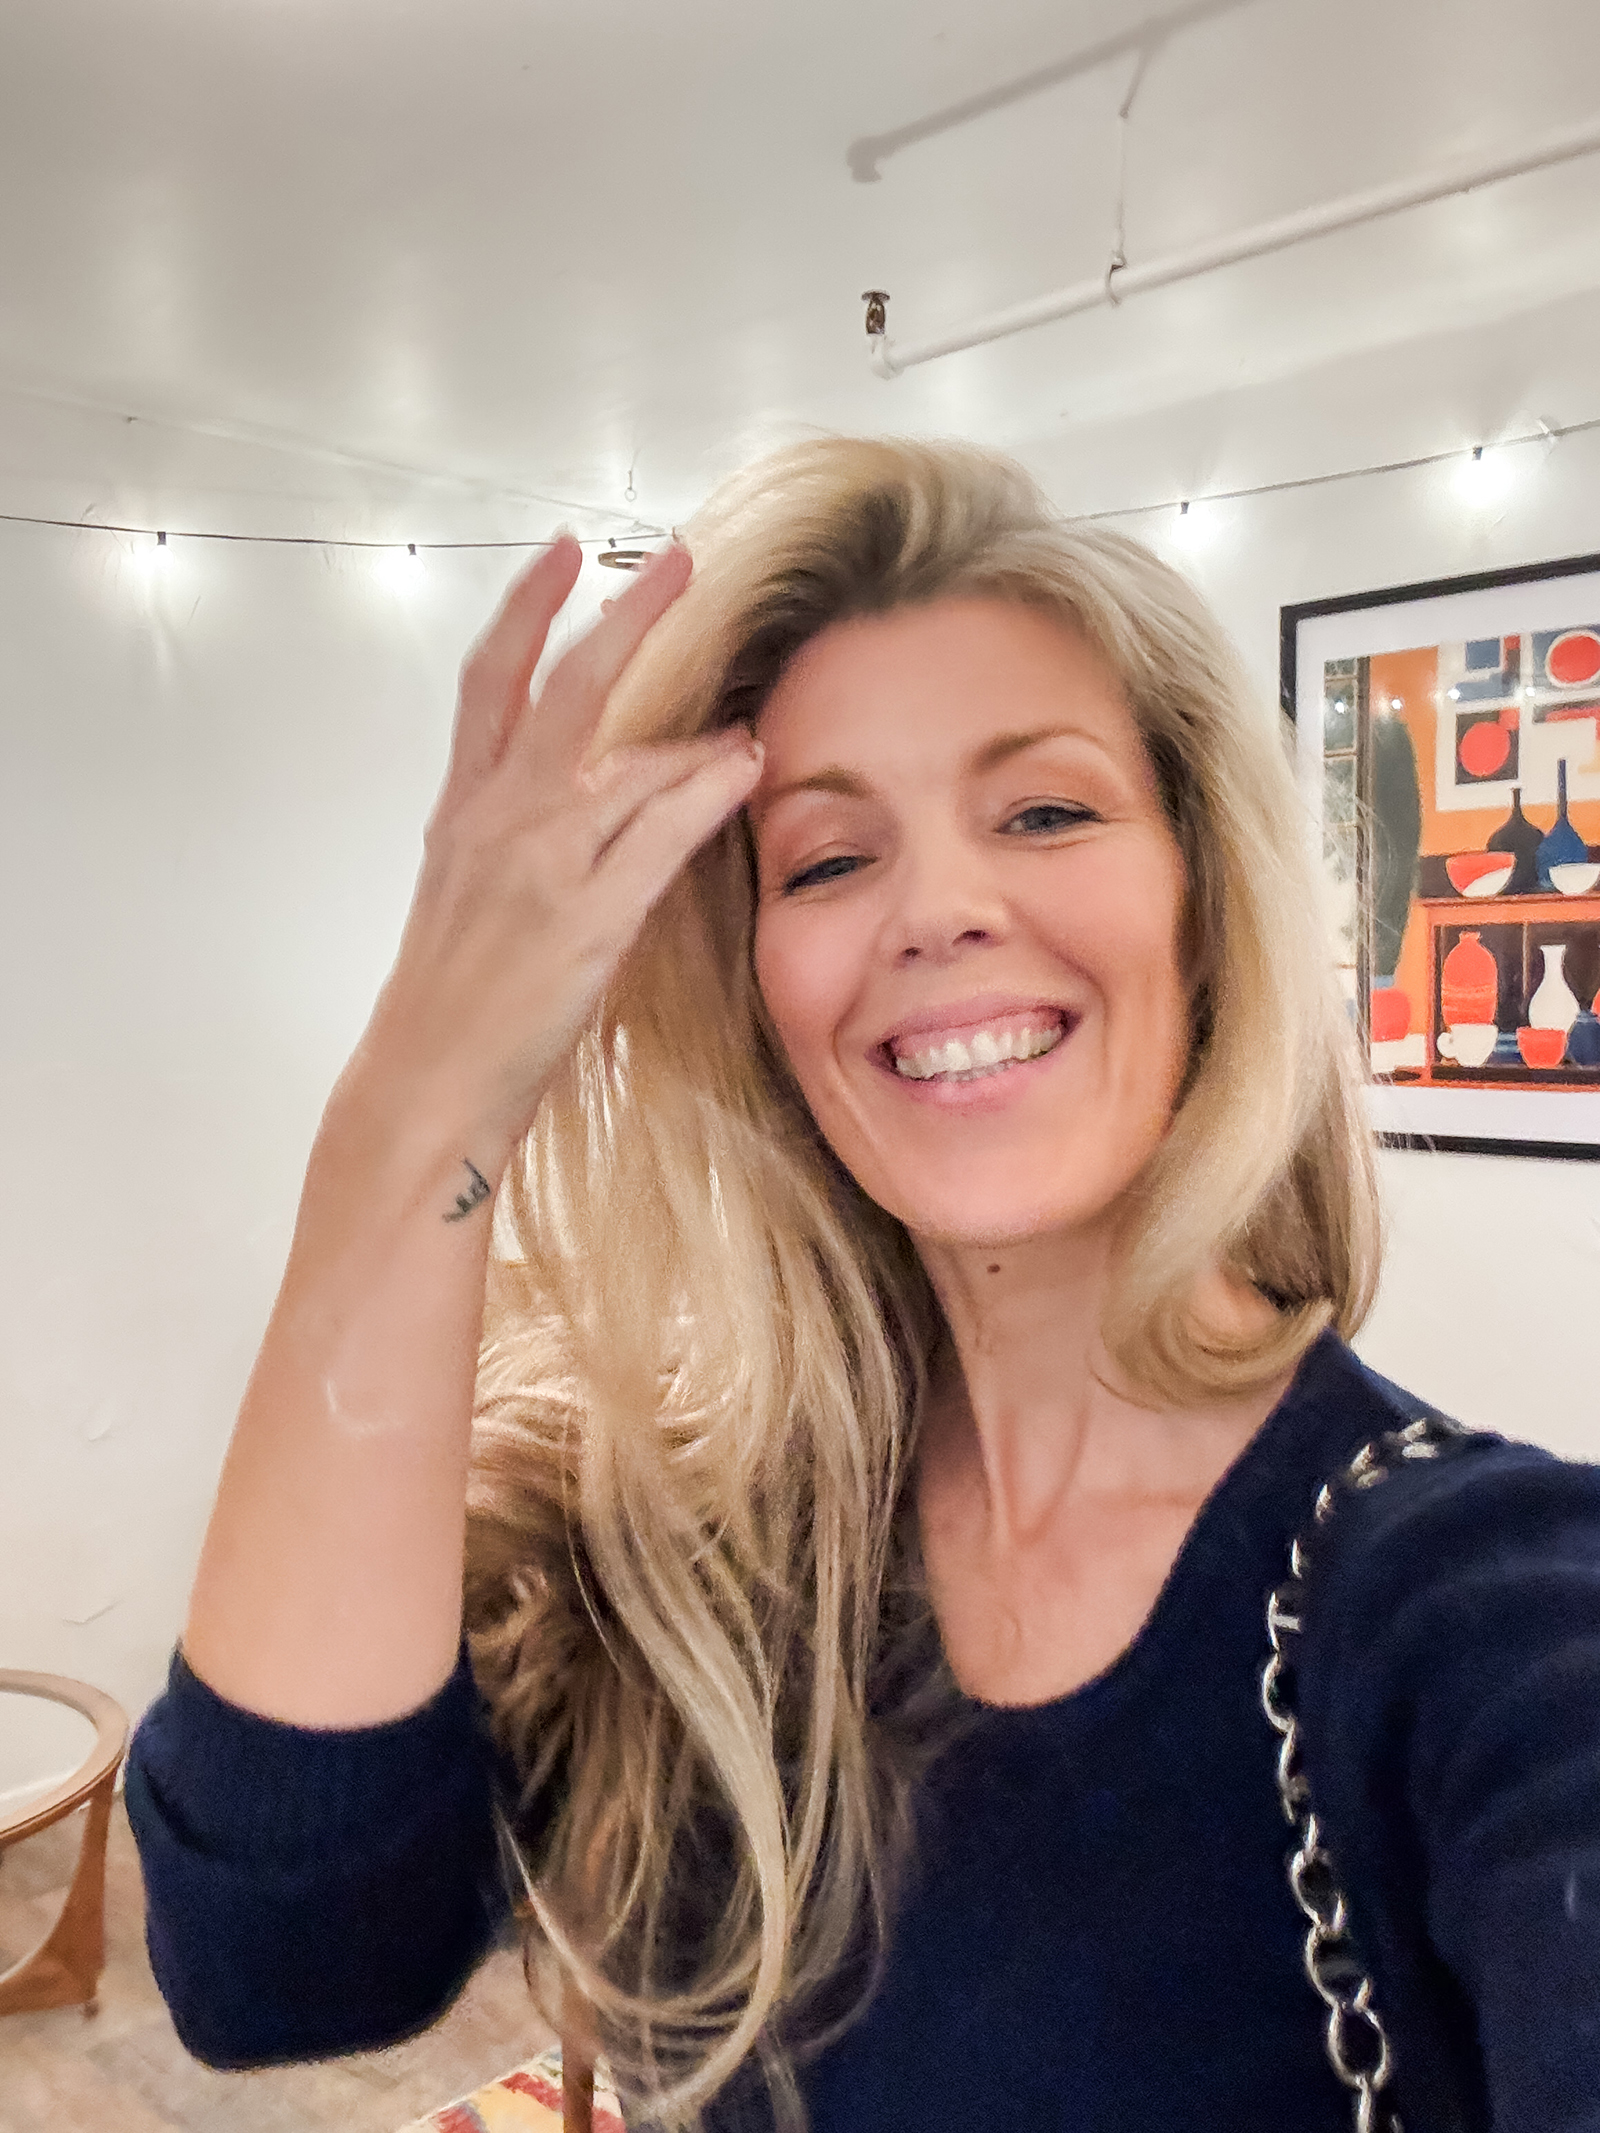
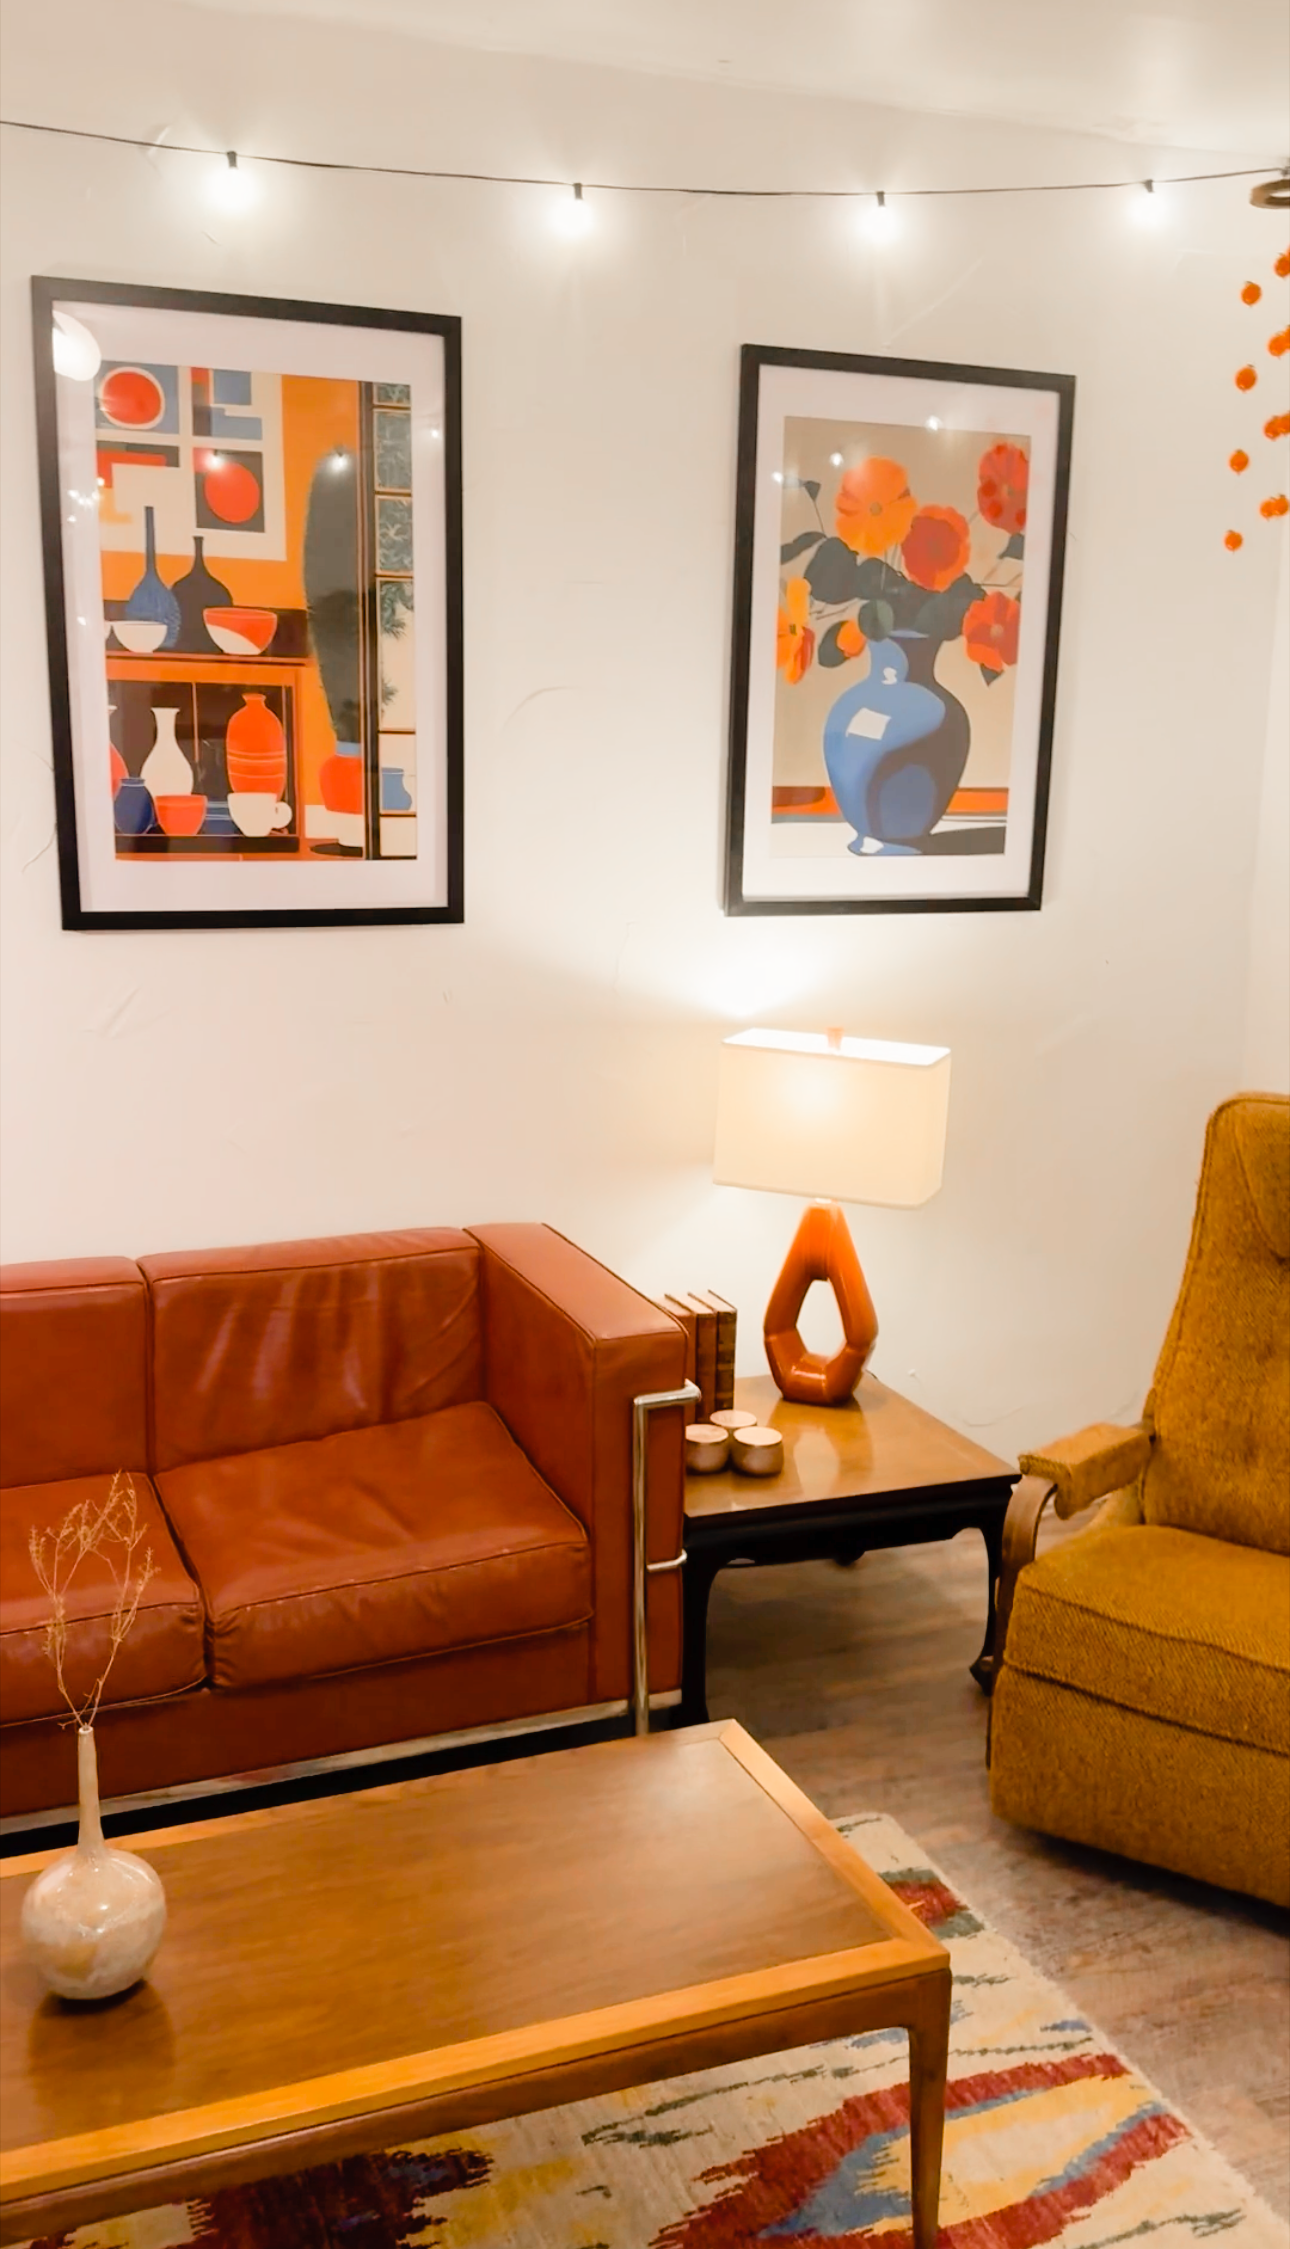
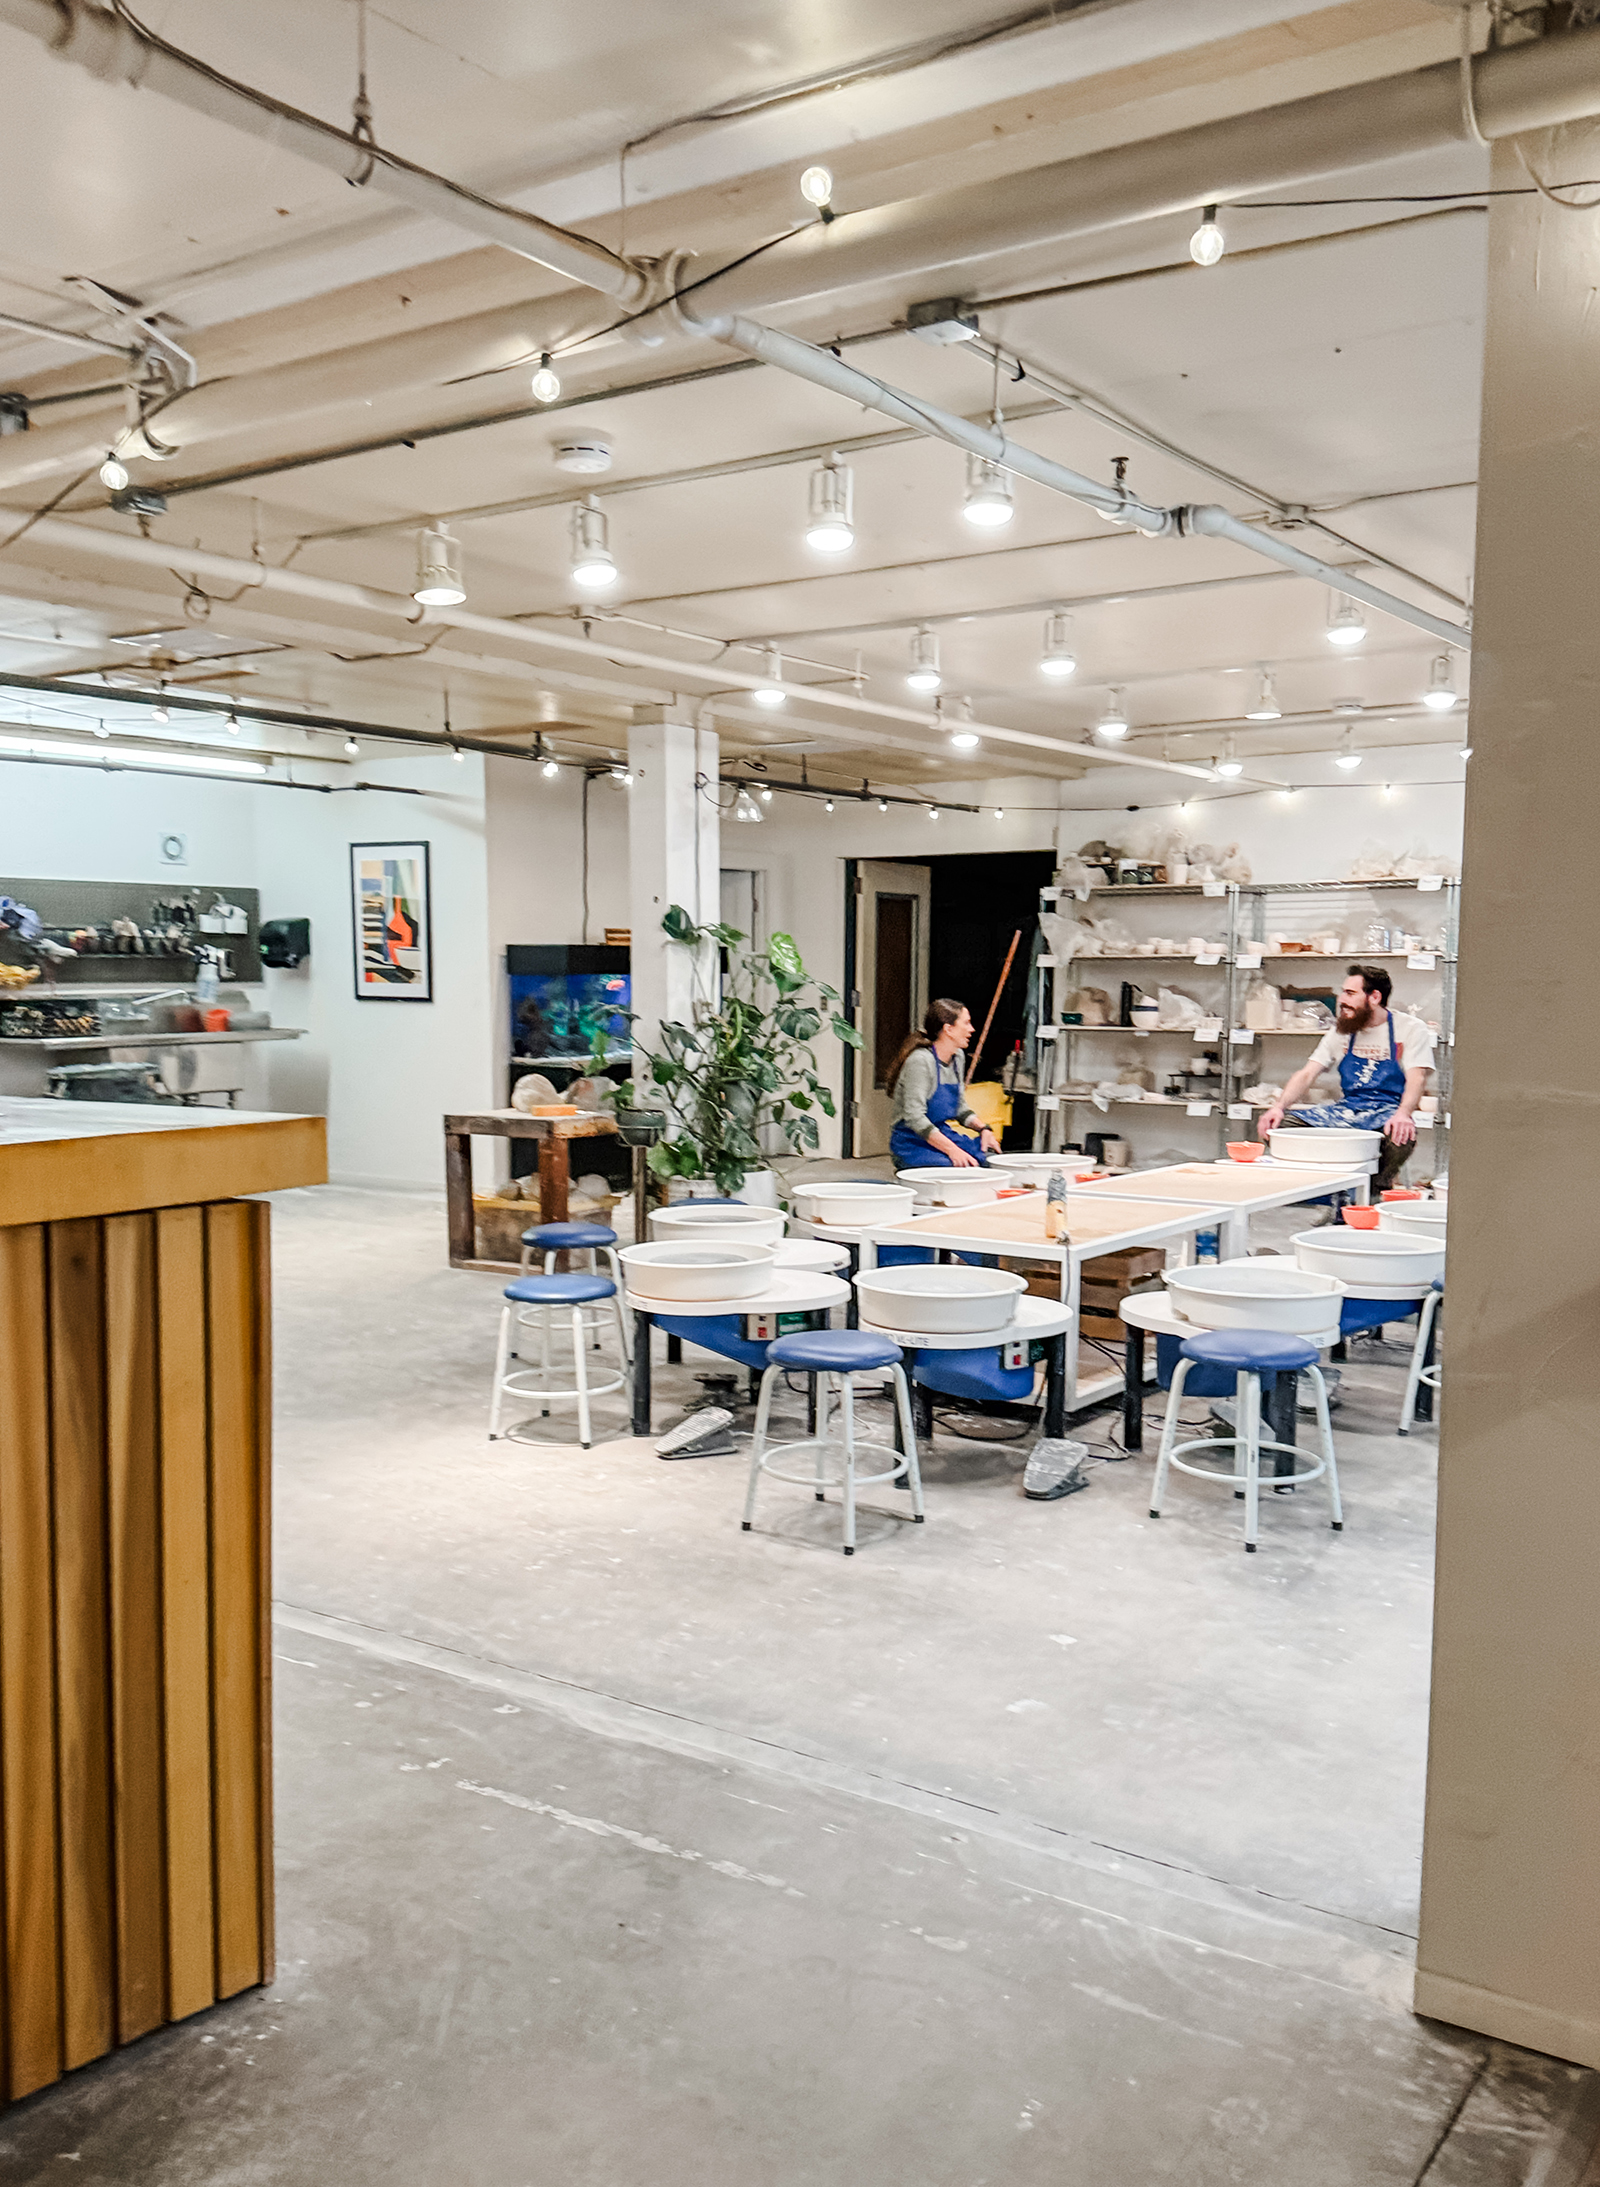
Let’s Begin…
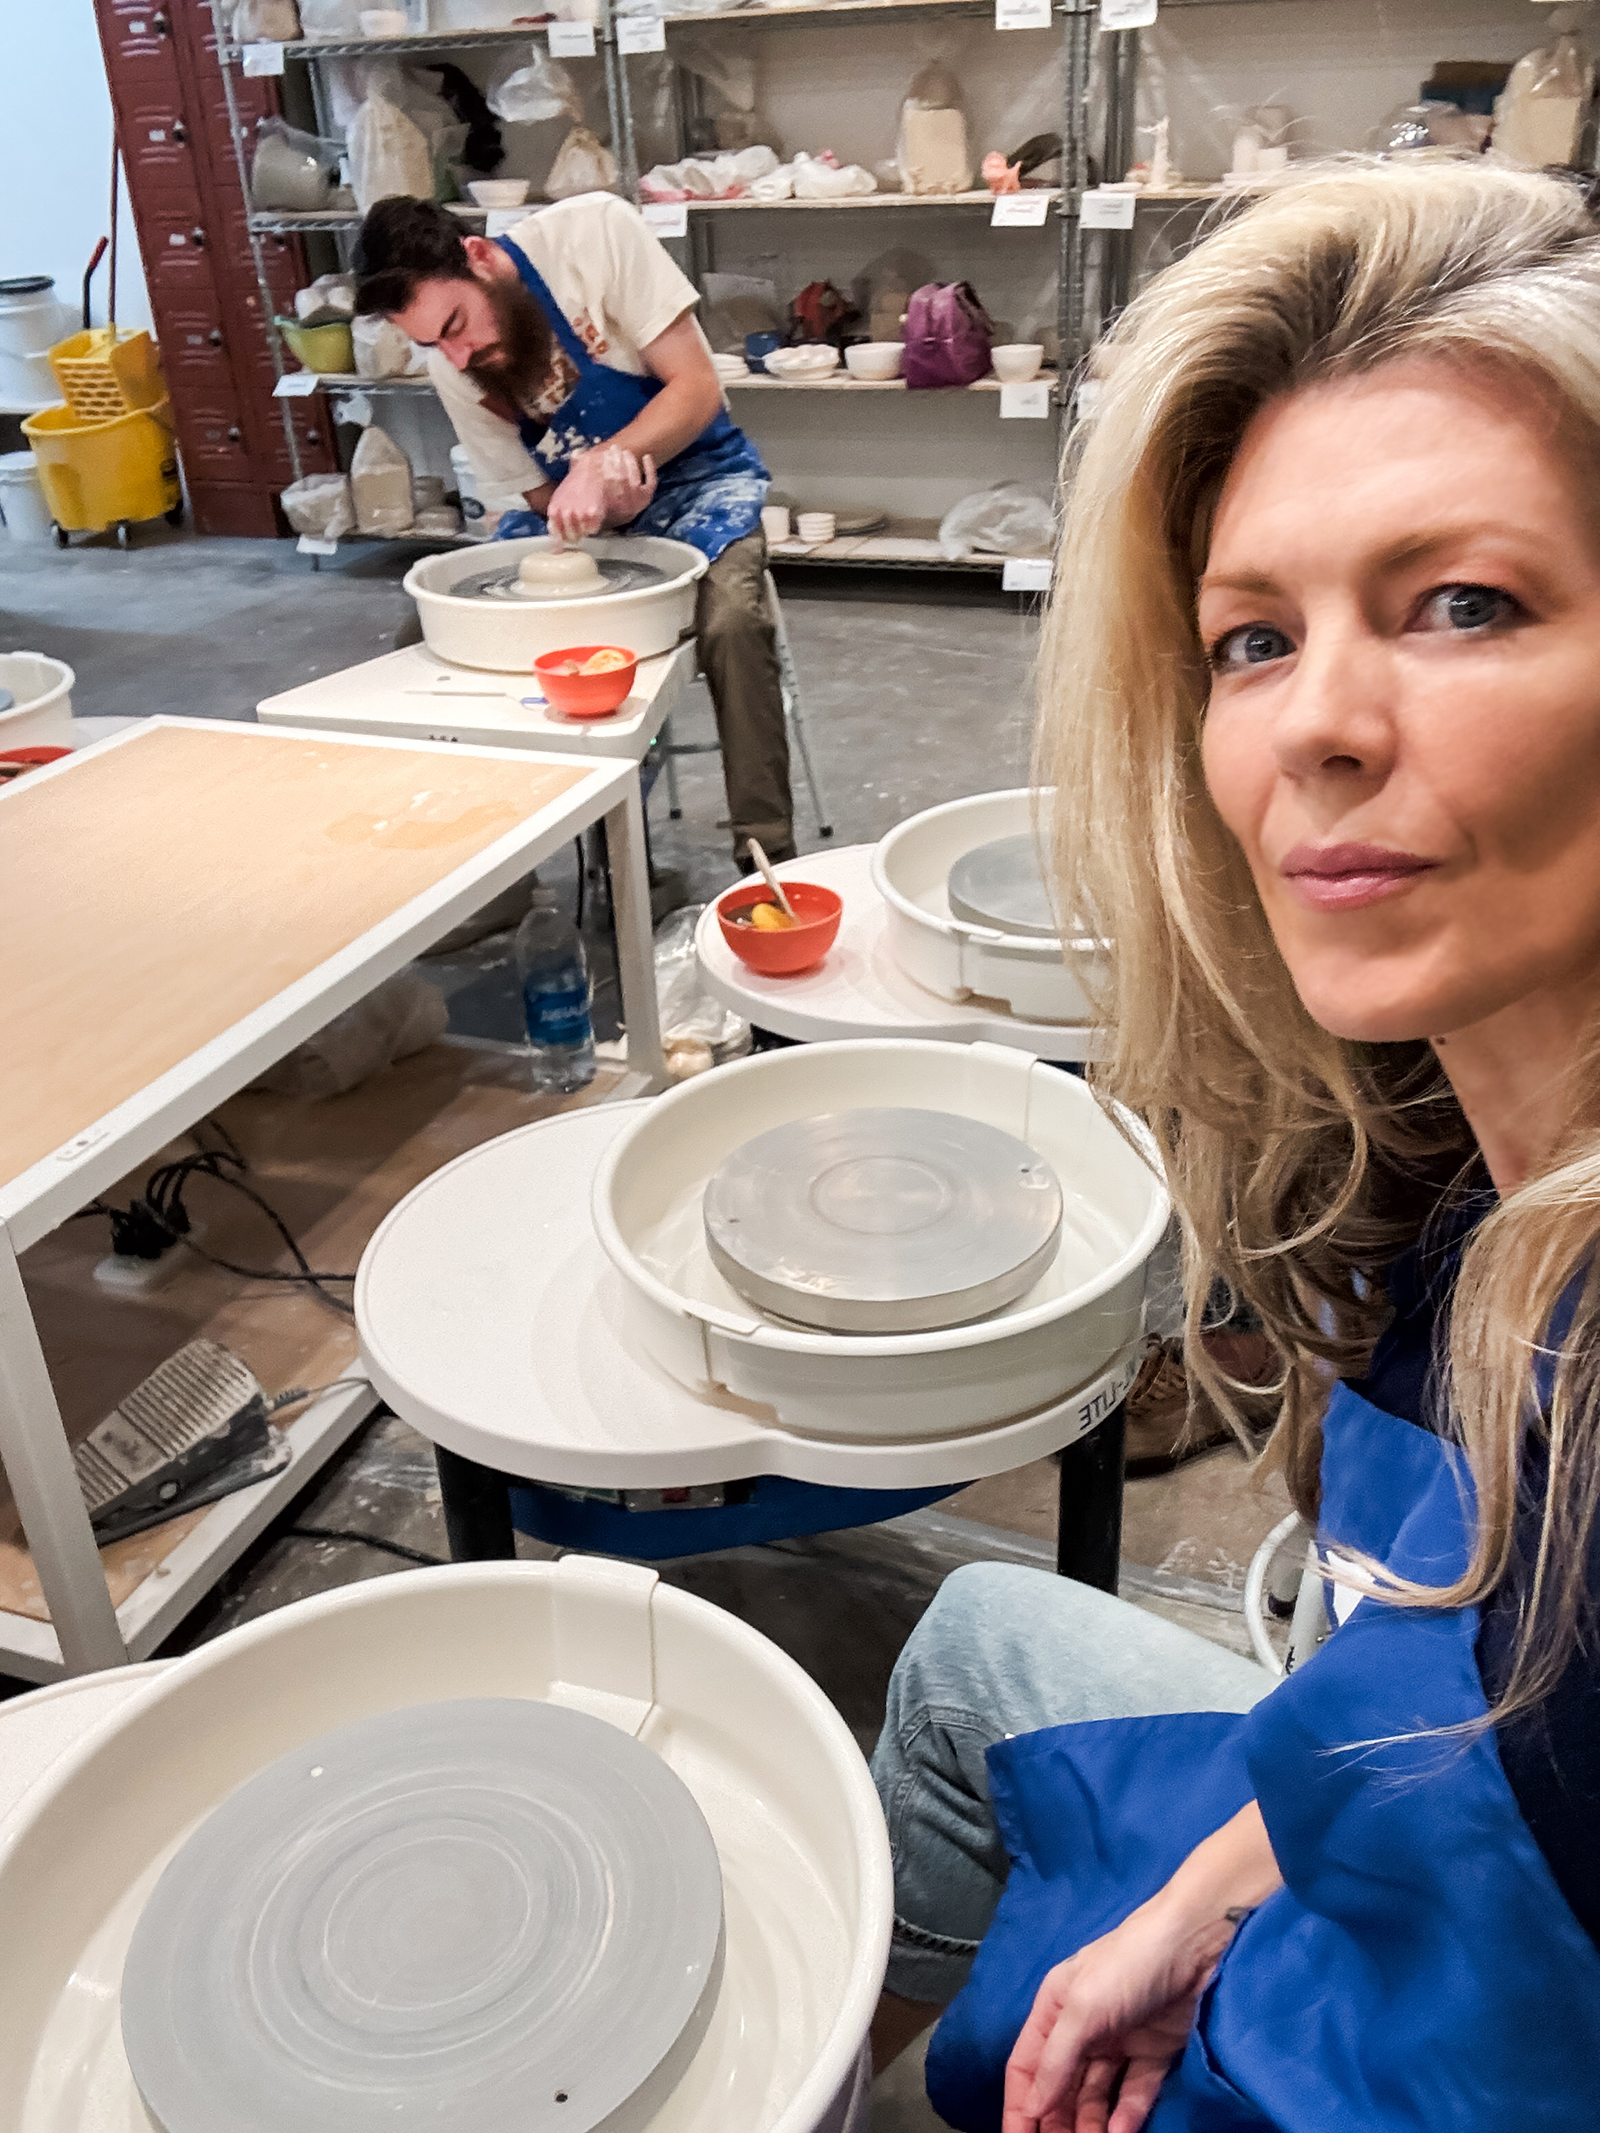
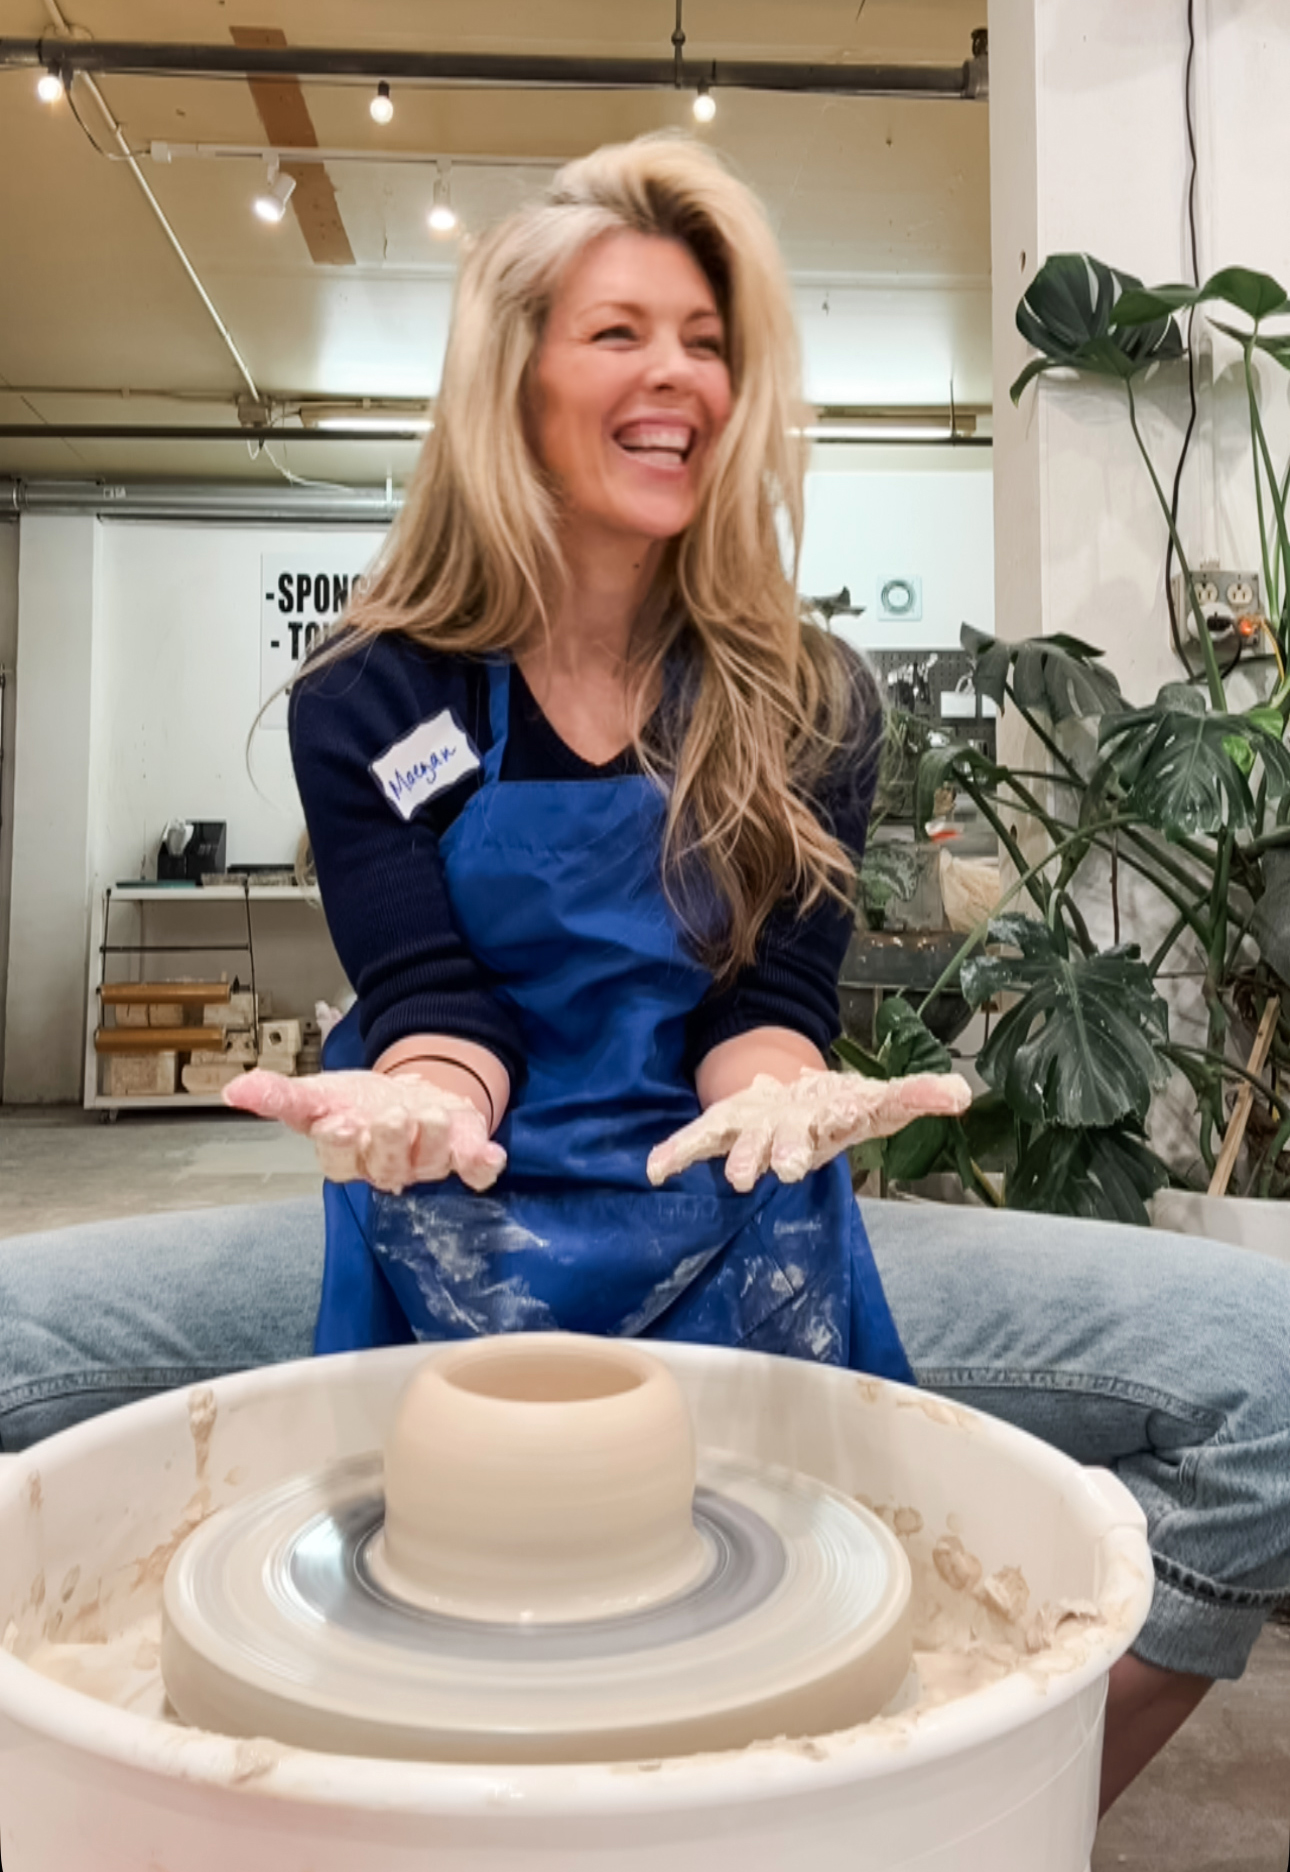
The class includes all the materials you’ll need including clay and tools and the pottery wheel, which I’ve never used before. It took a minute to get used to, but was pretty easy once I figured out how to control the speed.
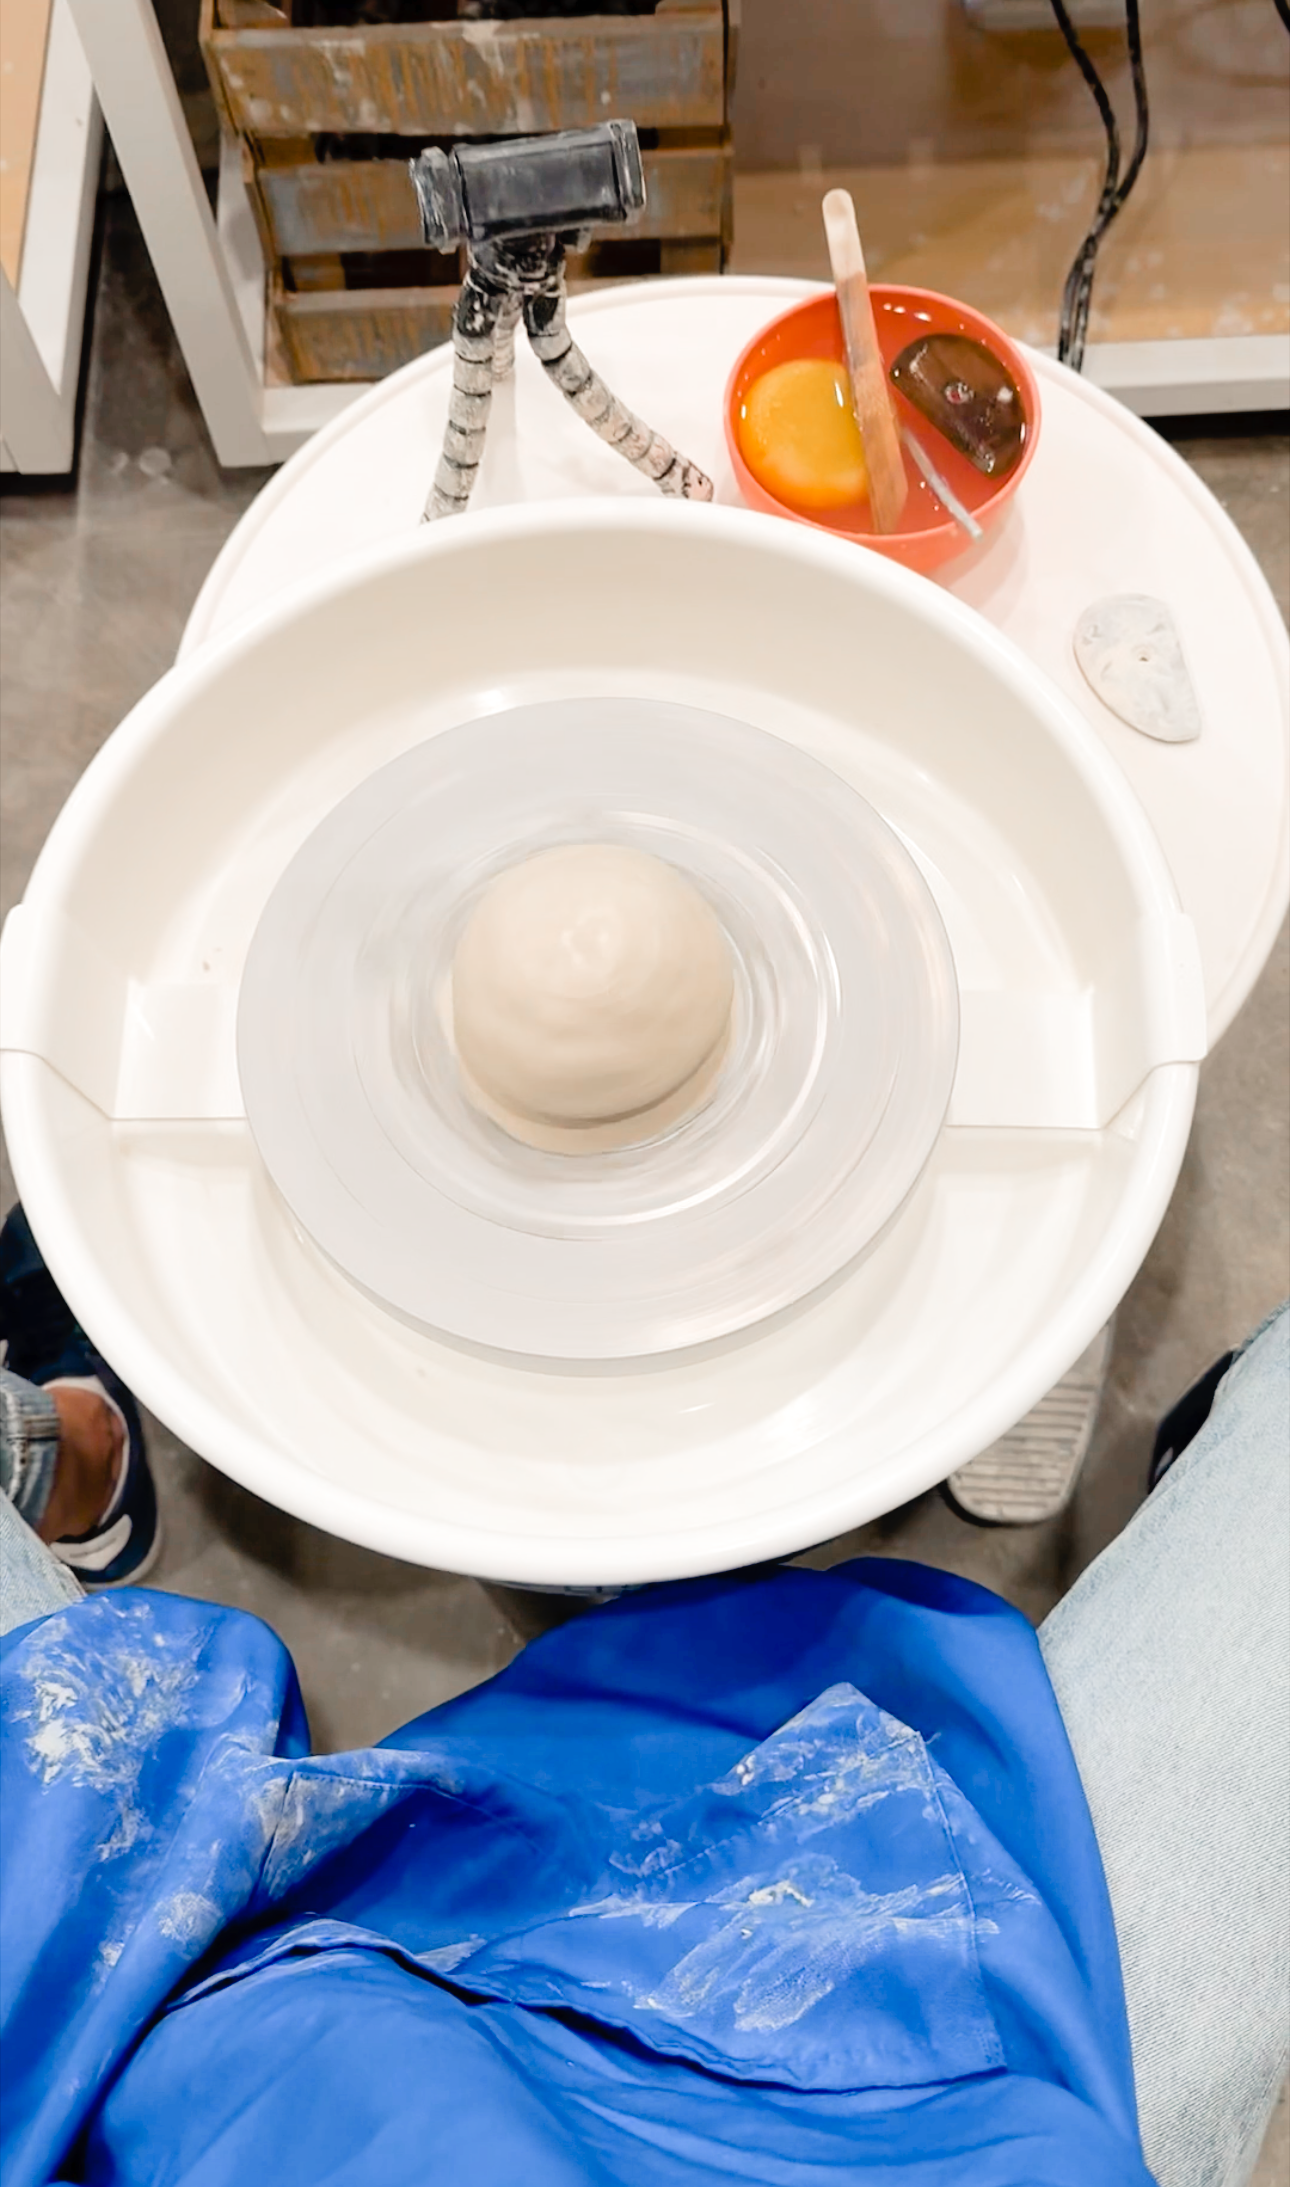
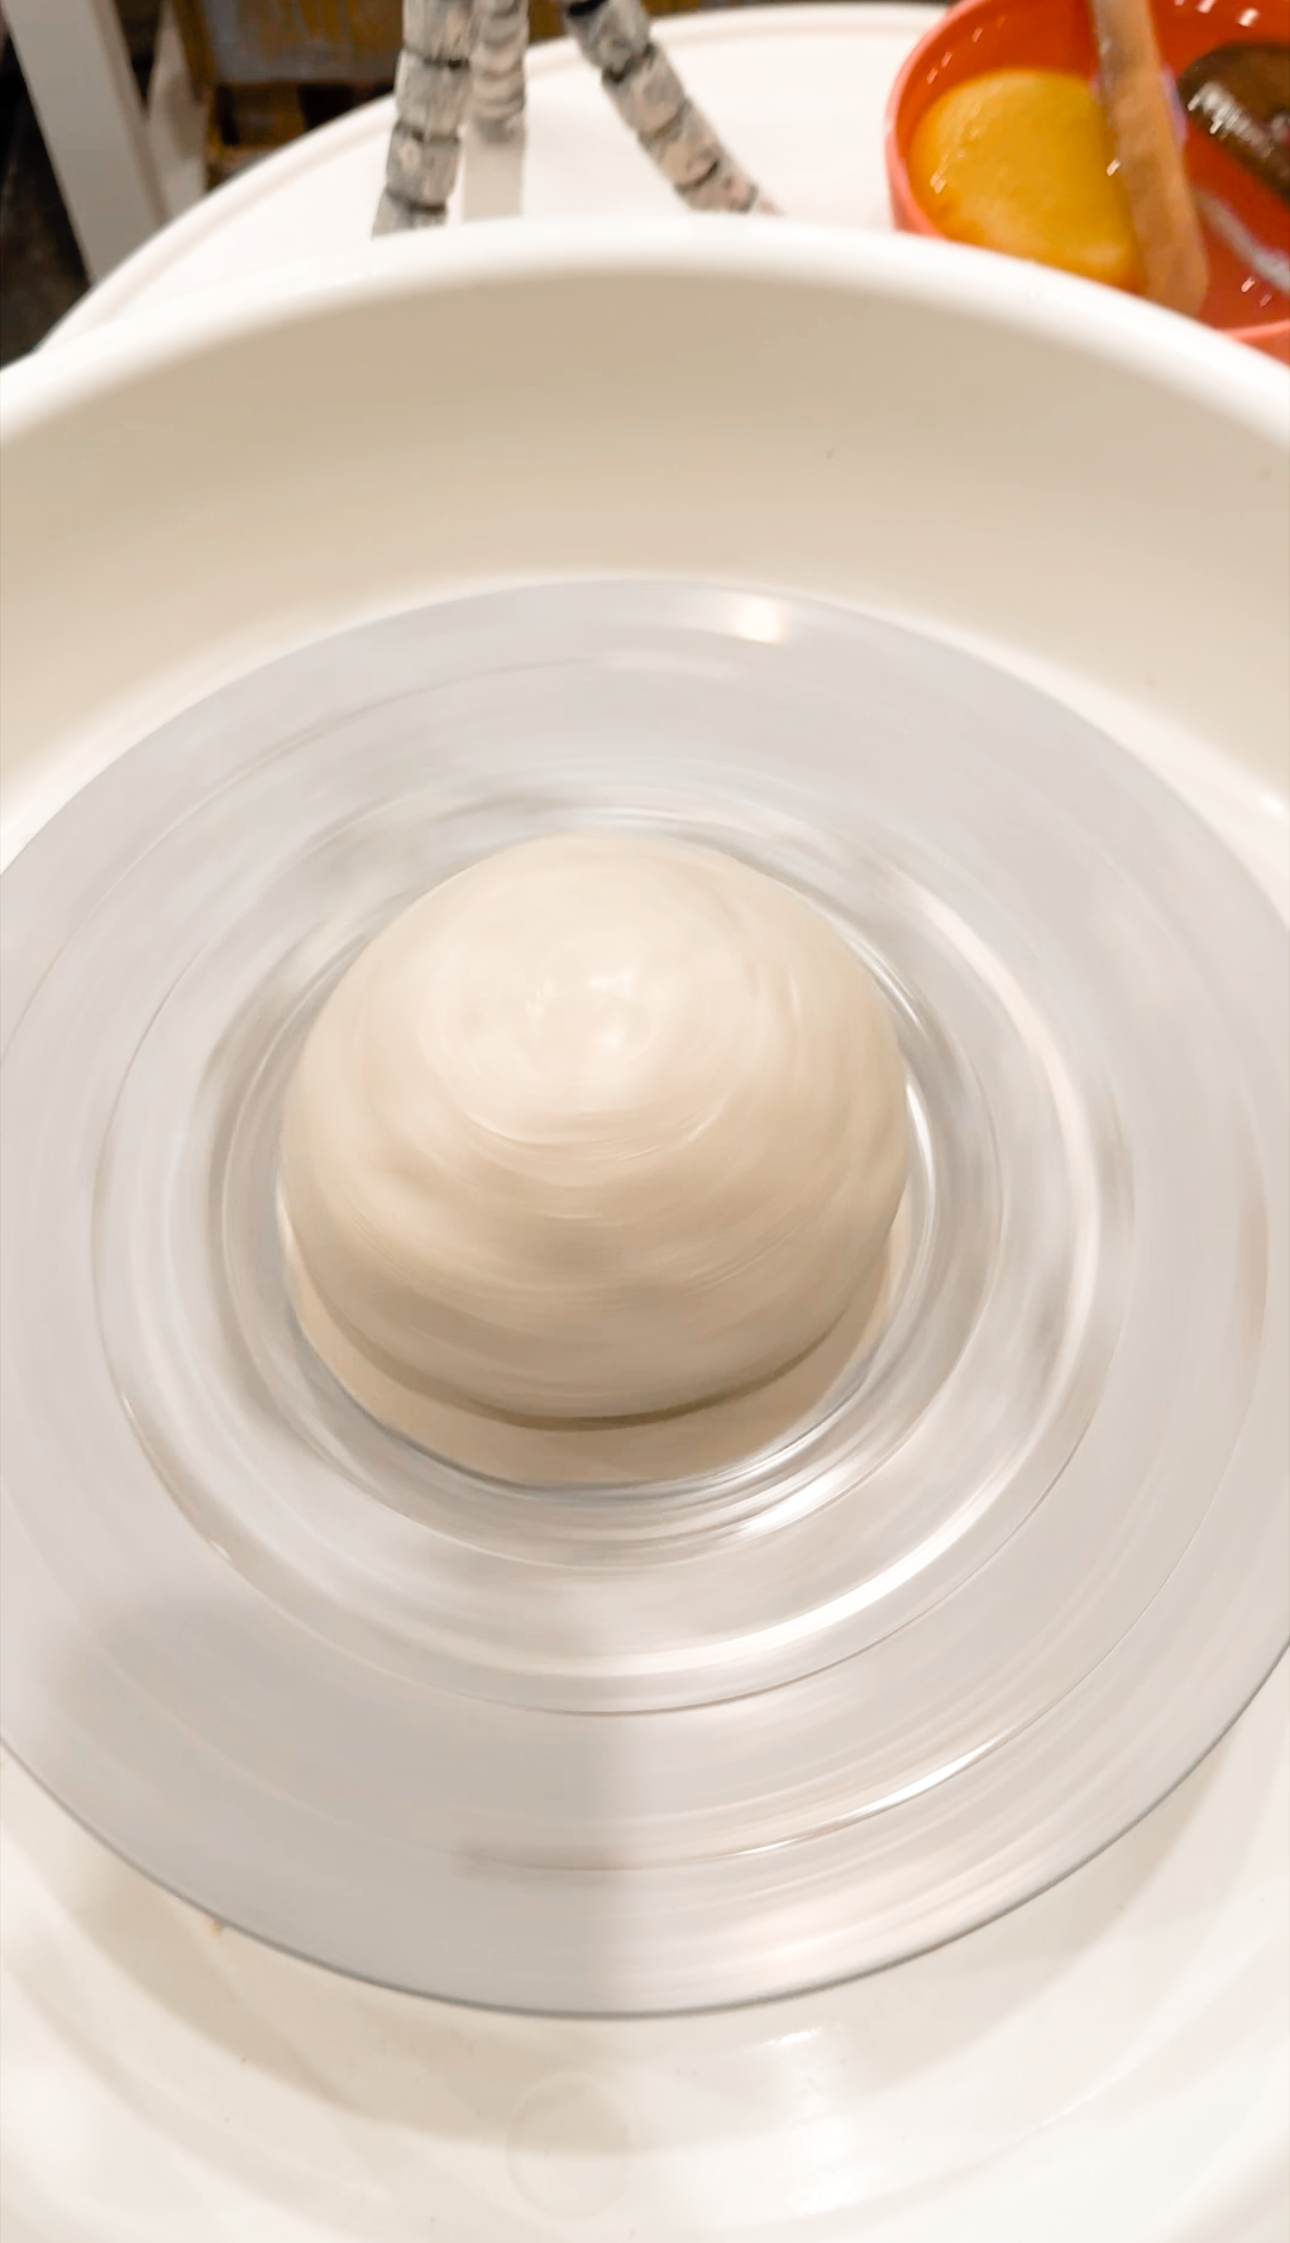
Once you make your clay into a sort-of-ball, you quite literally THROW it onto the pottery wheel, aiming as close to center as possible. I wish I had this recorded, but I didn’t decide to film until after I threw clay. Once it’s on the wheel, you sort of SCOOT it towards you, as close to center as possible. I think that was the hardest part for me, making sure my bowl wasn’t lopsided, which of course, it turned out to be in the end 😆
Most of the steps weren’t really that difficult, although starting off with a finger in the center and pulling towards me also proved to be more challenging than it sounds. But overall, it was a really fun experience, that wasn’t super difficult, and the instructor was there to help, which he did, numerous times.
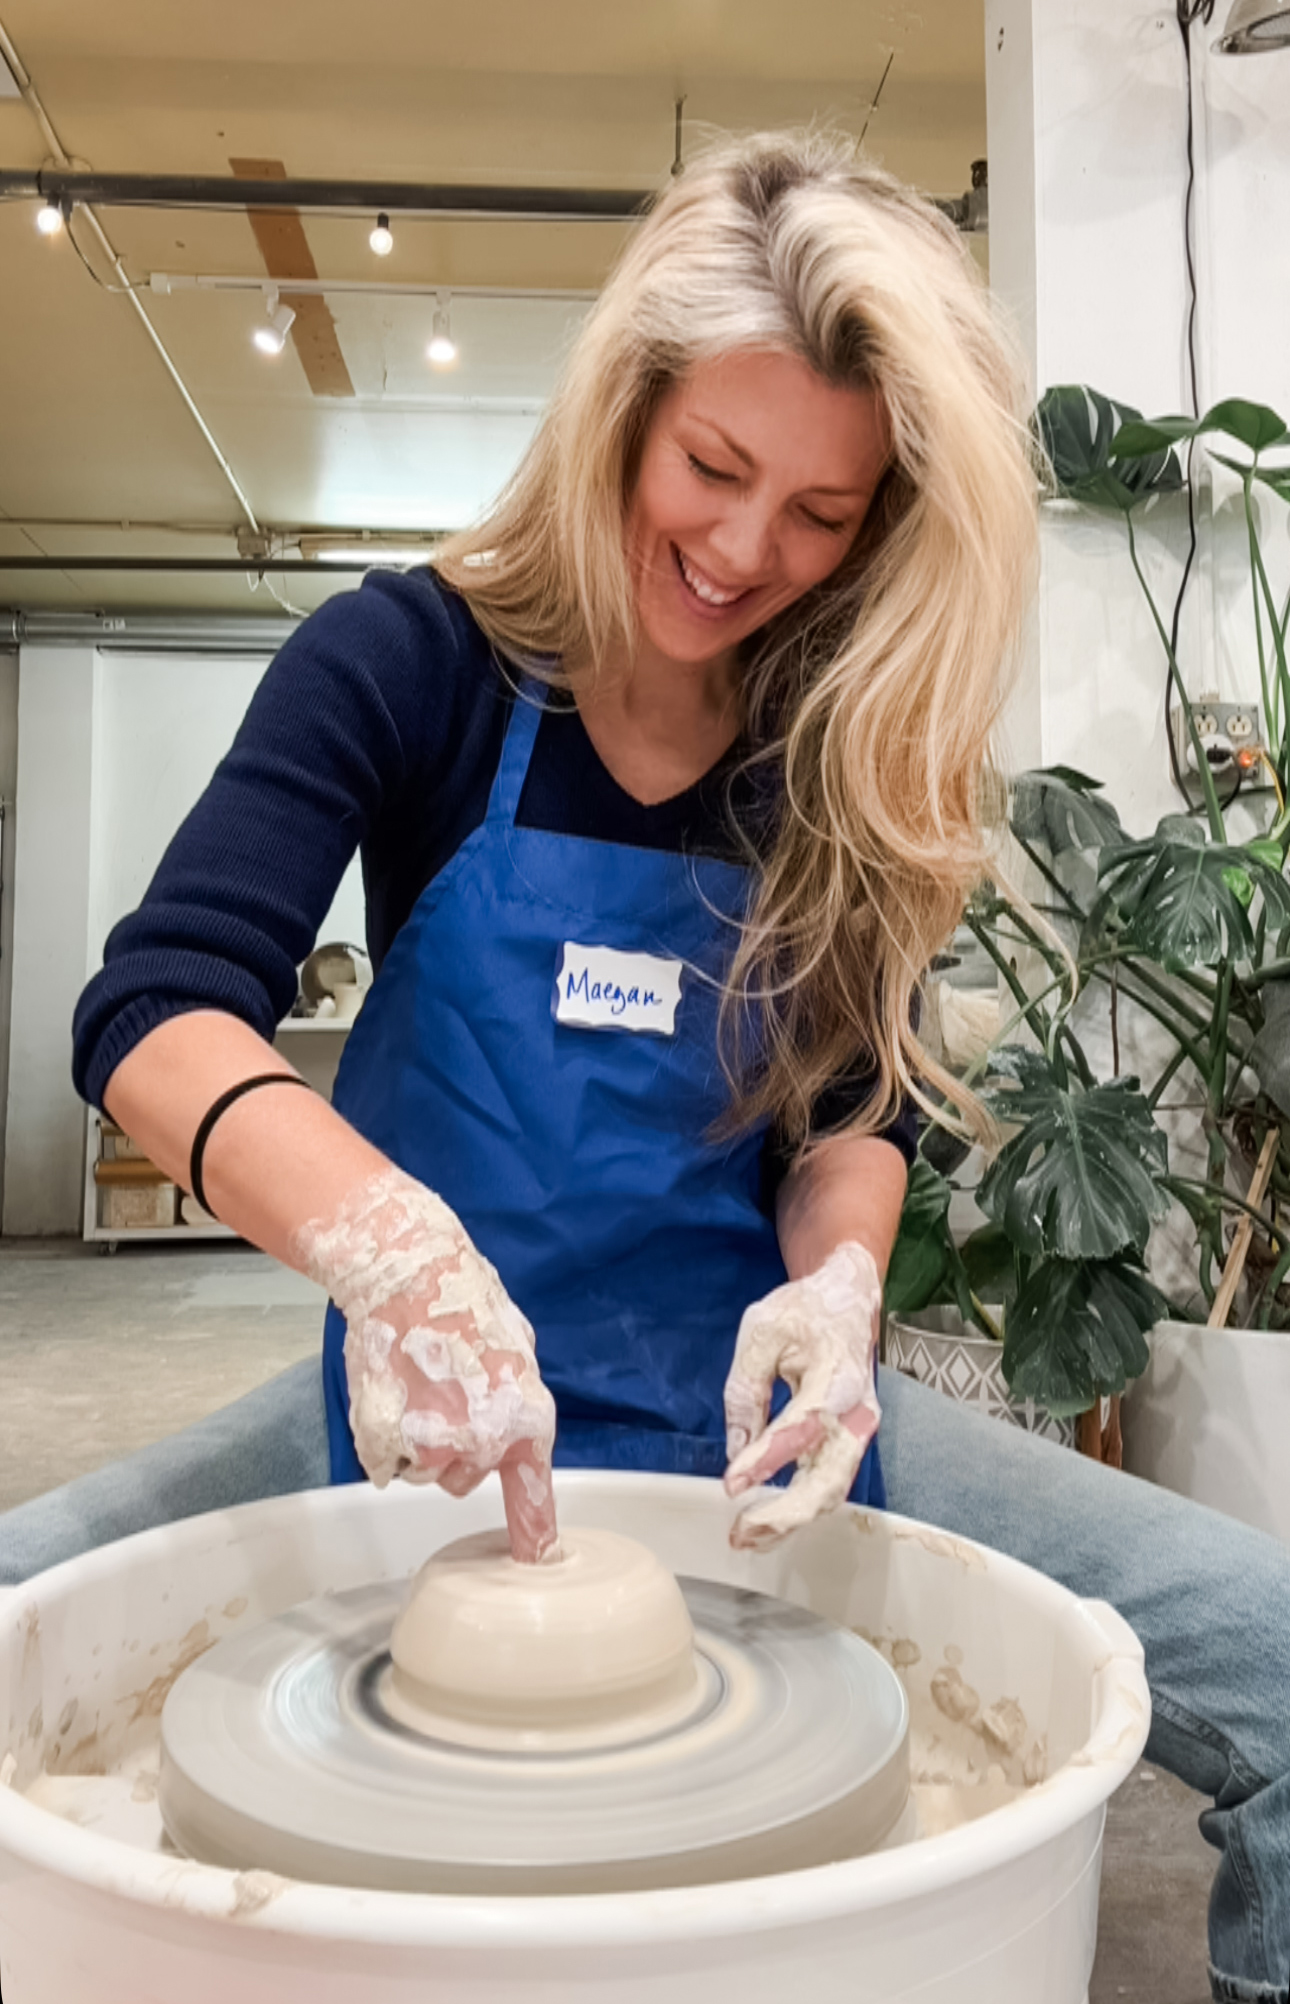
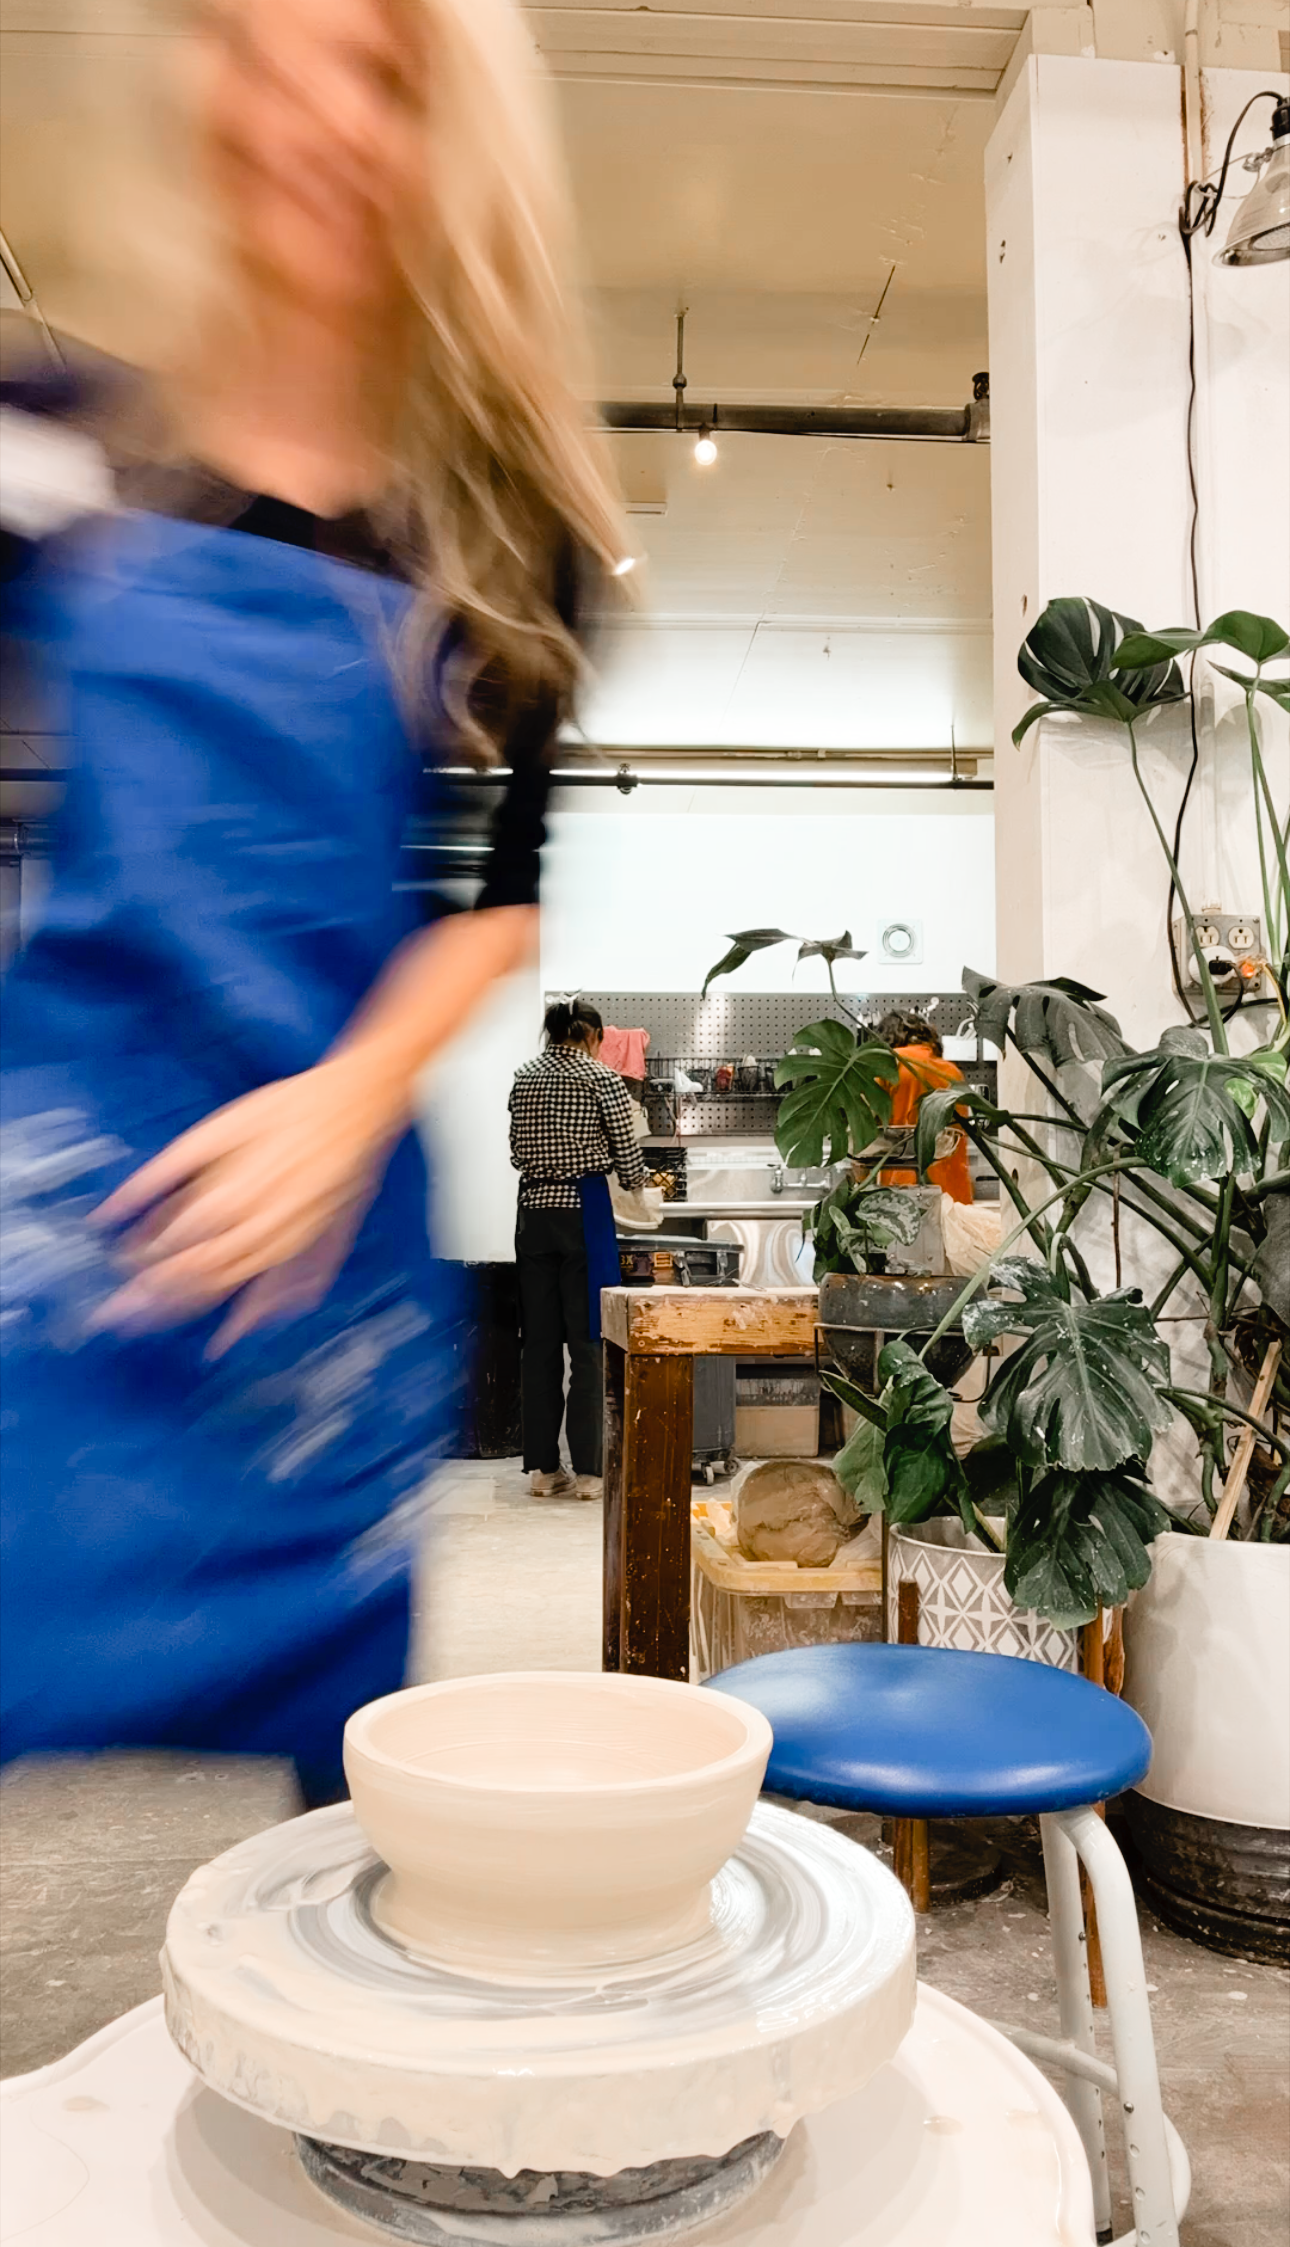
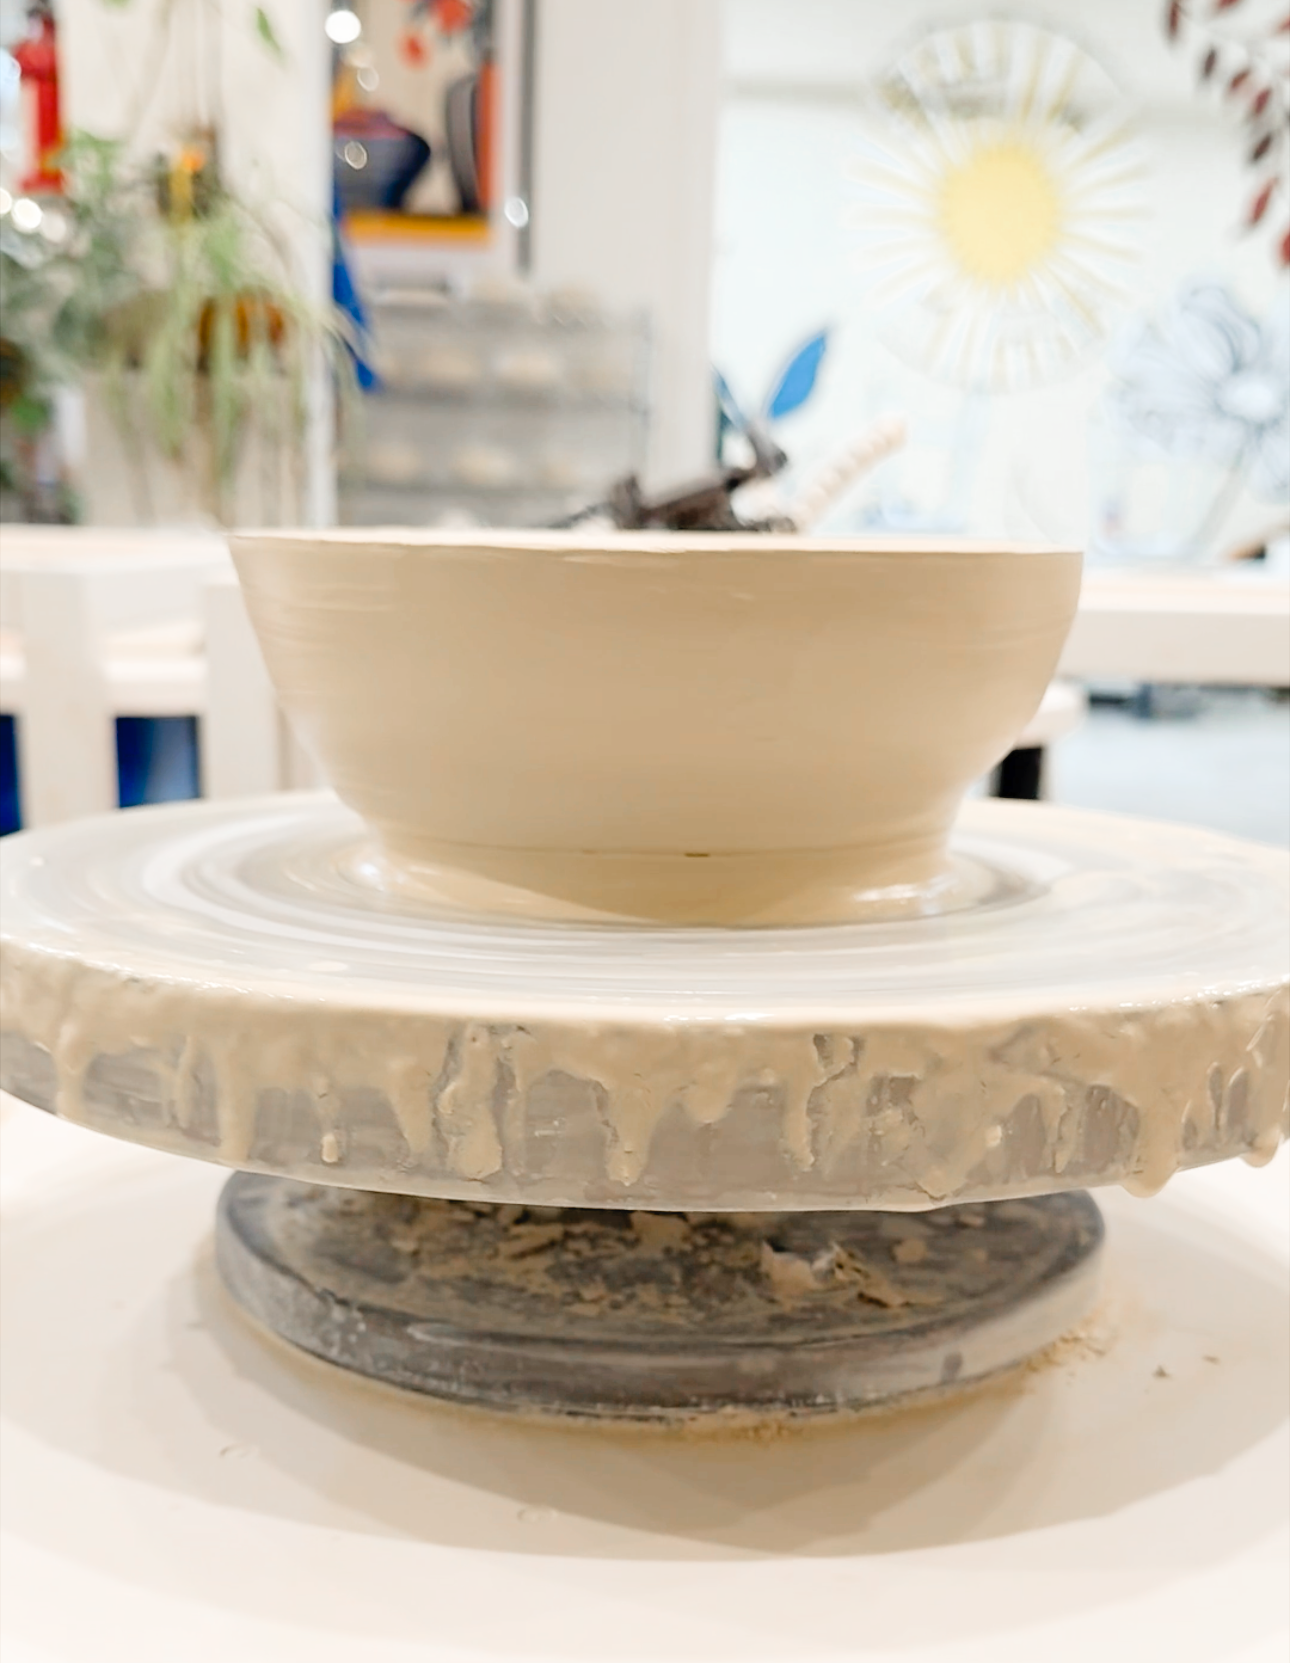
The photos aren’t really in any order based on my process. I just took screenshots from the time lapse, so if you want to see it in action, click here or scroll to the bottom to see my reel.
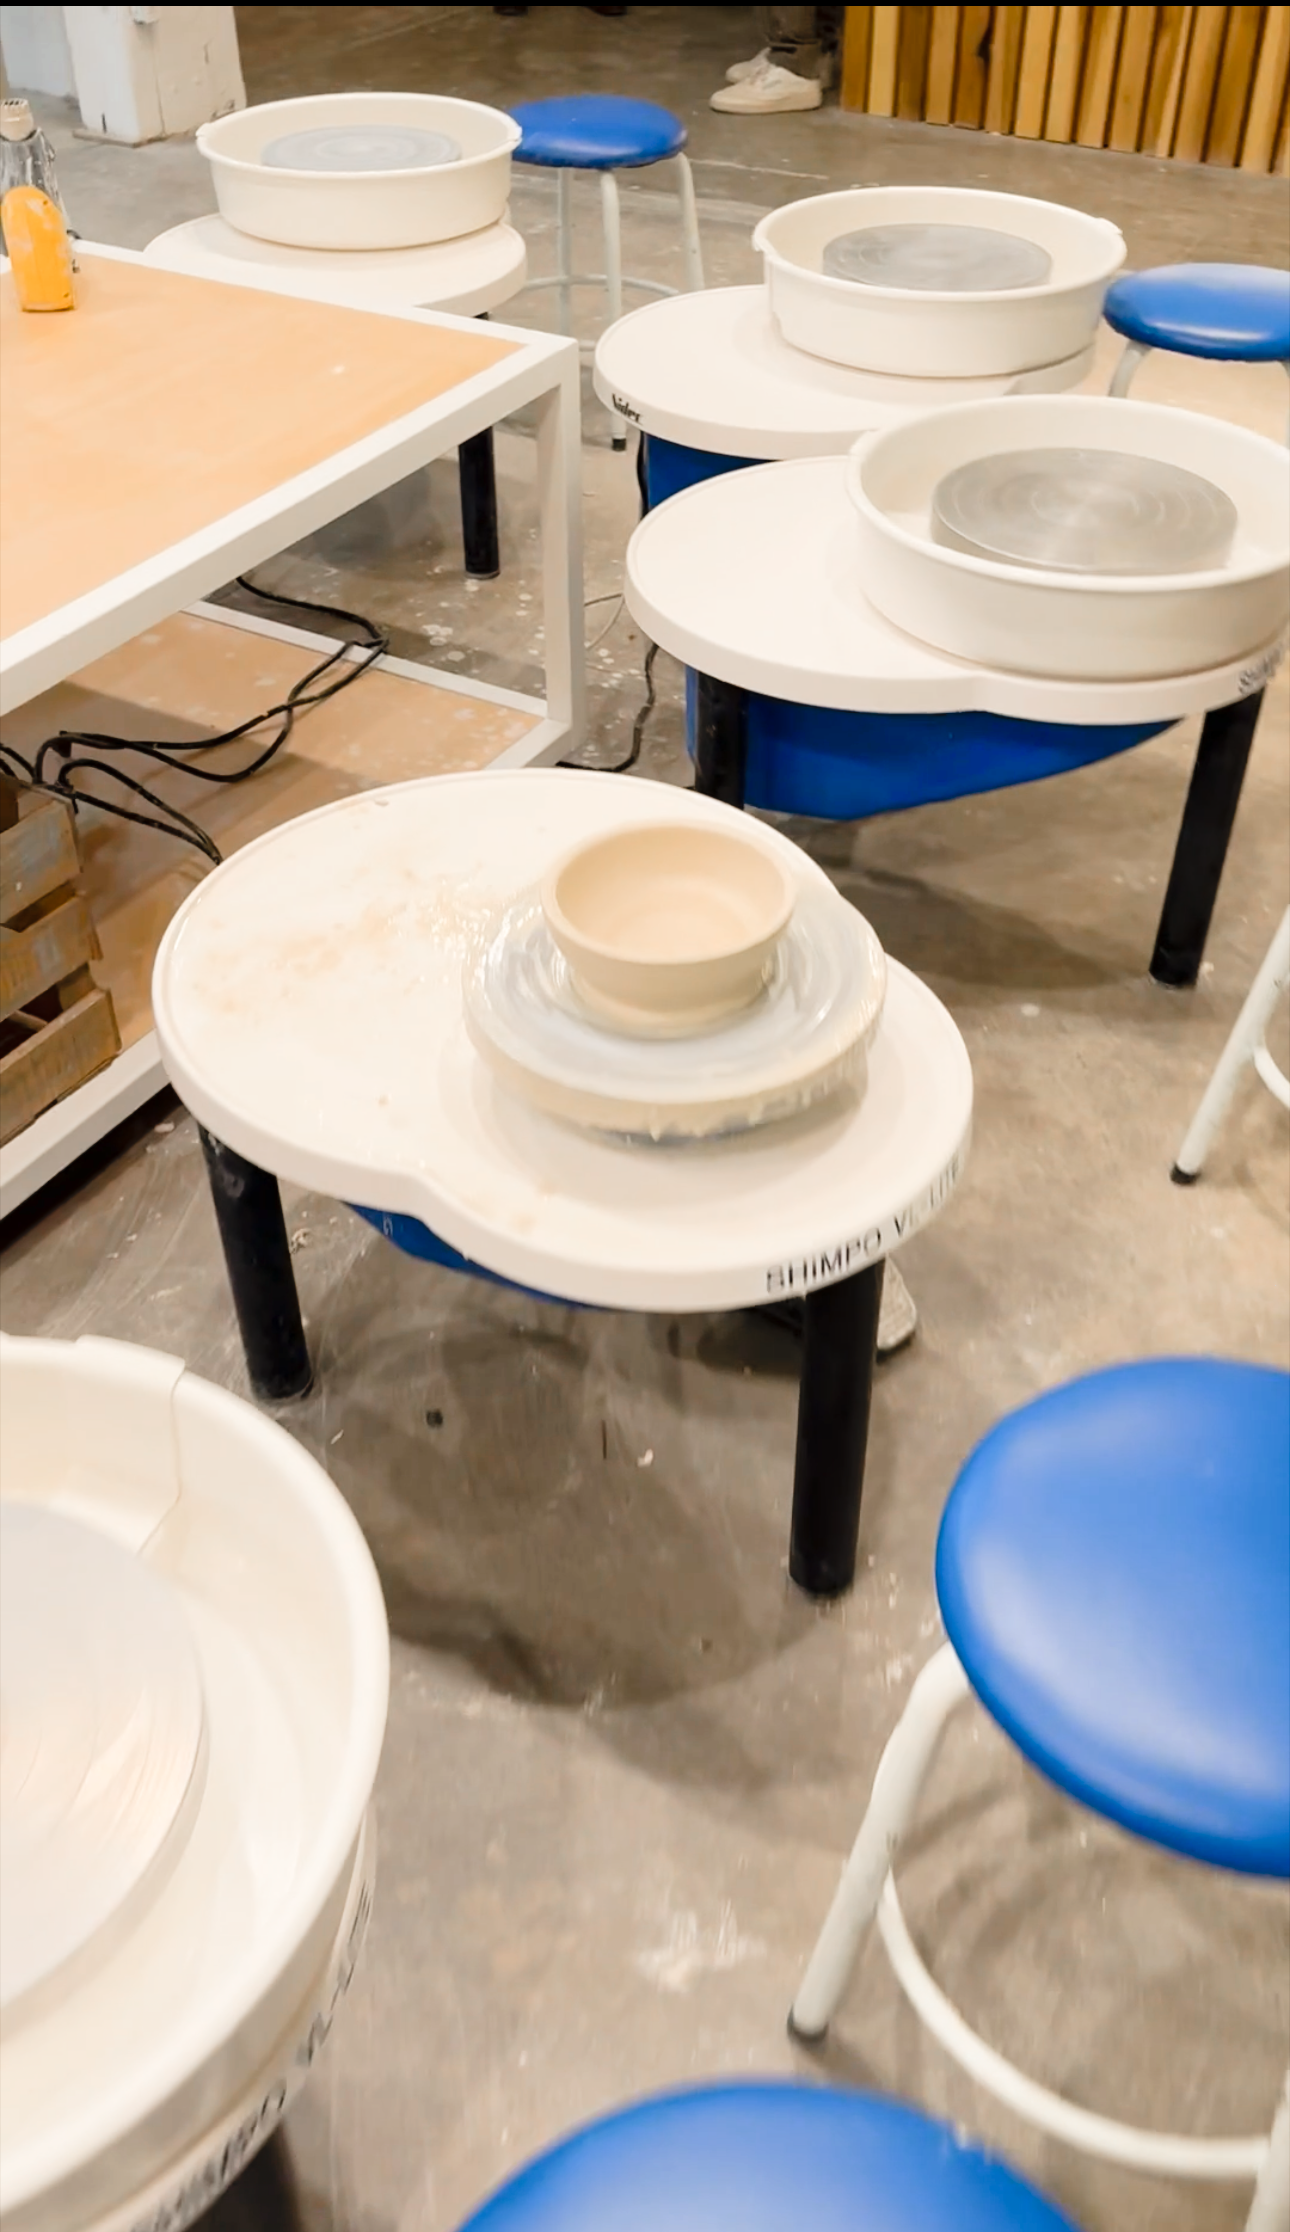
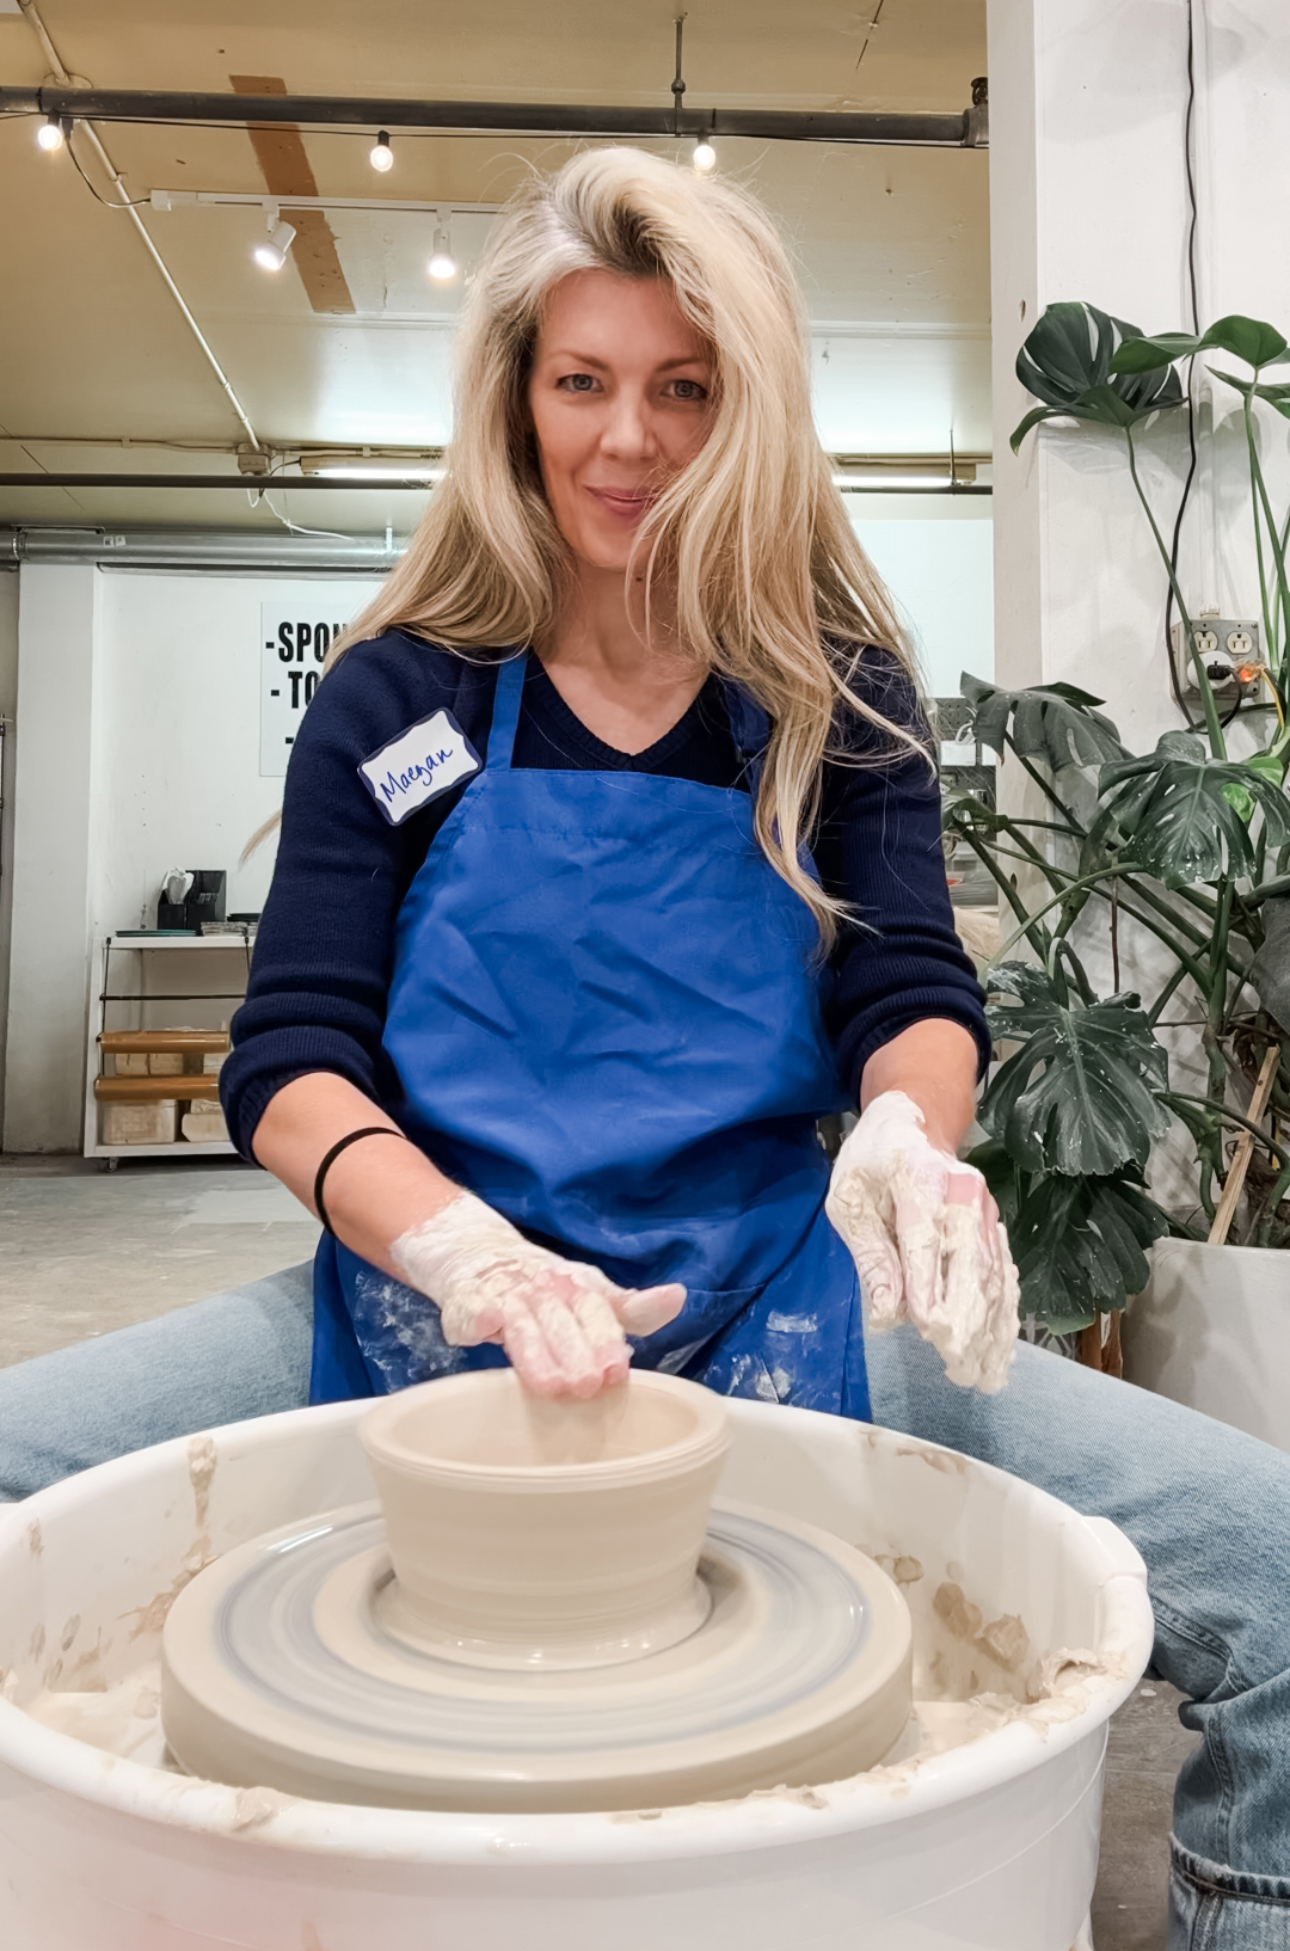
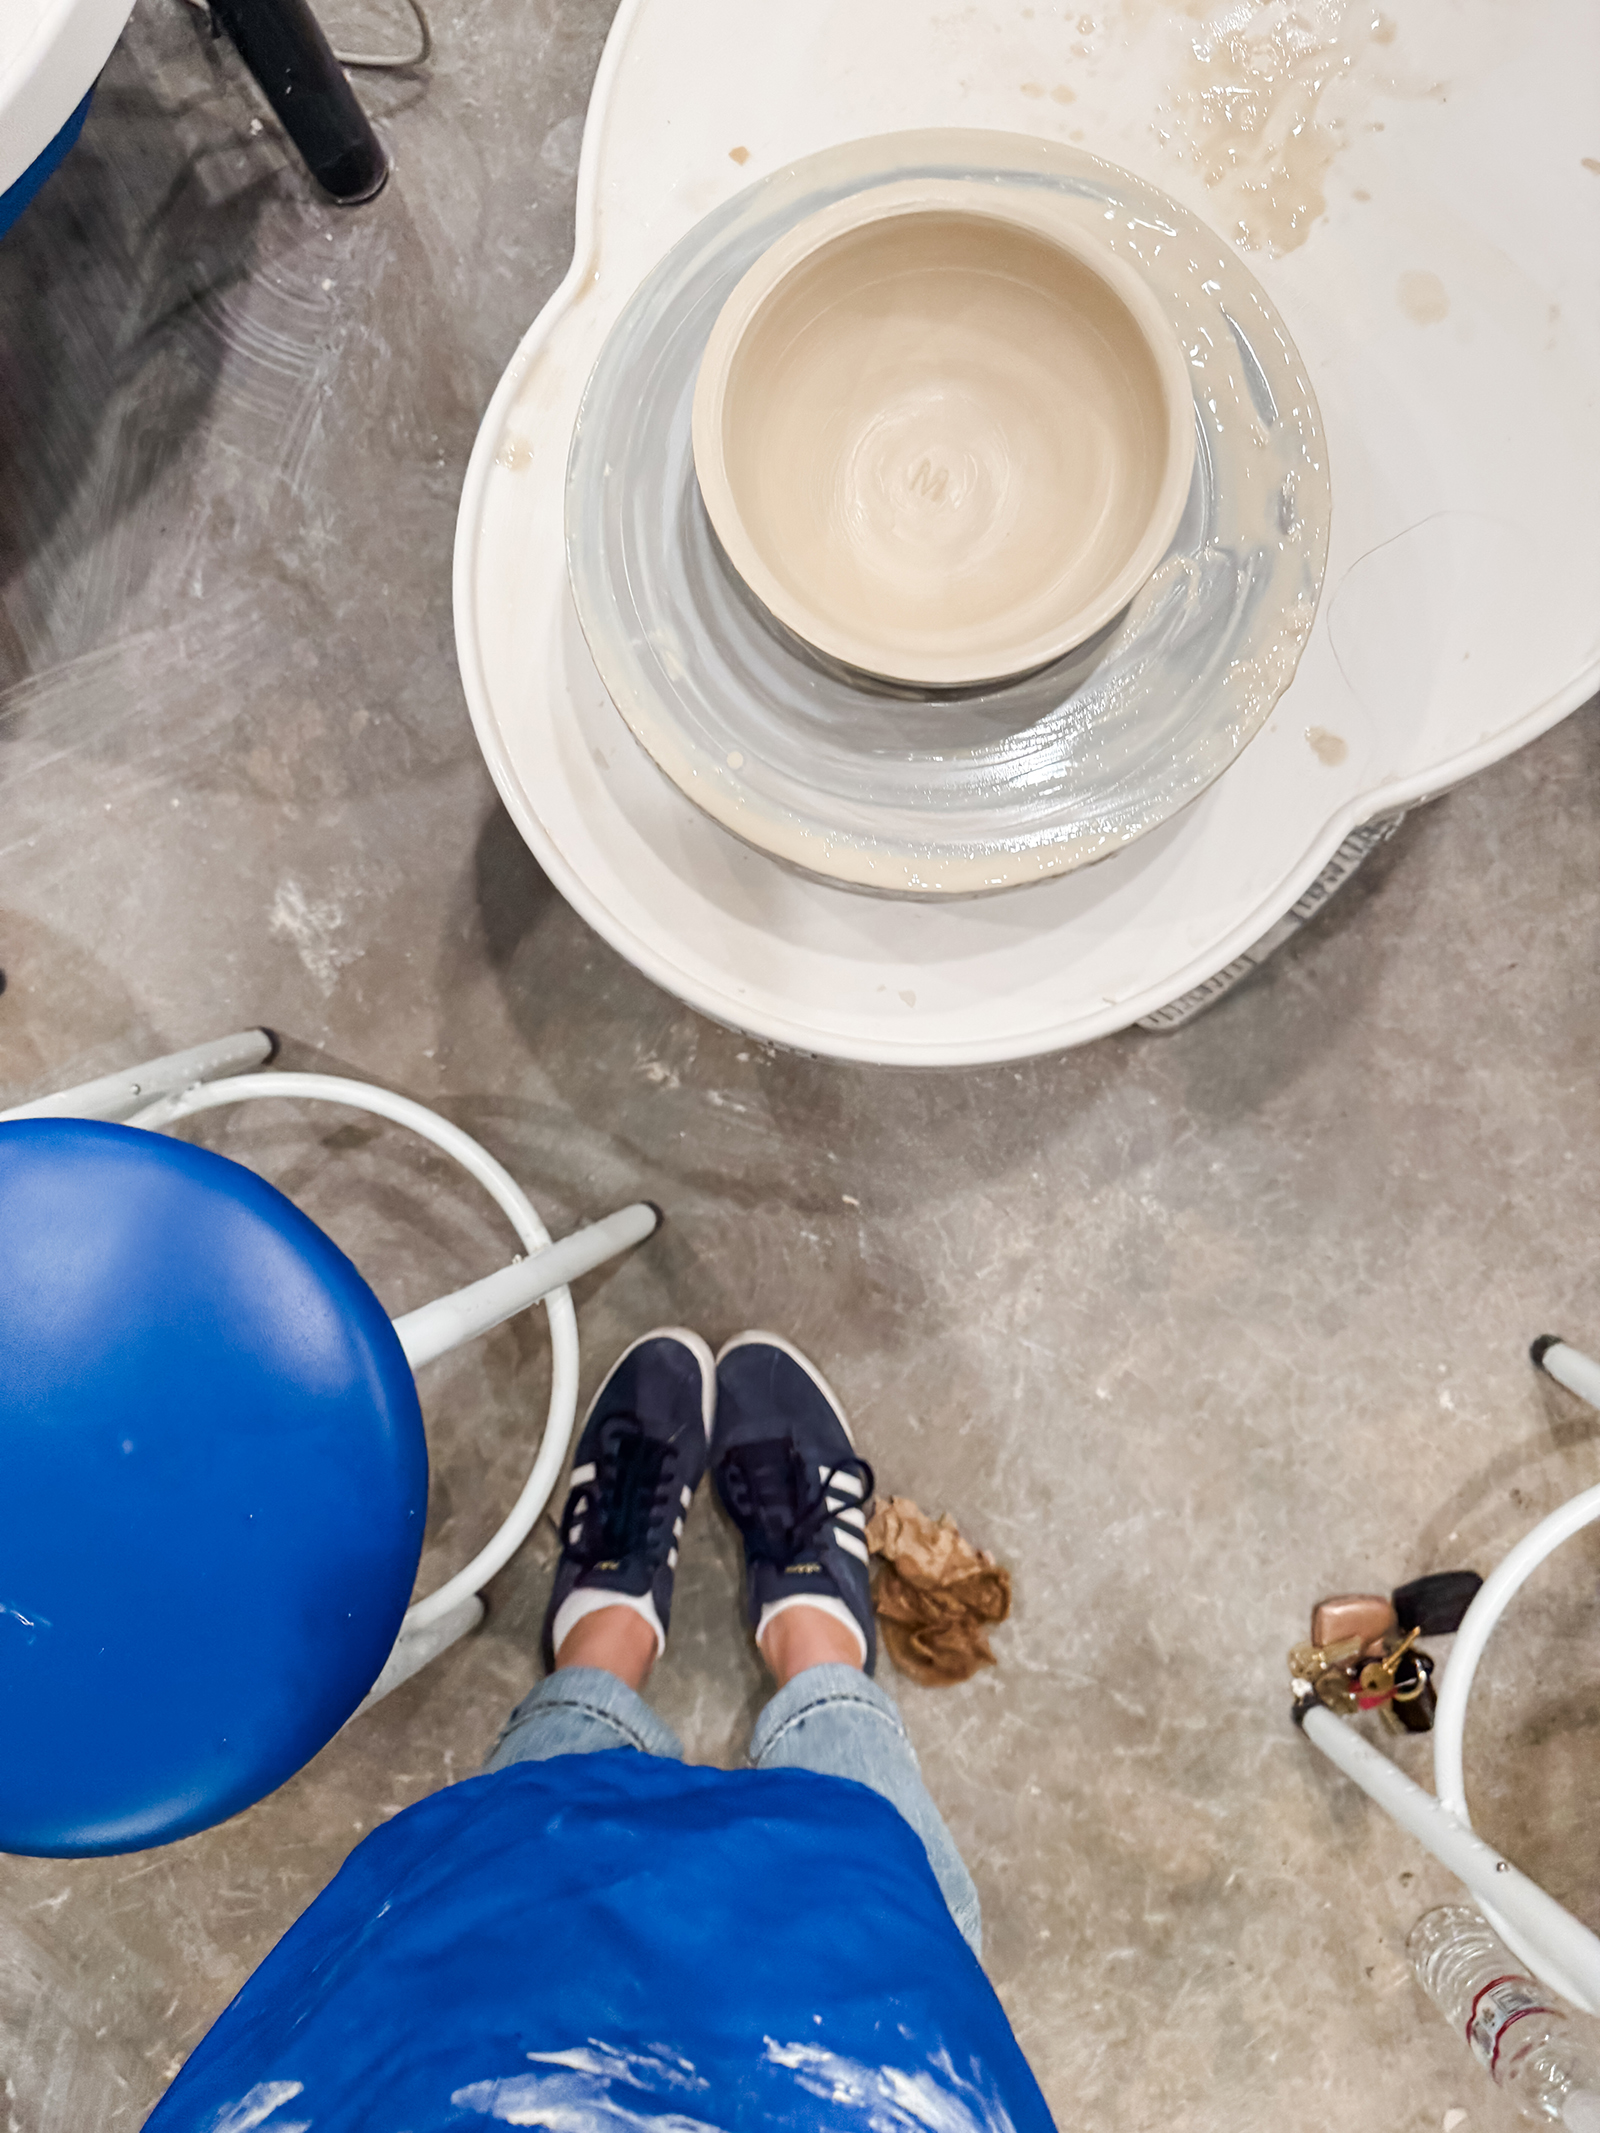
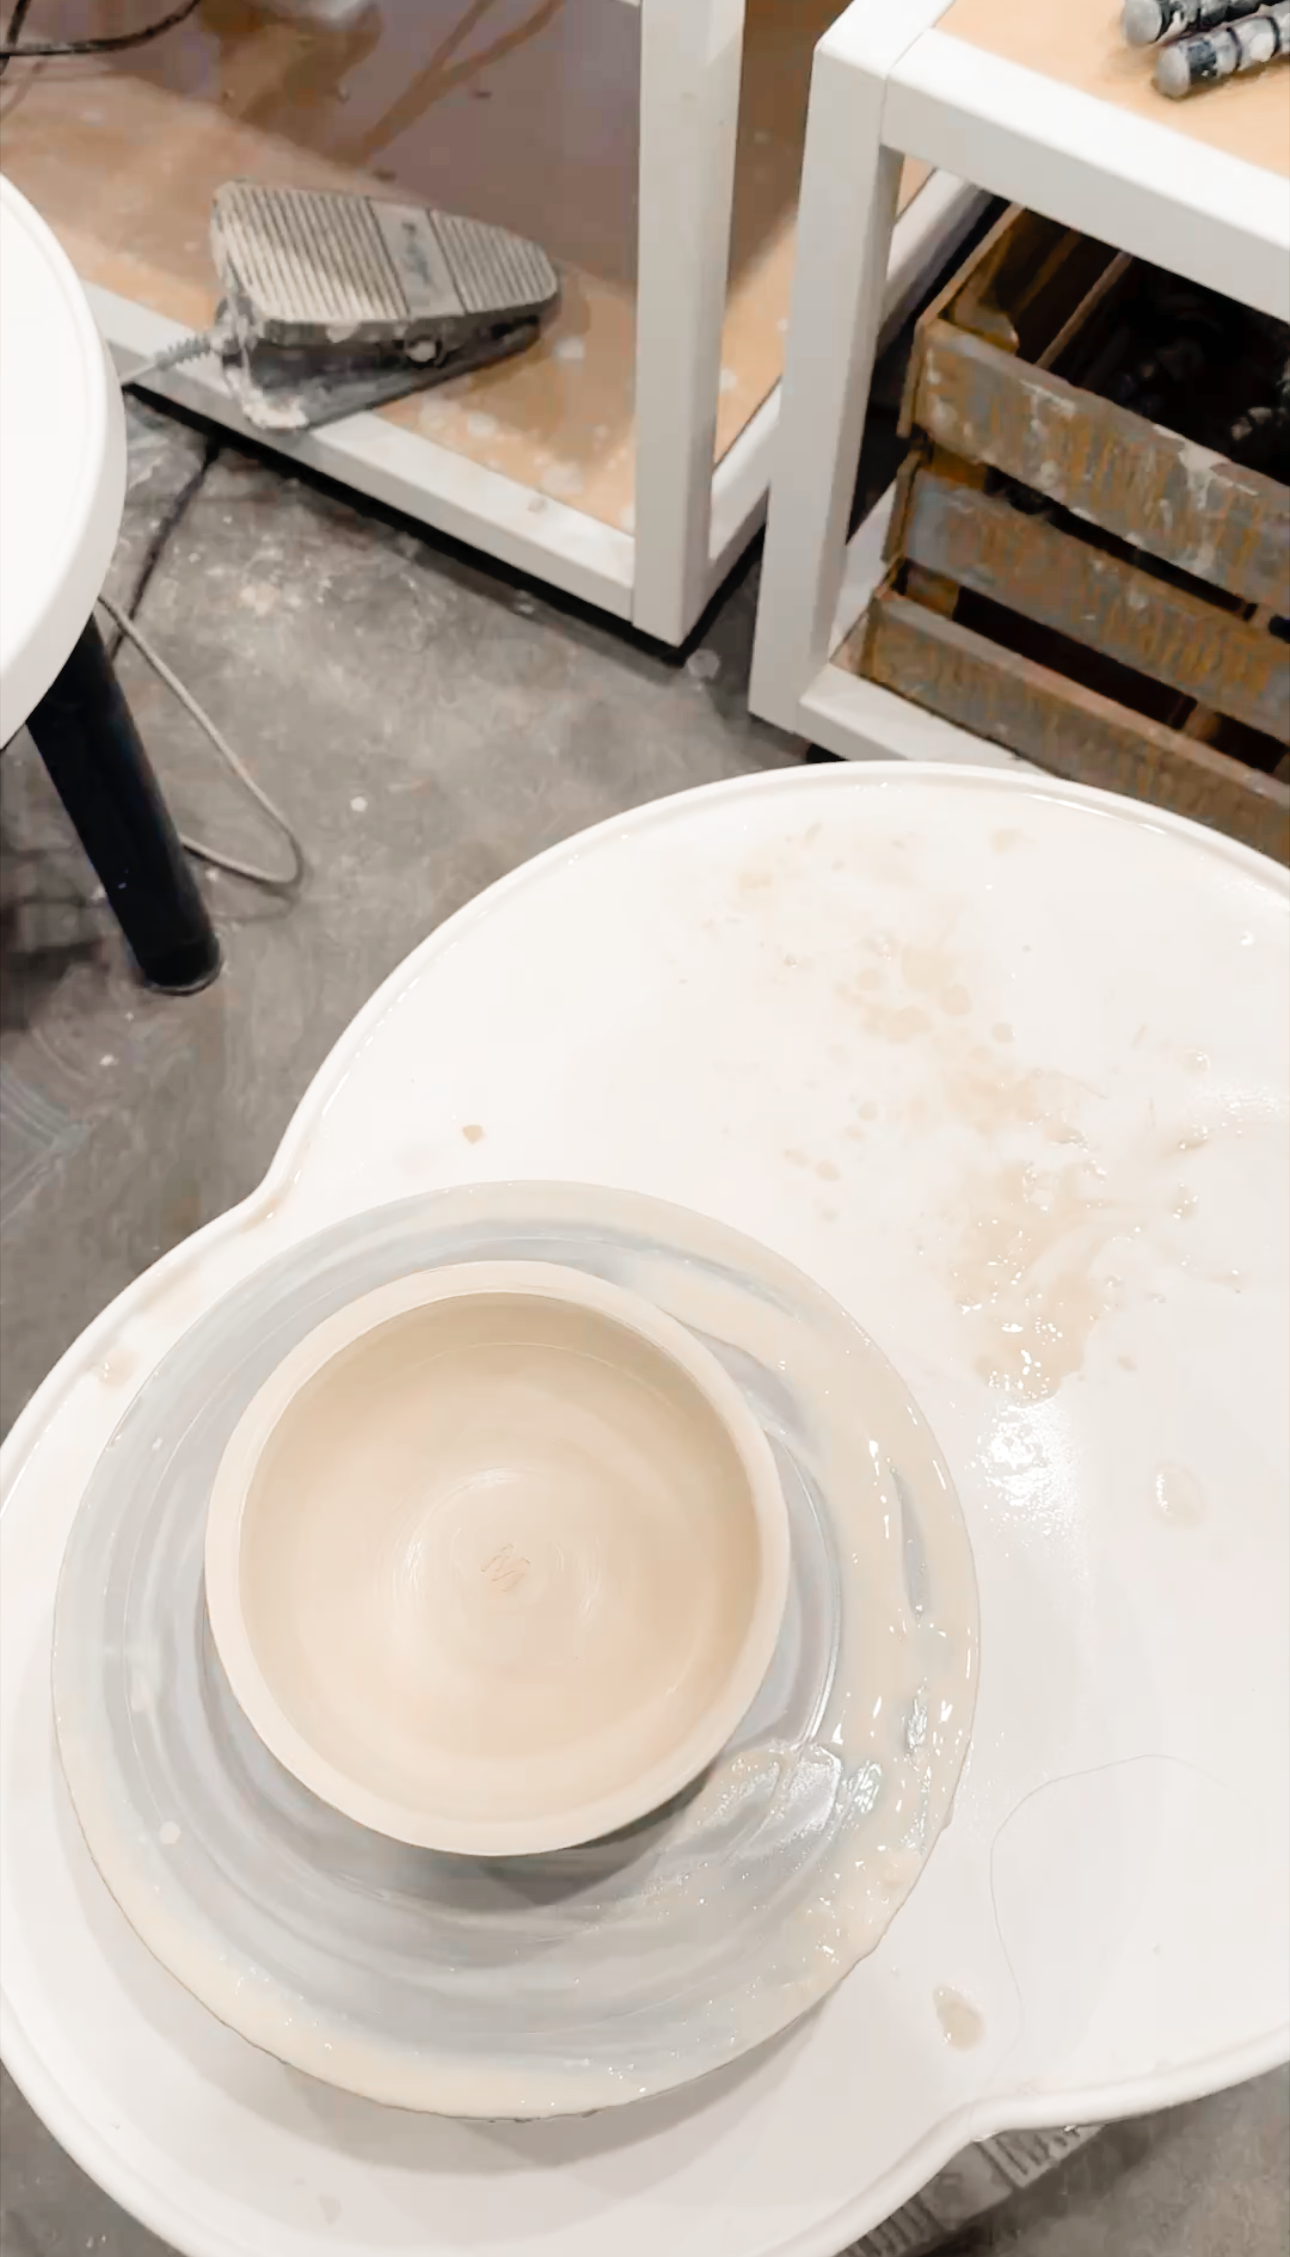
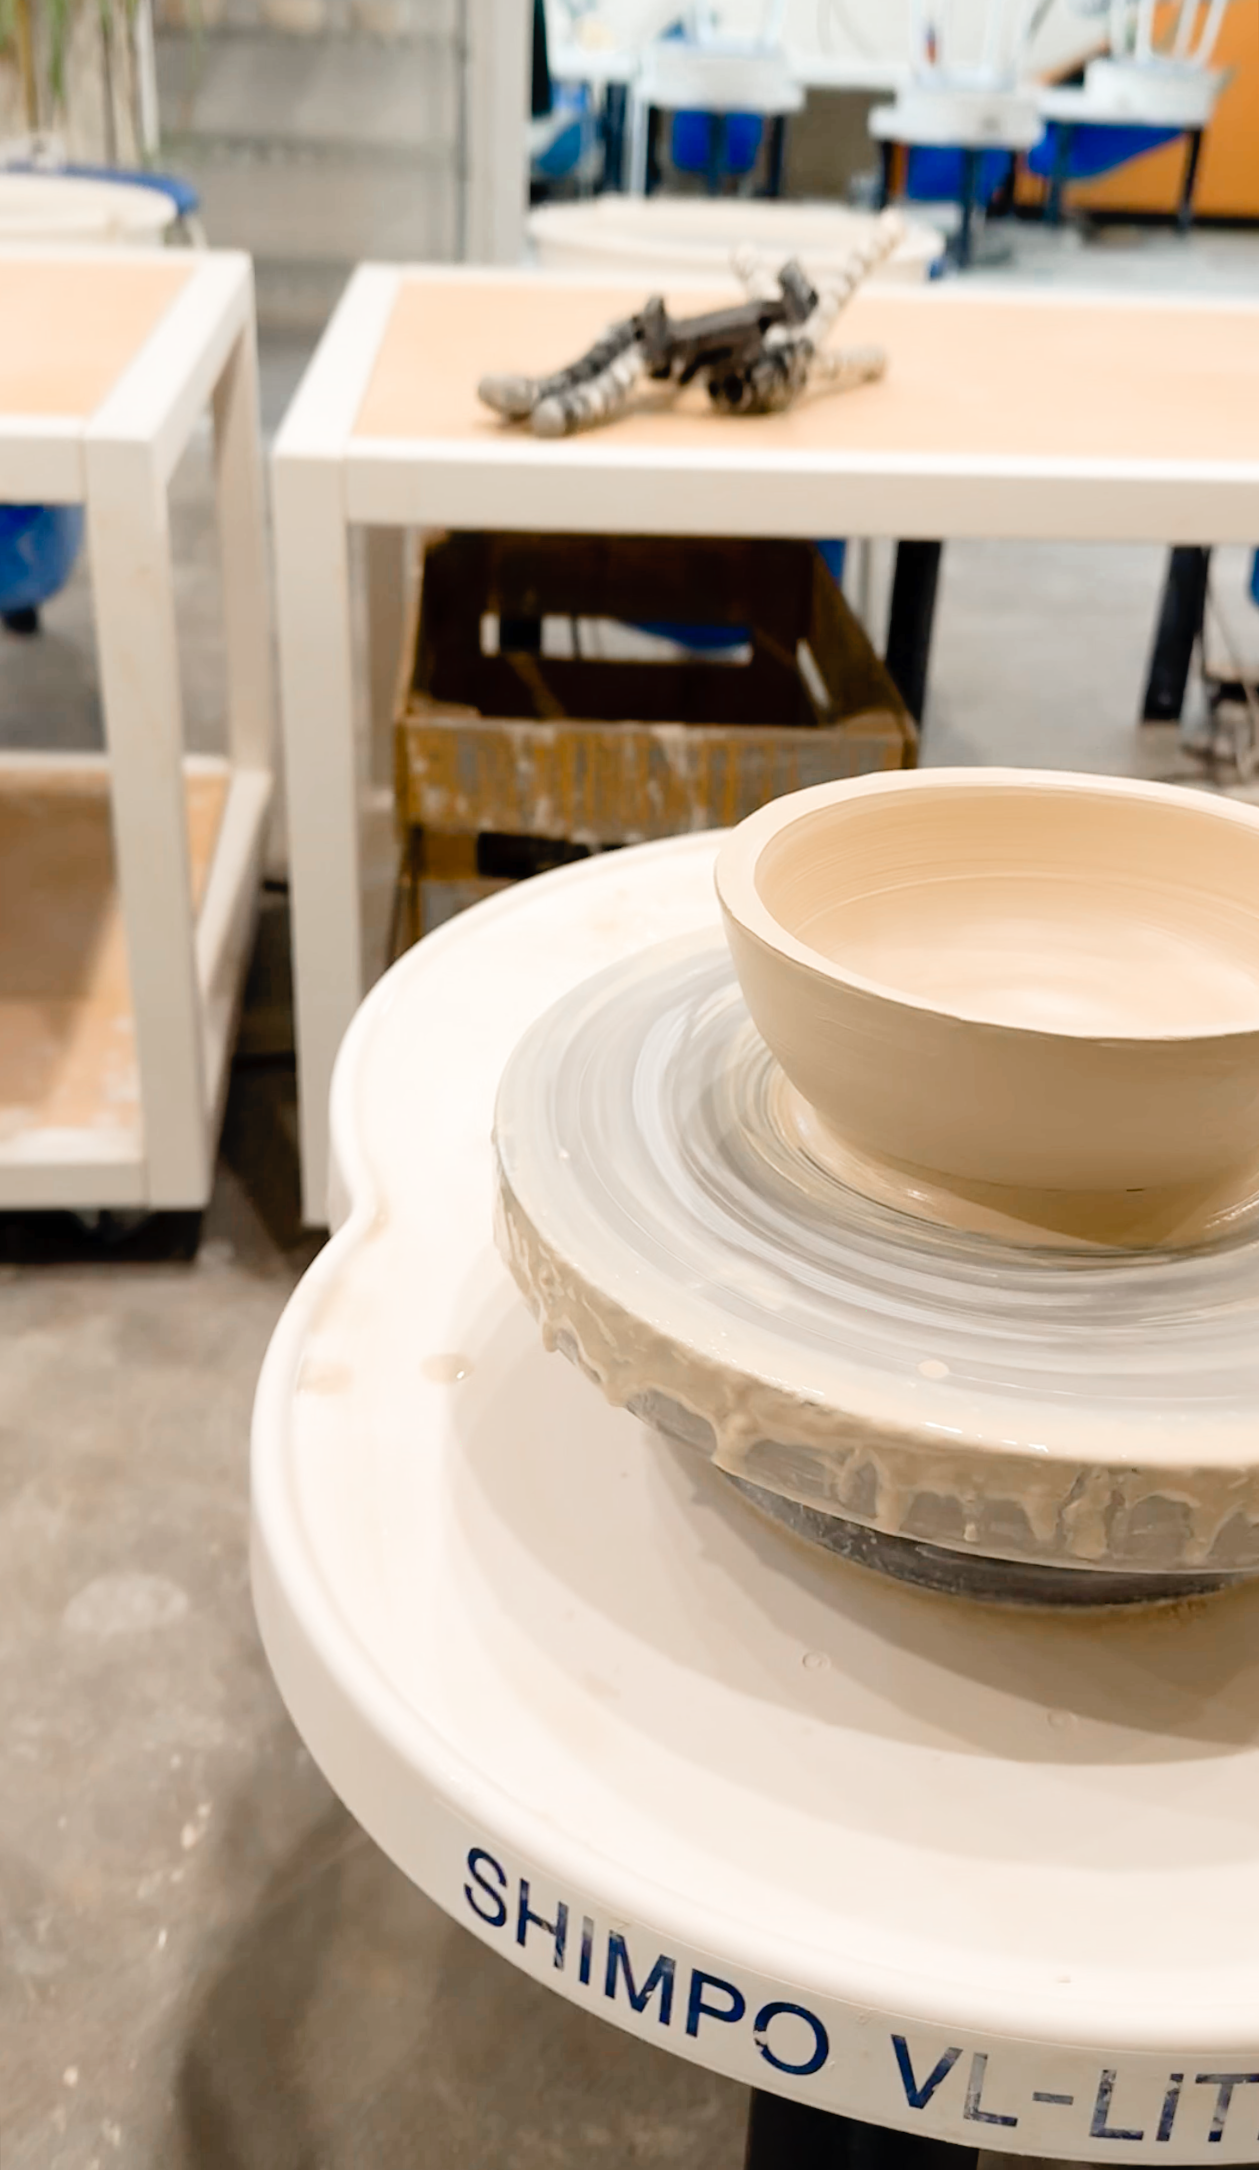
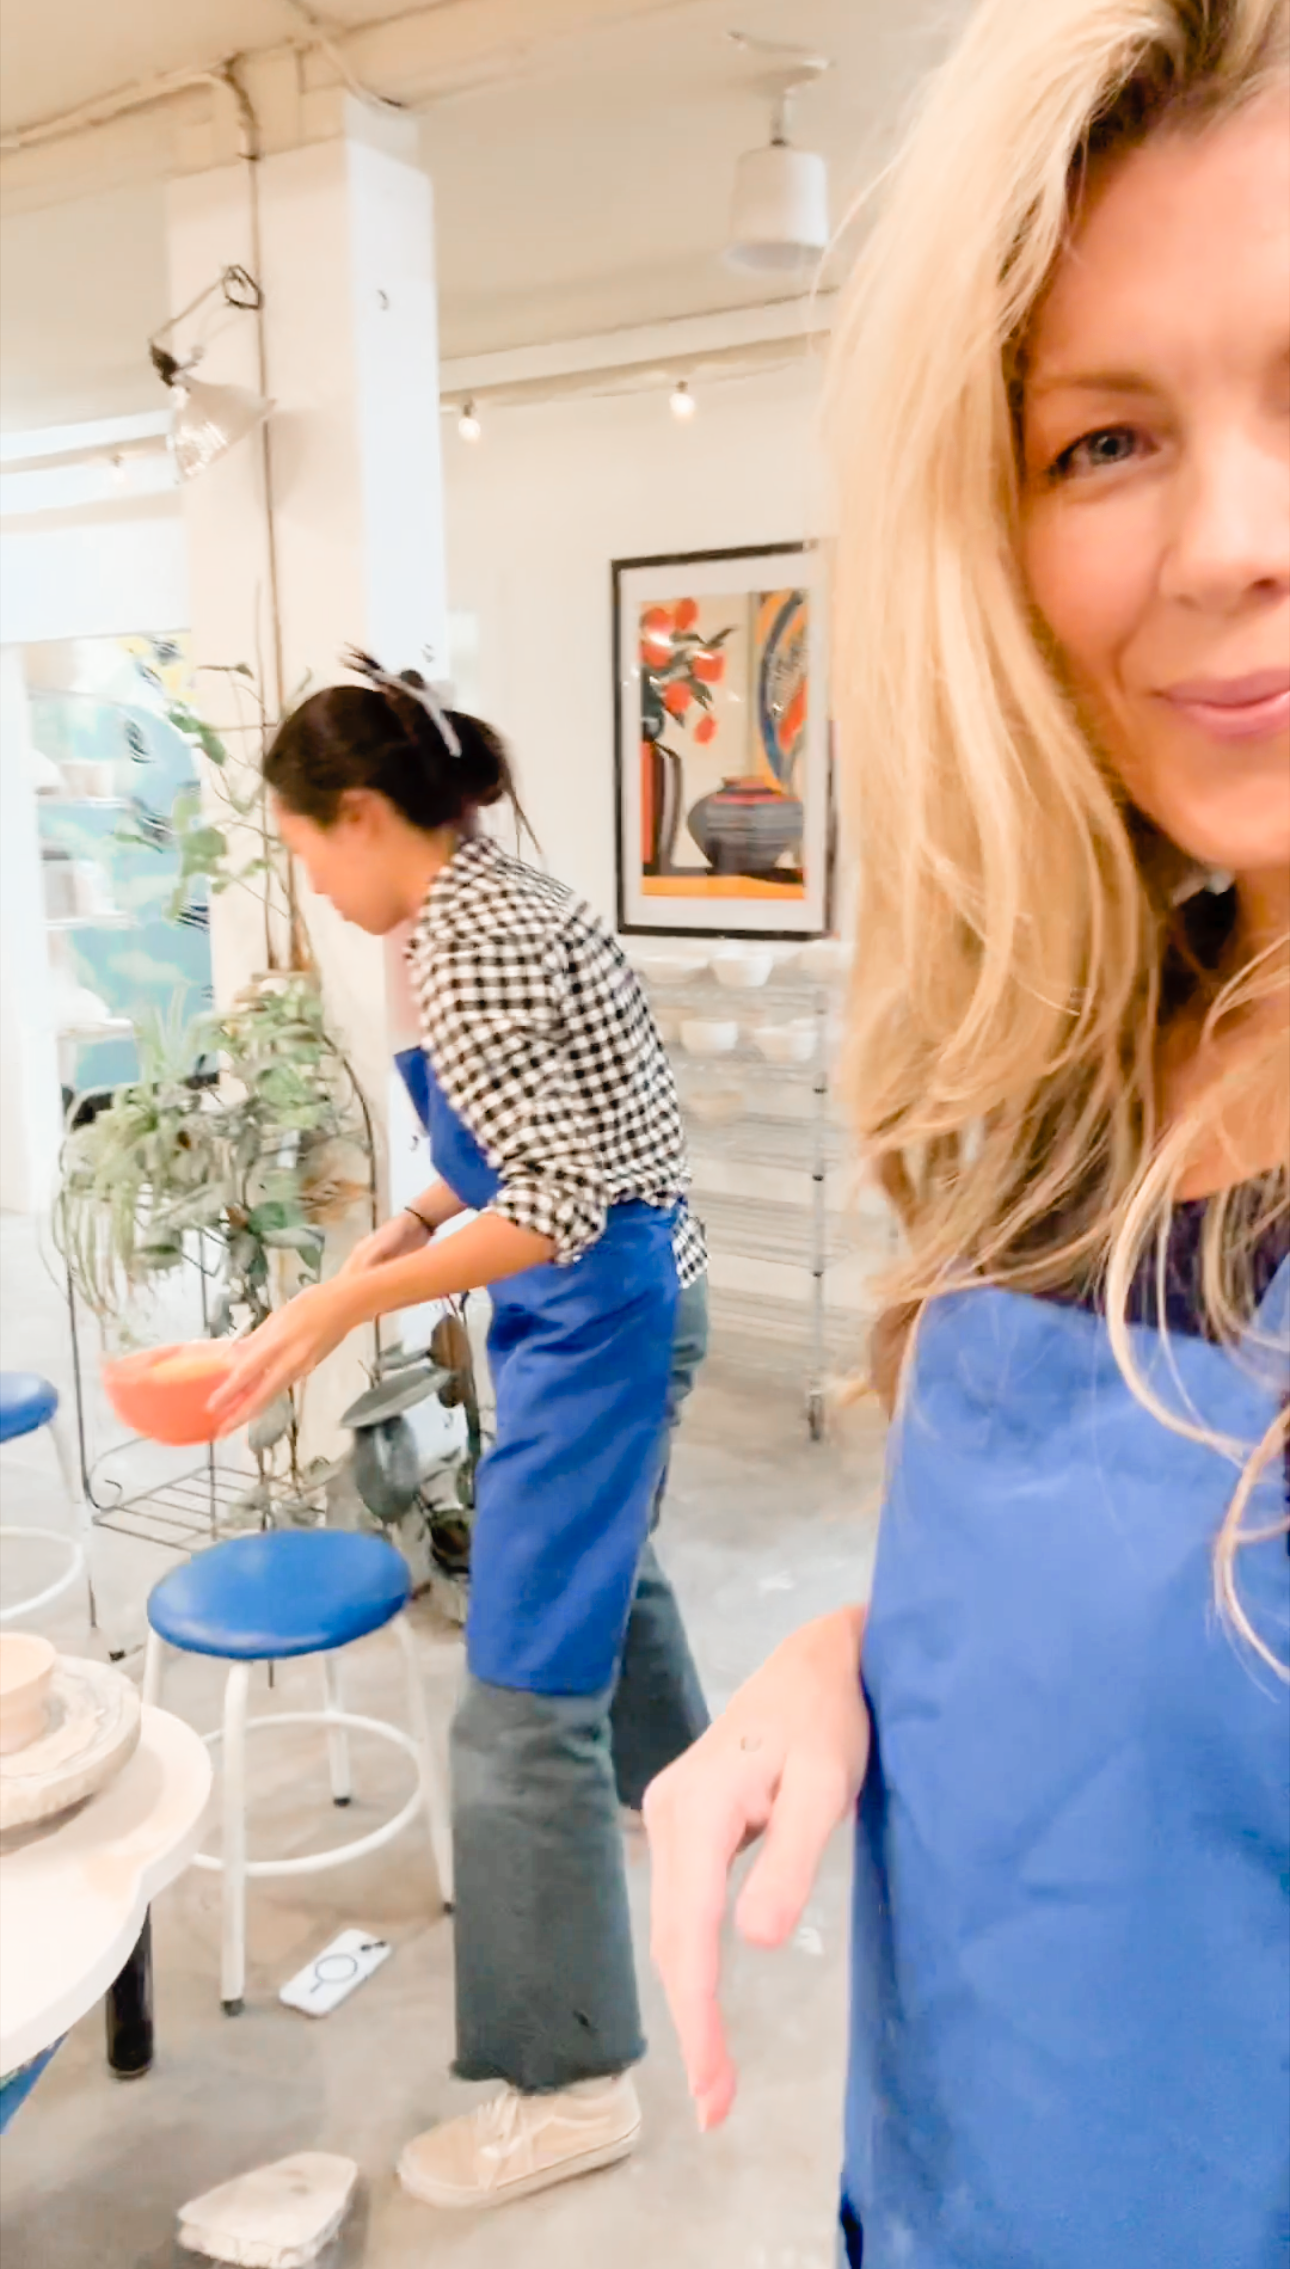
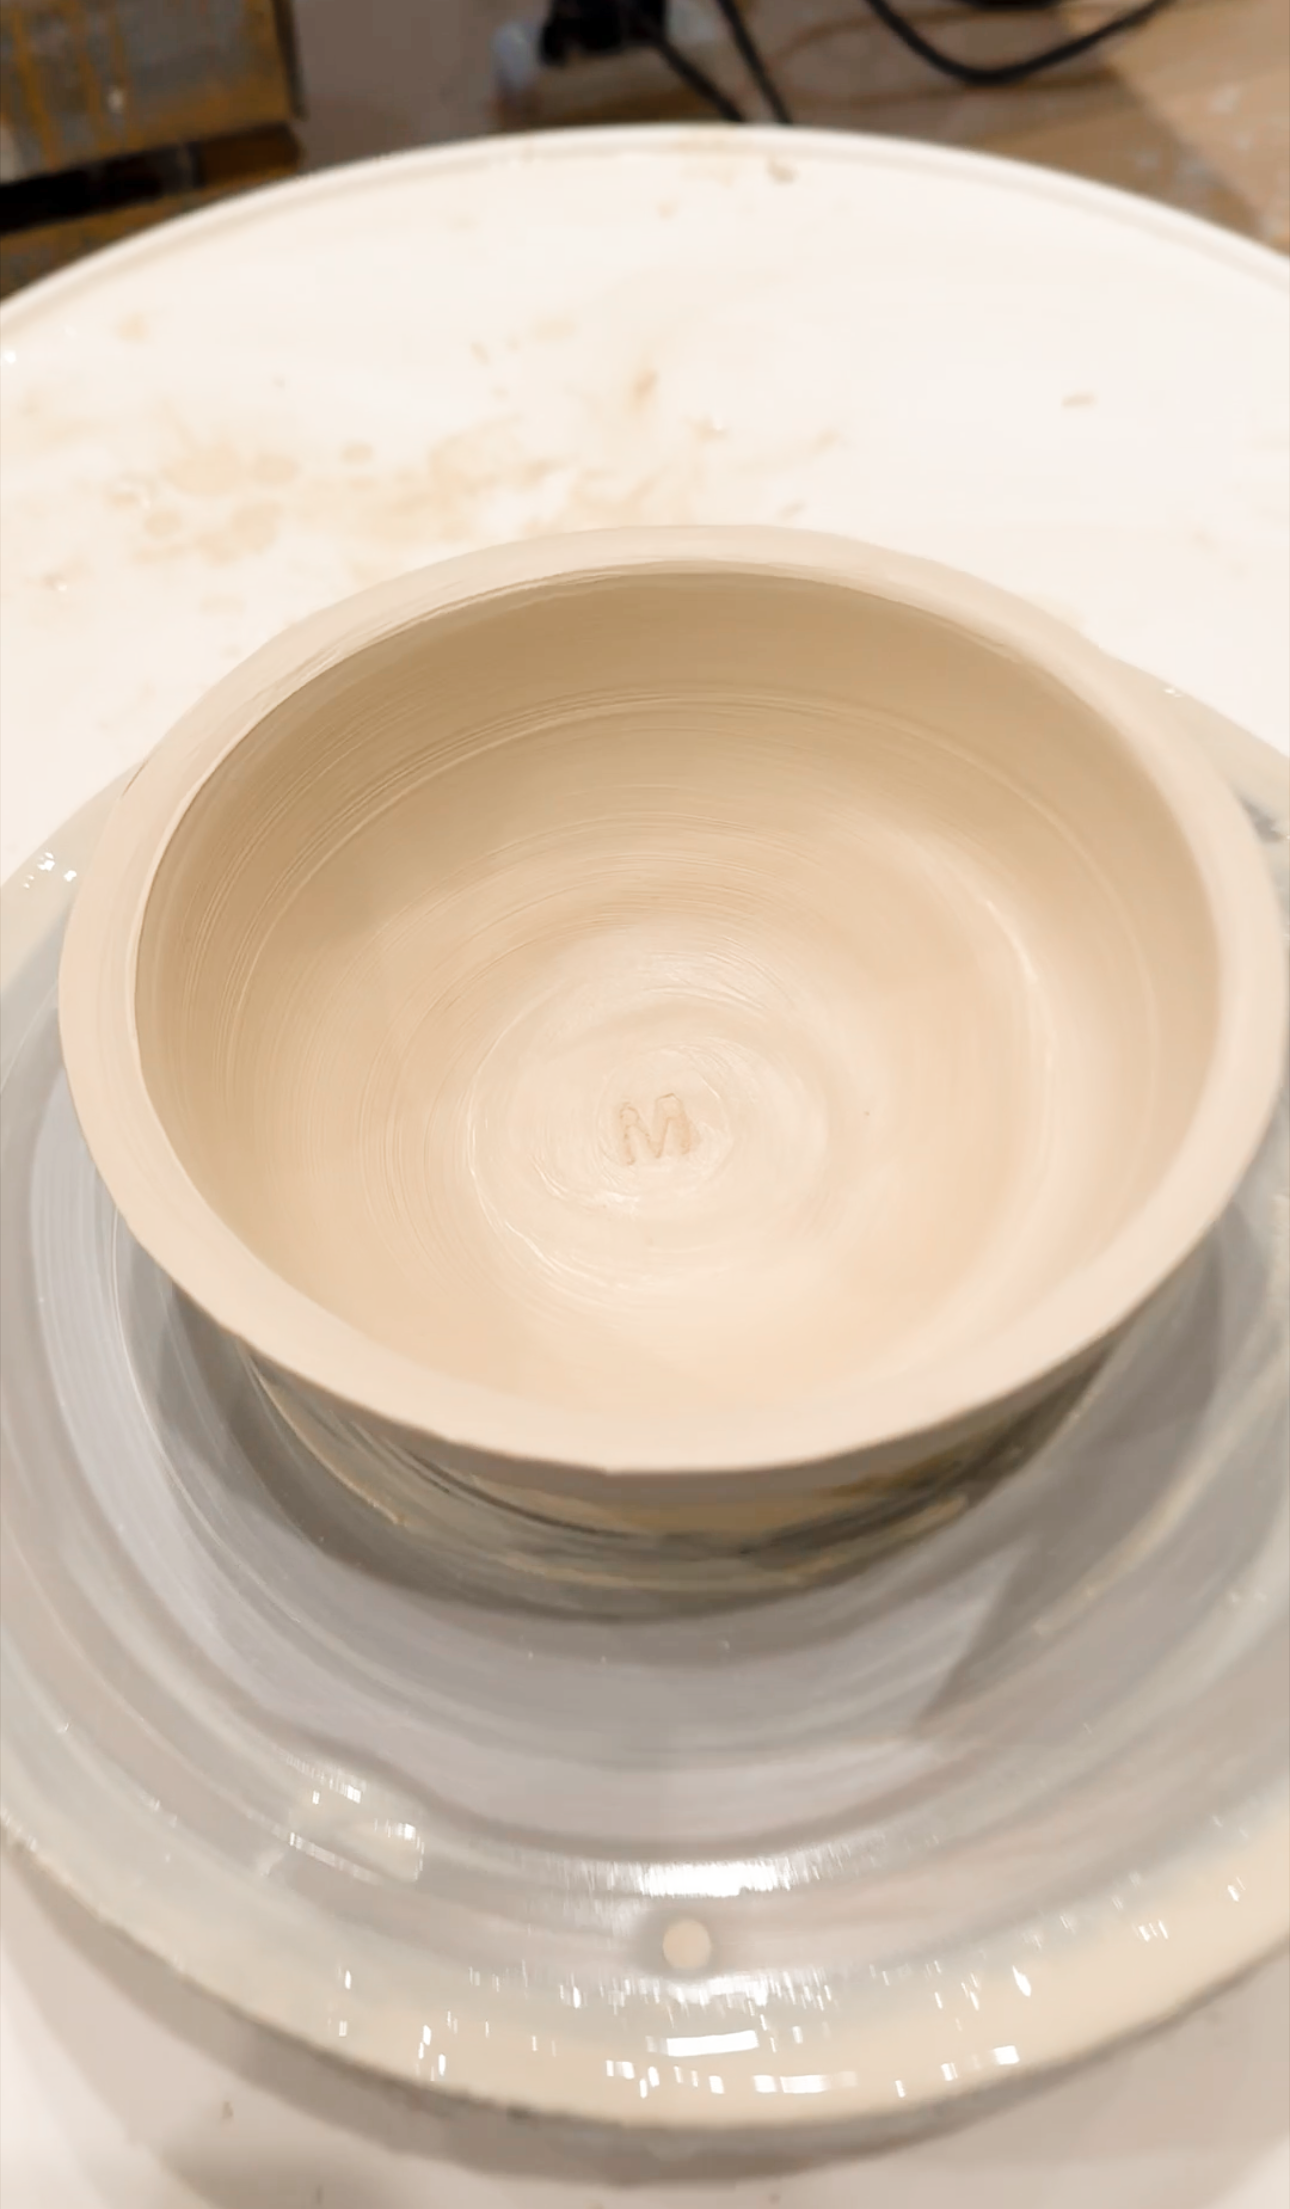
What it looked like before firing and glazing…
I chose a white glaze because I wanted to use my bowl as a decorative piece rather than a bowl I used for food. I also went with only one simple design element; a capital M in the center.
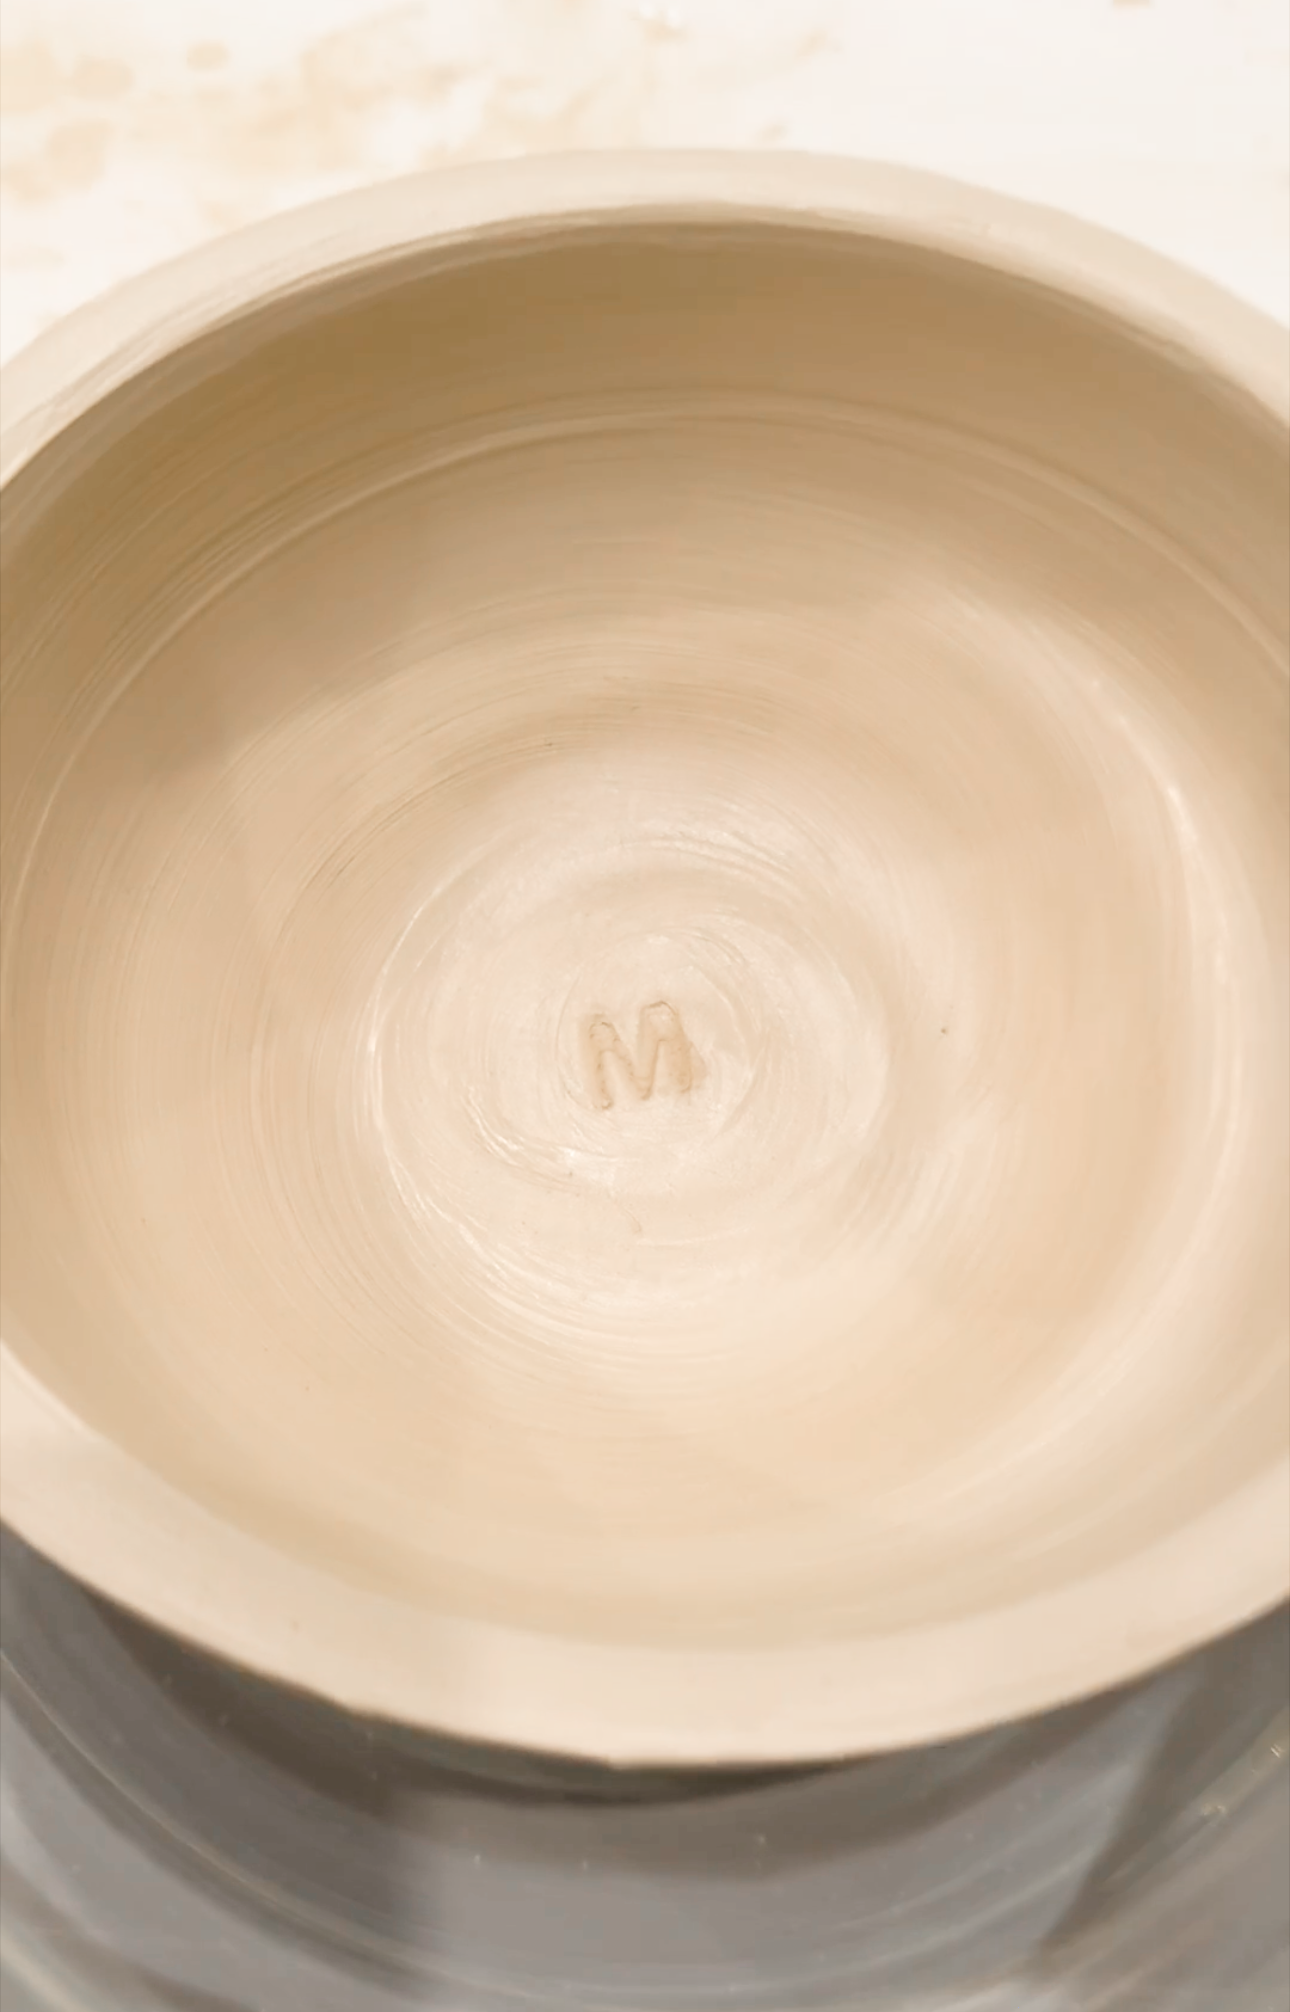
Also, the studio takes care of the firing and glazing. So after I chose my glaze from about 6 different options (ps I went with white), I said goodbye to my bowl for about 4 weeks so they could finish the process for me.
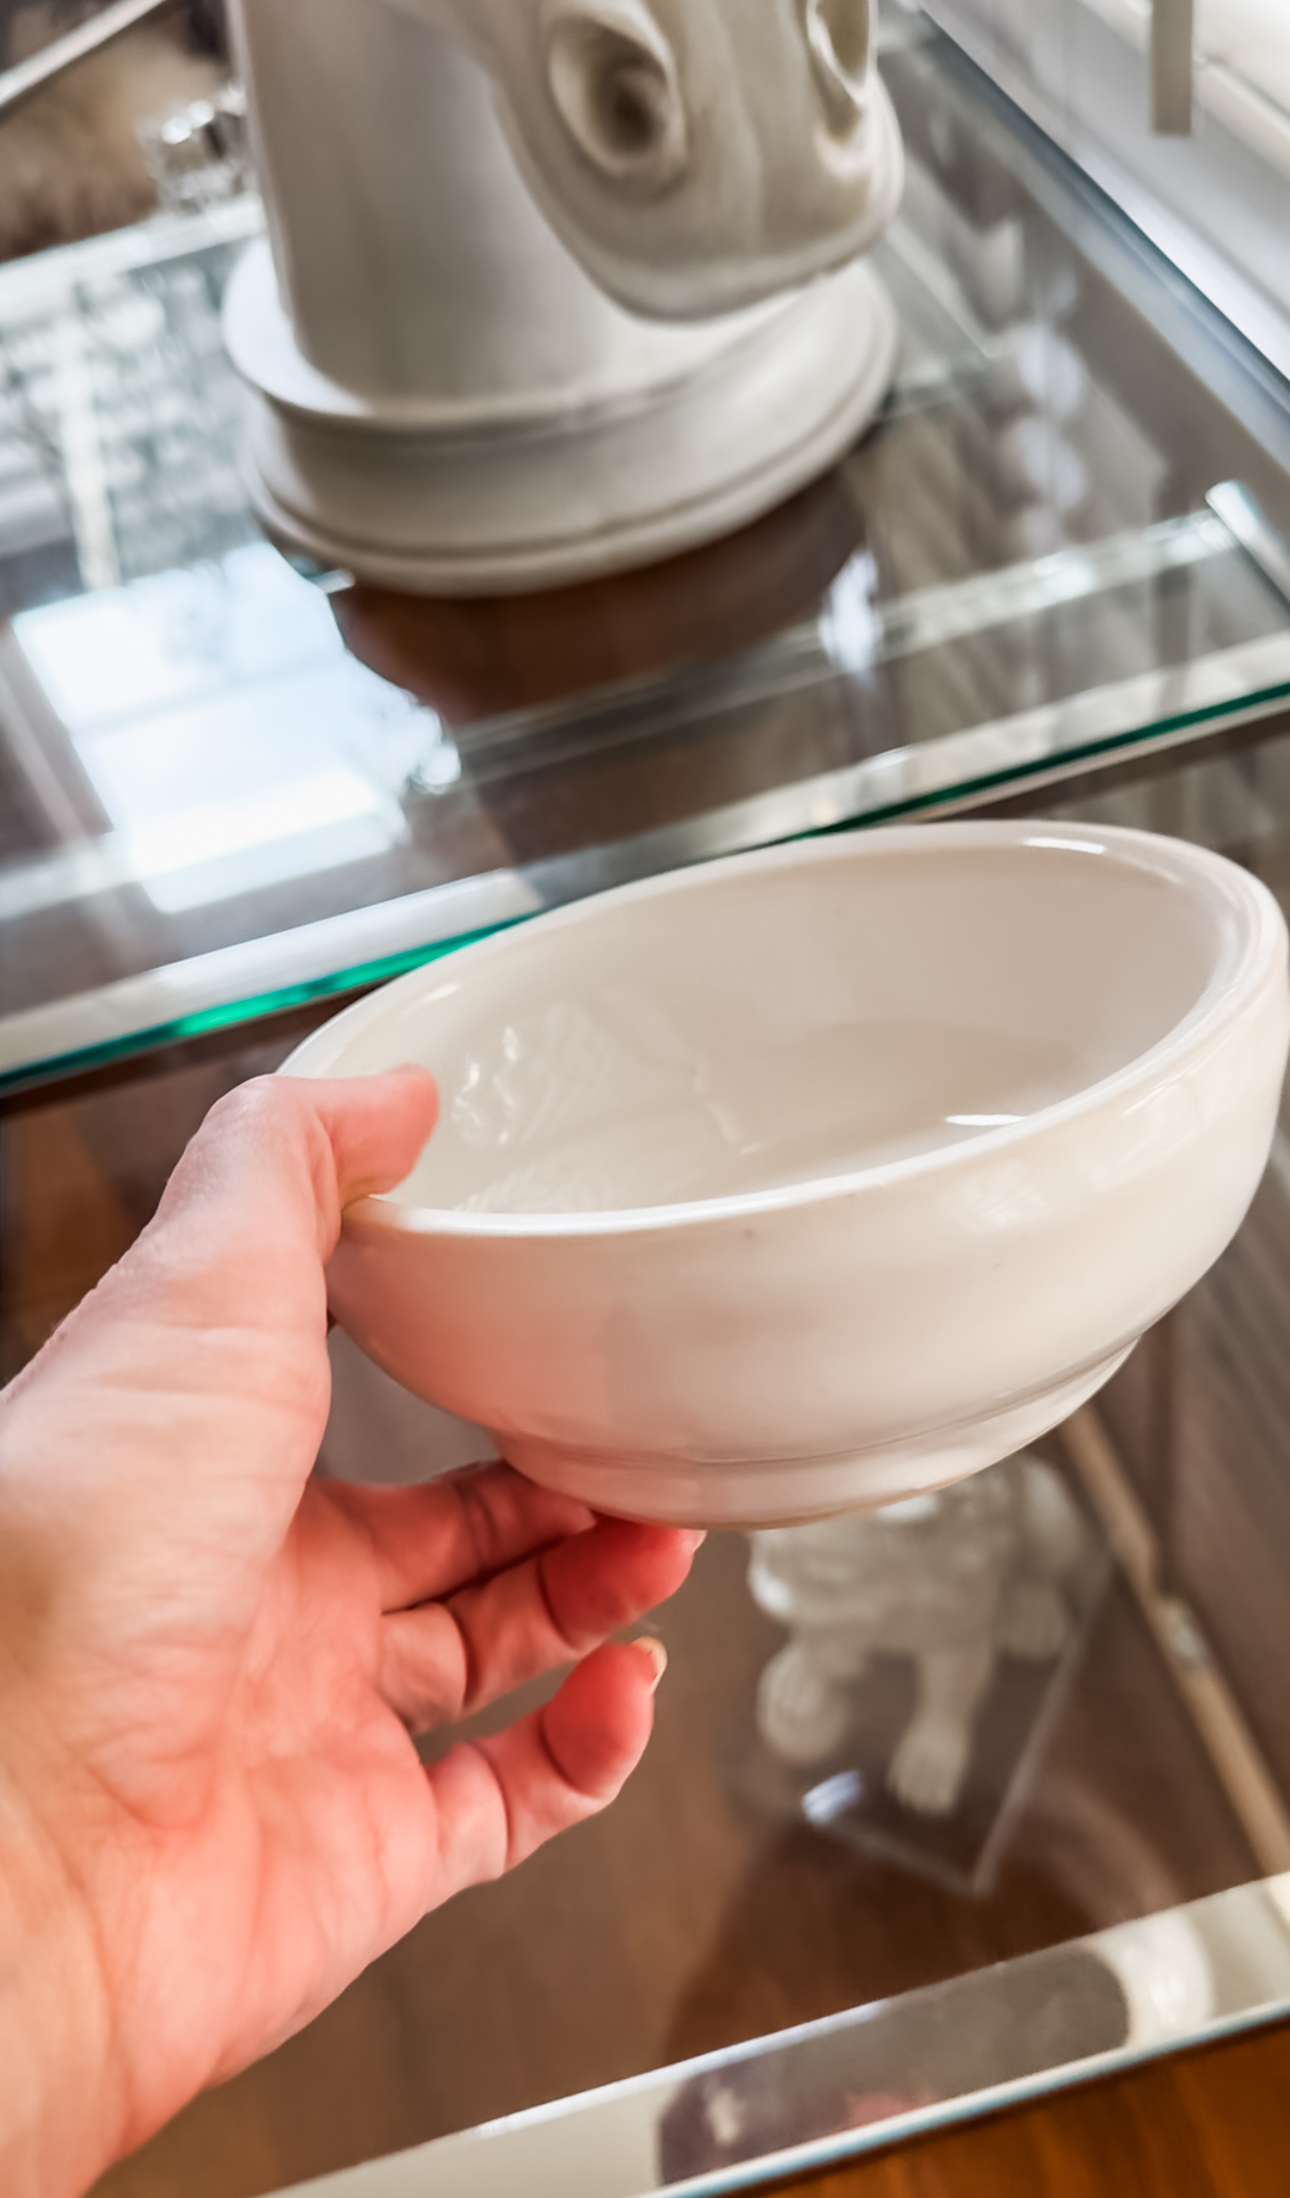
And… Voila! My finished bowl.
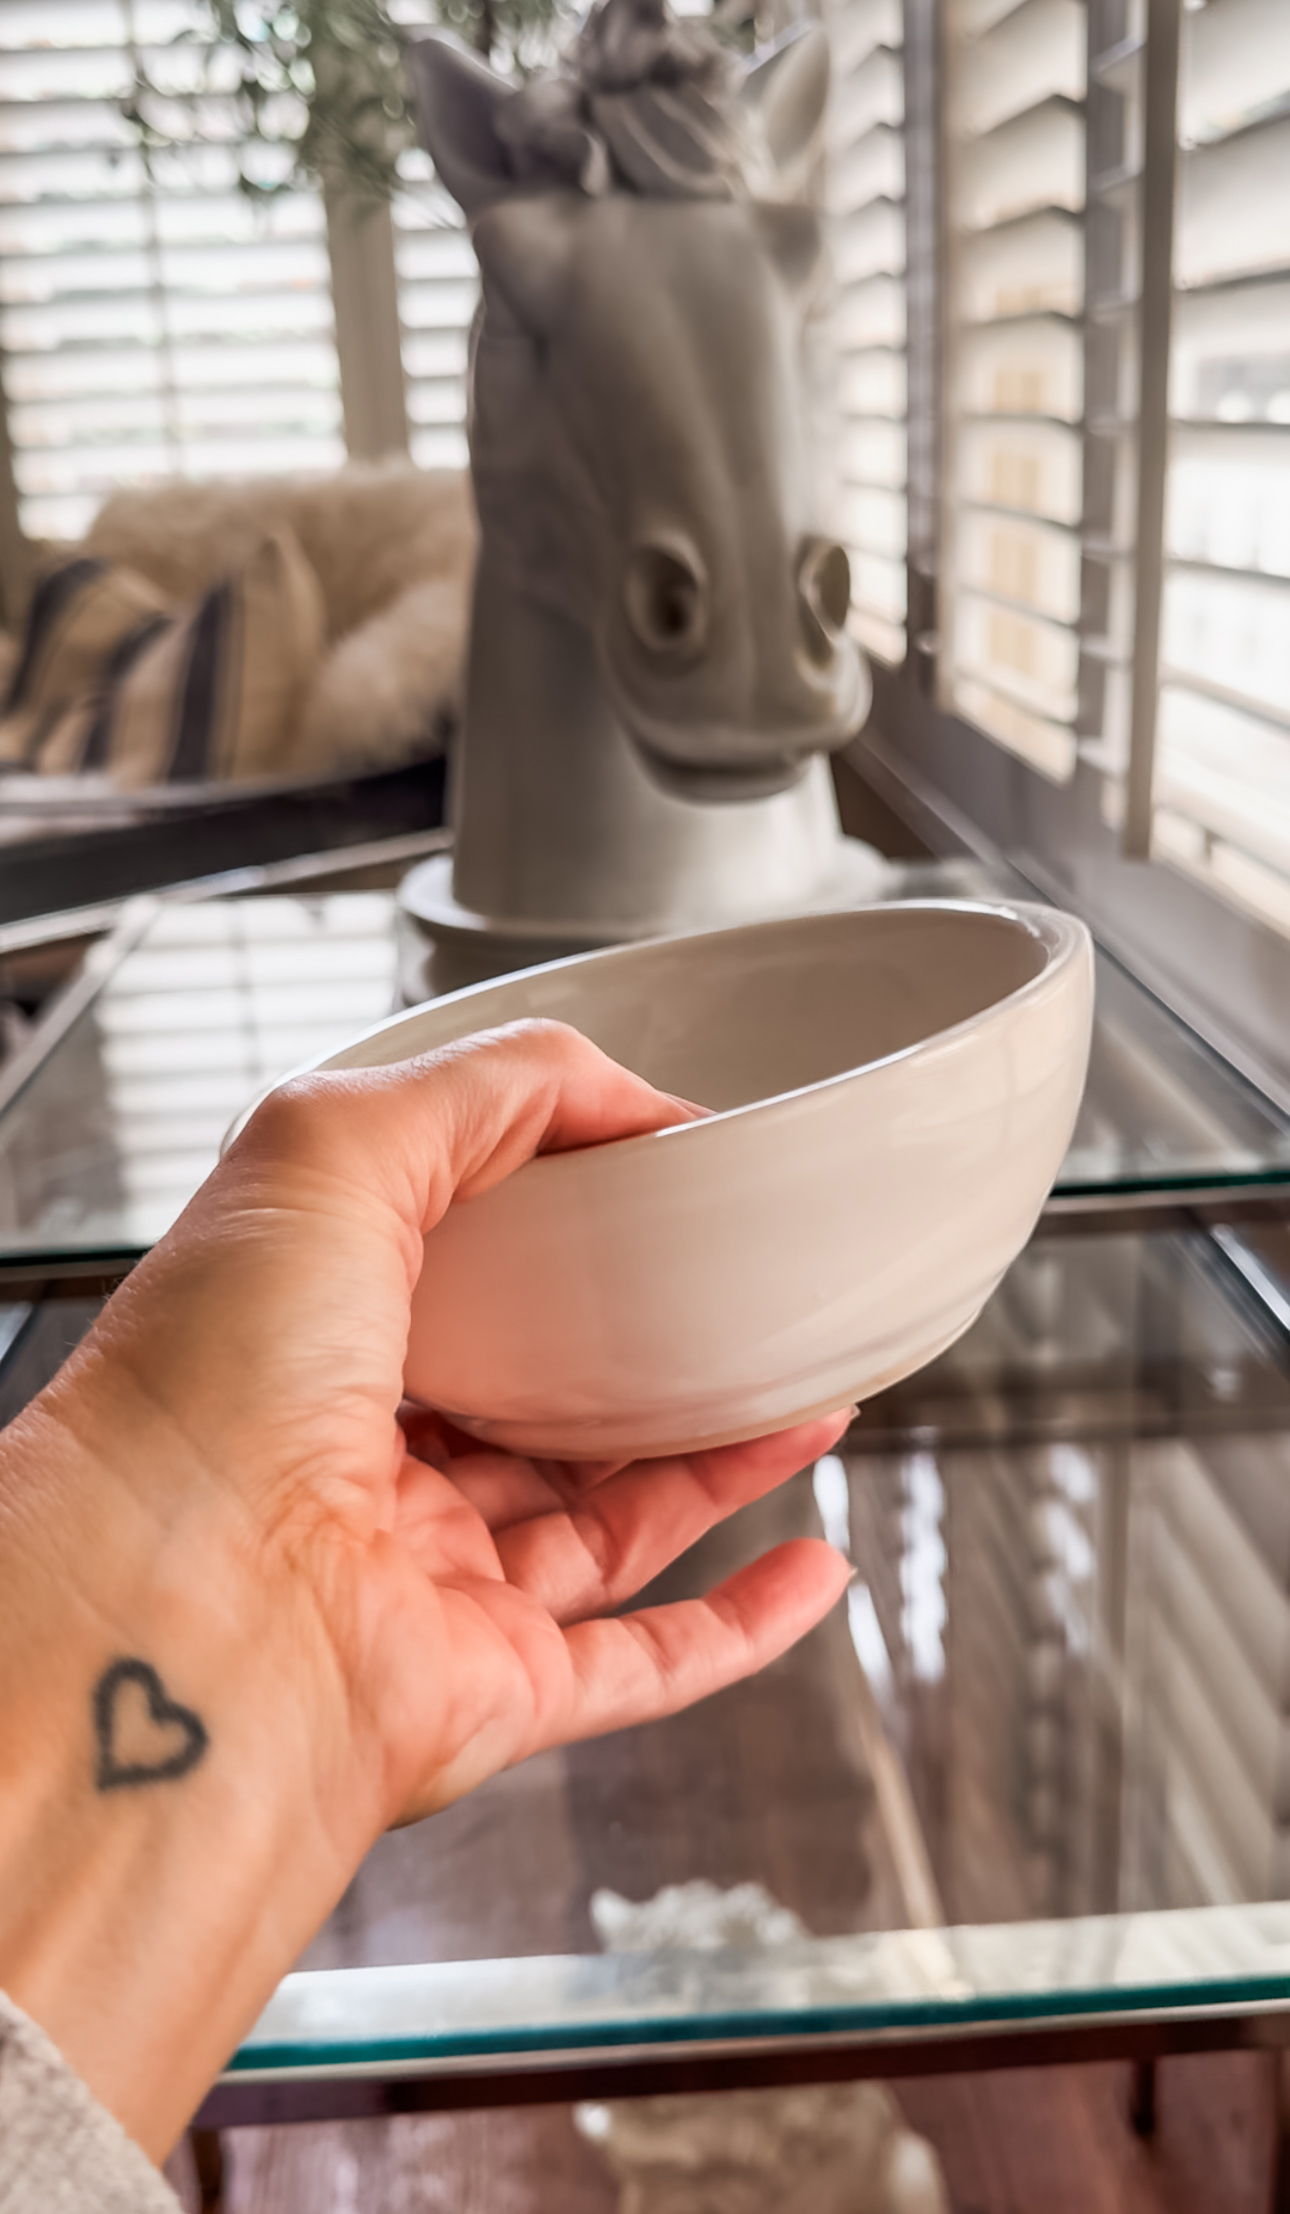
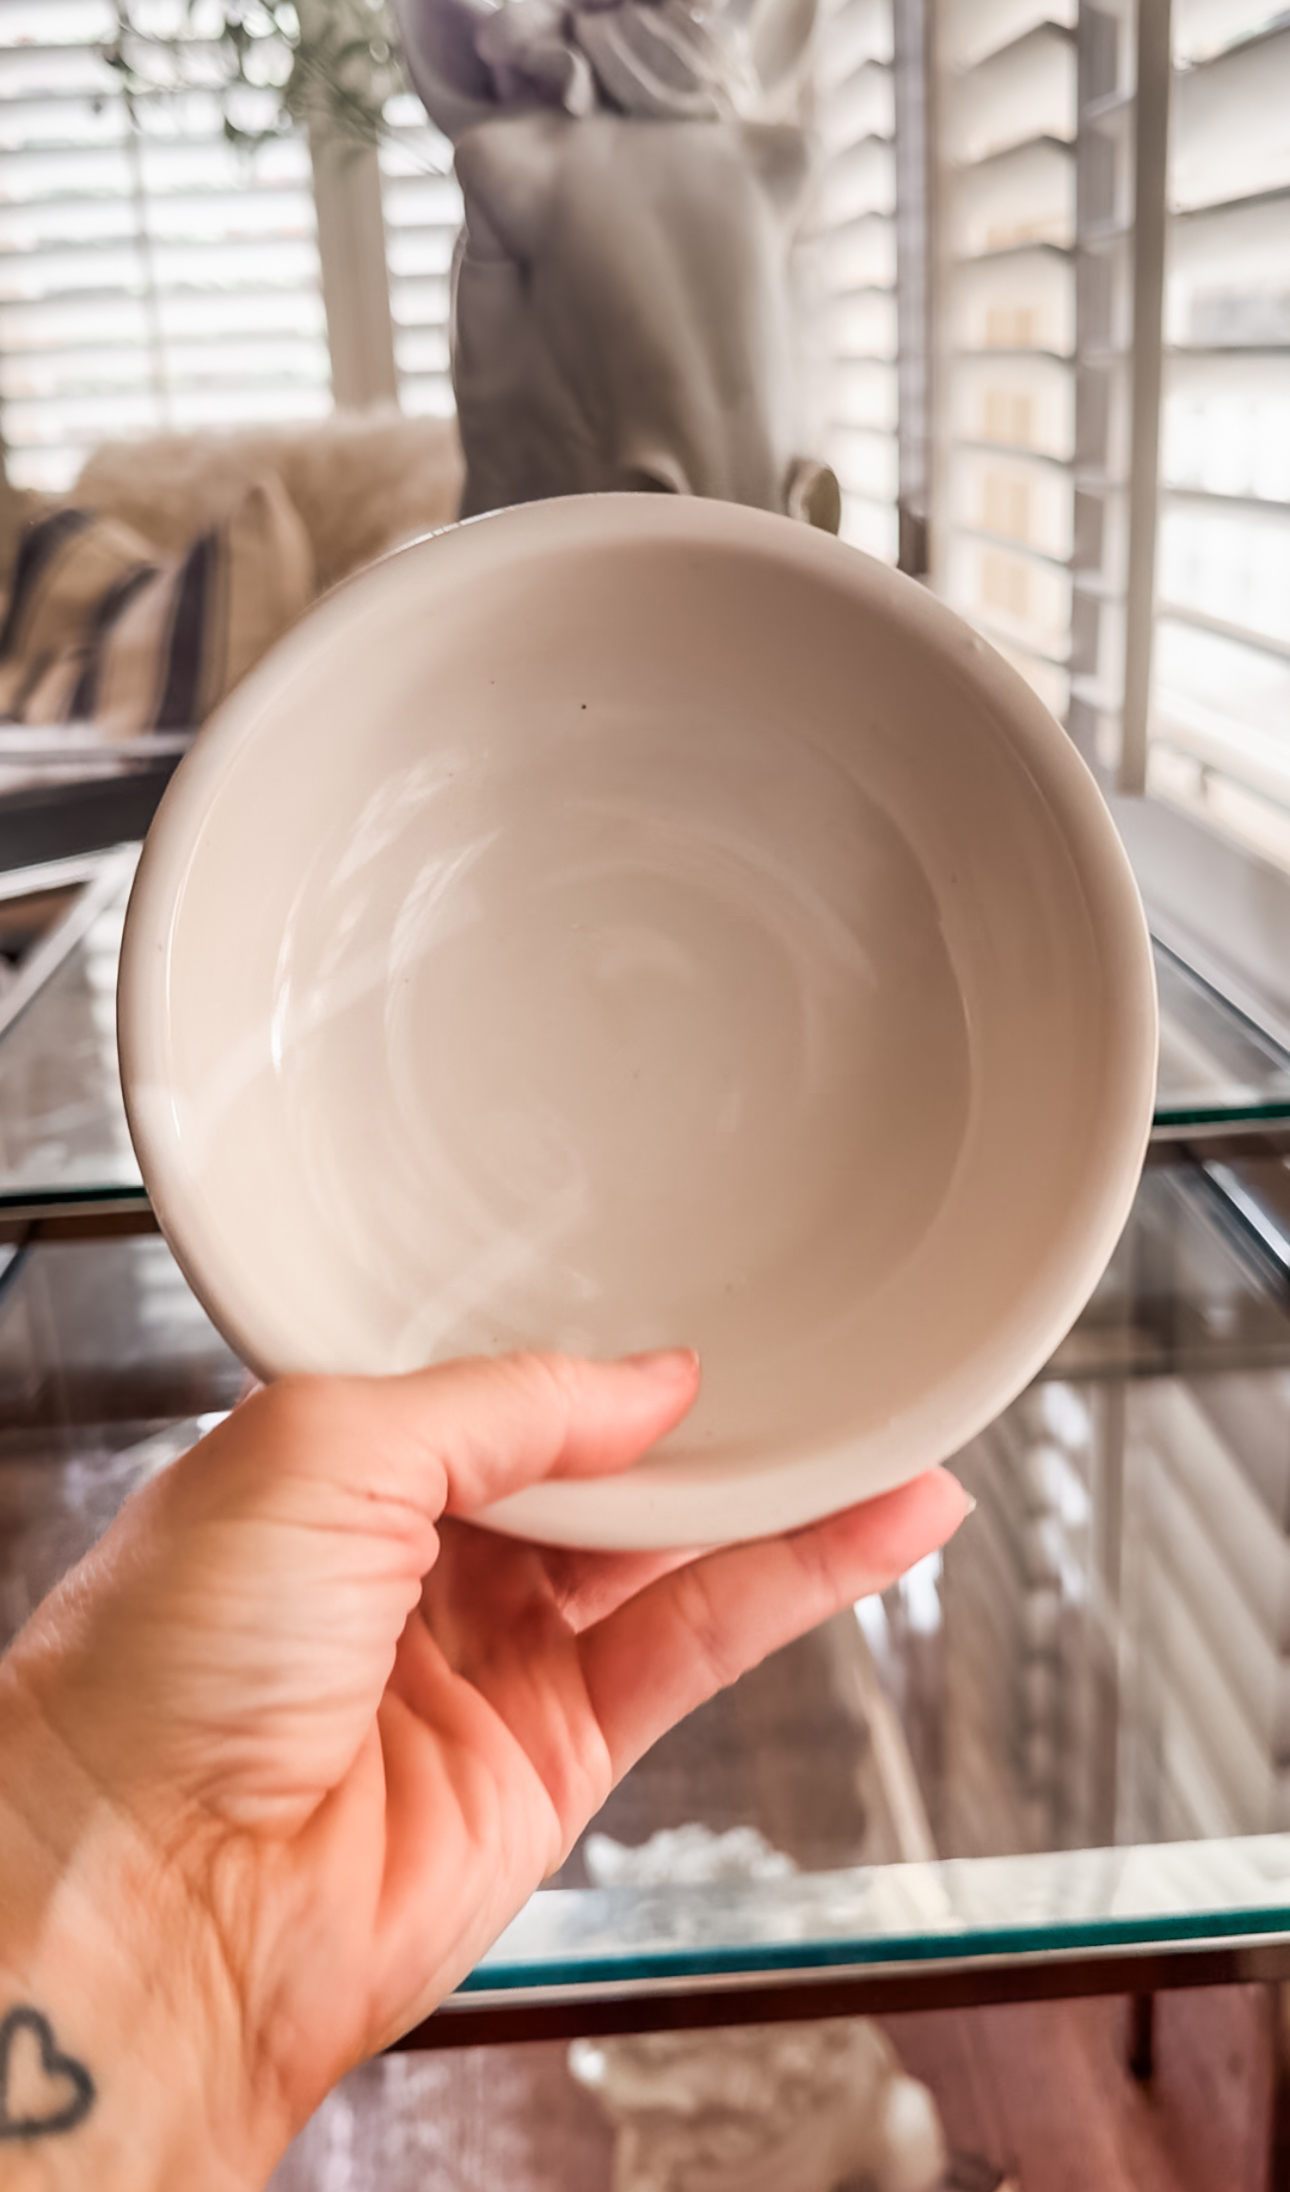
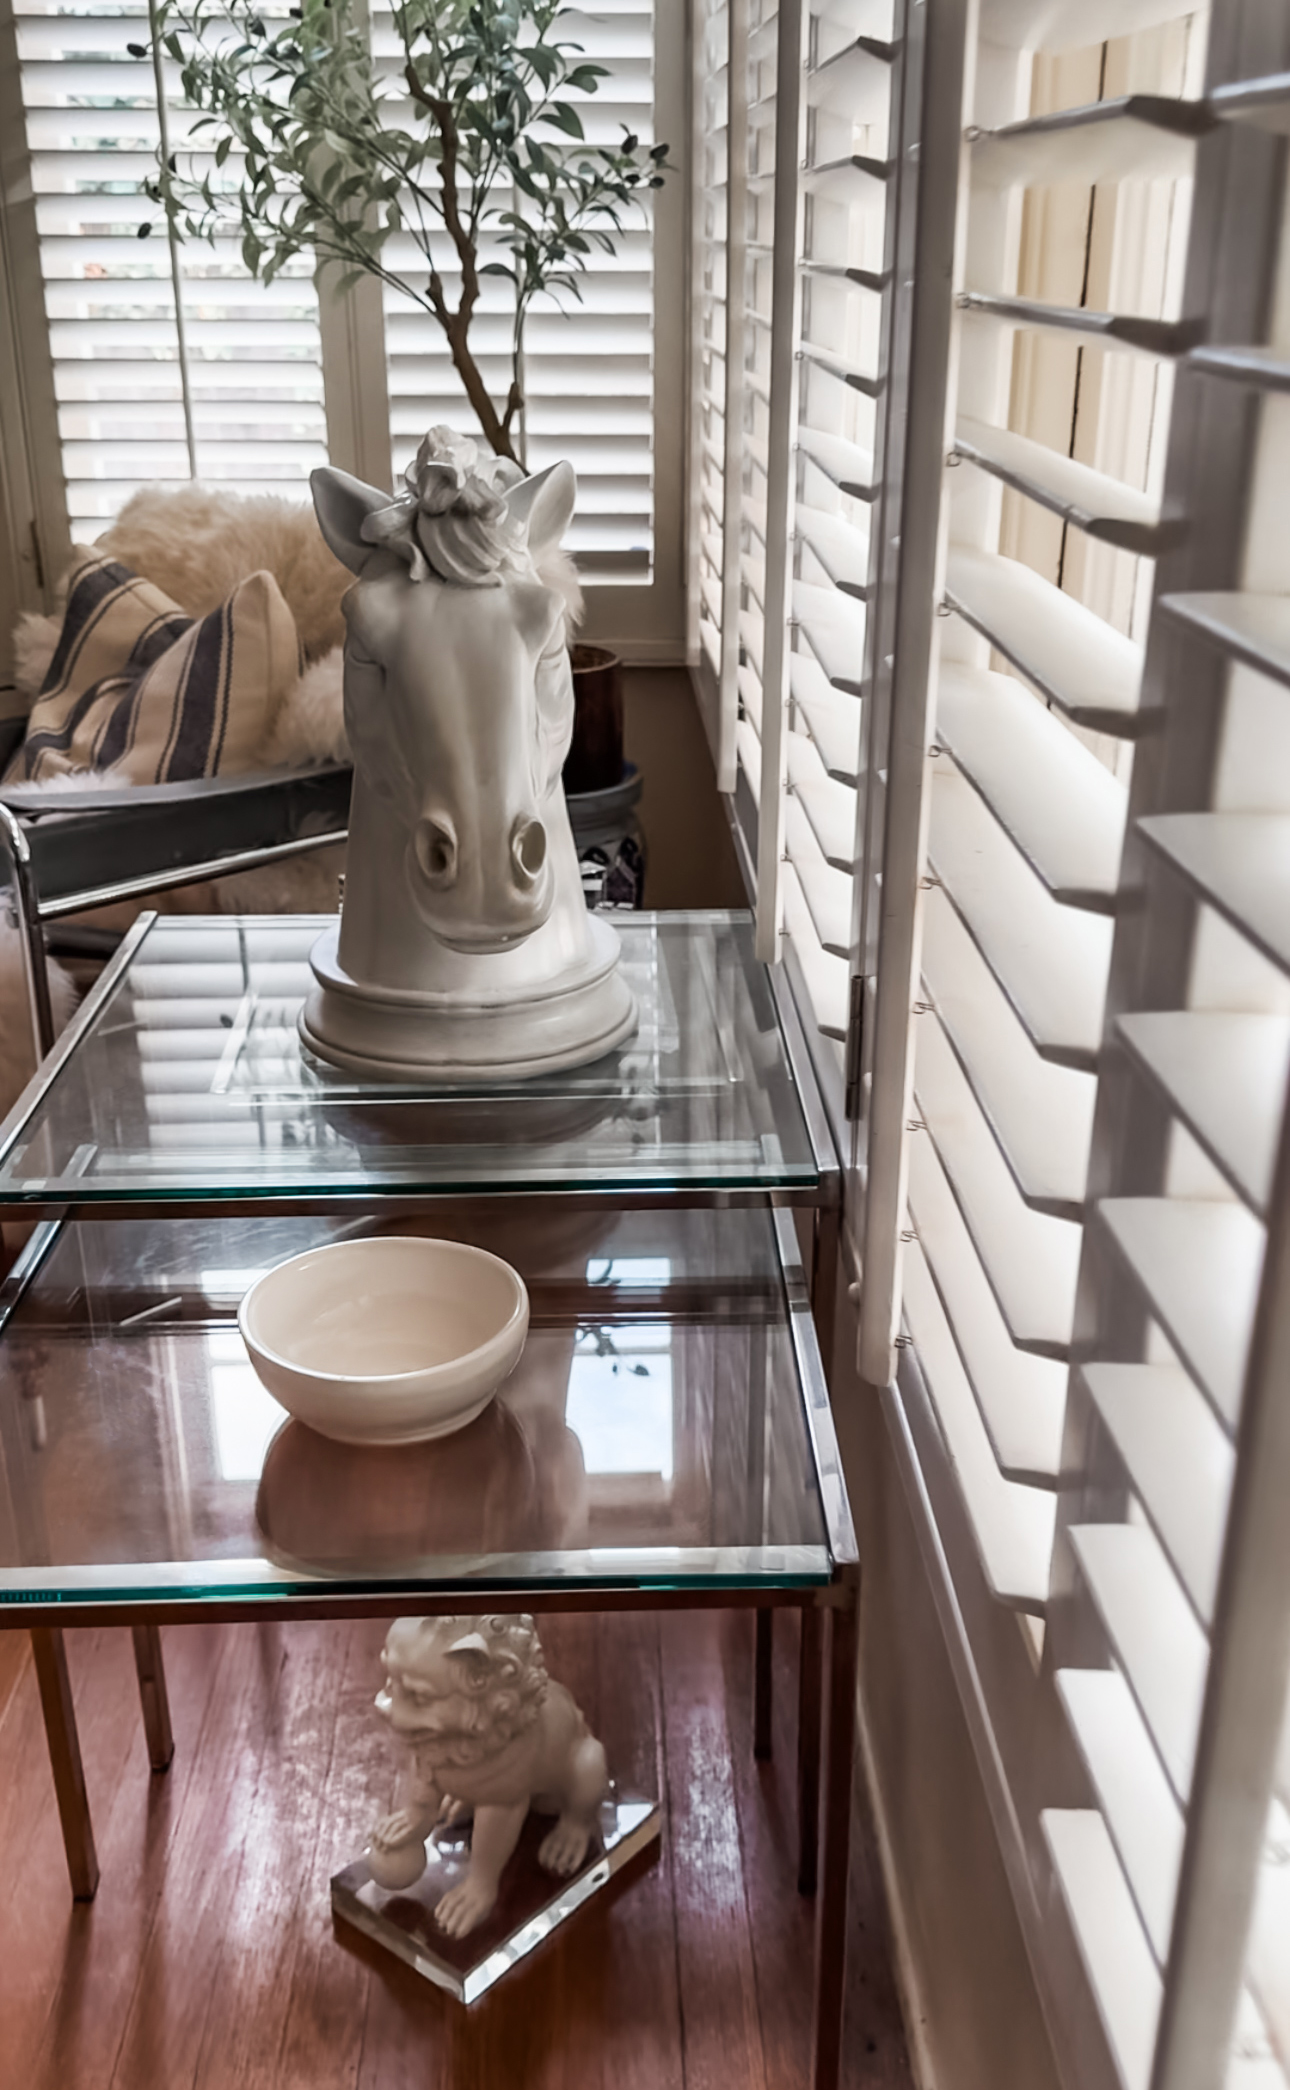
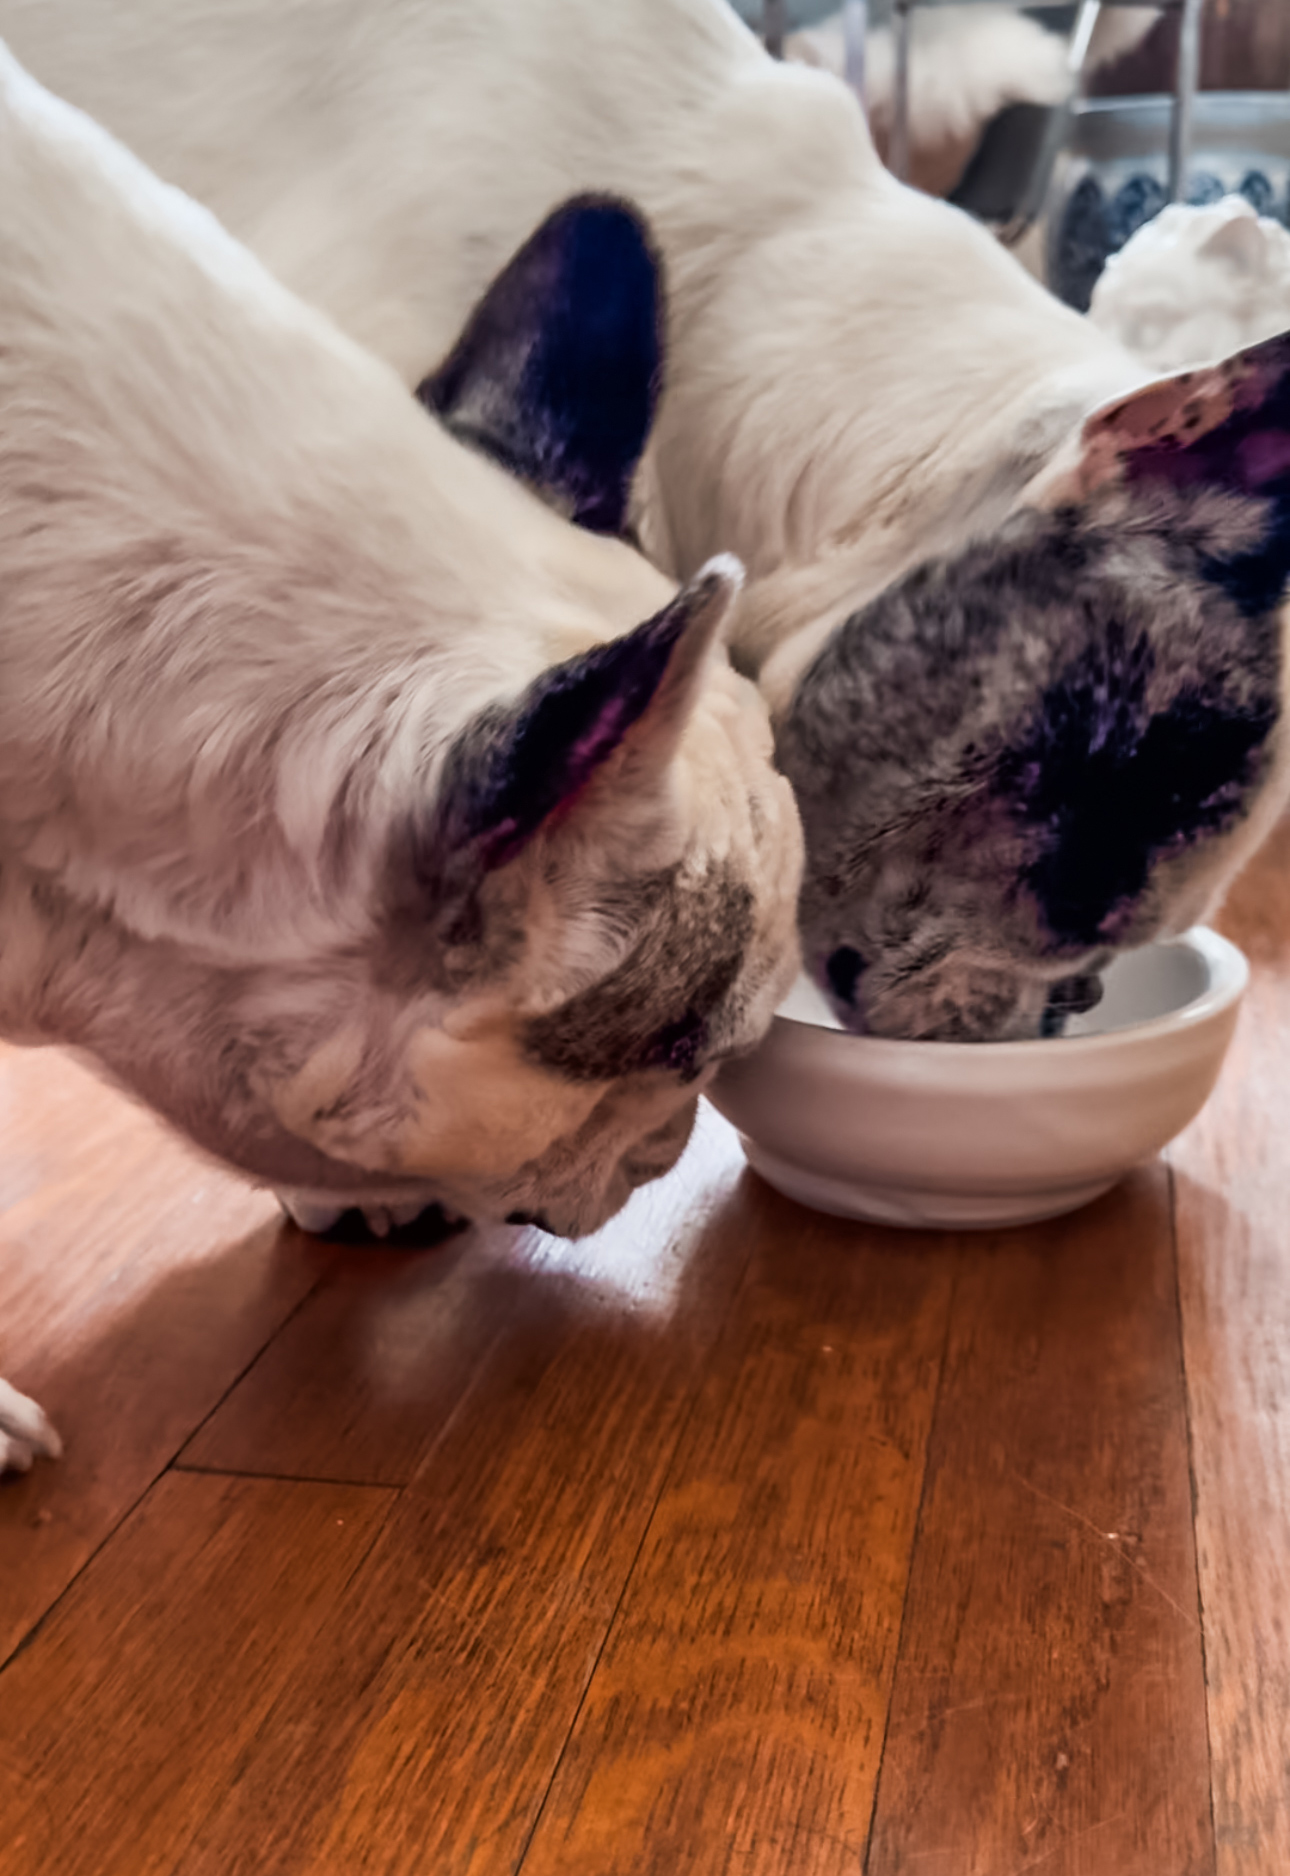
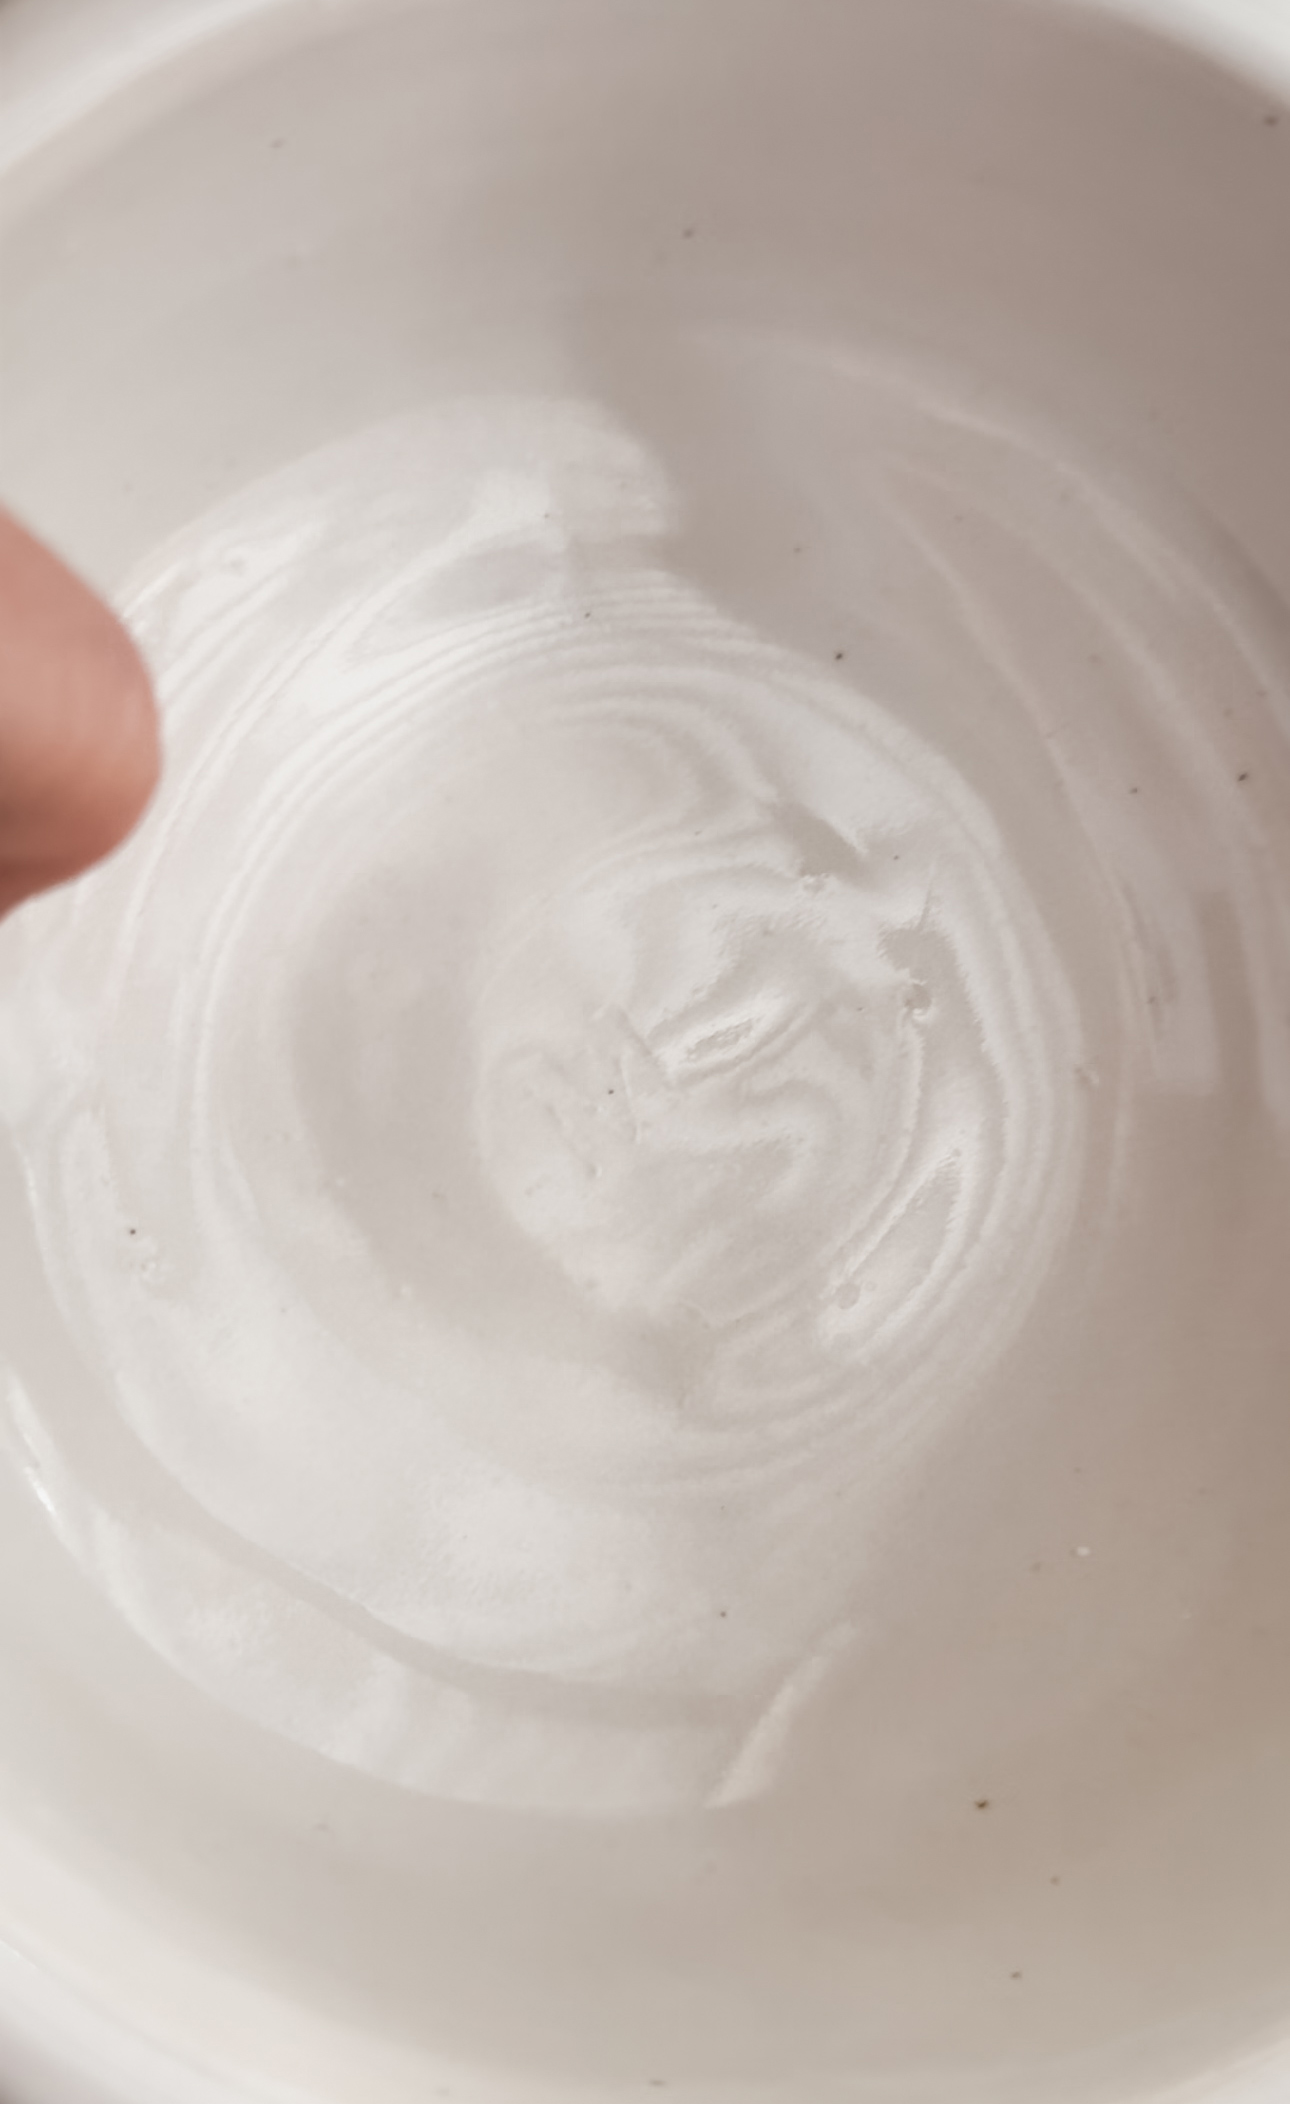
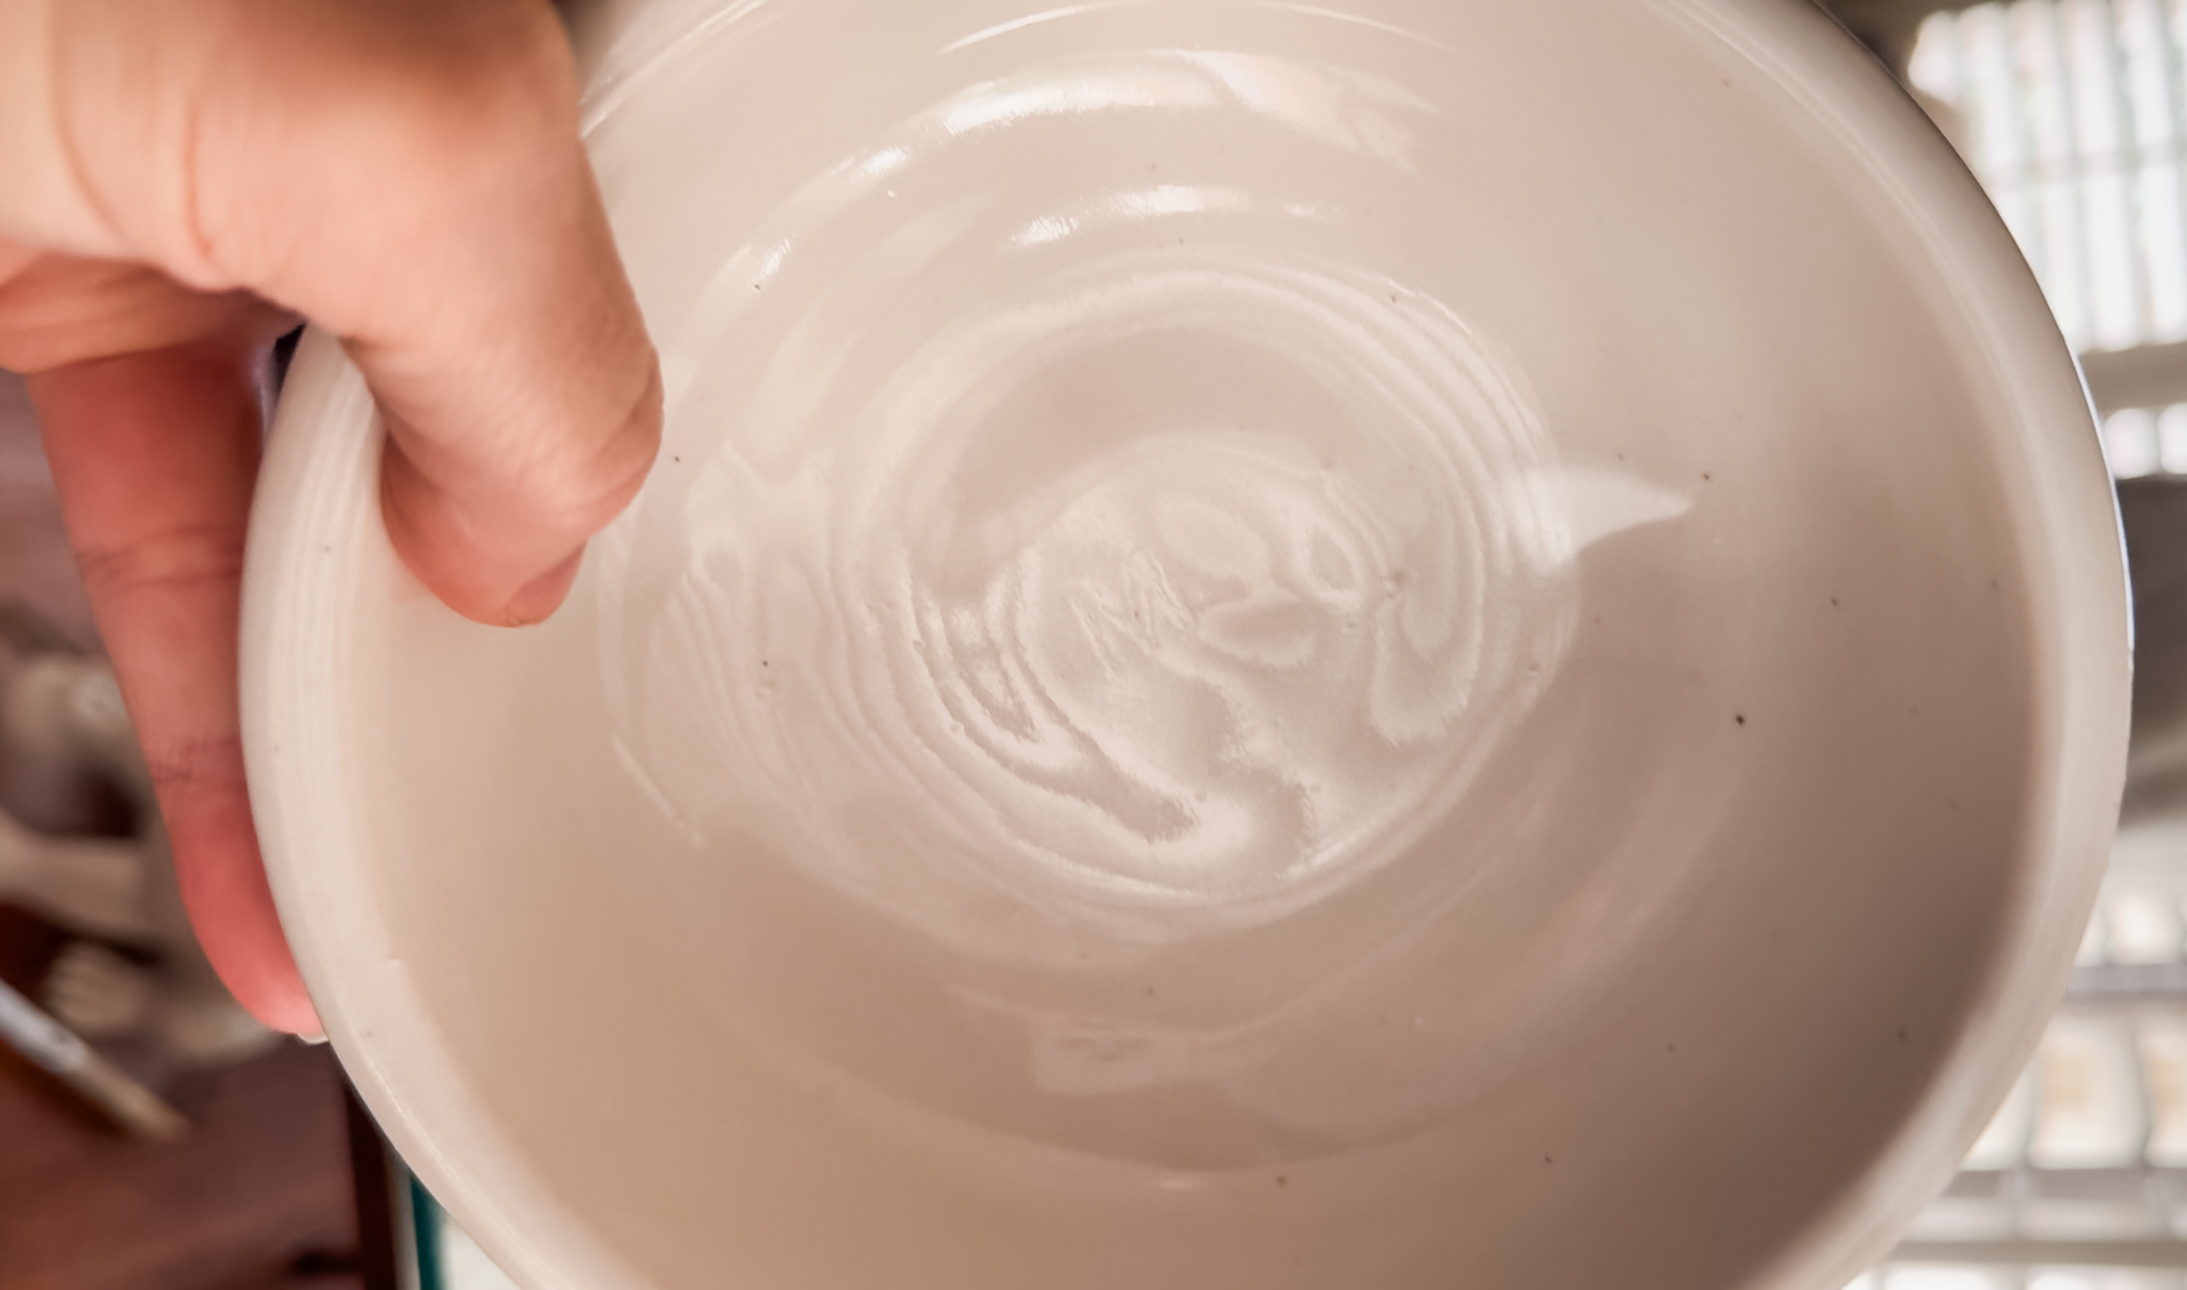
You can only see the “M” at certain angles. It probably would have stood out more with a darker glaze choice, but I love how my little bowl turned out. It feels smaller than when I left it as wet clay, and more lopsided than I remember, but looking back on my photos, I can see the imperfections… and I’m completely okay with that.
I left happy and calm 😊 It was such a lovely evening… a perfect night out alone or with a friend.
View this post on Instagram
