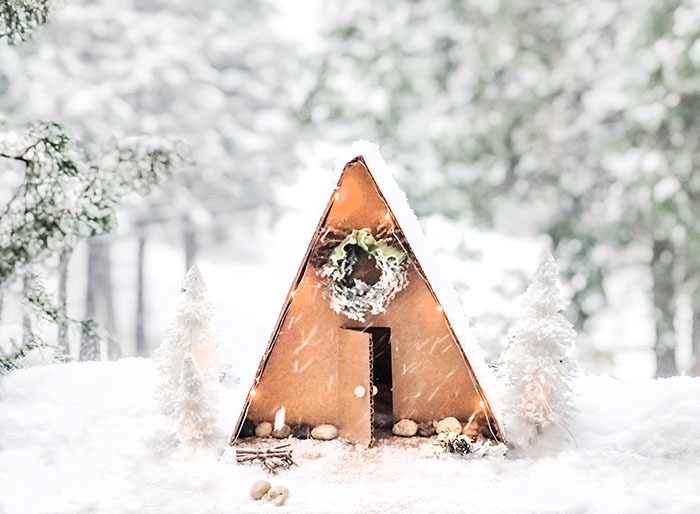
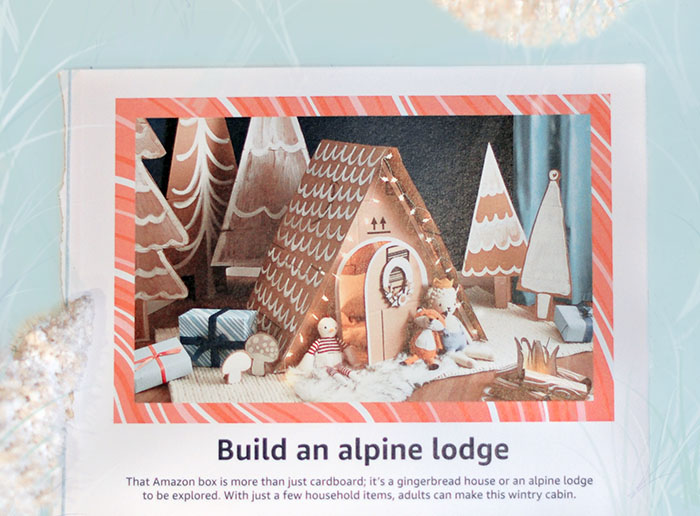
Flipping through the holiday amazon catalogue mailer that arrived a few days prior, (initially only to save the cute stickers for the girls), I found a sweet little DIY cardboard a-frame alpine cabin on the very last page and was immediately inspired to build my own.
P.S. I’m sure my new A-frame cabin office space had a little something to do with my excitement for this project 🙂
Inspiration…
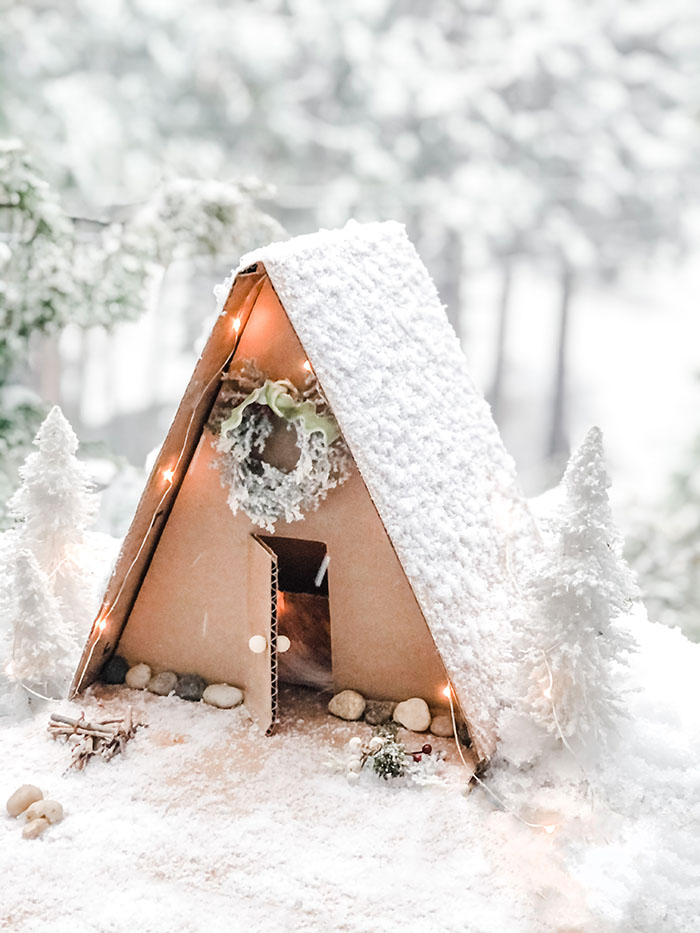
I’m pretty excited about how it turned out and although it’s really adorable as holiday decor, for those mid-century modern lovers, it might be something you could keep up year-round… or even let the kiddos play with, but if so, I’d suggest NOT adding the snow because it’s pretty messy.
NOTE: You can see the scale/size of it in the photos near the end where I’m adding the snow to the roof.
So let’s get to it…
Here’s What You’ll Need…
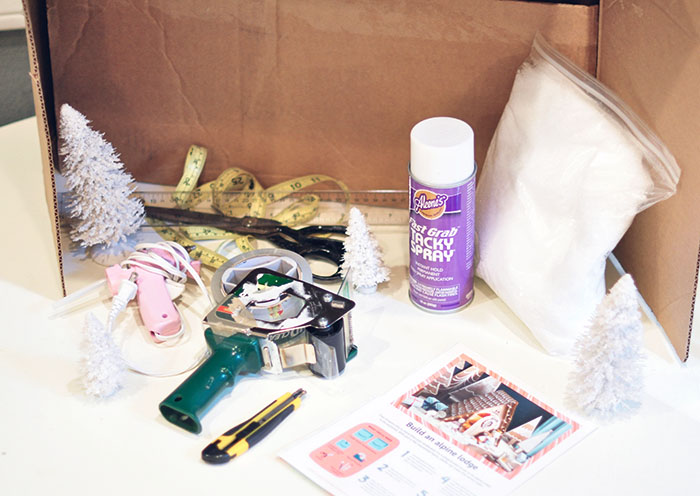
* Heavy duty scissors
* A sharp blade
* Rulers and measuring tape
* Pen/pencil for marking
* Strong packing tape or glue (I used tape)
Optional…
* Fake snow
* Spray adhesive
* Round wooden thumbtacks for doorknob
* Micro lights, battery powered
* Snow-covered trees and/or any other decor of your choice
* Battery powered tea lights to light the inside
You may also choose to cut out windows or make the roof open on one side to create an interior living space.
Steps…
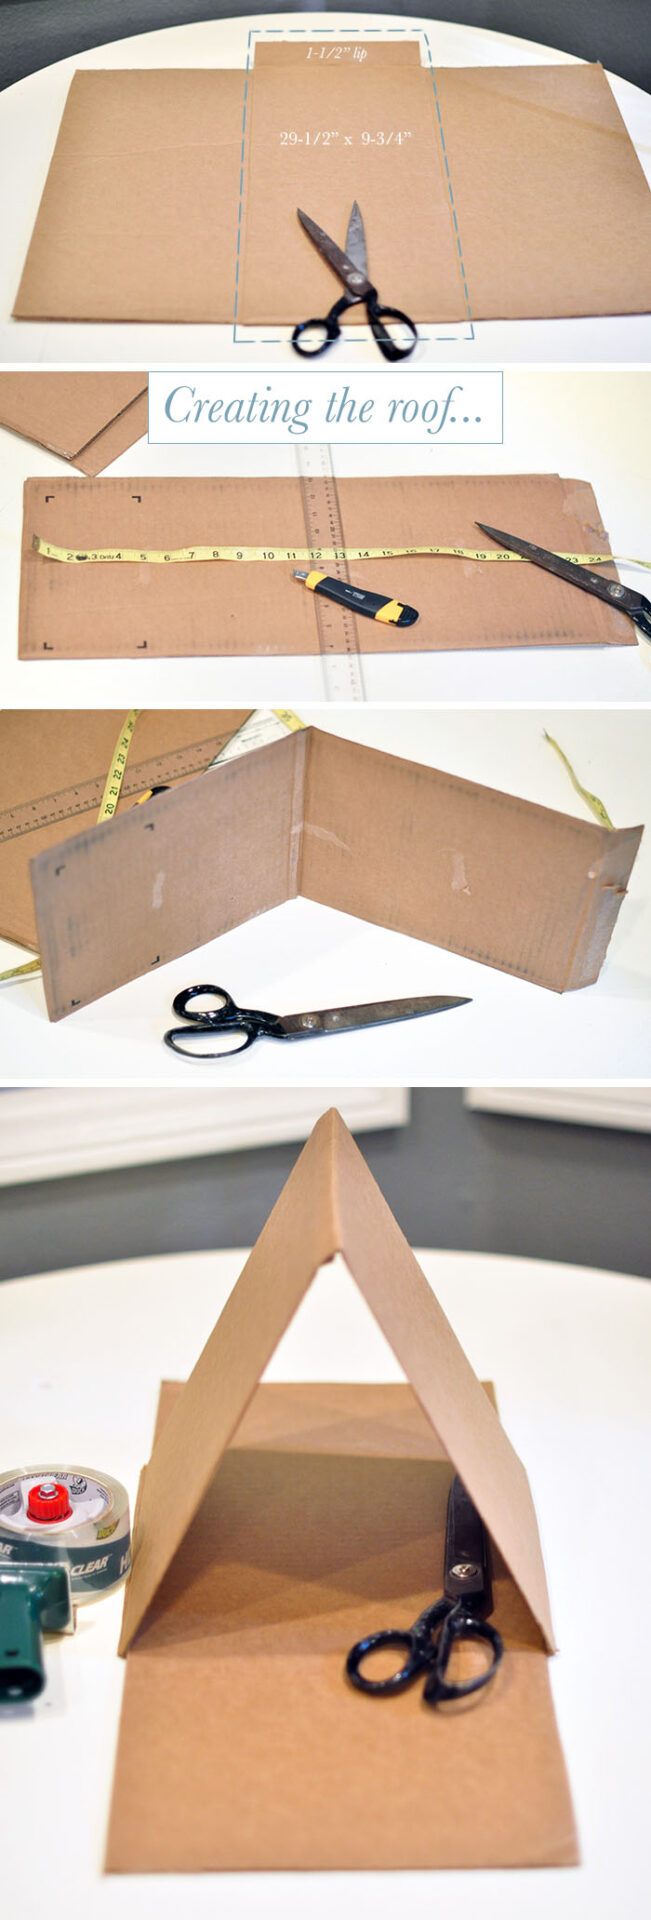
2. Begin with the A-shaped roof-line… by cutting an area of the box 29-1/2″ x 9-3/4″ and leave a 1-1/2″ lip (the lip was the part of the box that was sealed on the inner corner) and I used it to my advantage. Find the center and score it with a blade on the under side and bend into A shape.
NOTE: If you want to make your a-frame cabin smaller or larger, you can just re-calculate the measurements or create by trial and error.
3. Use the opposite side of the box with the same 9-3/4″ measurement as your floor/base and tape or glue the 1-1/2″ lip to one side LEAVING THE OTHER SIDE OPEN (see photo below). I allowed mine to extend longer in the front to create a “patio” and shorter in the back and trimmed a few inches off when I was done (see above photo). This also creates a nice base for carrying and moving your cabin and adding decor.
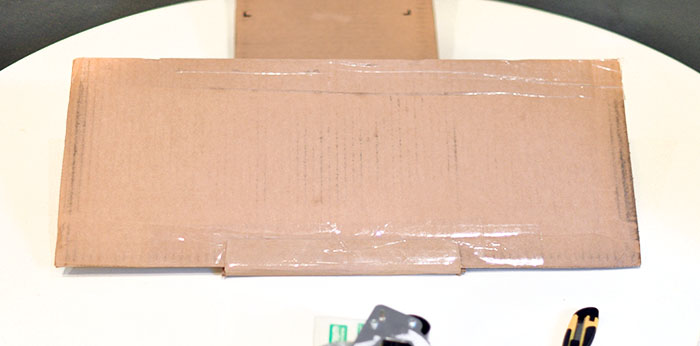
Next, you’ll create the sides of the a-frame.
Creating the sides (front and back)…

2. Find a large uncreased section of your box and mark your bottom 10″ – mark a center point and using two rulers set on your bottom marks, find center and mark your triangle and cut it out.
My final triangle front and back measurements were 12″ sides and 10″ bottom.
3. Measure in about 3/4″ on each side and using your blade, slice the sides – scoring the top layer only – and bend them until they fold properly back, making sure the “good” side of the box will show on the outside.
4. Cut off the top of the triangle (on the outer side of your 3/4″ markings) and cut slanted edges on the top of the sides so it will fold in smoothly (see photo above).
5. Use your cut triangle as a stencil for your second one, mark it and cut it out too.
6. Cut your door out now… (and windows if you want any – one in the back would have looked cute or on either side of the front door)
For the door, and on the BACK SIDE, cut only the top and one side of your door and “score” the other side so it opens but doesn’t fall out. If you accidentally cut too deep and it falls out, you can use a toothpick through the top to make it swing.
Assembling your A-frame cabin…

NOTE: I set my front/door wall back a little so the roof would overhang a little in the front but not in the back.
2. Fold your roof over again and align the second side with your flooring, then add pieces of tape to the opposite sides of the triangle edges, fold the roofline over and set in place.
This next part is tricky, you may need a helper….
3. Place a piece of tape at the bottom edge of your roofline and folding it over, making sure your sides are still sticking and then tape/secure the edge of the roofline to the base/floor, folding the tape over the edge… and placing a few more pieces of tape to make sure it’s really secure. Place a horizontal piece of tape across the bottom to secure all sides together.
NOTE: If you’re going to add snow to the roofline like I did, your tape will not show AND if you choose to use glue, it definitely won’t show but tape is definitely quicker and easier.
You can also choose to paint your roof or add shingles or do whatever you like to add to the fun feel of your little a-frame alpine cabin.
Adding your doorknob…
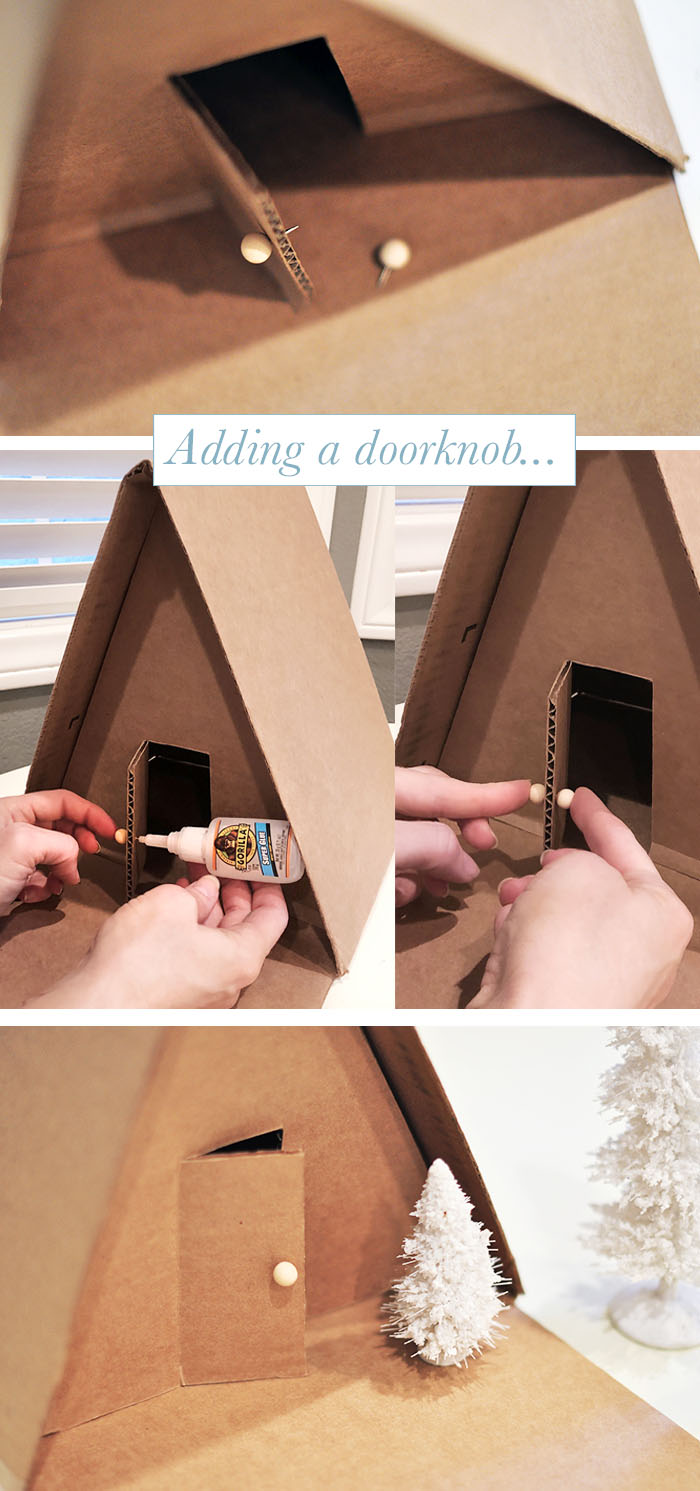
Then I grabbed a second thumbtack and yanked the stem out with pliers to use as the other side.
To secure them together on either side of the door, add a little glue to your pin, push it through the door, add a little more glue, then slide on the other wooden ball on the opposite side, securing tightly until it’s set in place.
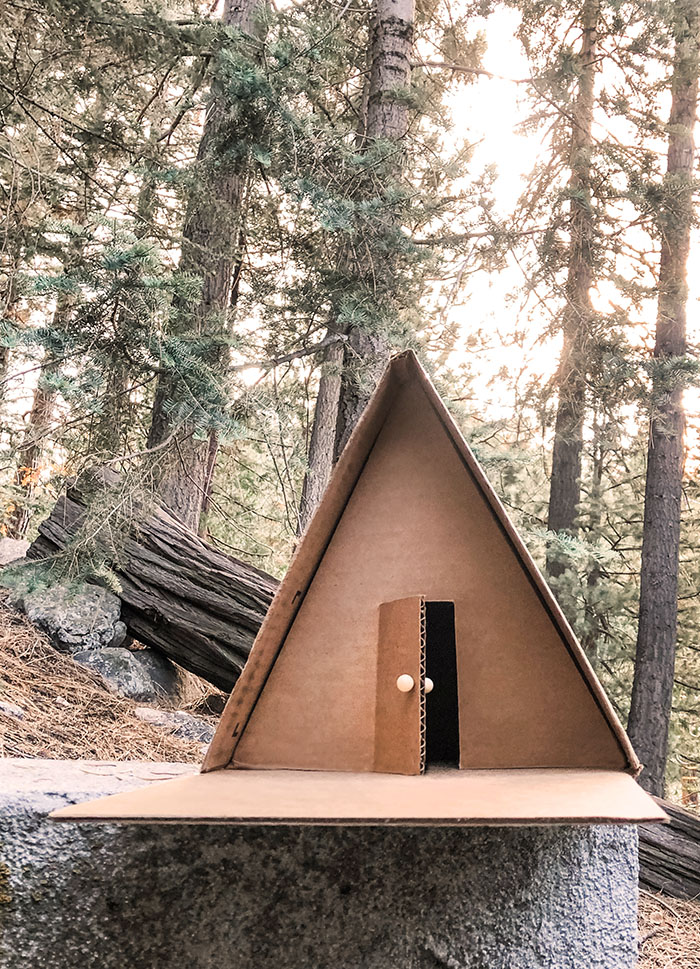
Here’s what it looked like before I added the snow…
Adding SNOW…
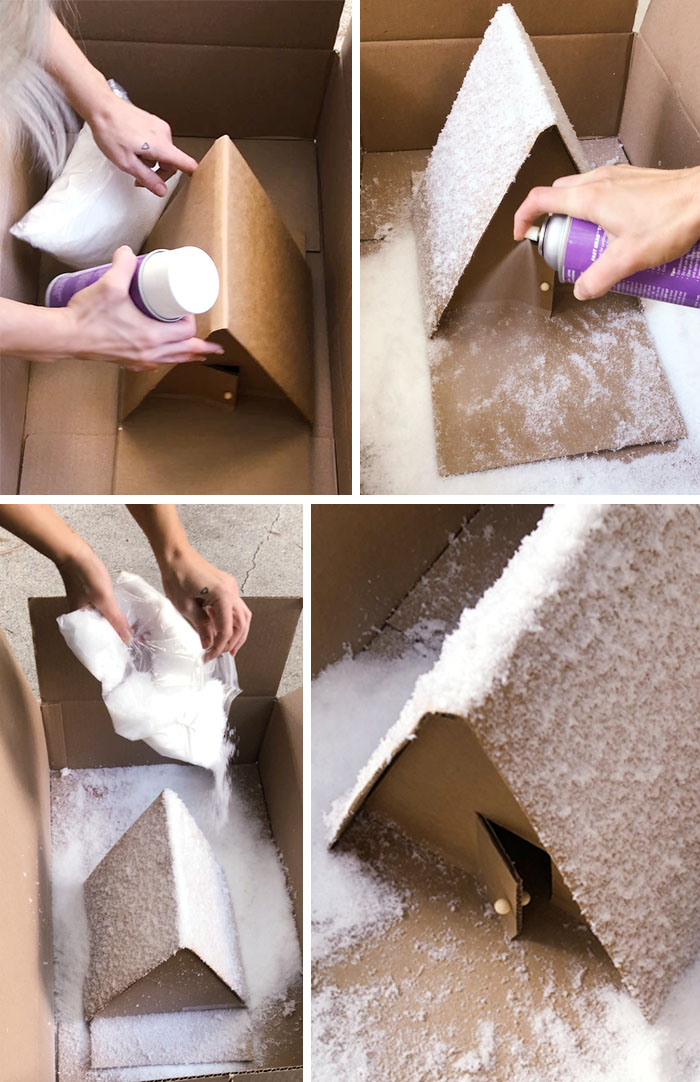
2. Grab your spray adhesive and spray one side of the roof at a time, adding snow a little at a time. Then hit the other side and repeat the snow. Let it dry for a few moments… then spray more glue and add more snow over and over again until you like it. I added it to the exterior floor/base as well to create a snow-covered patio look.
NOTE: It sticks pretty well and gives a great texture (which is why I chose this method), but the snow definitely fluffs off a little bit if you knock it or whatever, but it’s on there pretty good.
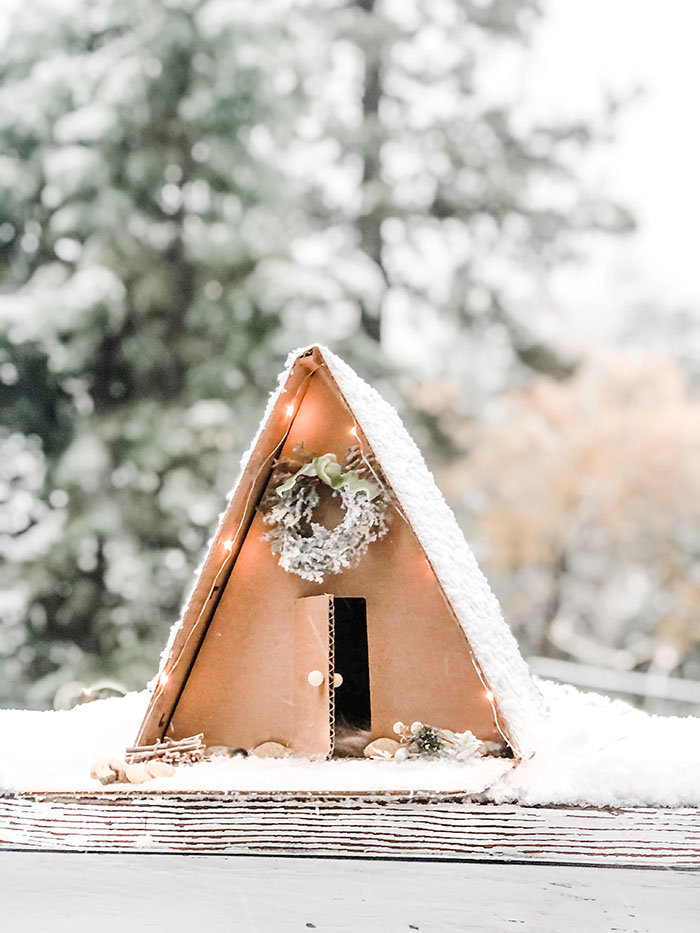
And… Voila!!
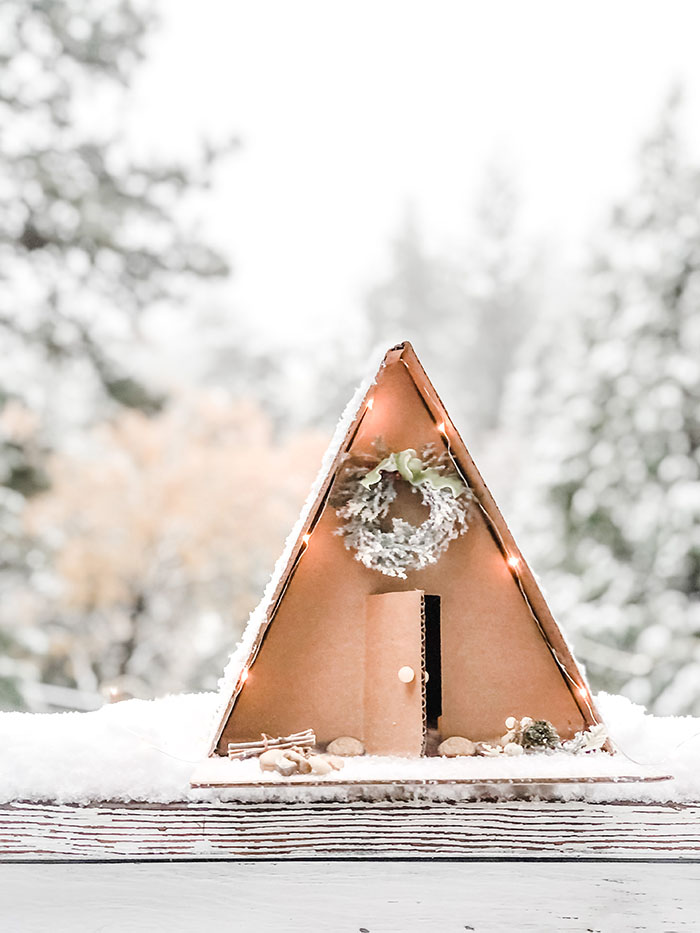
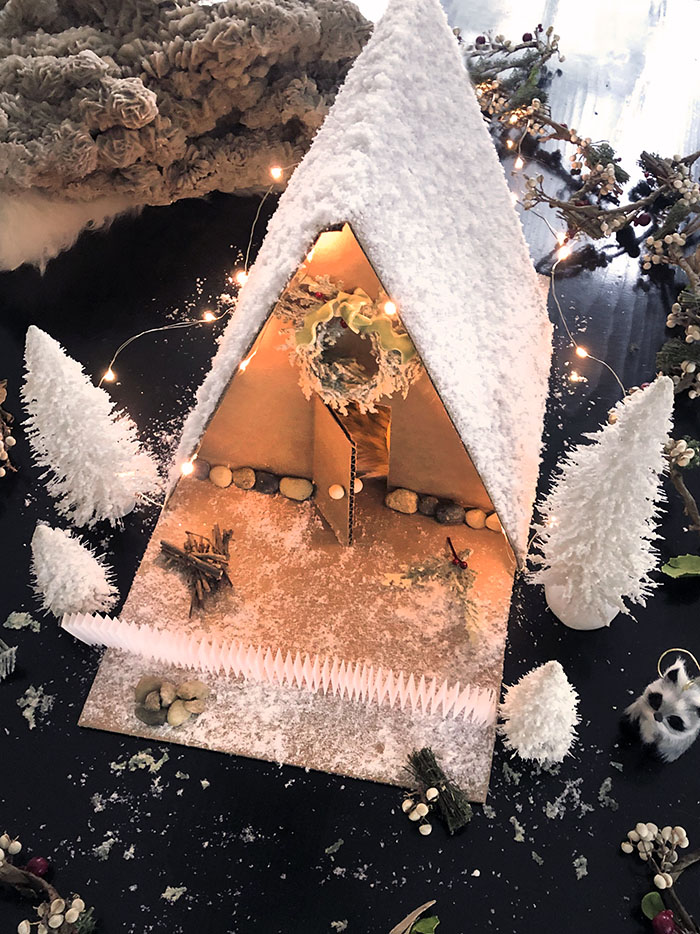
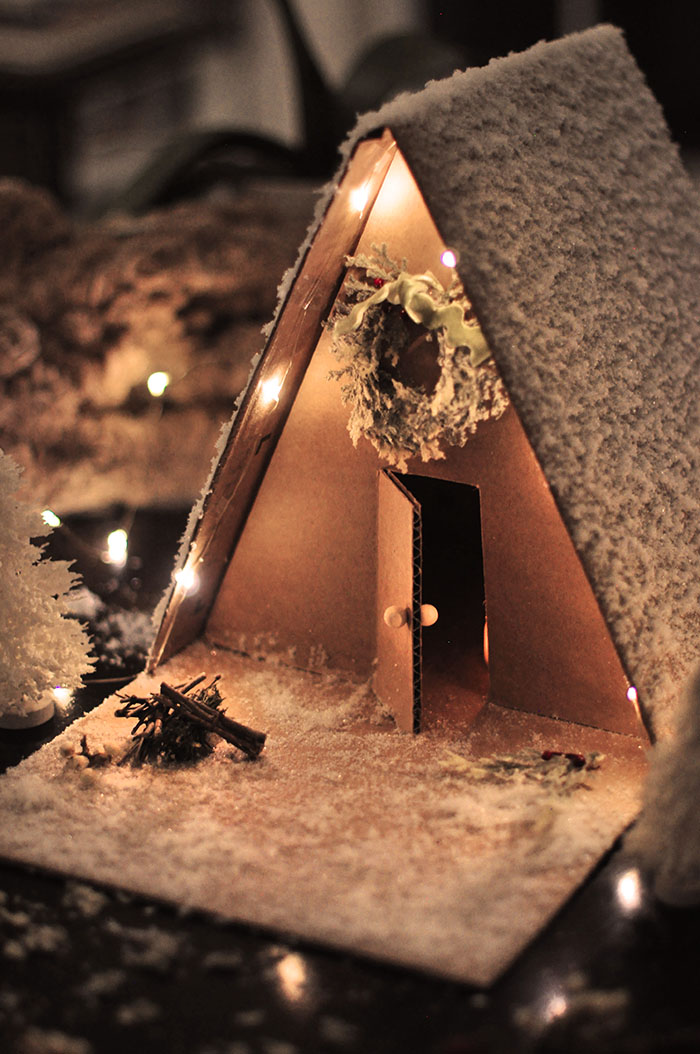
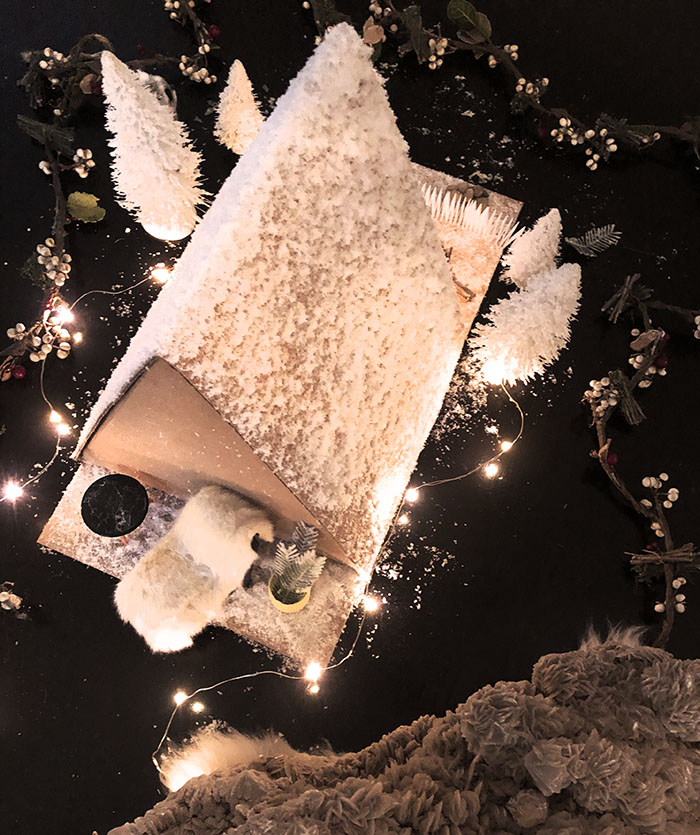
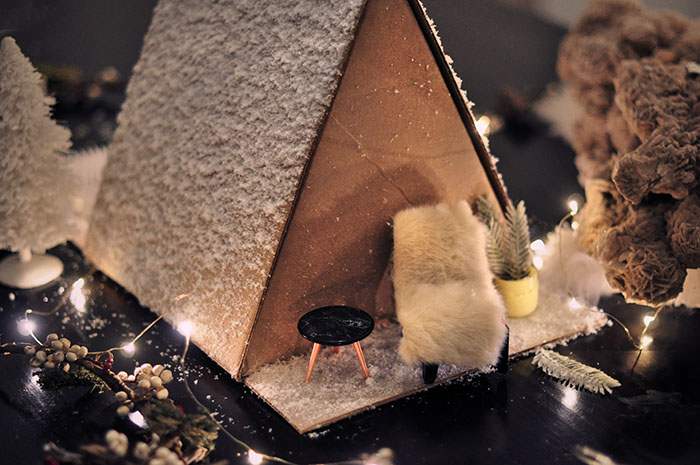
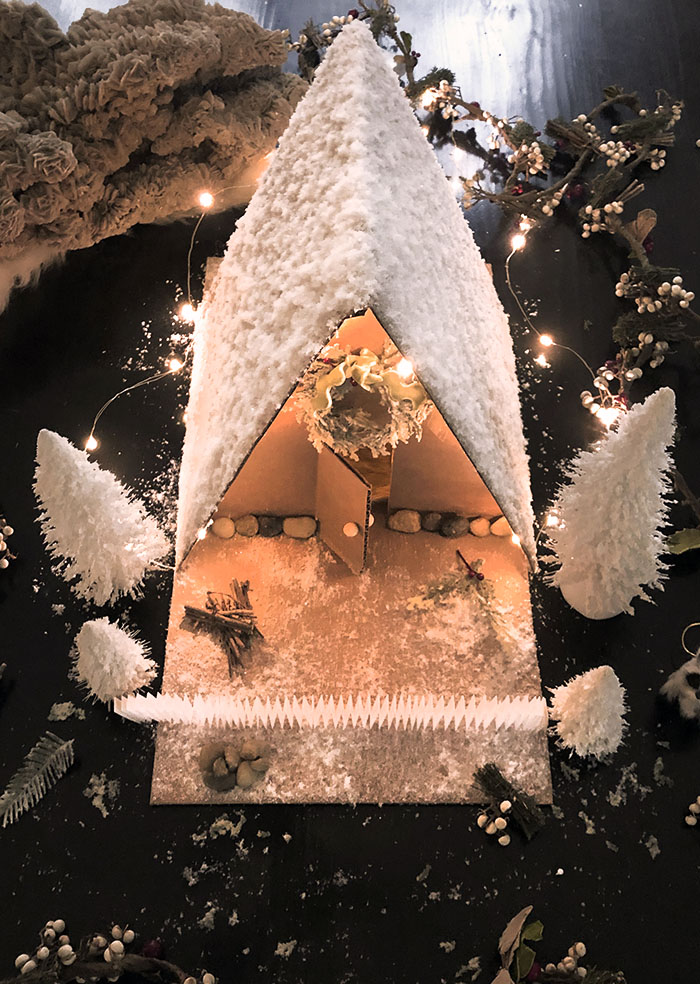
I added little stones along the front for that mid-century mountain feel, made a wreath for above the door, which turned out a little too big (oh well), found little twigs that looked like bundles of logs on the front patio, used my snowy winter trees next to the house, found some mid-century modern doll furniture up in the girl’s room for the back deck and added a fence to the front as well.
I put a little faux fur inside to look like a rug and add texture and battery lit tea lights to light it up.
You can get as detailed as you like or not at all. It’s pretty cute just simple, as-is, but also fun completely winterized for your holiday decor.
Have Fun! Happy Holiday Season Lovecats!
* Find all my holiday decor DIYs here and my Christmas crafts here
* Check out my new A-frame office space here


