* Katie Holmes + In Style Magazine Editorial + August 2011 wearing Dolce and Gabbana Fall 2011 jeweled silk embroidery pumps price upon request.

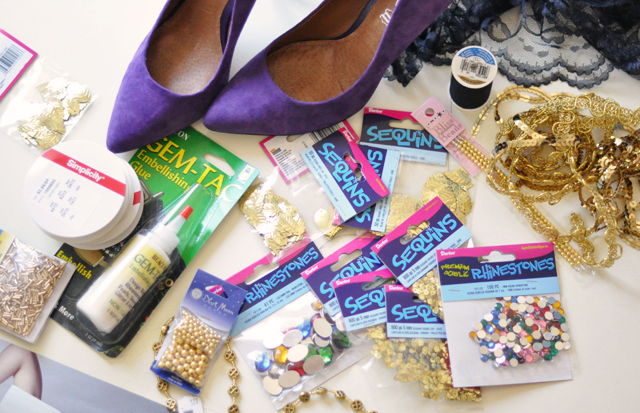
* Suede pumps …fabric will do as well. These fabrics will hold glue the best. I was looking for black but all I could find in such short notice was purple …found them at Aldo for $70.
* Lace
* Sequins by the yard in multiple widths
* Loose Sequins, various beads, leaf sequins {I used all gold}
* Rhinestones …I also used a few vintage buttons {and I wish I’d had more honestly}
* Gem-Tac glue and paintbrush
* Needle/Thread/Scissors
You may choose to just glue your materials directly onto your shoe. You know how I feel about glue though 🙂
A. I was interested in the texture I could build hand-beading the lace first. {took FOREVER}
B. I actually WEAR my DIYs and would D I E if one started falling apart while I was wearing it.

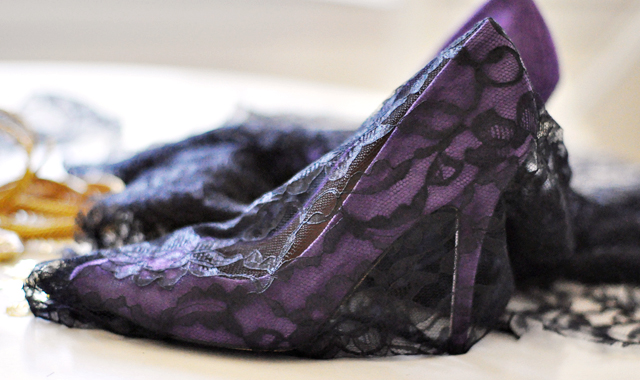
* Lay lace over the top of your shoe.
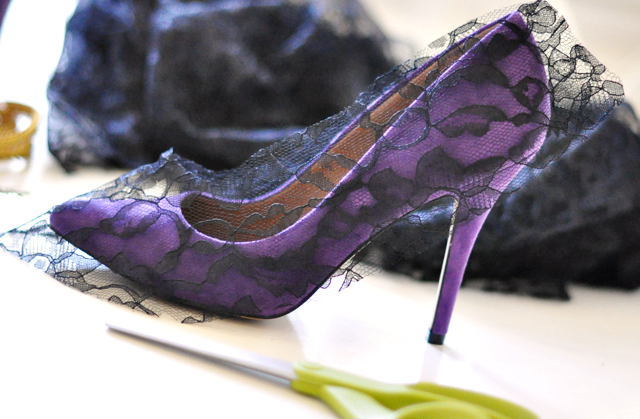
* Cut out a pattern in a Uish V shape with extra room to spare.
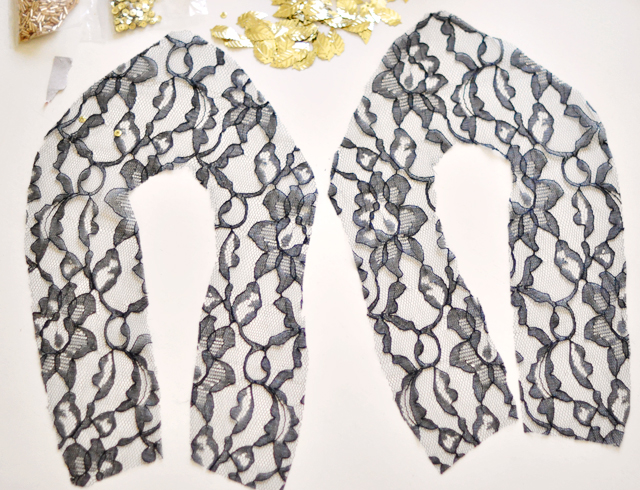
* It should look similar to this. Use one as a pattern and cut the other one from the lace.
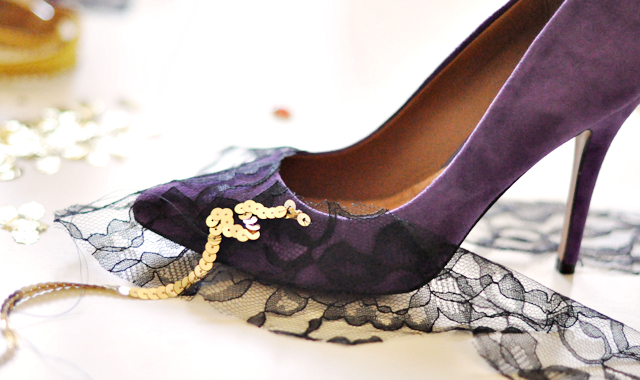
* Lay the lace over the toe of your shoes making sure there is lace overflow on all sides. Using your sequins by the yard {I used a single row but the S row would work very well} begin loosely hand-stitching your sequins following the shape of your shoe. Always begin at the toe and work up.
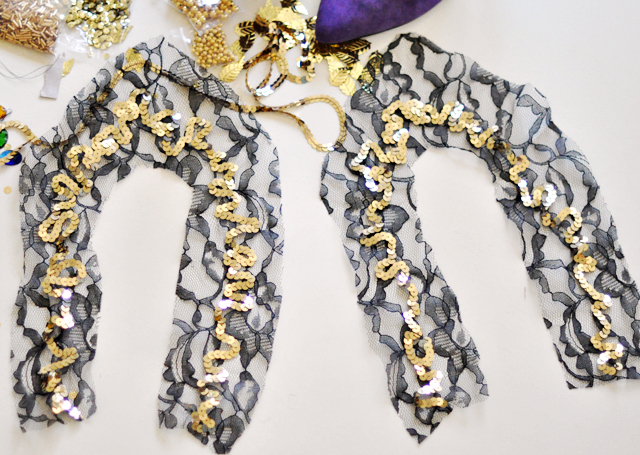
* Your first row should look something like this.
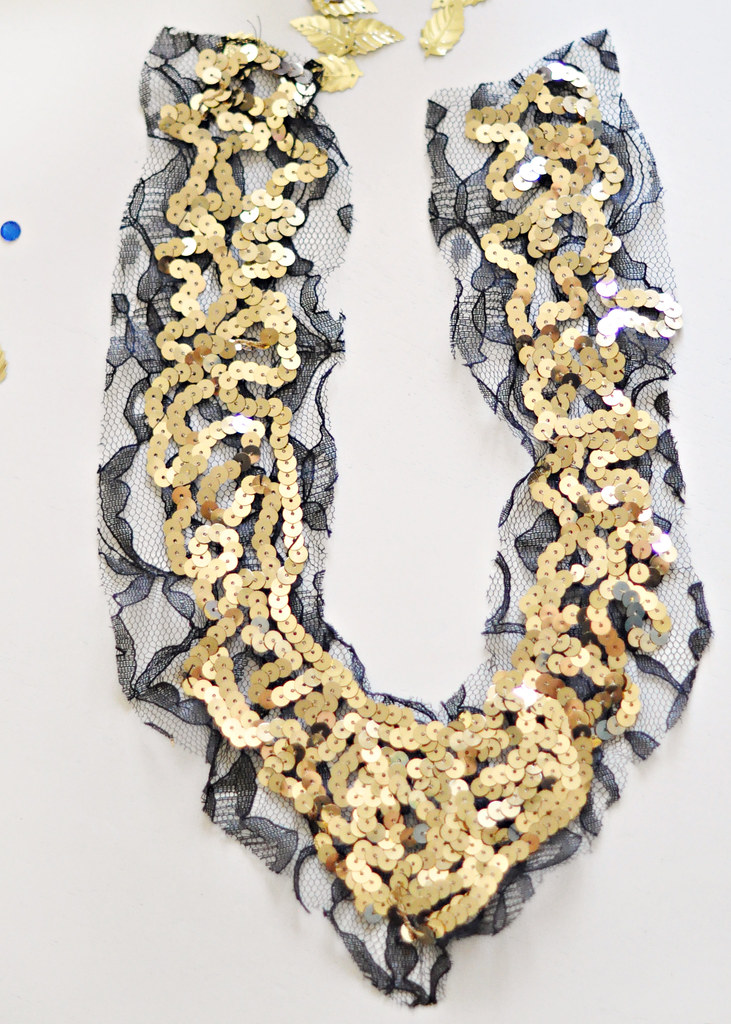
* Add enough to create a base of sequins.
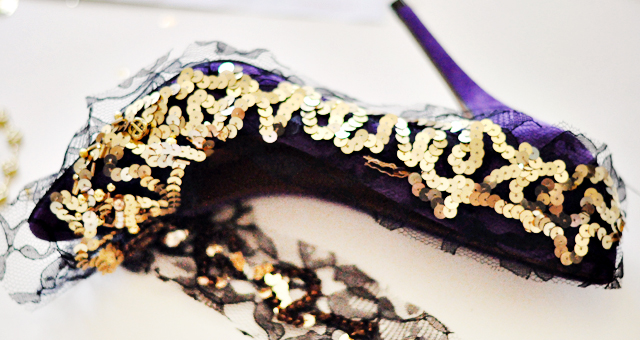
* Every so often, check that your sequin and beadwork lines up with your shoe.
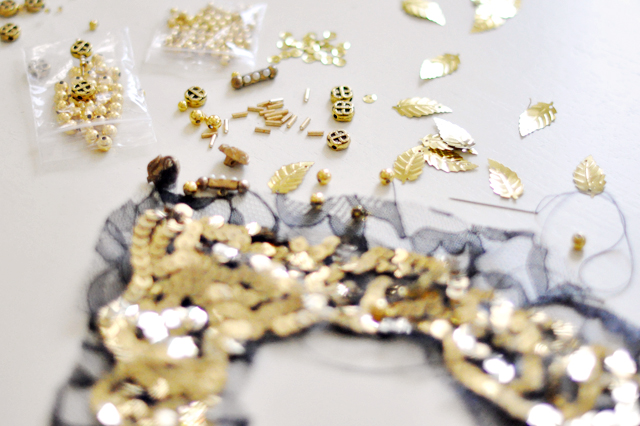
* Begin filling in the spaces between the sequins with your vintage buttons, beads, and loose sequins.
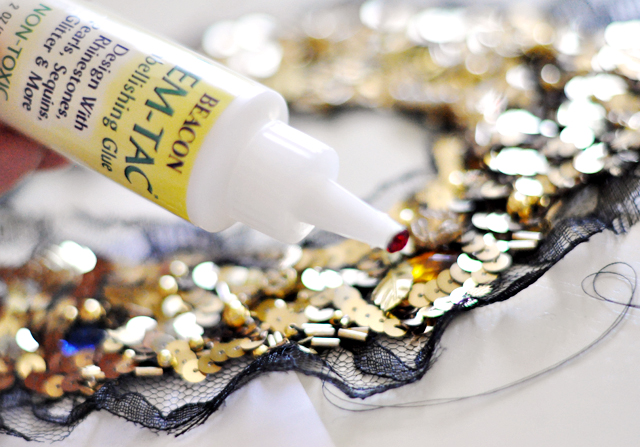
* Carefully glue rhinestones in place hiding their edges with your gold beads and sequins. They are rather cheap-looking so hiding the edges is key.
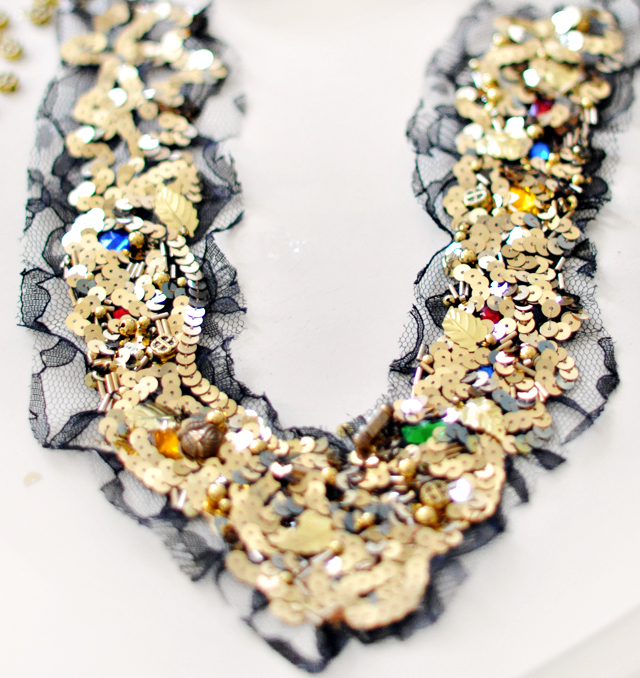
* It should look something like this.
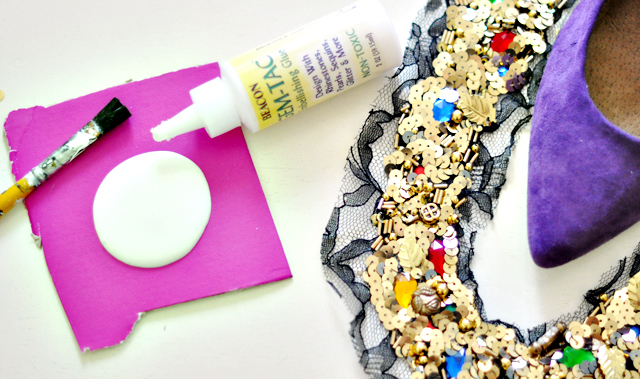
* Grab your paintbrush and give yourself a good amount of glue to work with.
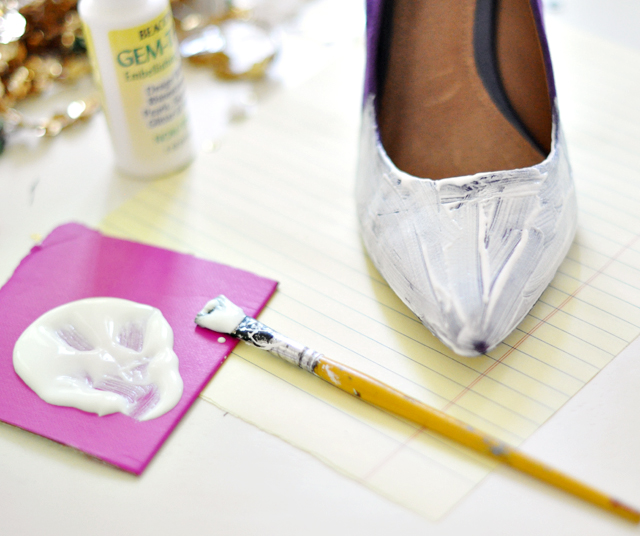
* Cover the toe and a bit up the sides with glue.
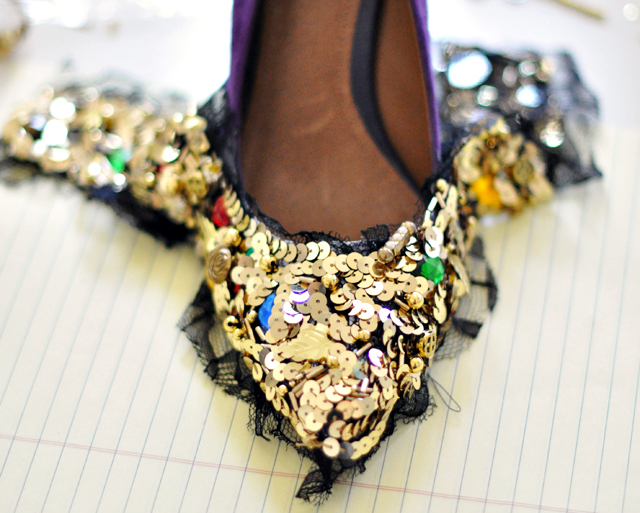
* Carefully apply your sequin/beadwork lace, stretching where needed to meet the edges.
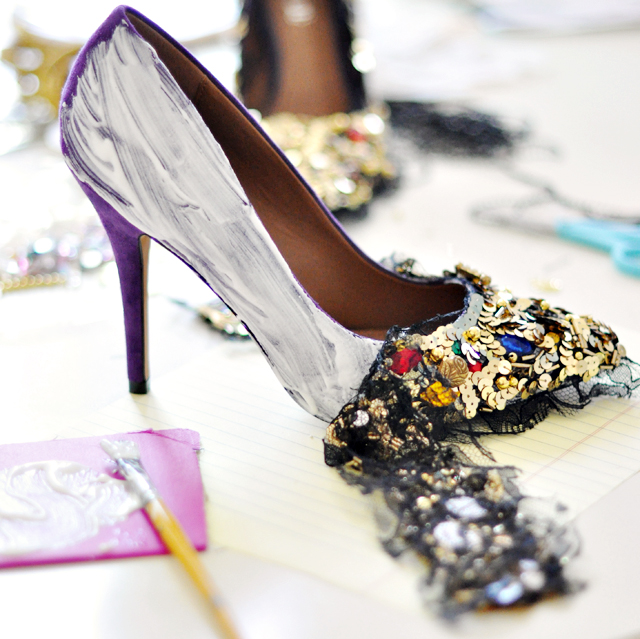
* Apply glue to one side and adhere your beadwork to your shoe. Do this one side at a time!!
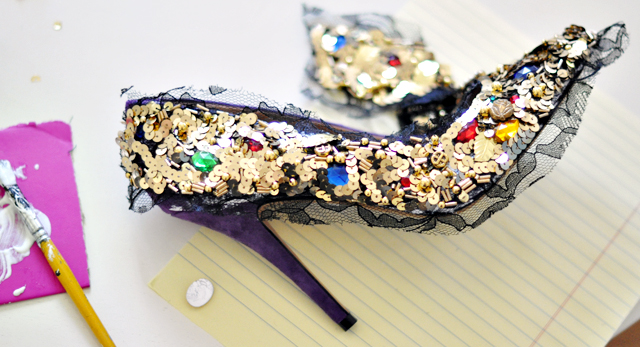
* Again, stretch your lace to fit your area as best you can. It should look like this.
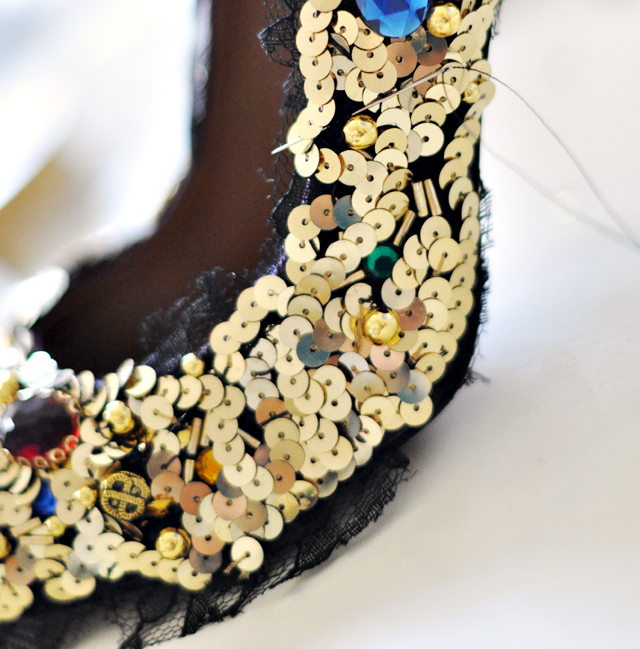
* Once your glue dries {or go back and forth from shoe to shoe to save time} you’ll have to hand-stitch loose beads and sequins to fill in the spaces {also, I’m a perfectionist}. You can glue in more rhinestones at this point to fill in areas as well.
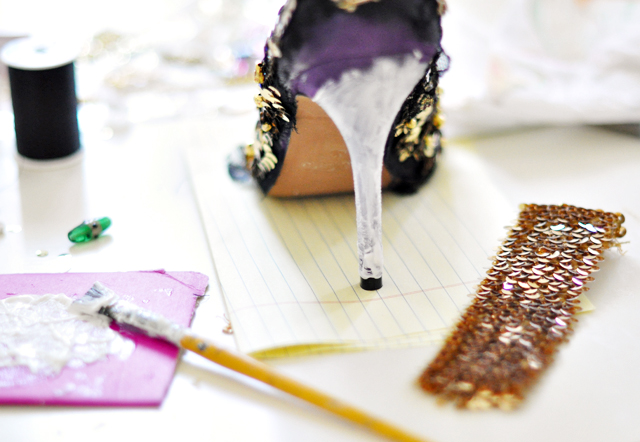
* I kind of cheated on the heel a bit …using stretch sequins glued directly on the heel {follow glue steps above} but it’s threaded backing is beneficial.
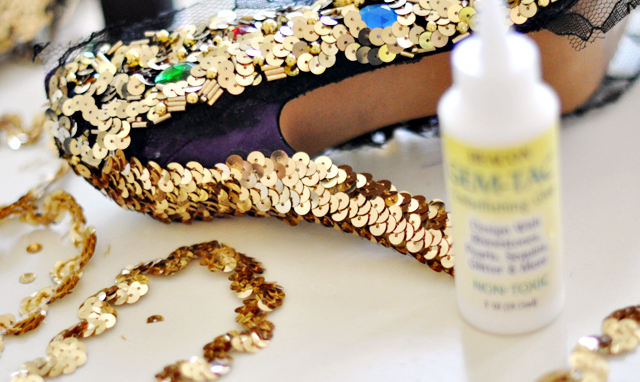
* And glue in sequins to fill the spaces left.
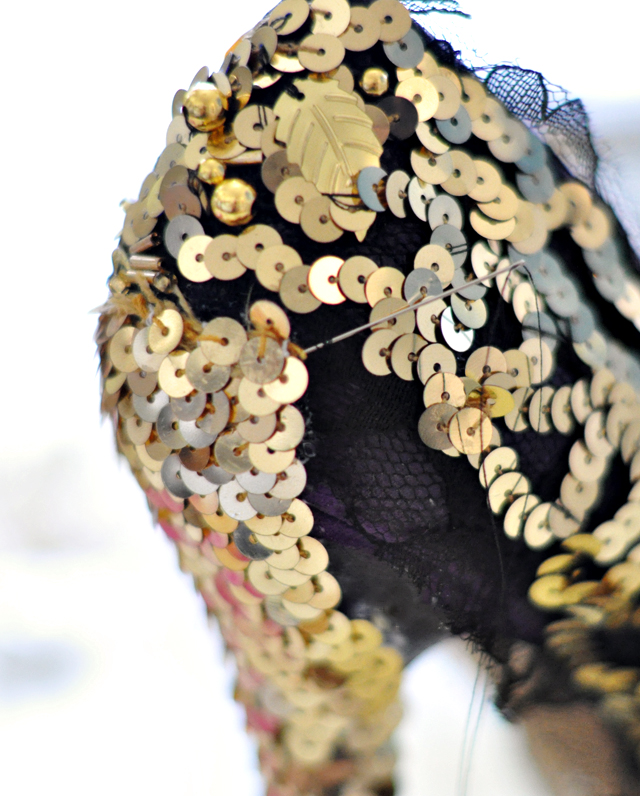
* Once your glue is dry, hand-stich your sequins to the lace and beadwork to secure it {you don’t want your shoes to fall apart while you’re wearing them do you?}
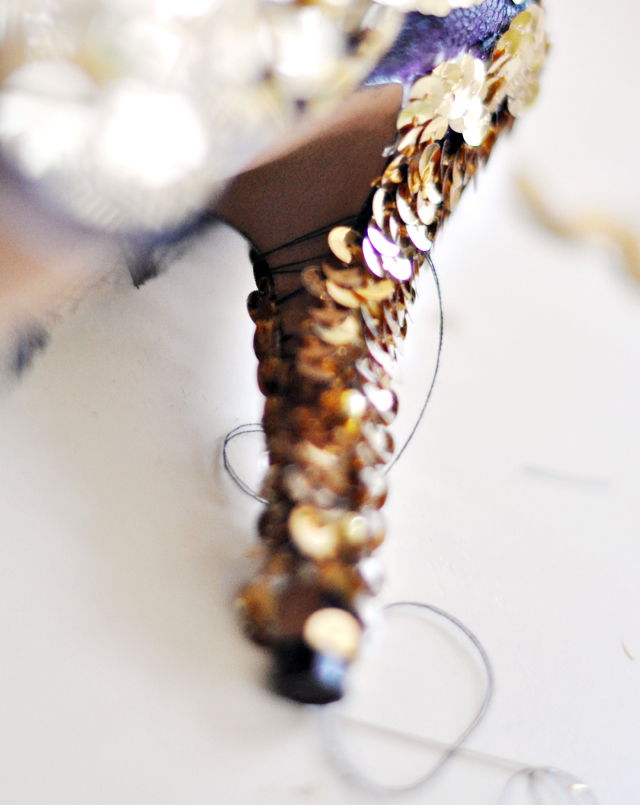
* Also secure your stretch sequins by stitching them closed on the inner heel.
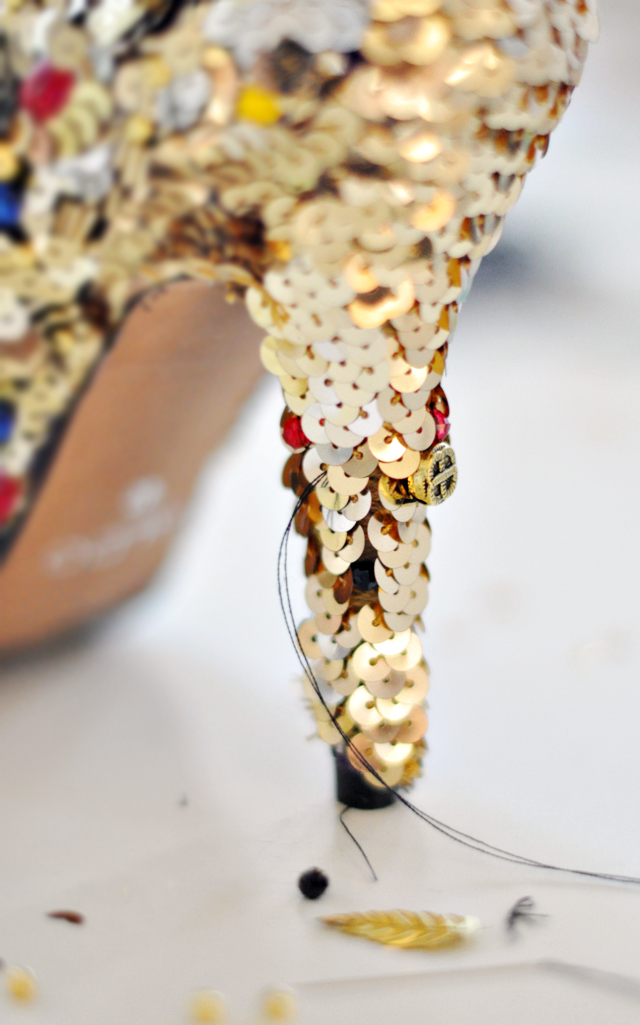
* I also went through and added texture by stitching beads and gems into the heel. It has to look the same as the rest of the shoe. You can do this while you’re doing the step above, combine the two.
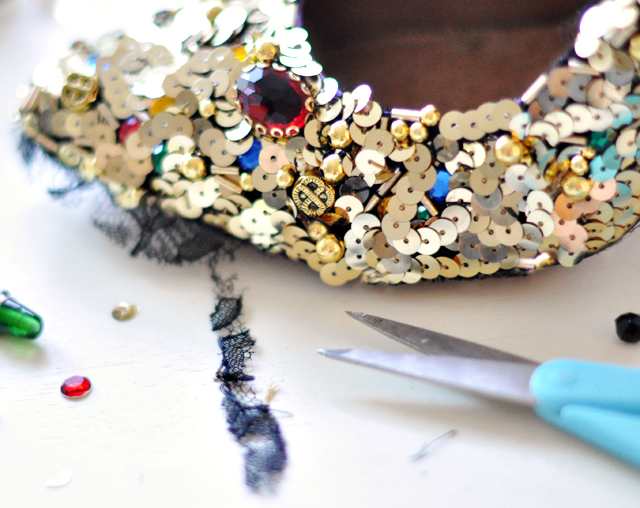
* Trim your lace.
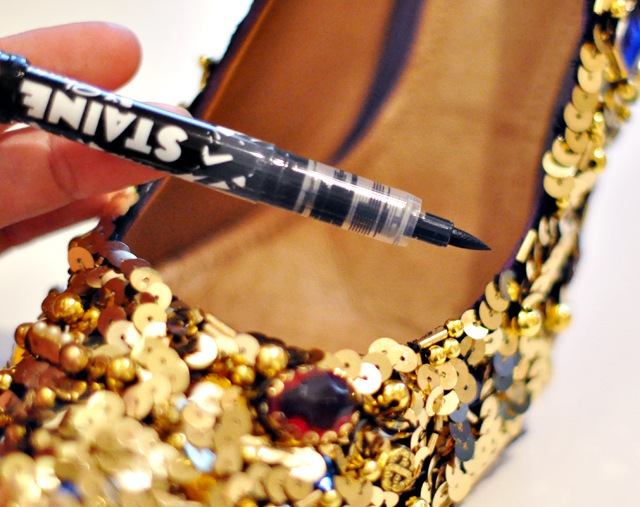
* If your shoes are black you can skip this step. I used a STAINED by Sharpie to easily darken any purple that was peeking out the top.





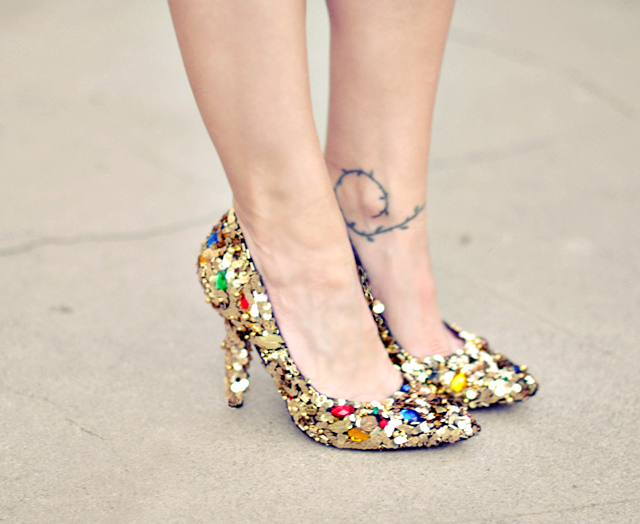
Have Fun!
Find all my DIYs here!

