With an influx of styles reminiscent of the ’70s, ’90s, as well as a return of the bohemian flair in all things decor, rocks, crystals, and gemstones are rather trendy at the moment. But they’re also really expensive. If you want the look for decor purposes and not so much for the healing quality of the stones and crystals themselves, then this DIY is for you.
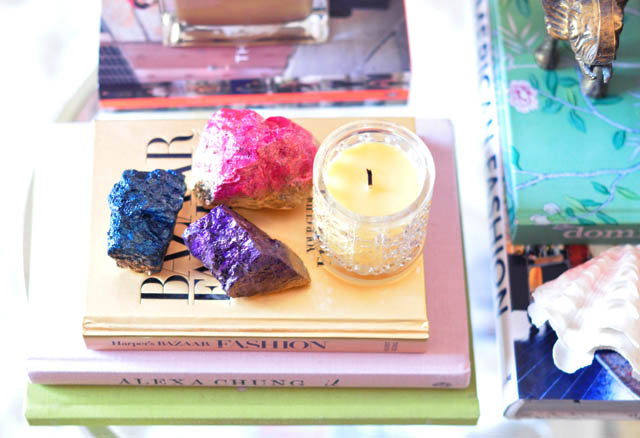
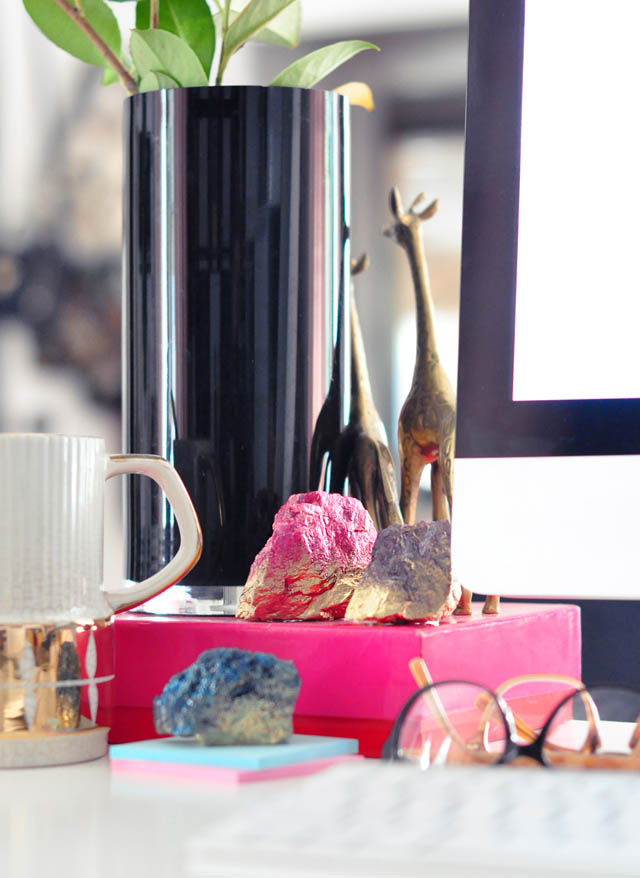
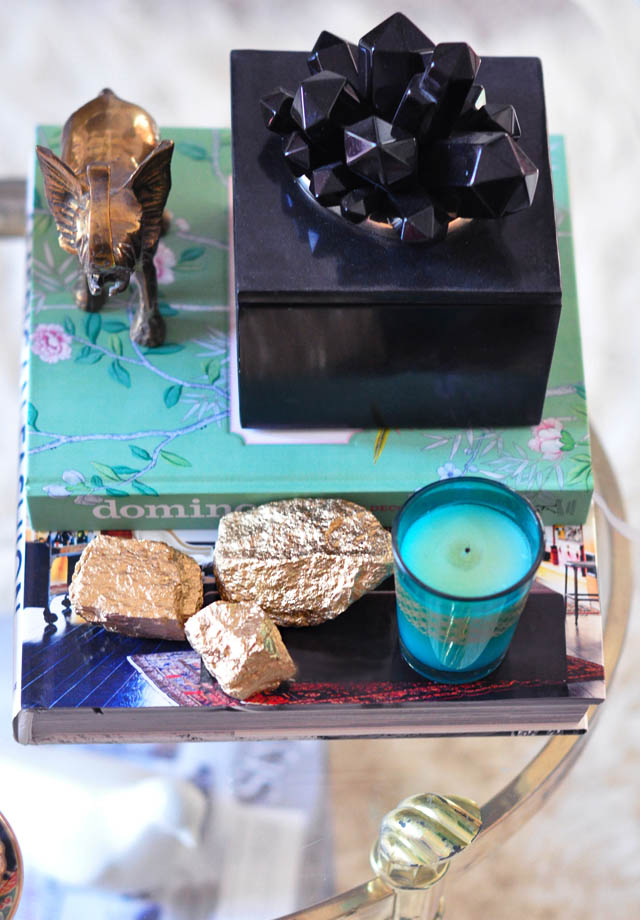
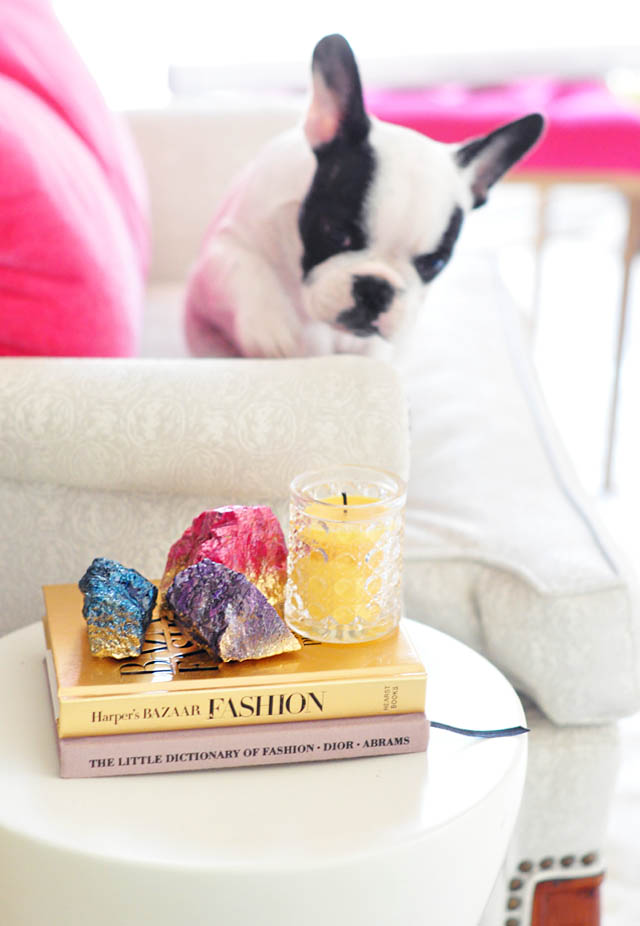
Living in the mountains, rocks are easy to come by, but I suggest you search your yards and streets for small and medium sized rocks with great jagged edges to create these fun artsy faux crystals. I’m going to use them as decor accents, paper weights, and maybe even adhere a few smaller ones alone or in clusters to the top of a plain box to create a unique jewelry box that’s all my own. You can even glue on heavy duty magnets to the smaller ones for great refrigerator magnets as well. Get creative!
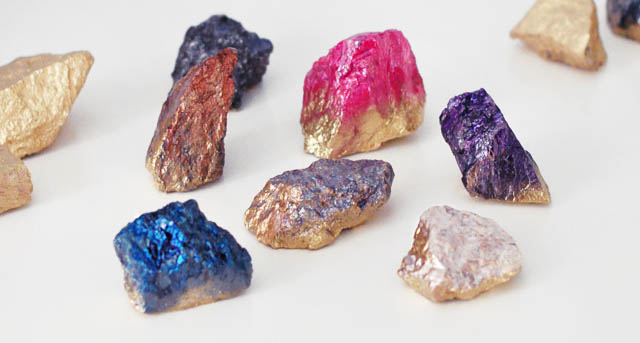
I’m extremely excited about the way these turned out, I can’t even tell you how much I love them! The pink, blue, and purple stones are my faves. You can really see the color variations in person a lot better than in the photos.
What You’ll Need…
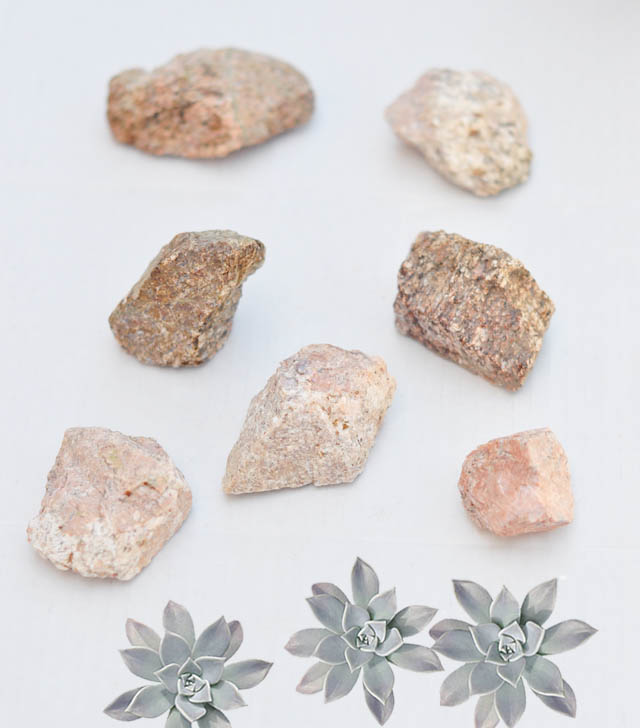
- Jagged rocks
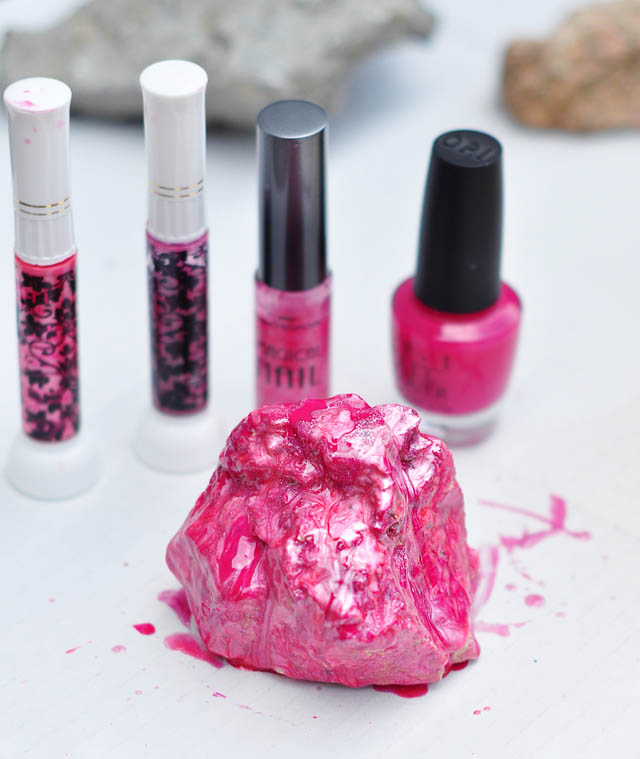
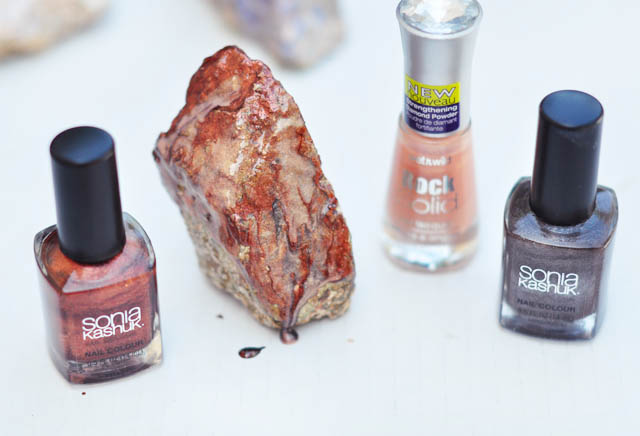
- Nail polish ~ skip mattes and go straight for metallics and pearlescents in similar tones {you’ll need at least three similar shades per color/rock in dark/medium/light hues, but four is nice too}
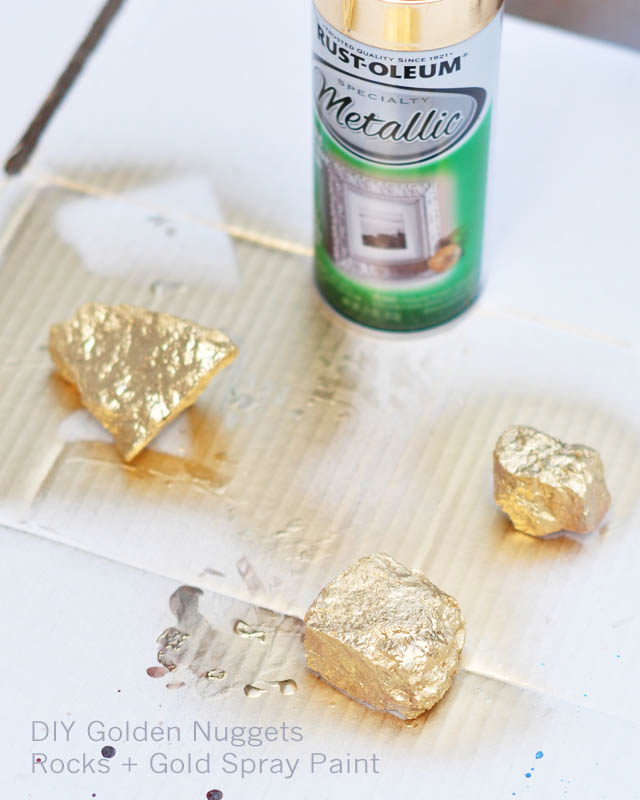
- Gold spray paint
NOTE: If you’re going to do this project with children, I’d suggest finding iridescent paints that are non-toxic and safe for kids.
Steps…
* Wash your rocks and let them dry.
* When choosing a rock to paint, set it down and decide which will be the top. Opt for the side that has the most jagged edges so as to really get that crystal-like effect.

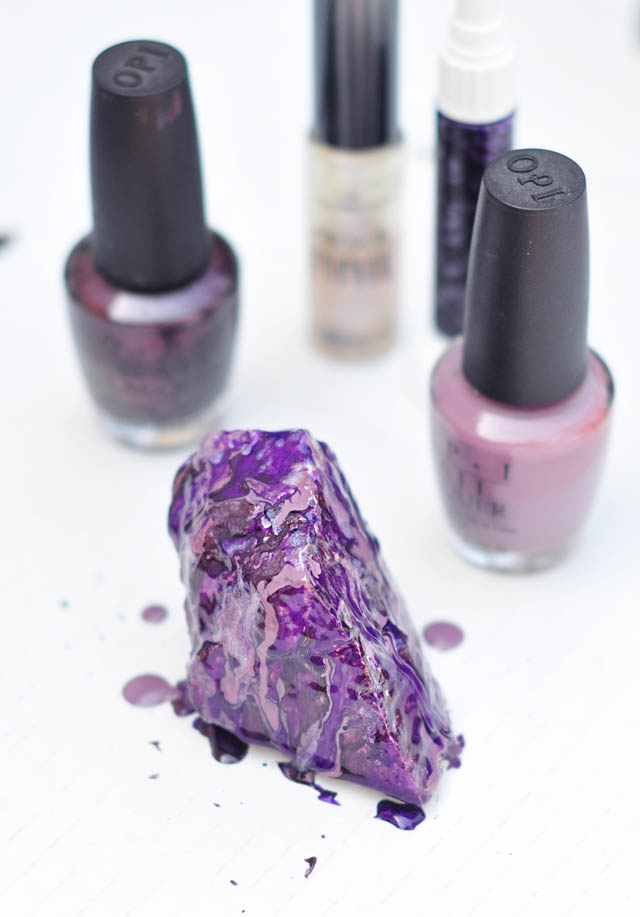
1. In a well ventilated area {like outside} begin with your darkest shade and dab large drippy dots all over your rock. If you don’t want to ruin your nail polish brushes, set them to the side and use narrow paint brushes instead.
2. While your first color is still wet, repeat the same step with your medium tone and then again with your lightest on top.
3. Continue adding and dabbing colors until you like the effect. Let it drip dry so you get cool designs on top of the textured rock and let dry overnight.

Or use one irridescent color on choice areas of a cool-looking rock or alone for a purple-y opal effect.
* Once your nail polish is dry, set your rocks on their sides and carefully spray paint the bottoms gold and allow a little overspray to go up the bottom/sides.
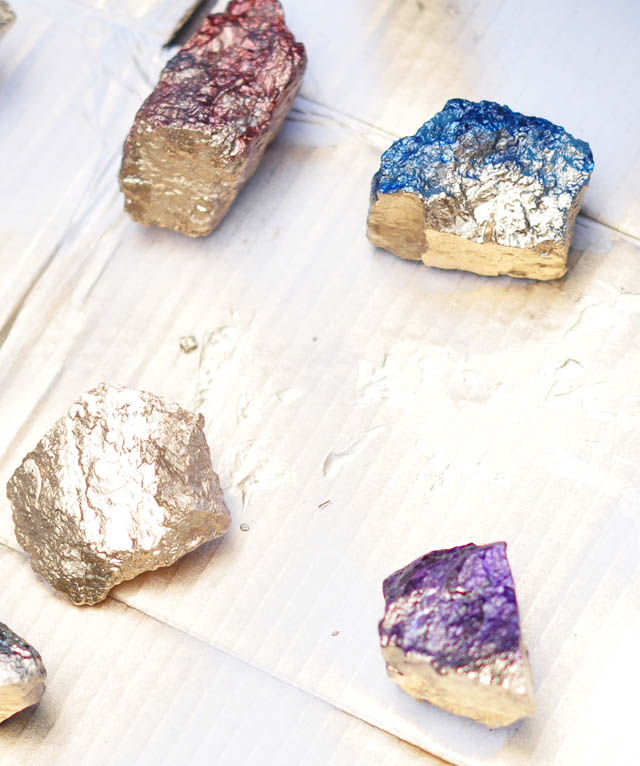
* I also sprayed a few of them completely gold.
* Leave your rocks outside to dry overnight. Mine were still pretty strong-smelling in the morning from all the nail polish.

And… Voila!
Have Fun!
* Find all my DIYs here.