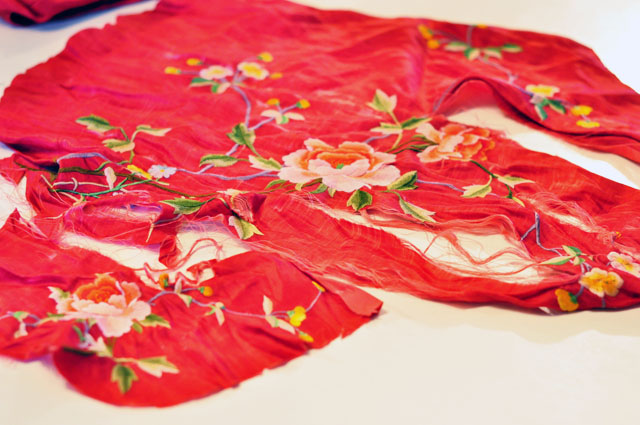
When I was about 19 years old, about one hundred years ago, I bought this vintage red silk duvet cover beautifully embroidered with flowers and birds from a friend who was an antique dealer for about $100. He said he was giving me a deal because this particular duvet cover once belonged to Billy Idol. As much as I did love a good sneer and fist pump from the bleach blonde rocker, I simply LOVED this duvet cover no matter who had slept on it in its past life.
I used it on my bed for a quite some time until it started showing a little wear and tear at the seams and then it ended up folded in a closet so I could preserve it.

A few years later, however, I pulled it out and used it to cover a chair that didn’t match my apartment at the time and ironically enough, my Boston Terrier, Billy {shown in the photos}, loved it as much as I did and managed to somehow get between the seams and tear it to shreds as he’d create a new hole to poke his head out of almost daily.
But who could be mad at this face?


Of course I saved it anyway and as time took it, cut away at the silk to leave the remaining embroidery thinking I could someday use it for something. And now is that day! For part of it anyway… I turned a plain old satin handbag into a beautifully unique embroidered-esque evening bag… and I still have so much of the embroidery left to use on another project.
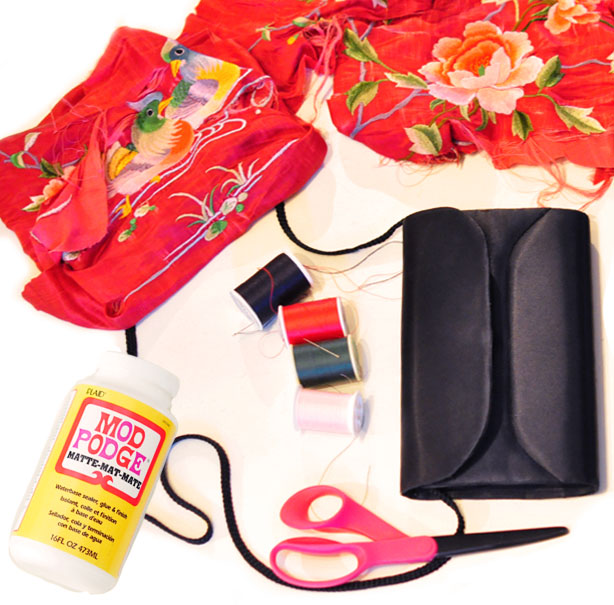
Here’s What You’ll Need…

* Satin evening bag or clutch {I found mine for 3$ at a thrift shop}
* Embroidered silk {to cut out – which you can find on an old dress or blanket from a thrift store} or a handful of floral appliques or embroidered patches
* Scissors
* Needle and thread and/or glue/mod lodge & sponge applicator or brush
Steps…
NOTE: Skip steps 1-3 below if you’re using pre-made embroidery patches.

* Lay out your fabric and decide which sections of the embroidery to use.

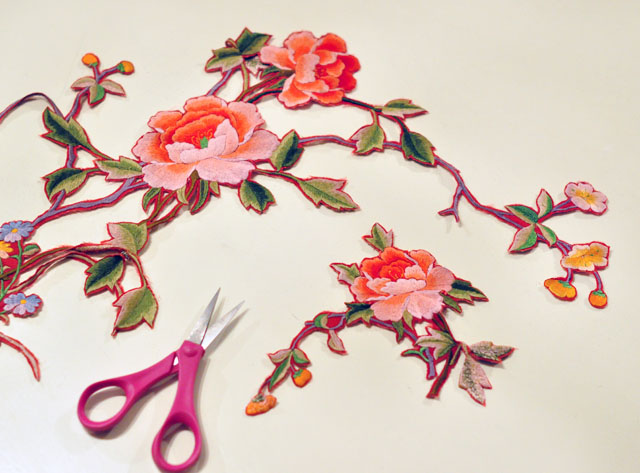
* Carefully cut around the edges of your embroidery, without cutting into the embroidery. Leave a little allowance around the edge even if it frays.
* Steam your fabric if necessary so that it will lay flat. It will make it easier to cut and will ultimately stick down more smoothly as well.

* This is what you’ll be left with.

* Test out the appliques on your bag and decide where to place them. I used one large one, which began on the back and wrapped around to the front. If you have appliques, you can place them anywhere since they’re smaller.

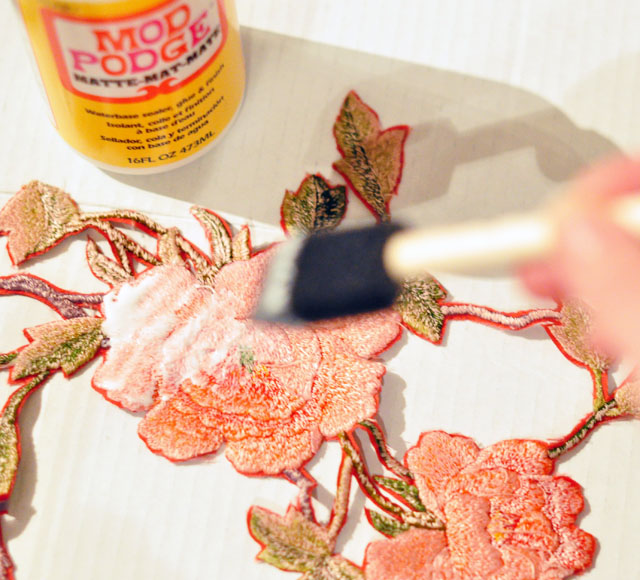
* Apply glue to the back of the embroidery pieces and place it on your bag in the desired places and set to dry. Use books to hold it in place if it’s a little slipy.
NOTE: I had originally planned to hand-stitch the appliques onto my satin clutch… and I wish I had. I ultimately thought it was going to take far too long to do so and went with the glue. The glue made the appliqués a bit stiff and rough to the touch – and I never truly trust the life of glue. I want to be confident that my belongings {& DIYS} not only look high end, but that are NOT going to fall apart when I’m using them. So while I do love the way it turned out, I wish I would have taken the time to really hand-stitch the appliqués down. I tell you this so you have a choice. If you’re using patches, that may be a bit stiff to begin with, glue is the best option.
And… Voila!


What’s great about this satin bag {and most of this style bags}, is that you can use the shoulder strap in times when it’s trendy to do so, and as a daytime look, then hide the straps away in the bag to use it as a clutch for evening or alternate looks. I love versatility.
Have Fun!
* Find all my DIYs here


