There are tons of cute handmade skate leashes available on Etsy in tons of cute colors and patterns for very reasonable prices (which I will link to in the shopping widget)… and though I am not trying to take away from small businesses or creators, this is a simple design that is relatively easy to make (especially if you already have all the materials or can upcycle and reuse something you already have).
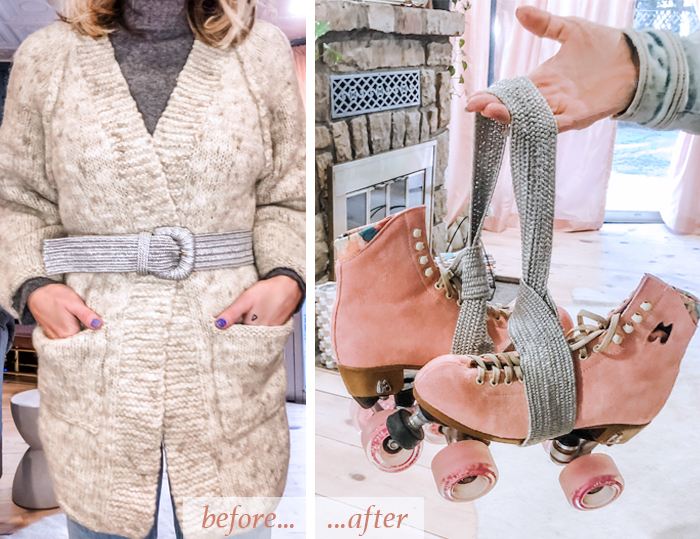
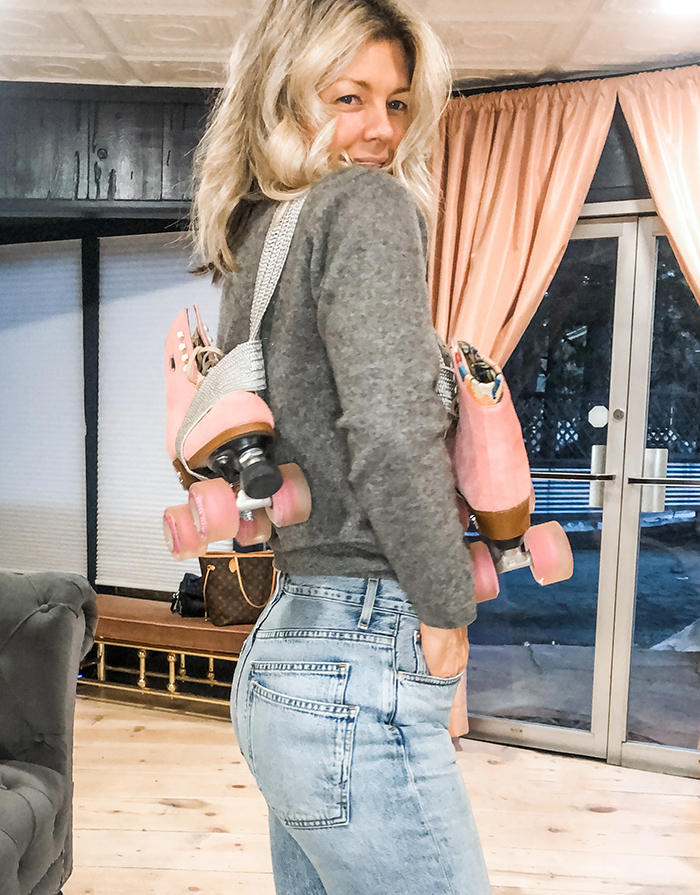
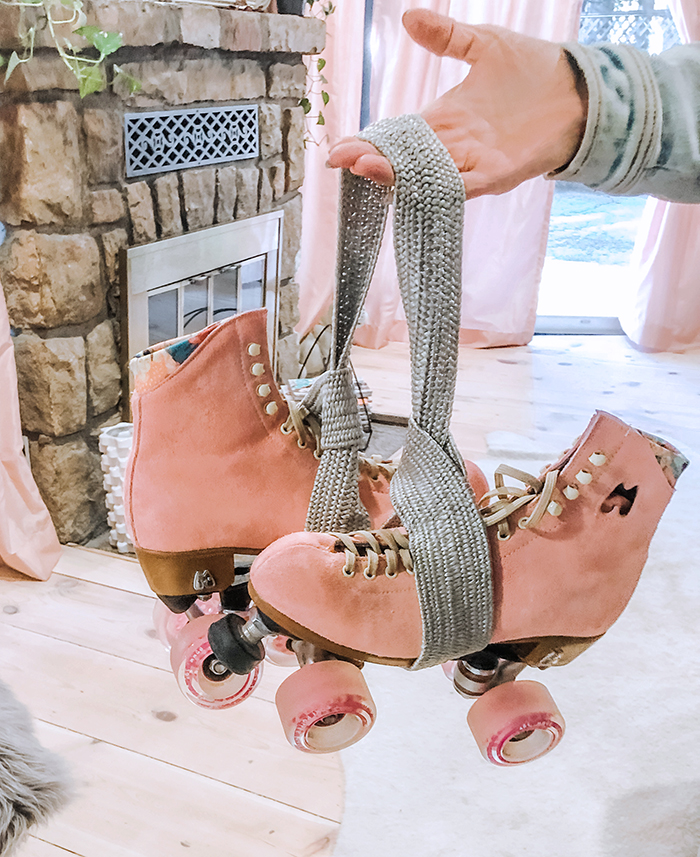
While I was thinking about what fabric I already had to create this, it dawned on me that a belt might work just as well, if not better, so I ran to my closet and quickly flipped though all my belts (that I rarely wear) and found this old woven stretchy silver number I’ve had for ages and honestly can’t even remember where I got it. I think I have another one somewhere in tan actually (and when I find it, I’m making a second one of these for my other skates) because it really turned out better than I expected and has been a really great way to transport my skates.
Here’s What You’ll Need…
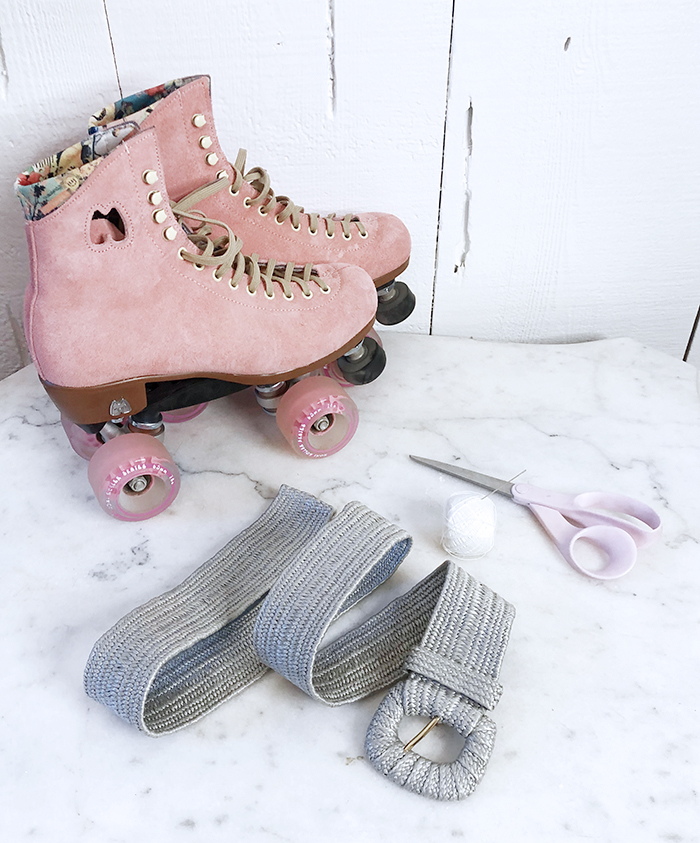
* Heavy duty thread and a large needle
* Scissors (small and large or a seam ripper)
* Lighter -if using a nylon material to singe the edges
NOTE: Because my belt is so elastic, I was able to make this with a pretty short amount of material. IF you are using NON-STRETCH canvas or other material with no stretch, you’ll need to make this strap probably about double the length of mine.
Here’s How You Do It…
This DIY is for up-cycling a woven stretch belt into a carrying leash… if you have material ready to go, i.e., not attached to a belt buckle, etc., you can skip these first steps.
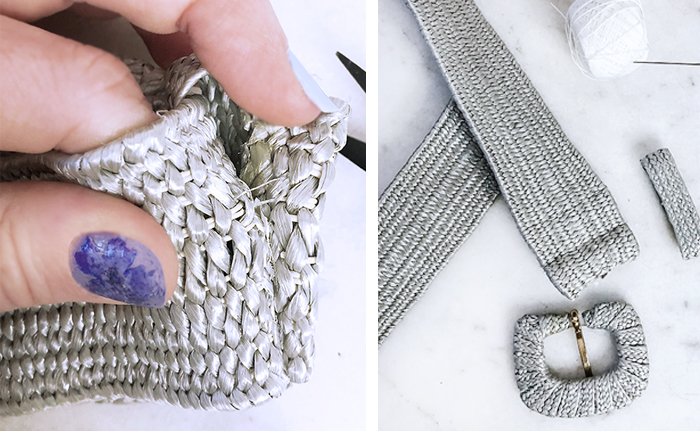
* Then simply pull off the loop, prong, and buckle.
NOTE: If your belt is glued, you can instead CUT the material just below the seam. I wanted to keep the extra few inches AND this way, the ends were already fused so they wouldn’t unravel.
IF you aren’t using a belt or stretchy material like this, cut a strip of material at least 70-80″ long OR hang it over your shoulder and decide where you want your skates to fall on your body… add 10″ or so of extra inches to each end for your loops… IF you’re using nylon material, you’ll have to SINGE the ENDS with a lighter to get them to fuse so they won’t unravel. If using a cotton or rope material, use glue (or tape if it’s going to be folded under and unseen).
* Once your buckle is off and you have one long piece of material…
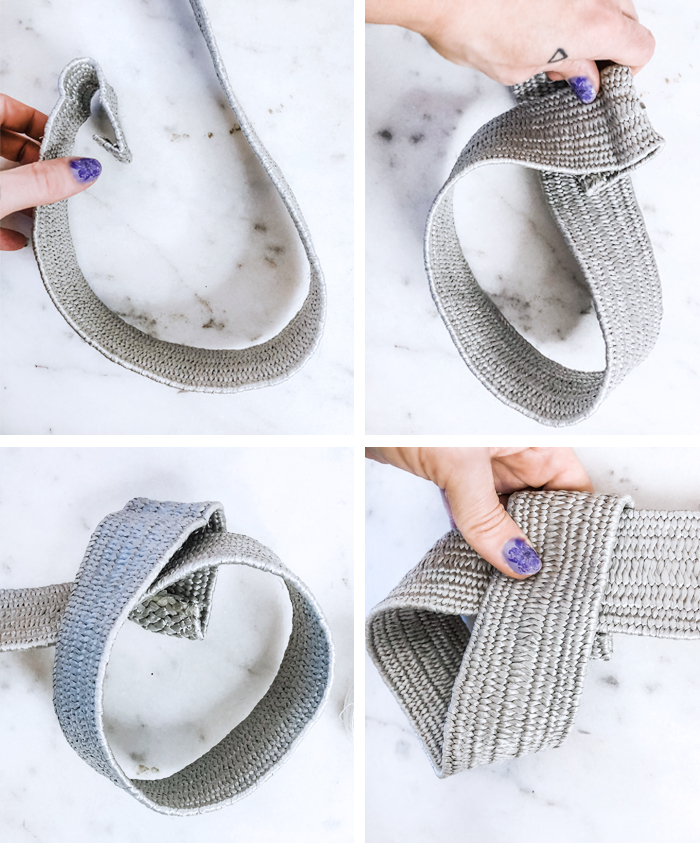
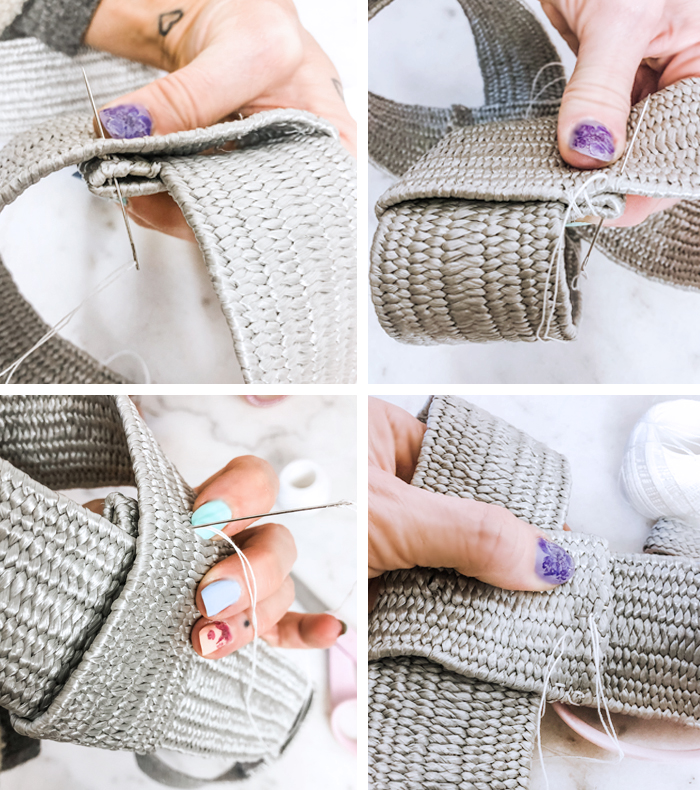
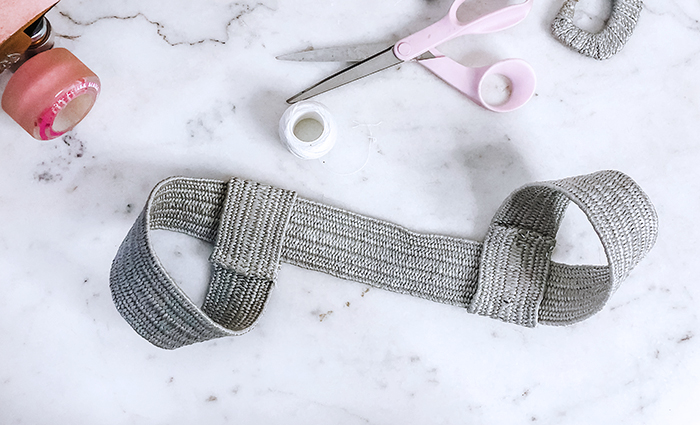
* I started stitching on one end and visibly stitched over the top edges it to keep it sturdy… then I stitched the flat part near the bottom end all the way to the other side and stitched that end… then repeated the stitching on the flat part towards the top and ended on the side I began, knotting the thread. This rectangle stitching pattern ensures a sturdy hold.
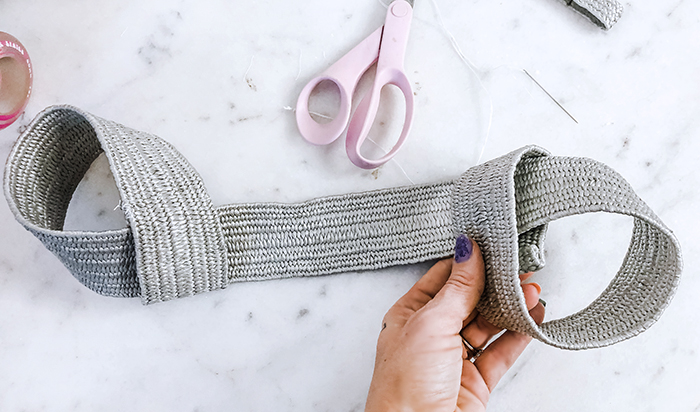
* I looped the fabric/strip in the opposite direction of the first one, but I’m not sure it matters.
Pulling your leash on and off your skates…
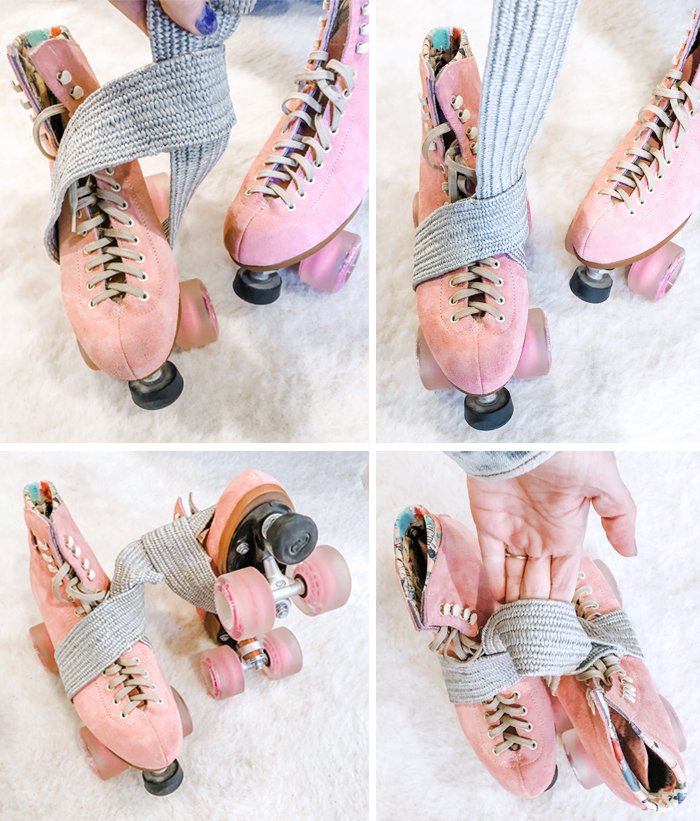
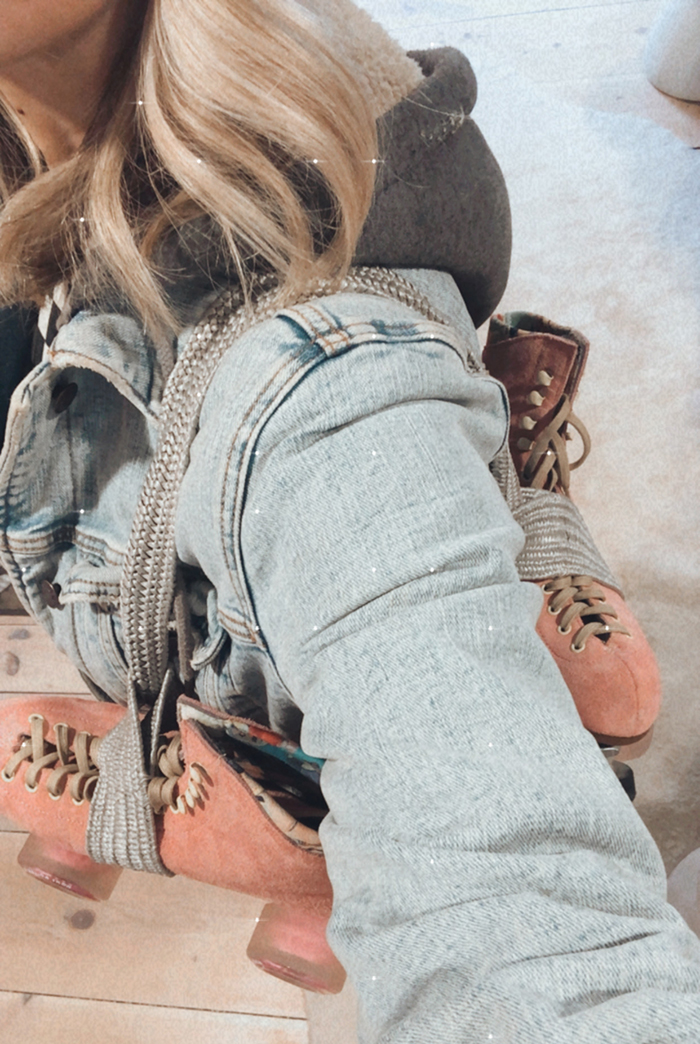
NOTE: I’ve seen some skaters loop it only around their wheels instead of the entire skate… they’re using a leash that is a little more narrow than this and more pliable… but I kind of prefer it looped over the whole skate because it feels sturdier and the skates don’t flop around while I’m carrying them. If my leash was longer, it might make a difference.
And… Voila!
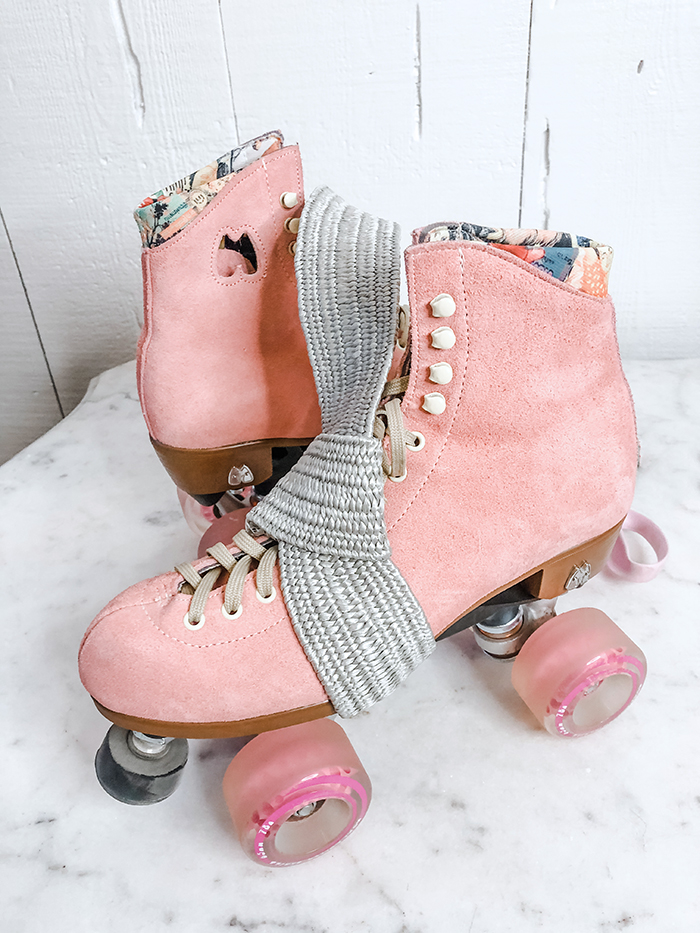
Happy Friday Lovecats!
* Find all my DIYs here
* Find all my Roller Skating posts here
Roller Skating! The Skates I Bought & Everything You Need To Know


