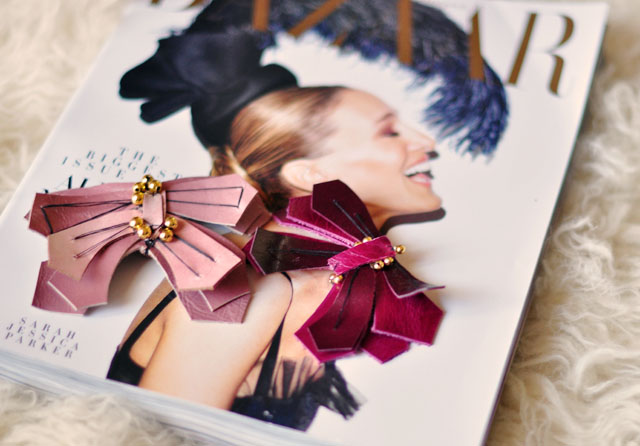
Flipping through my September issue of Bazaar from back to front, the way I always read magazines, I quickly spotted this gorgeous deep teal dress covered with small and large critters from the Lanvin Fall 2013 RTW collection and fell in love. While some of the critters are made of large gem stones, sewn directly to the fabric, the butterflies looked as if they were just pinned on. I thought why not make actual butterfly pins out of old scrap leather and then I can wear them wherever I want to {like in my hair}. That’s the great thing about pins and brooches, you can literally pin them to anything.
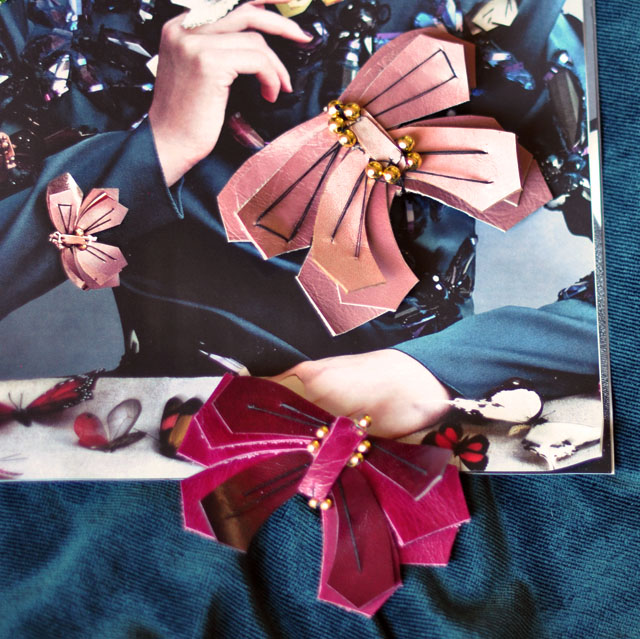
I made two butterfly pins, one was an exact inspiration from the light dusty rose butterfly seen on the model’s sleeve in the photograph {above} and the other was just my own version, and is much smaller. When I got a glimpse of the Lanvin butterflies up close, and after the fact, I realized that some of them had beads in the center actually mimicking the body and eyes of the critters, and though I didn’t do that, you could easily do it yourself.
Here’s What You’ll Need…

* Thin Leather… I happened to have scrap leather pieces in the exact colors from a project I did over ten years ago. This is why I do not throw away any supplies, because you just never know when you’ll be able to use them again. You can find thin leather from Tandy Leather, faux leather at your local fabric shop, or you can also use felt for this project.
* Pin backings
* Needle and thread {you can use glue, but I don’t recommend it}
* Bead reamer {to puncture holes in thicker leather}
* Scissors & pen
* Gold beads
Steps…
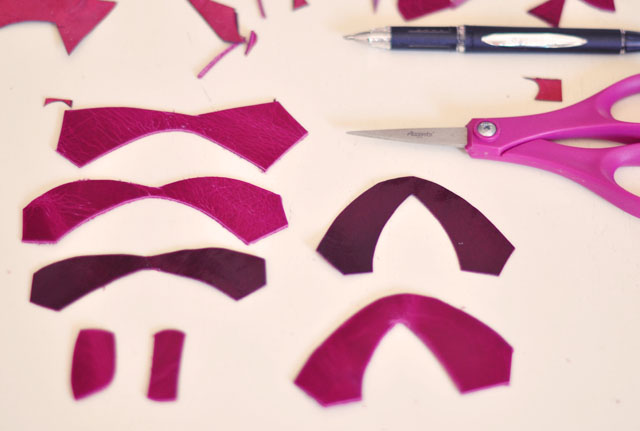
* Cut out your shapes. I just sort of hand drew these on the back/suede side of the leather and cut them out. You can mimic my shapes above. My largest was about two inches wide from wing tip to wing tip, then create smaller versions {that don’t exactly match} that will be layered on top.
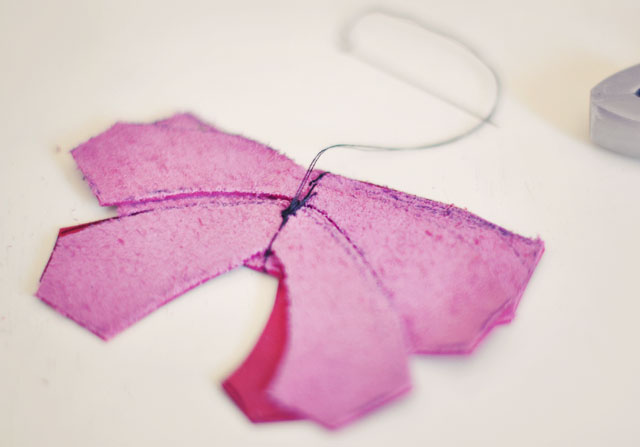
* This leather is thin enough to stitch right through with a larger needle. I started with my largest top and bottom wing shapes and stitched them together…
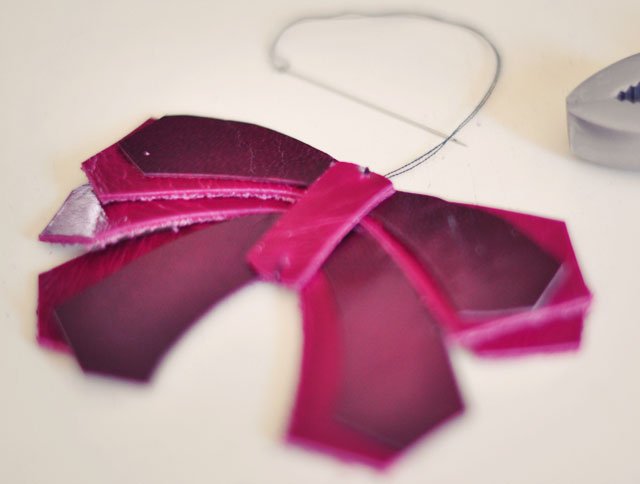
* I continued layering wing shapes on top and stitching them through.
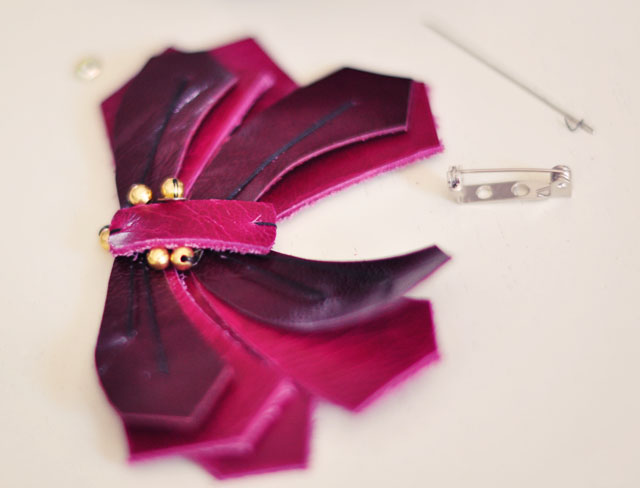
* Stitch on your beads and your thread details on the wings. If you pull these threads tightly, they will make your wings curve in and stand up a little bit, which is fun. You want a little bit of that, but not too much.

* Hand-stitch your pin back on, with the opening facing down. I used two sizes, a larger pin for my larger light pink butterfly, and a smaller one for my smaller dark berry colored one.
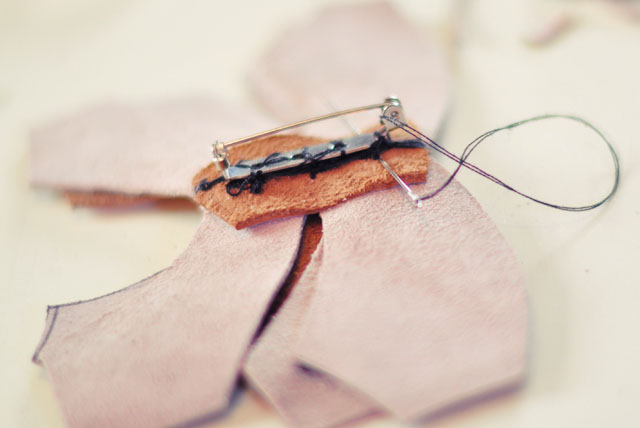
On my larger, light dusty rose butterfly, I actually began with a small rectangle backing and stitched everything to it. It didn’t make it any easier however, if you’re going to make a larger version, this will stabilize it better.
Again, if you prefer to glue this, you can, but it won’t have the great texture and movement as it does with the threaded stitches.
Voila… Voila!
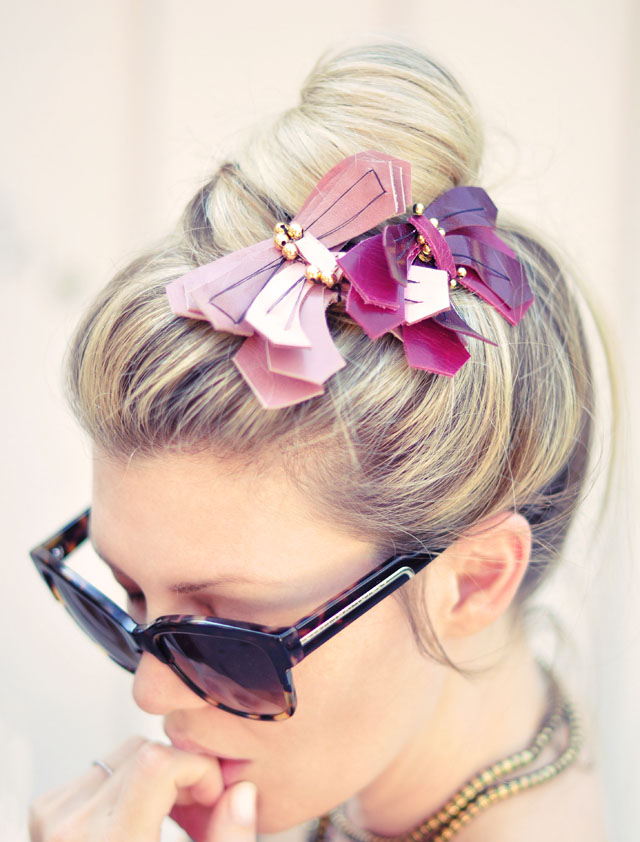
I slid large bobbins through the pin backing to wear in my hair

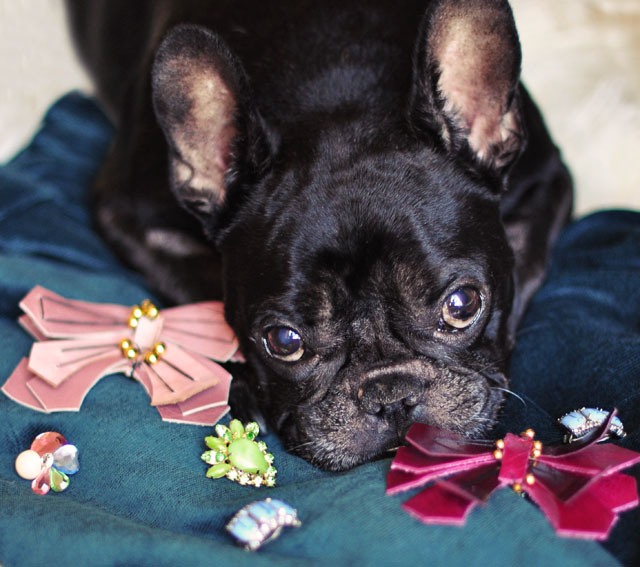
As I was photographing my critters, LeRoy wandered over and flopped down right here, directly in front of them. So I couldn’t help but include him.
Have Fun!
* Find all of my DIYs here
* Find my DIY Hair Accessories here

