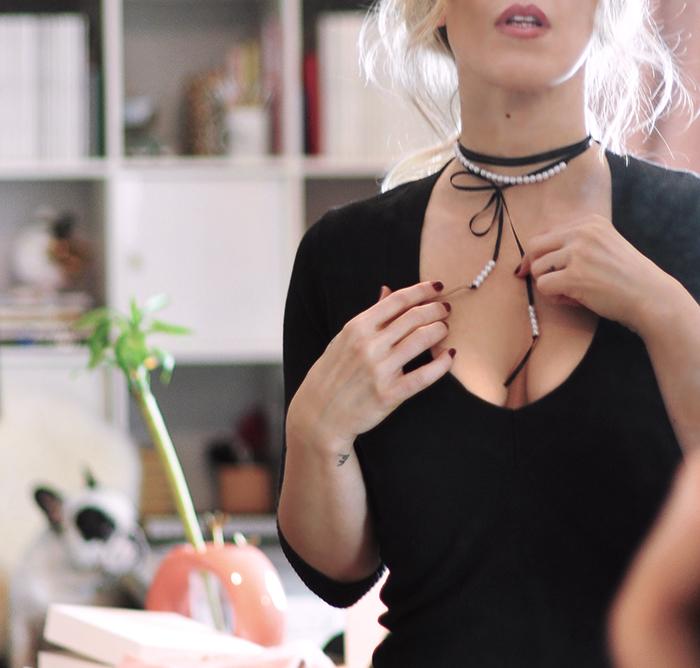
I was initially inspired by a a pearl ribbon choker necklace Kristen Bell was wearing in one of her Instagram stories and once I made it realized it could really be so many more things! I love DIYs like that and have made a few, but this one is feminine and pretty and I just love it. It can go fancy or casual and worn a few different ways around your neck or waist or even in your hair or as whatever else you can think of!
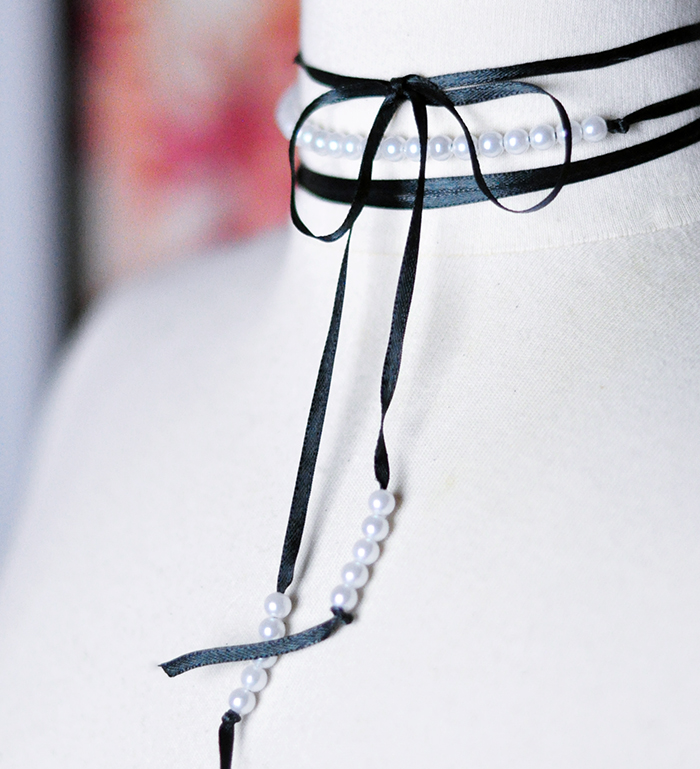
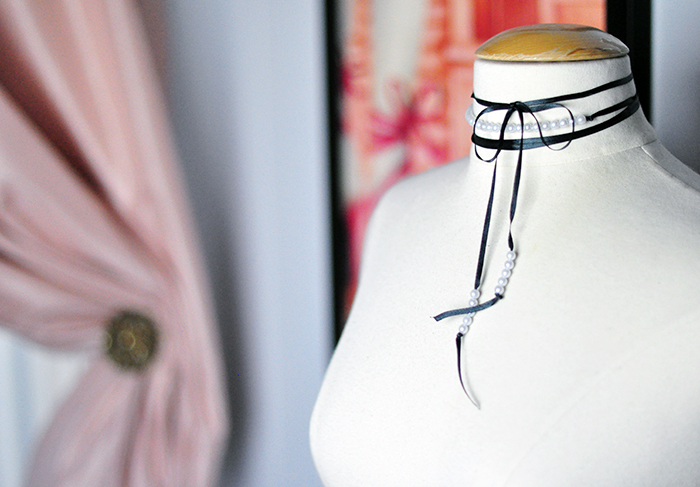
NOTE: Kate Spade makes a really pretty pearl ribbon choker for $76 (I’ve added a few more to shop in various prices in case you want to buy instead or just for a little more inspiration – for instance, the one from Bauble Bar is only $16 and has a double row of pearls!) – I’m wearing it loosely in the top photo, see below on the mannequin for a tighter choker look.
I actually made it way back in early December as a possible gift DIY idea for the holidays, but didn’t have a chance to post it. SO I suppose you can still make a few as gifts if you like, because well, why not? It’s always fun to give AND this is the simplest and quickest DIY I think I’ve ever created… (well, not including my DIY Faux Wood Coasters, since technically, I just turned sample flooring swatches into a functional and cute object, and were zero work at all save for the gift-wrapping option) BUT ANYWAY…
THIS DIY IS SUPER SIMPLE. I just thought I’d emphasize that 🙂 So let’s get started.
Here’s What You’ll Need…
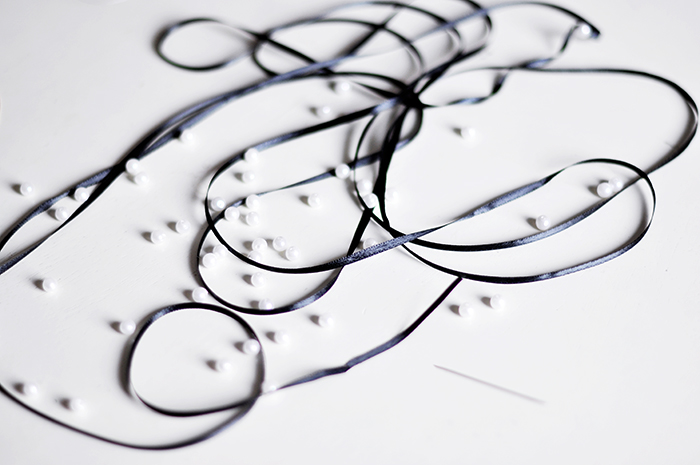
* Small pearls
* Fine satin ribbon
* Large needle (that will fit through the pearls)
Steps…
Decide how much ribbon you need by determining what and how you want to wear this piece.
If you want it to wrap around just twice, also decide how much ribbon you want to extend down and if you’re going to tie it in a knot or a bow, etc.
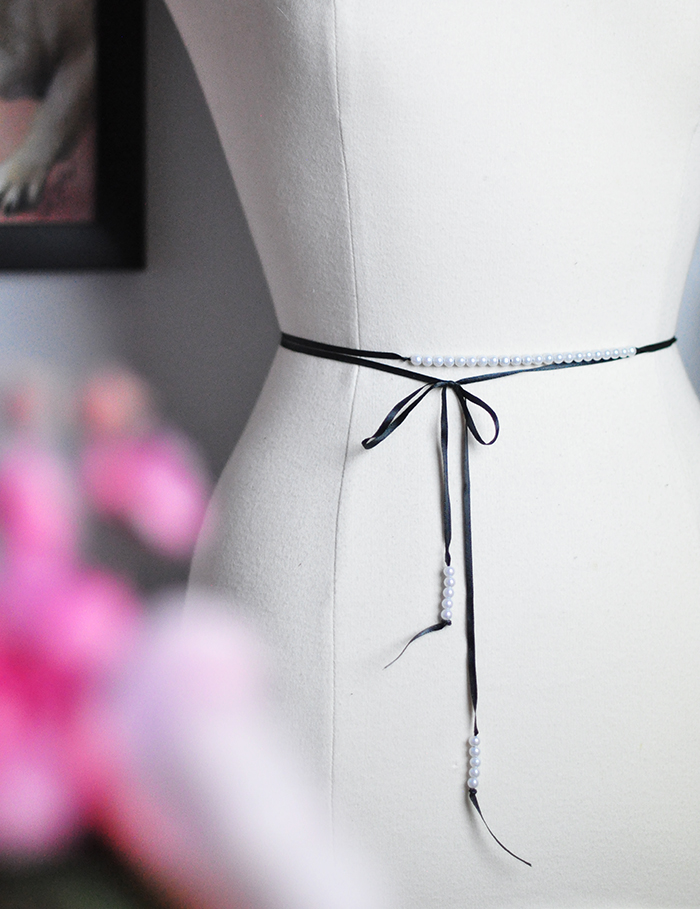
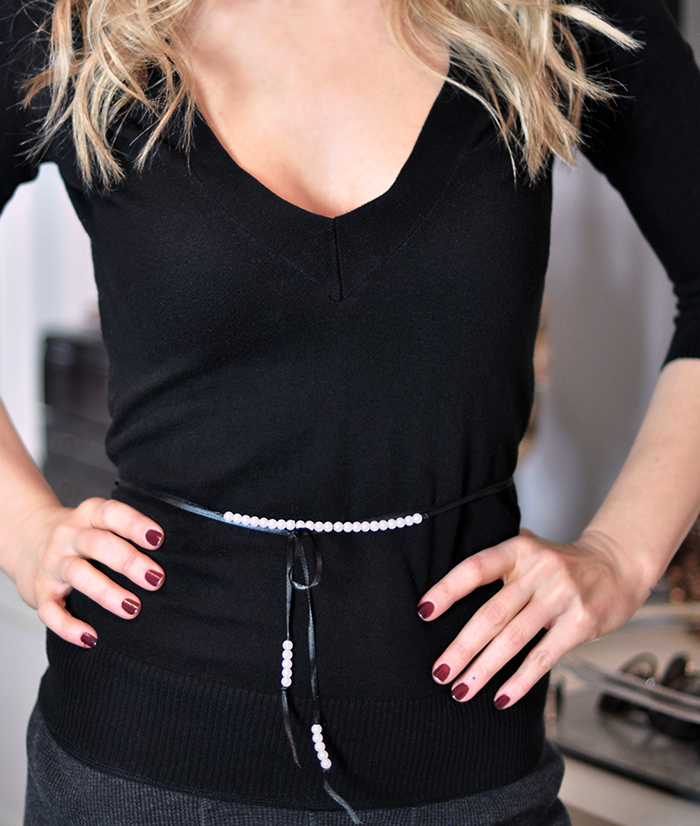
If you want to wear it as a belt, make sure it’s long enough to wrap around your waist and tie in a bow or knot as well.
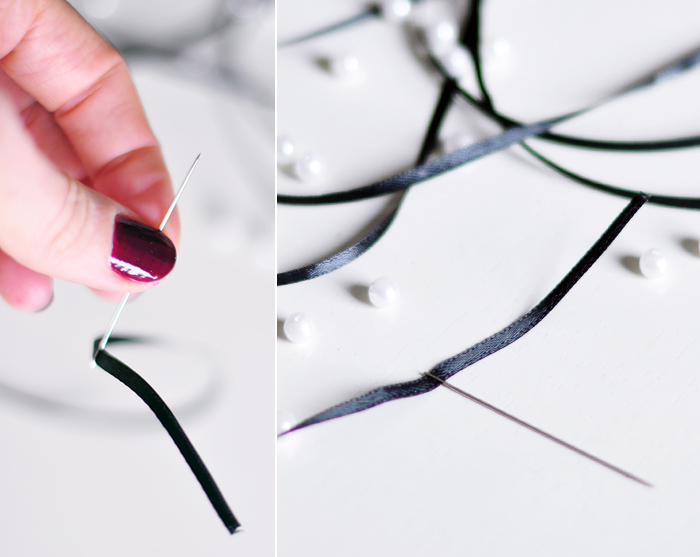
Cut ribbon to length and run one end through your needle.
Determine where the near-center of your ribbon is and make a single or double knot
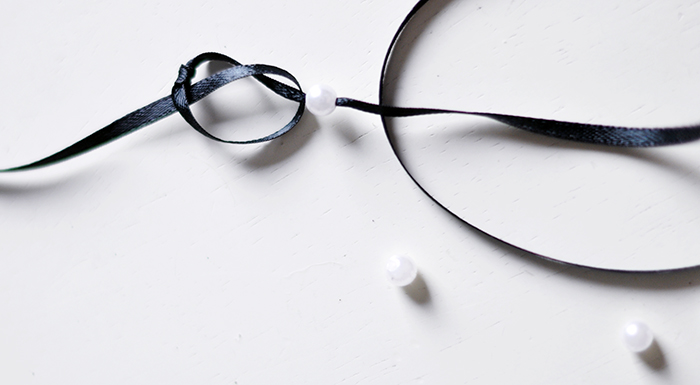
String on enough pearls to cover about three inches of space (or as much or as little you prefer) and knot the other end as well.
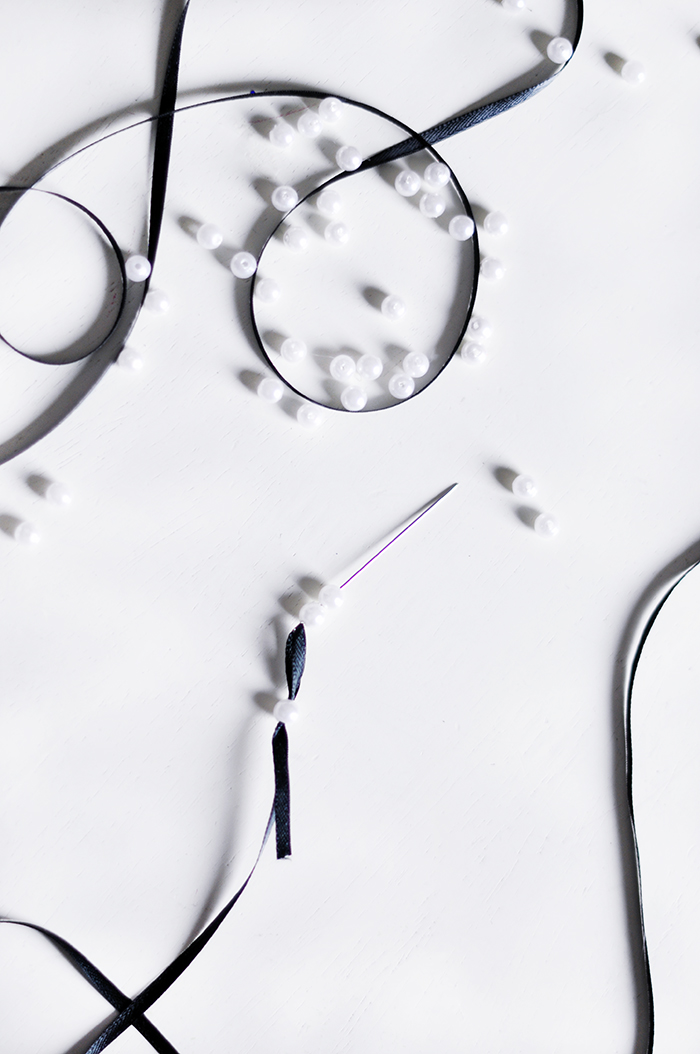
NOTE: If you’d rather your pearls look “loose” then don’t knot the ribbon and allow them to “float” along the space. They should stay put (generally) based on the width of the ribbon.
String a few (3-5) pearls near the ends of each ribbon and knot the bottom, leaving a little at the ends to swing.
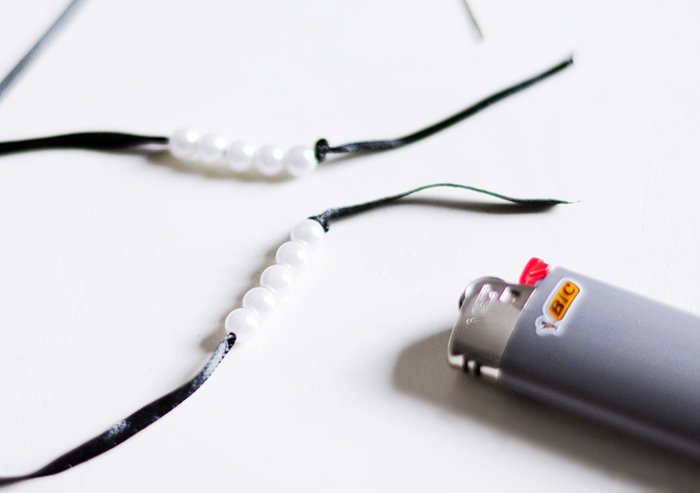
Singe the ends of your ribbon with a lighter to prevent fraying.
And that’s it!
And… Voila!
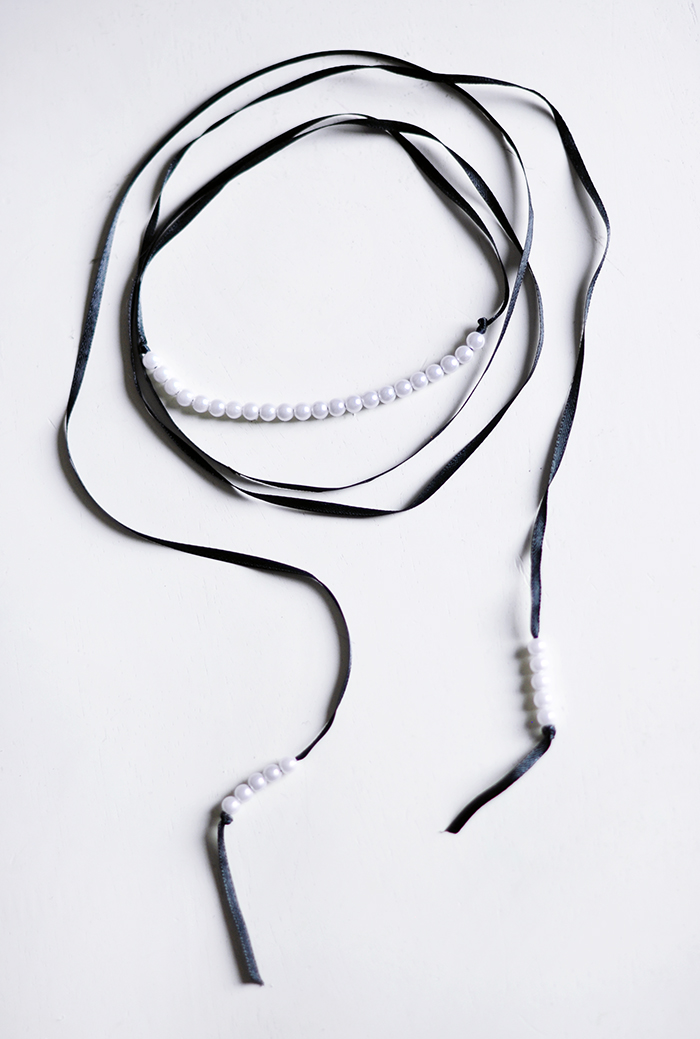
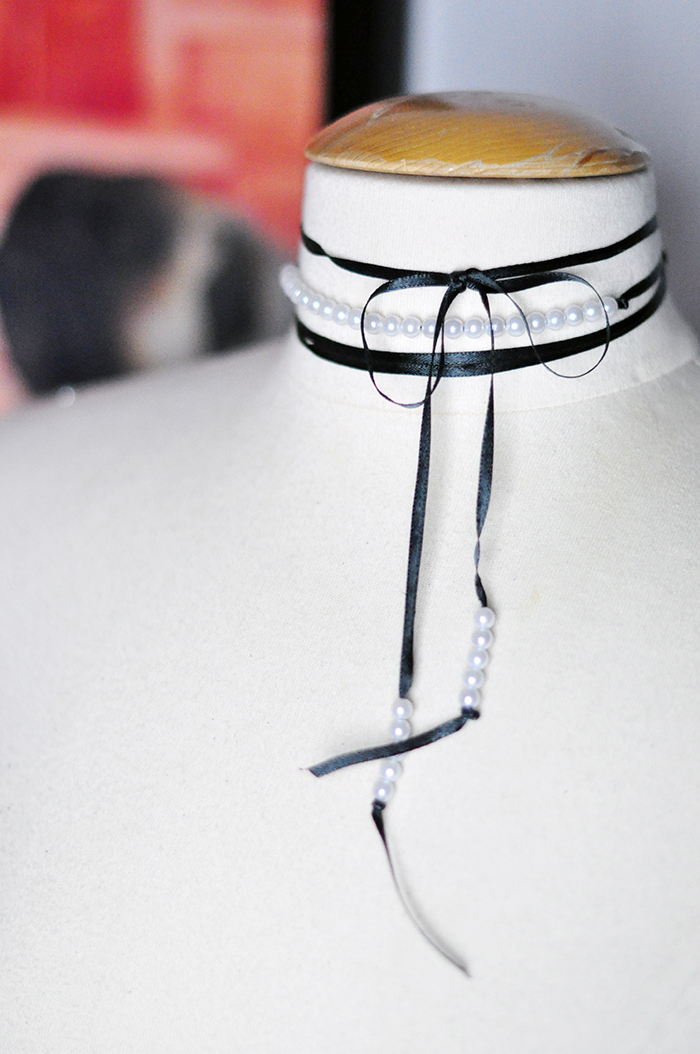
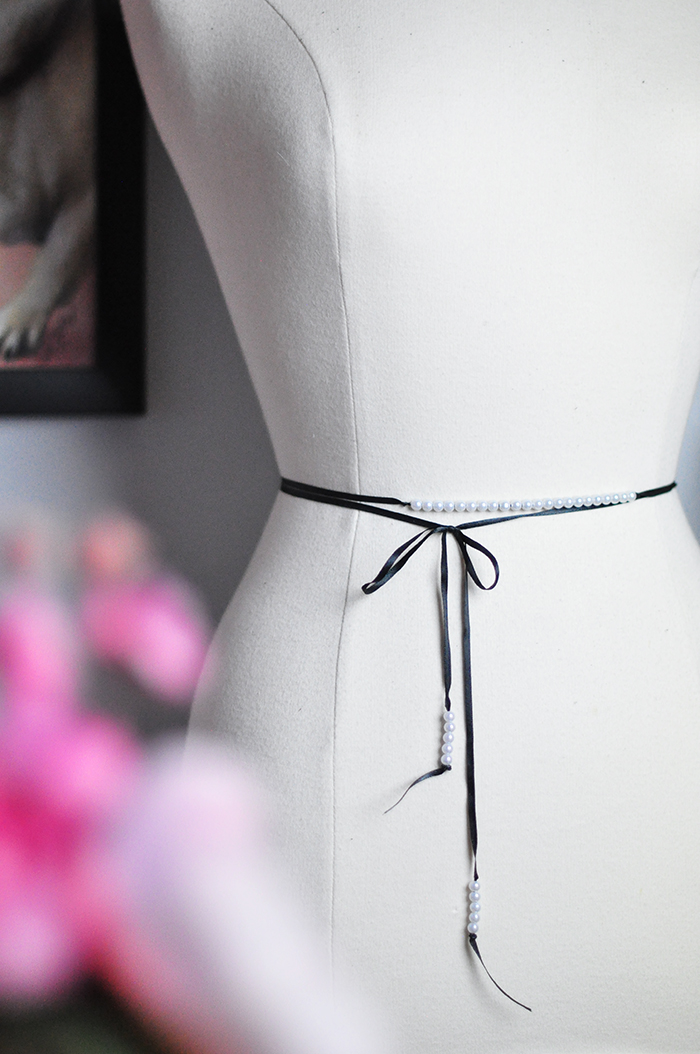
Have Fun!
* Find all my DIYs here
* Find all my Pearl DIYs here


