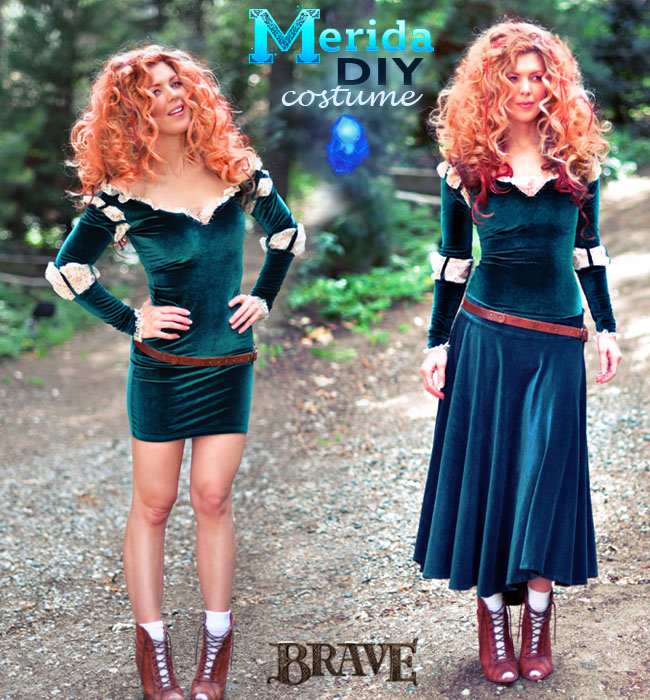
Dressing up is too much FUN and with Halloween just around the corner, hopefully I can inspire some exciting new ideas! Below is my step by step DIY Merida Costume from the Disney‘s Brave, which can be worn short & saucy or with a long, full skirt for a more authentic look.
Merida Inspiration…
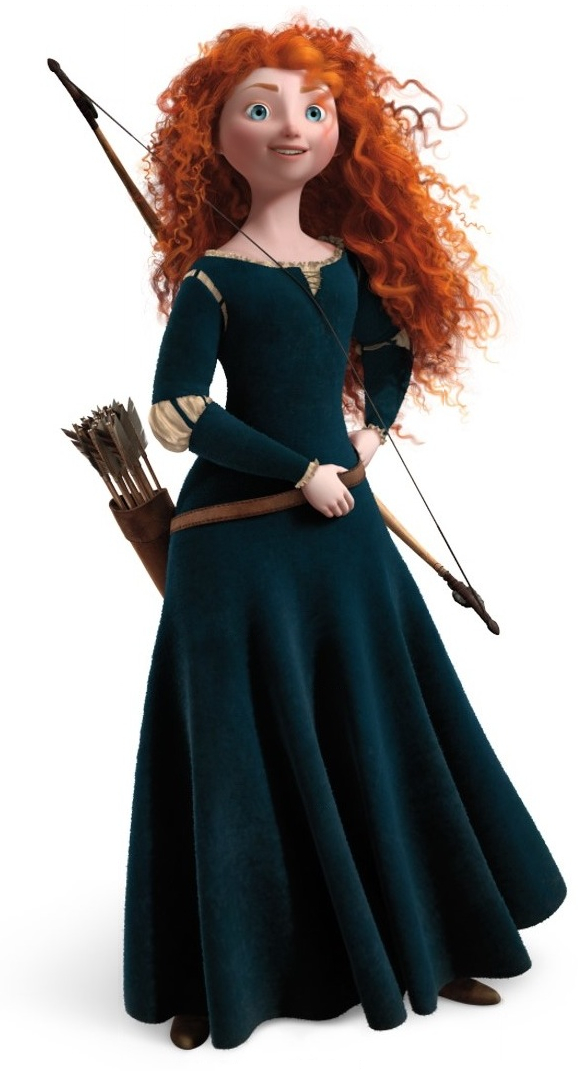
This is Princess Merida from the movie Brave. She wears a teal satin gown for some of the movie but this is the outfit she wears during most of the movie and what I used as inspiration for my DIY Merida Costume.
* Check out my DIY Princess Merida Hair & Makeup Tutorial to complete your costume
Original Dress Before & After…

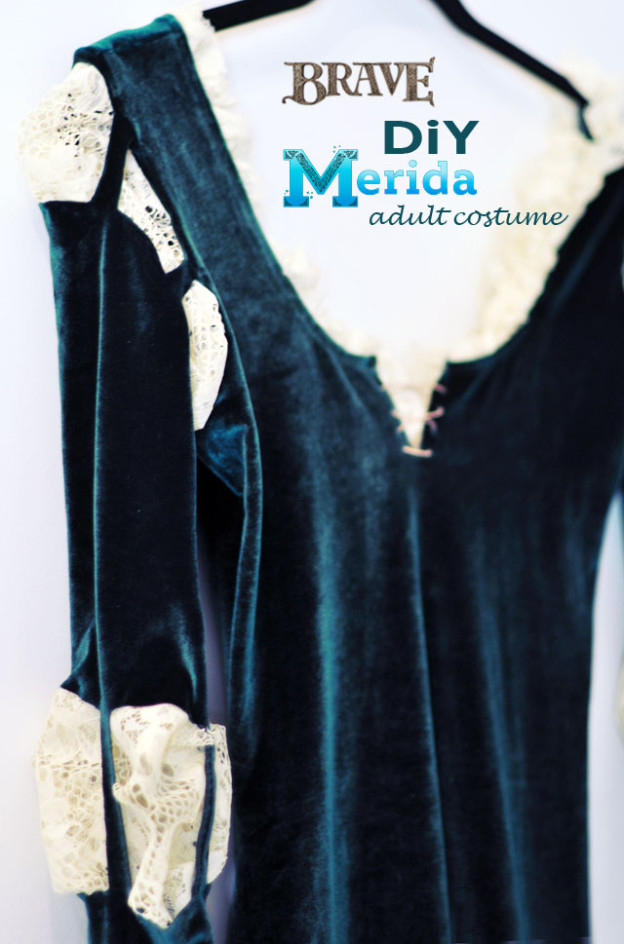
I needed a base from which to begin since I didn’t want to sew up a dress from scratch… And because so many women today opt for saucier Halloween costumes, I thought I’d use this mini dress with an option to be worn in two different ways.
Merida’s dress is a rich, deep teal and this deep green stretch velvet mini dress was the best option. I purchased it at American Apparel for $44 in Green
If you can find a fitted, long sleeve velvet maxi dress that flares at the bottom in green, then that would be your best option for an authentic look. They were popular in the 90’s, so you may get lucky at your local thrift shop.
In addition to your dress you will also need…
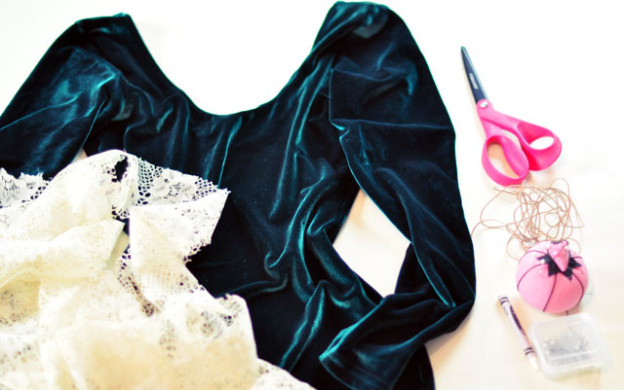
1. Ivory lace, mesh, or chiffon. I used a stiff vintage lace
2. Scissors {large + small & pointed, & pinking sheers {optional}
3. Needle and matching thread
4. White crayon, chalk, or fabric pencil
5. Pins
6. Fine leather cord or lacing. I used raw but brown would work as well and I found it at my local fabric shop in the jewelry making supplies section
7. Bead Reamer {not shown, to create holes in your V for the laces}
Steps…
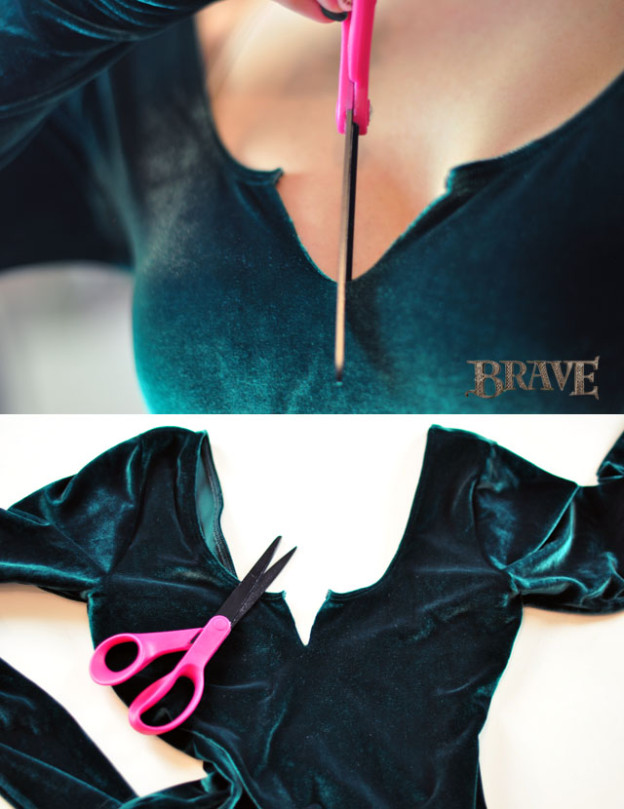
Try on your dress, locate the center of the neckline, and carefully cut straight down into it about 2 inches. I suggest doing this while the dress is on so you know exactly how deep to cut your V. When it’s lying flat, it’s easy to cut too far.
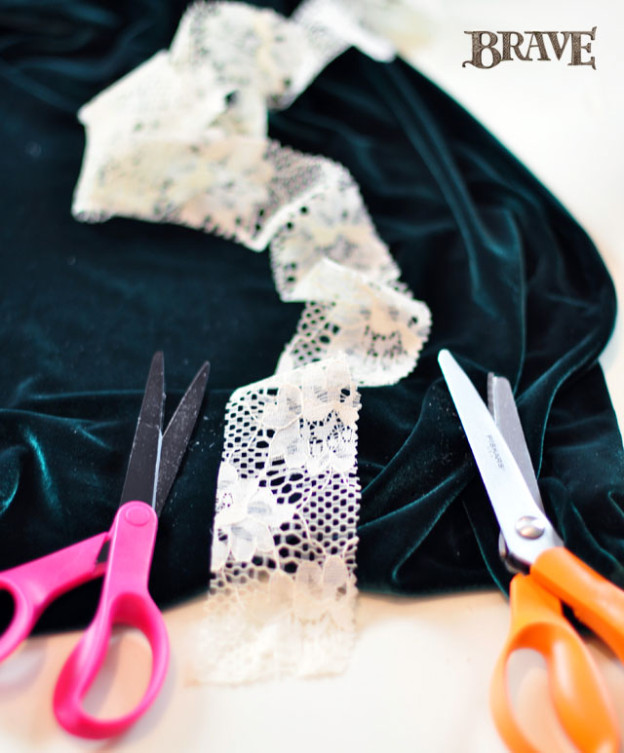
Cut a 2-inch wide strip of your lace, mesh, or chiffon. I used pinking shears on one side to create a jagged edge. You will stitch this onto your neckline, so depending on the length of your fabric, you may need 2 or more strips to work with. You can cut as you go.
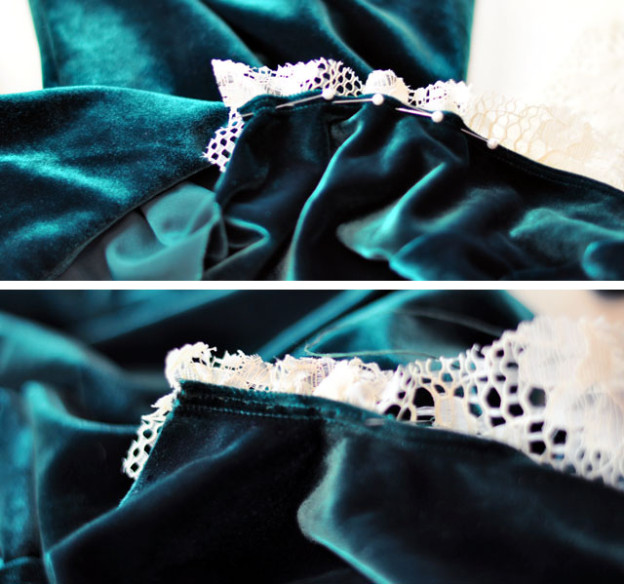
Pin your lace to the underside of your neckline beginning at your V and work your way around. Allow a little over a half of an inch to peek out from the top and hand-stitch into place, gathering the lace heavily as you go. Try to stitch along the seam line that is already there to hide your stitches. If you have a Serger or are a sewing pro, you can easily do this on a machine.
Make sure to stretch your garment as you go. The lace {mesh or chiffon} shouldn’t be taught or keep you from being able to stretch your neckline to its full capacity.
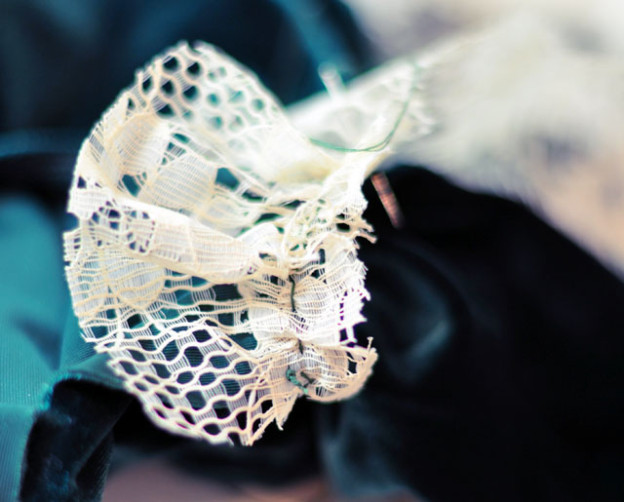
It will look a bit messy underneath, but that’s okay. Trim away the excess material, or flip it up for extra fluffiness around your neckline.
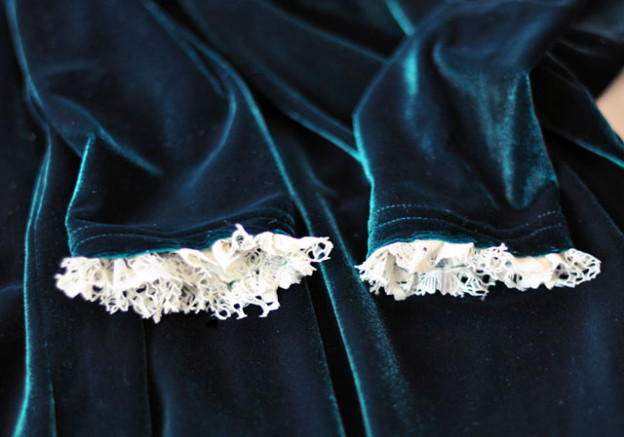
Follow the steps above to create your sleeves, allowing a bit less to peek out. Don’t forget to gather and stretch as you go or you won’t be able to get your hands through without ripping the stitches.
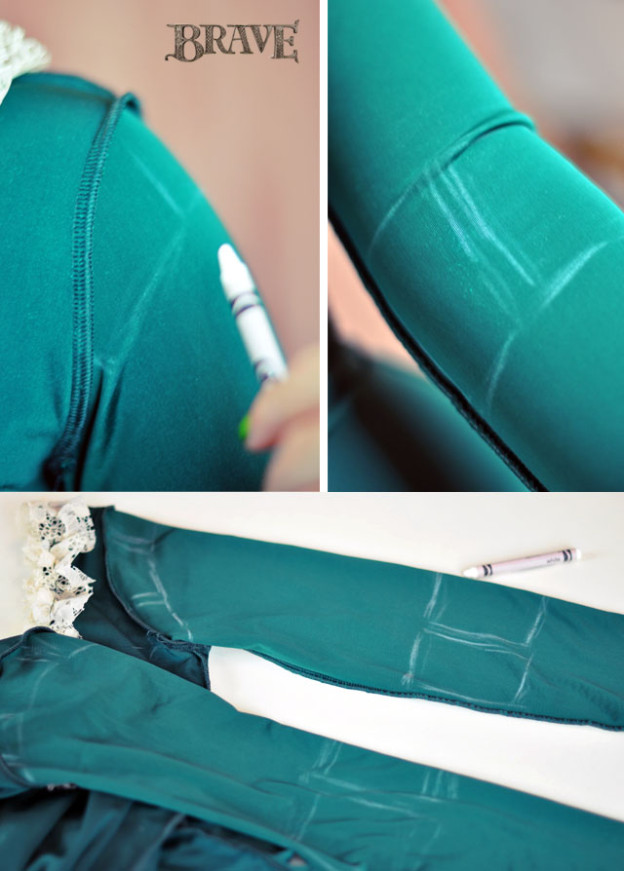
Turn your garment inside out and try it on. Using your white crayon, pencil, or chalk, sketch out the patterns you see above. Draw a small and angled one at your shoulder {below your shoulder seam} and one at your elbow bend, about 2-1/2inches wide.
Now remove your dress and lay it flat. Holding your sleeves at their outermost shoulder seams, make sure all your sketches line up on both arms {one of mine was way too high!}, then draw your designs boldly so you know where to cut.
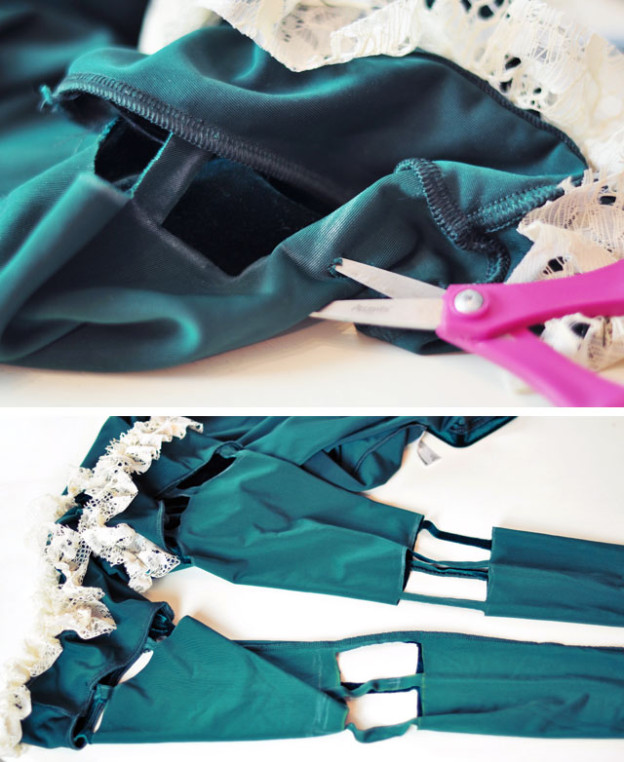
With your short, pointed scissors, carefully cut out your designs. This is basically a Renaissance sleeve design. NOTE: Cut just below your shoulder seams, leave them intact for strength and shape.
DON’T WORRY IF YOU MAKE A MISTAKE. You can always reattach your sleeves with ribbons.
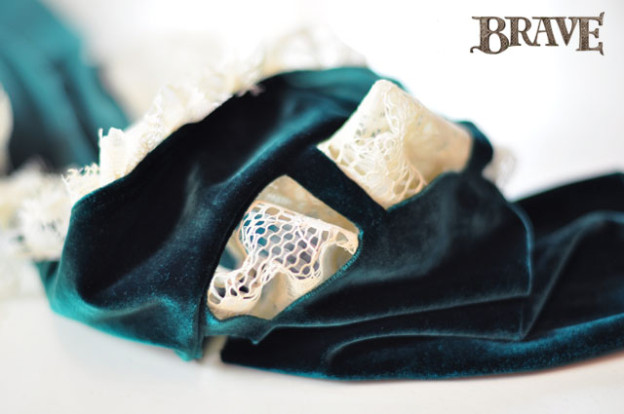
Cut a piece of lace, mesh, or chiffon about twice the length of your shoulder and elbow openings and twice the width as well.
Insert it up and under your openings for fit. You’ll want them to pouf out, thus the extra material needed.
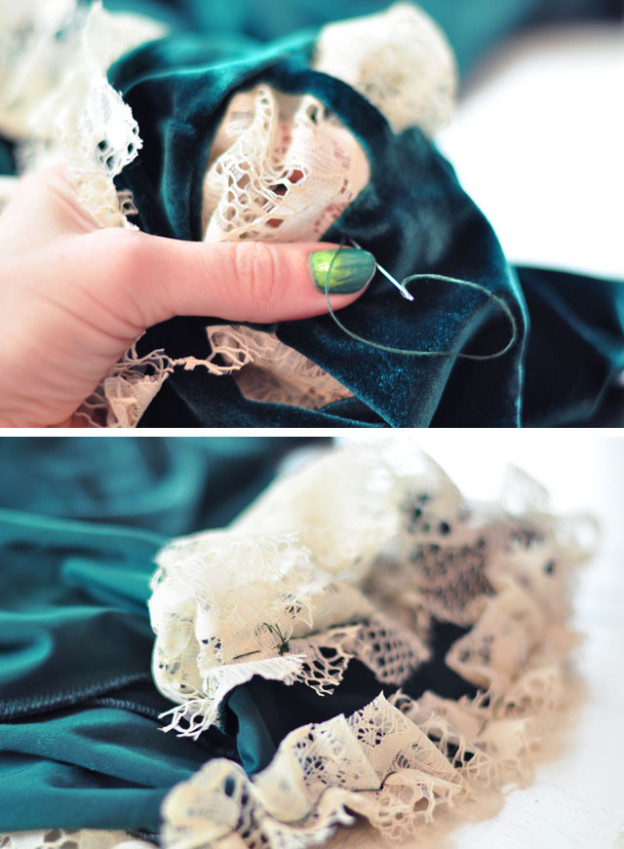
Carefully hand-stitch your lace to the underside, making the smallest possible stitches on the right side, with the larger stitches on the underside, where you can’t see them. Just as you did with your neckline, gather your fabric heavily and stretch your fabric as you go. Your stitches should not pucker the fabric at all.
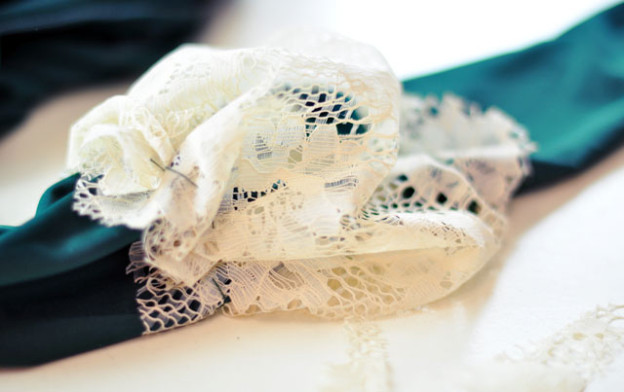
It will look something like this on the underside. Do this on both shoulders and both elbows. Trim away the excess.
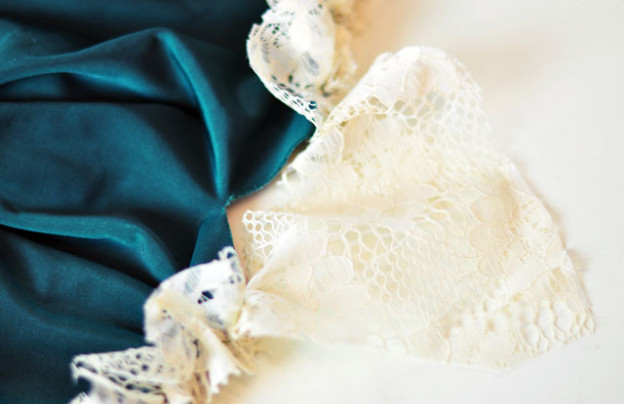
Cut a large triangle out of your lace, loosely stitch just the corners {about 1/2″ in} to the underside of your V neckline, behind the lace trim you already stitched in place. Make sure there is extra material… When you put your dress on, you will be able to adjust where this V will stay, thus you don’t need any more stitches. It should look gathered between the V.
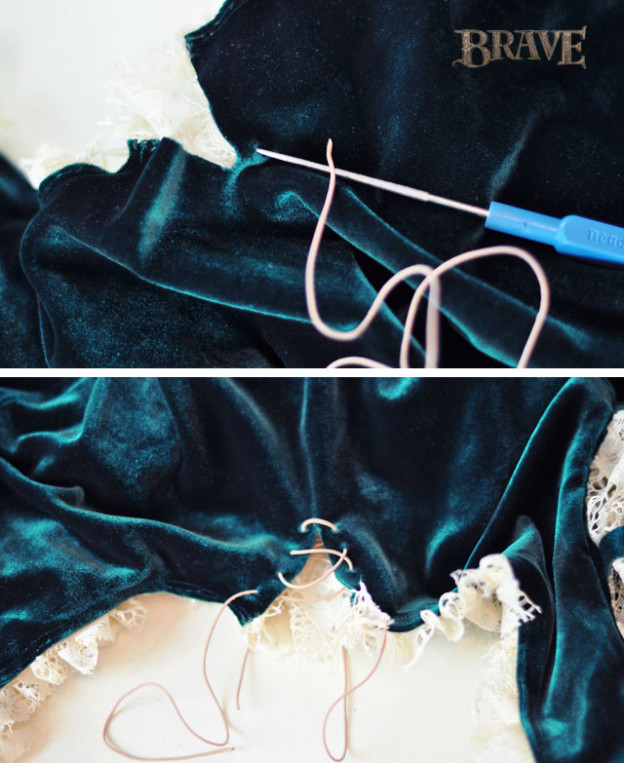
I used a bead reamer to create lace holes, and laced my leather cord through them so that the lace ends are hidden on the inside of the dress. There is no bow in front. I just let mine hang within, but you can also really use them to tighten up your V if you’ve cut it too deep!
And… Voila!
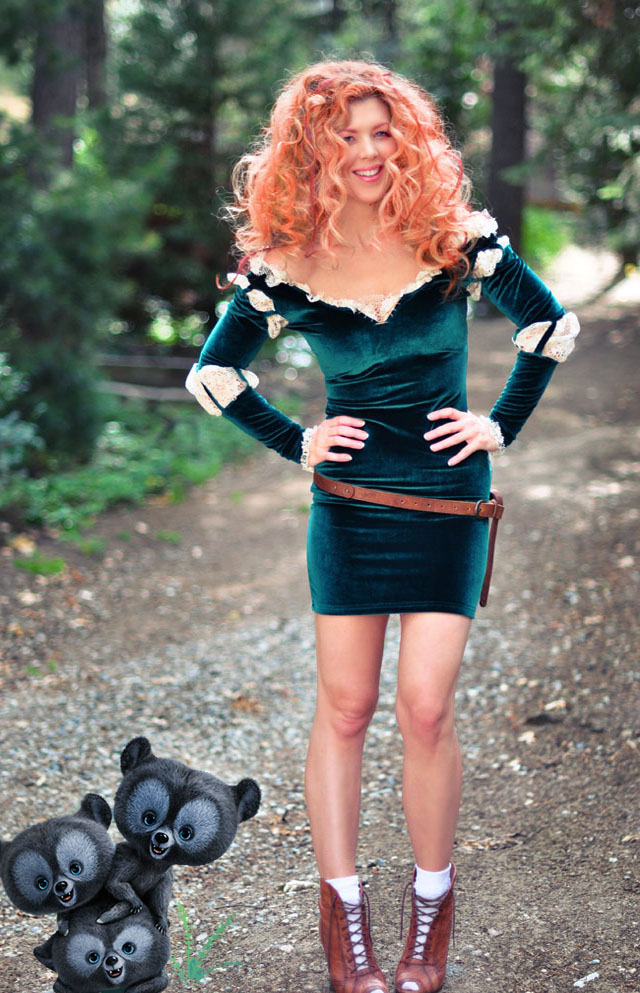
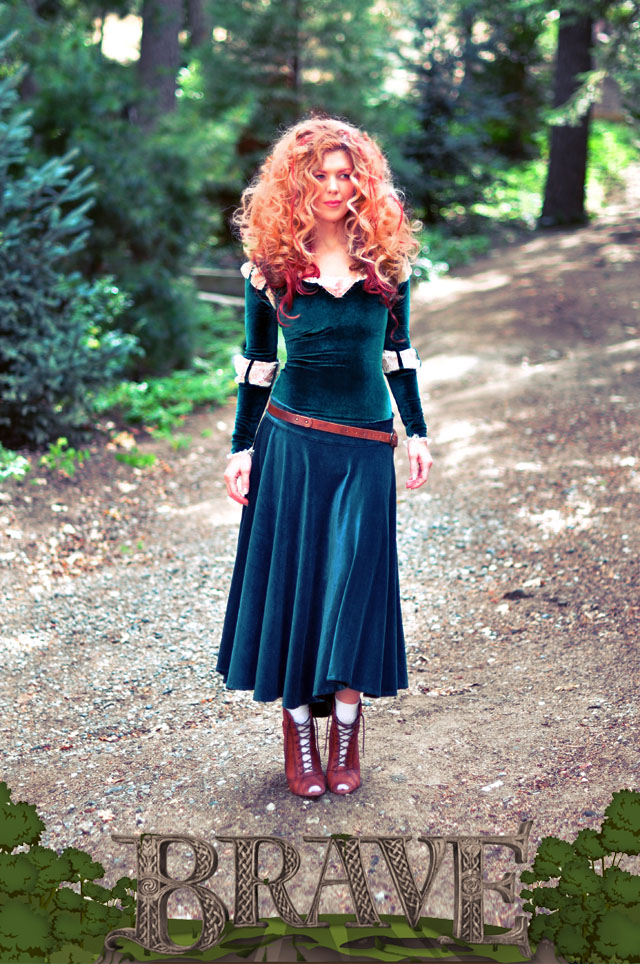
I love this mini dress as the base because you really can wear it two ways. Worn alone, it’s a sexy costume… add the skirt below, and you have a more authentic Merida look.
BELT: Instead of actually making a bow and a bag for arrows {because that’s just too much to carry around – – – though I could have DIY’d one by wrapping leather around a SmartWater bottle, cut open at the top}, I simply wore an old long and narrow belt slung low around my hips and knotted at the side. You could also wear a low-slung hip bag to mimic it {which would be smart on Halloween so you don’t have to carry a purse} or simply knot leather strips low on your hips and angled.
BOOTS: Merida wore flat brown lace up boots with white socks, but these lace up ankle boots with a heel were simply more flattering with the skirt length, while staying semi-true to the costume {and my best option – unfortunately they’re old and not available anymore}… but any brown lace up boots will do
Other than Hair and Makeup, those are the only accessories you need to complete the look.
Add your skirt…
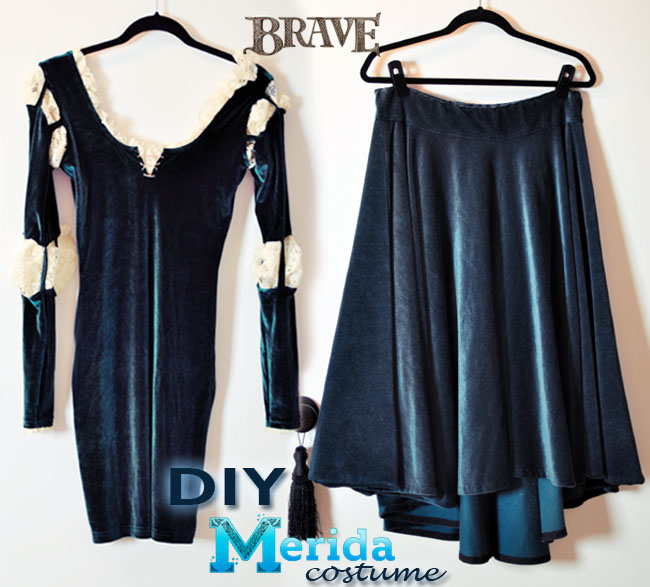
I happened to have this long green vintage velvet circle skirt {which is longer in the back than in the front}, so it was simple for me to just throw it on over my mini dress, and along with the belt and boots, I was ready to go. And even though it wasn’t floor length, like Merida’s, it was long enough that the costume was still authentic. If I didn’t have one, I would have simply made one and from a deep green velvet. You can learn how to easily make a circle skirt by watching This Circle Skirt Tutorial
Have Fun!
* Check out my DIY Princess Merida Hair & Makeup Tutorial to complete your costume
* Check out all my photos from my final DIY Princess Merida Halloween Costume
DIY Halloween Costumes // Princess Merida from Disney’s Brave


