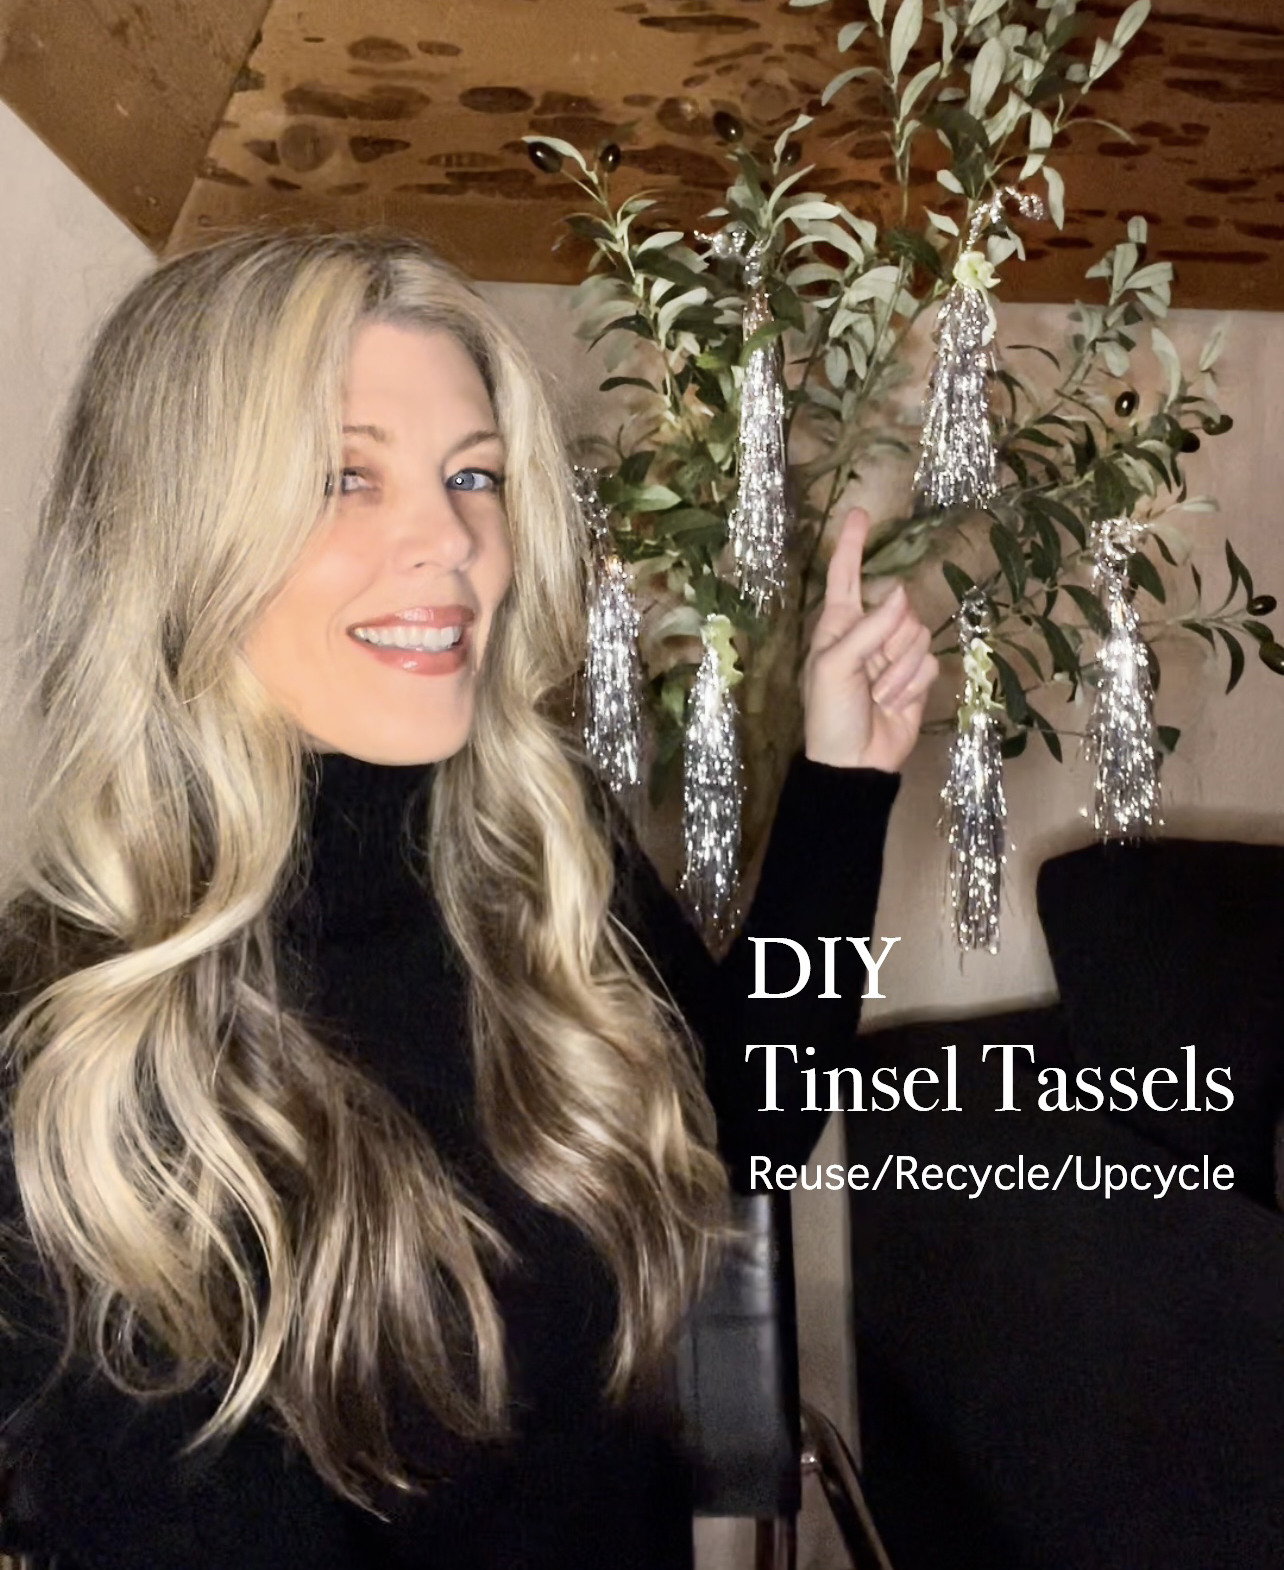
I snapped this photo from a video/thus the poor quality HOWEVER, for a little added visual, check out my reel on Instagram, which may be helpful in conjunction with this step by step tutorial.
Am I the only one who can’t say or write STEP BY STEP without then SINGING… ooh baby, gonna get to you… GUUUURL. Just me?
Okay, let’s get serious!
If you saw my nostalgic 2023 Christmas tree, you’ll know I hopped onto the tinsel trend hard and I actually loved it. It shimmered and sparkled in a way my tree has never shimmered and sparkled and disco dazzled all over the house for a month. I loved it! It really took me back in a fun way and wasn’t half as messy as I thought it might be.
ANYWAY, though I didn’t use even half of the tinsel I purchased, I didn’t want to throw away the tinsel I did use because it felt so wasteful (and bad for the environment). As I was carefully removing it from my tree, I realized that even if I saved it as flat as I could, it might still turn into a knotted mess by next Christmas that resembled a tumbleweed and I wouldn’t want to reuse it… AND then I remembered a random photo I pinned weeks prior of a DIY tinsel tassel and so I thought I’d try it… but my own way… of course, a much easier, quicker, anyone-can-do-it kind of way.
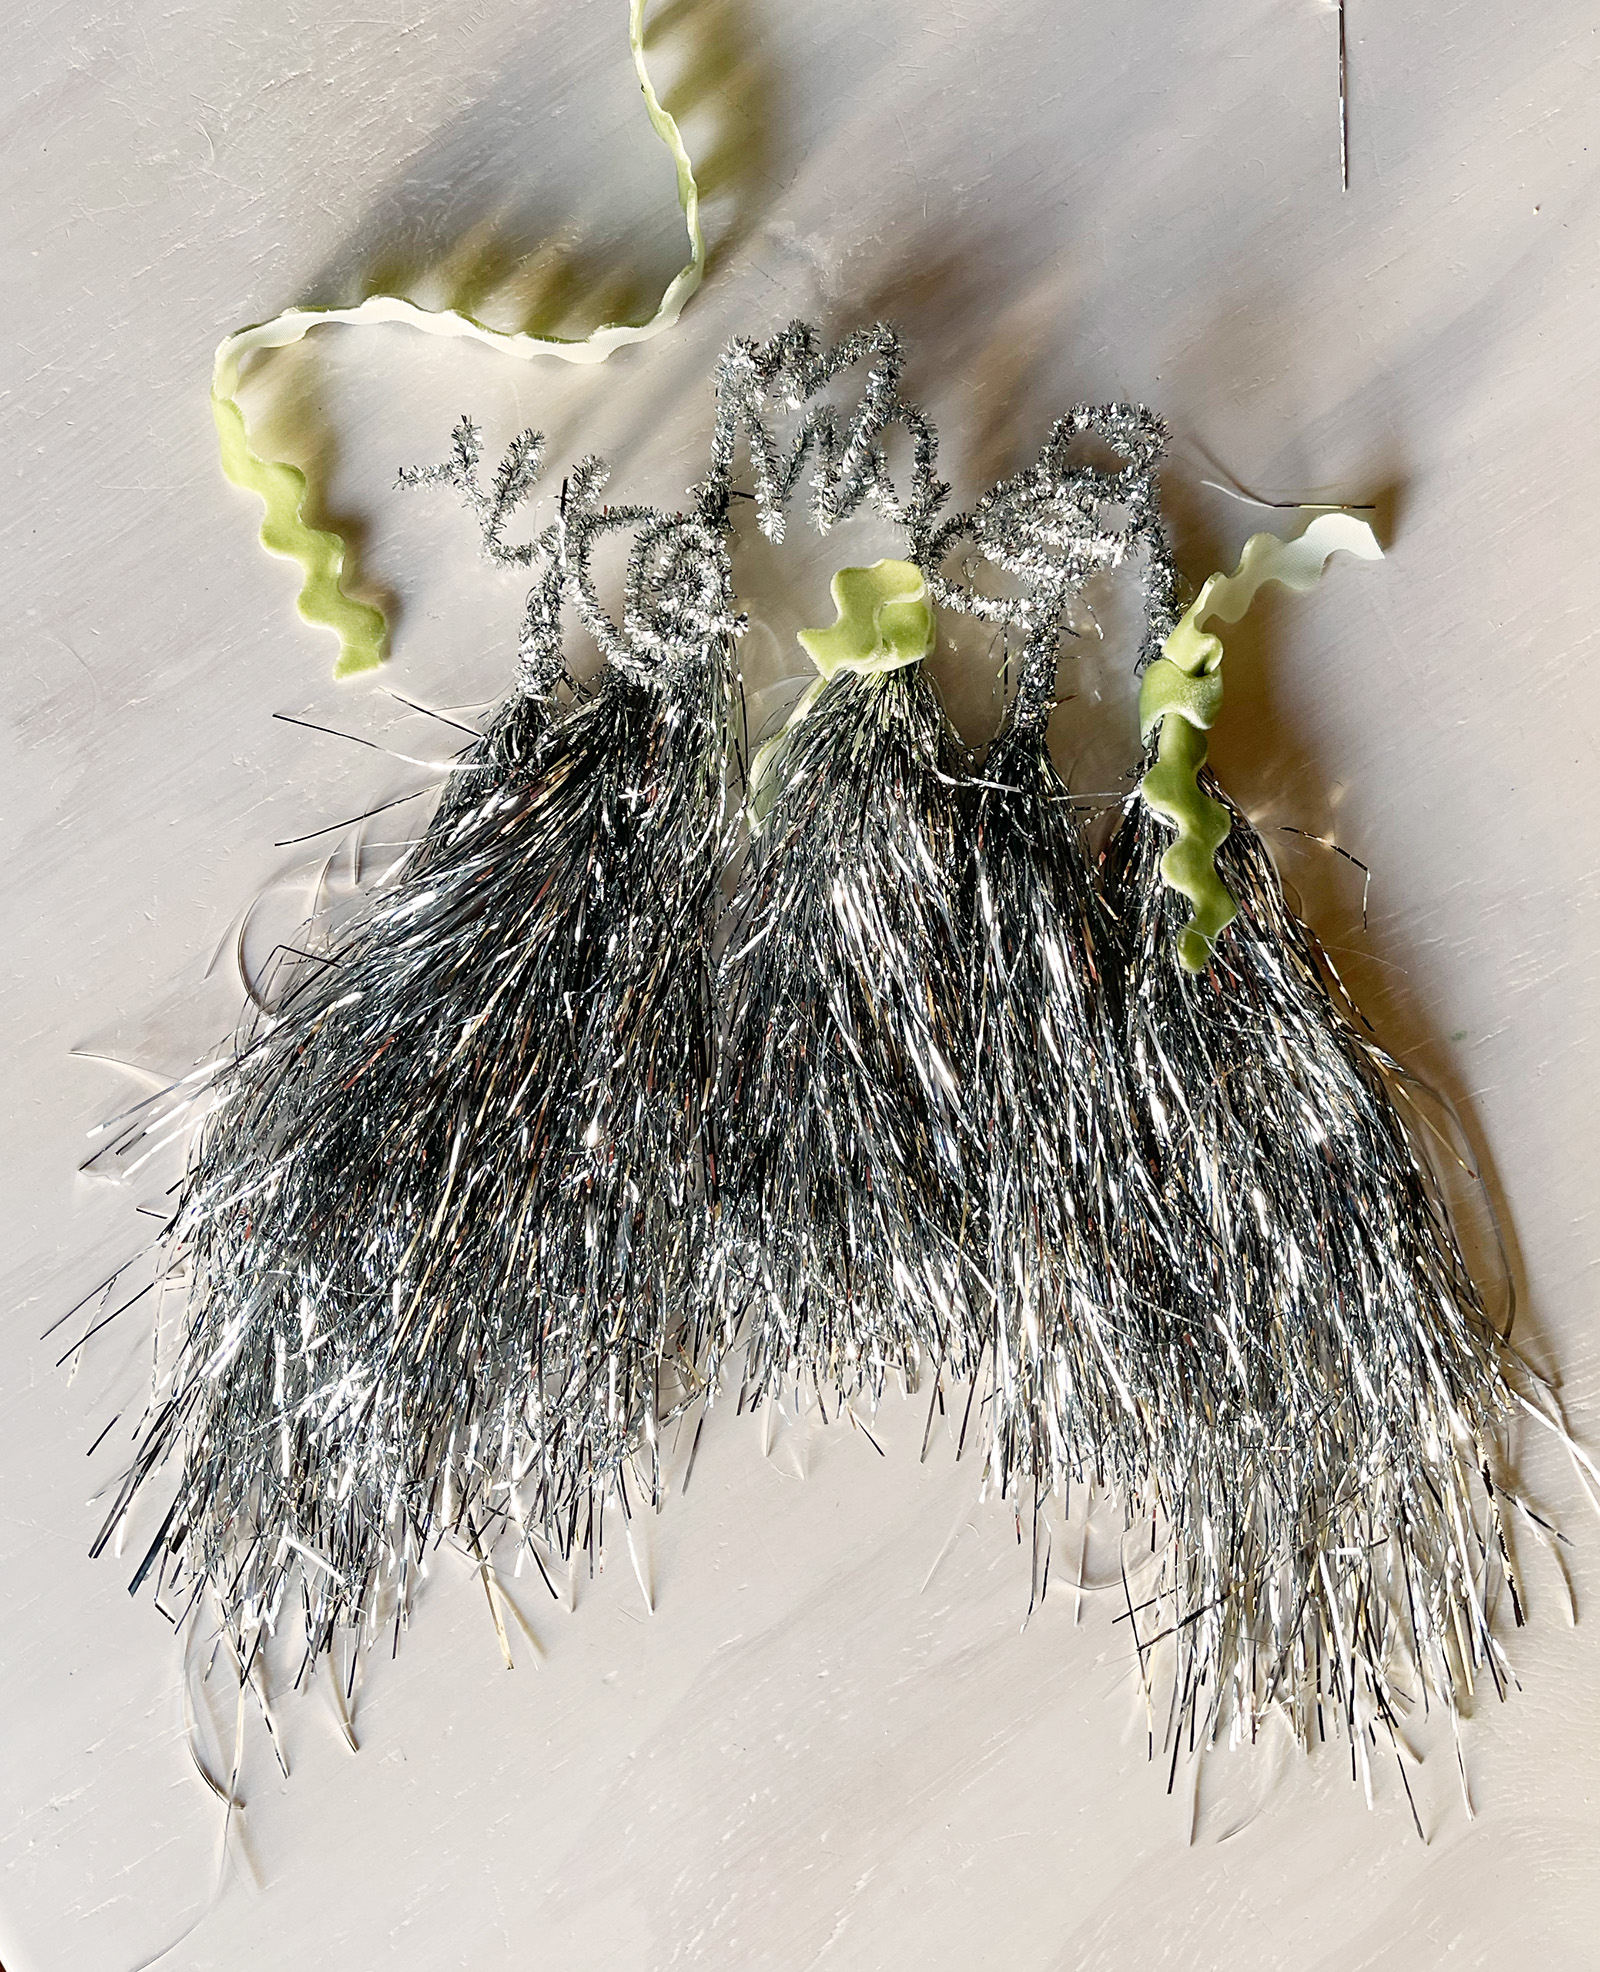
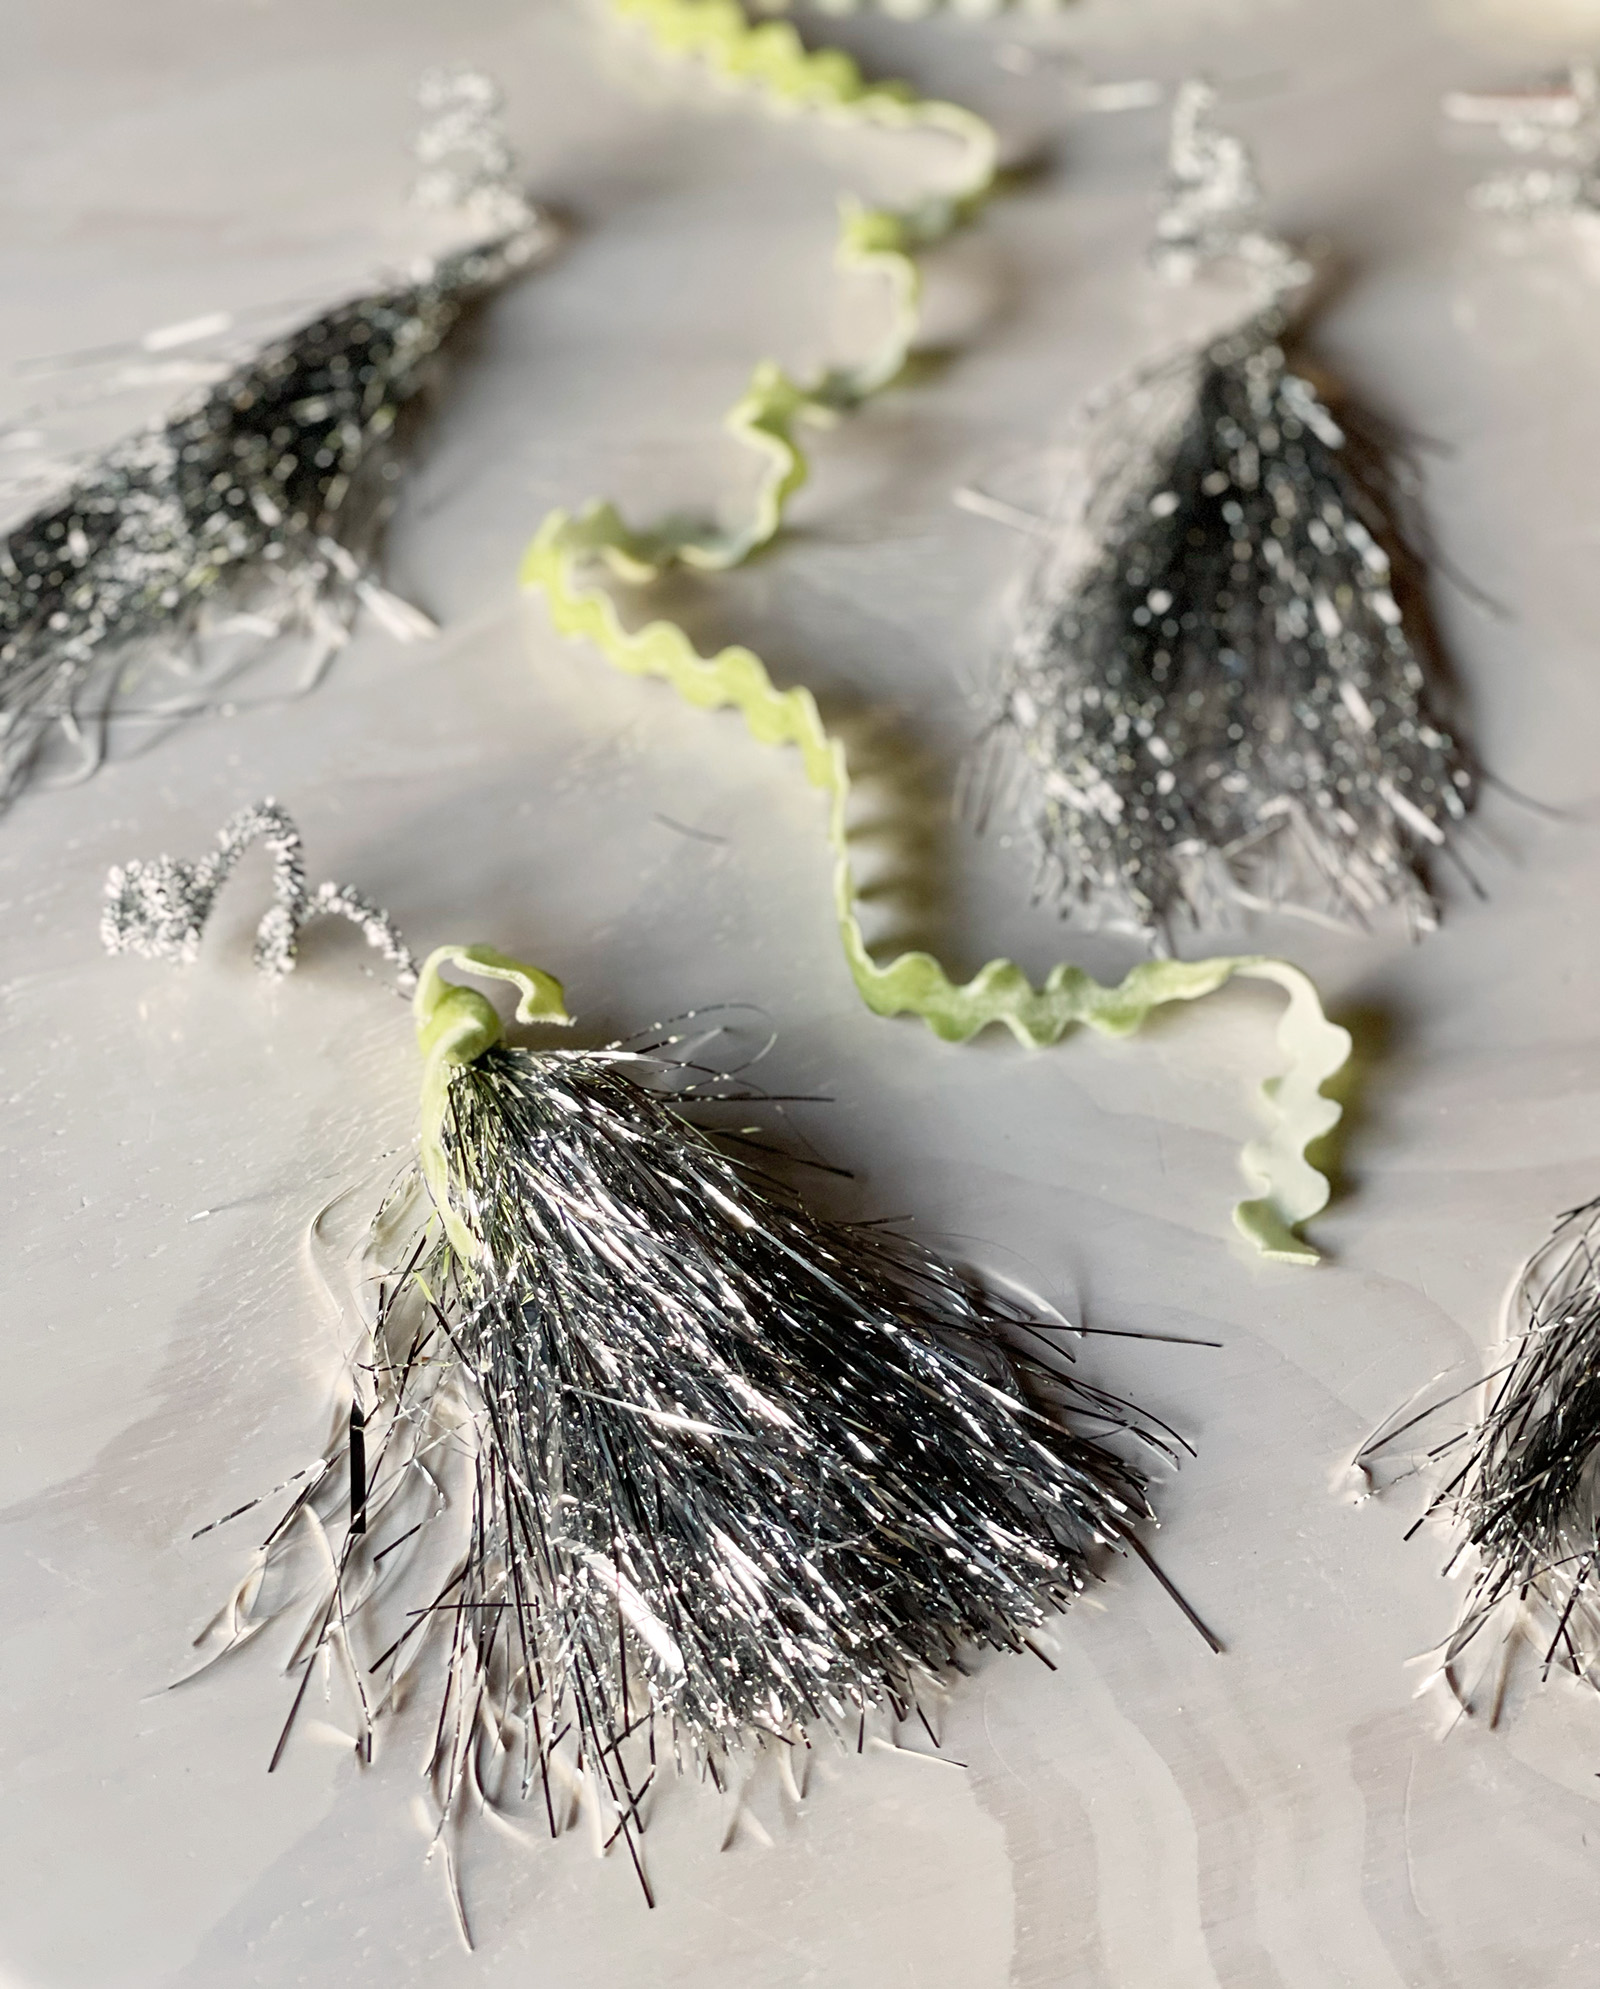
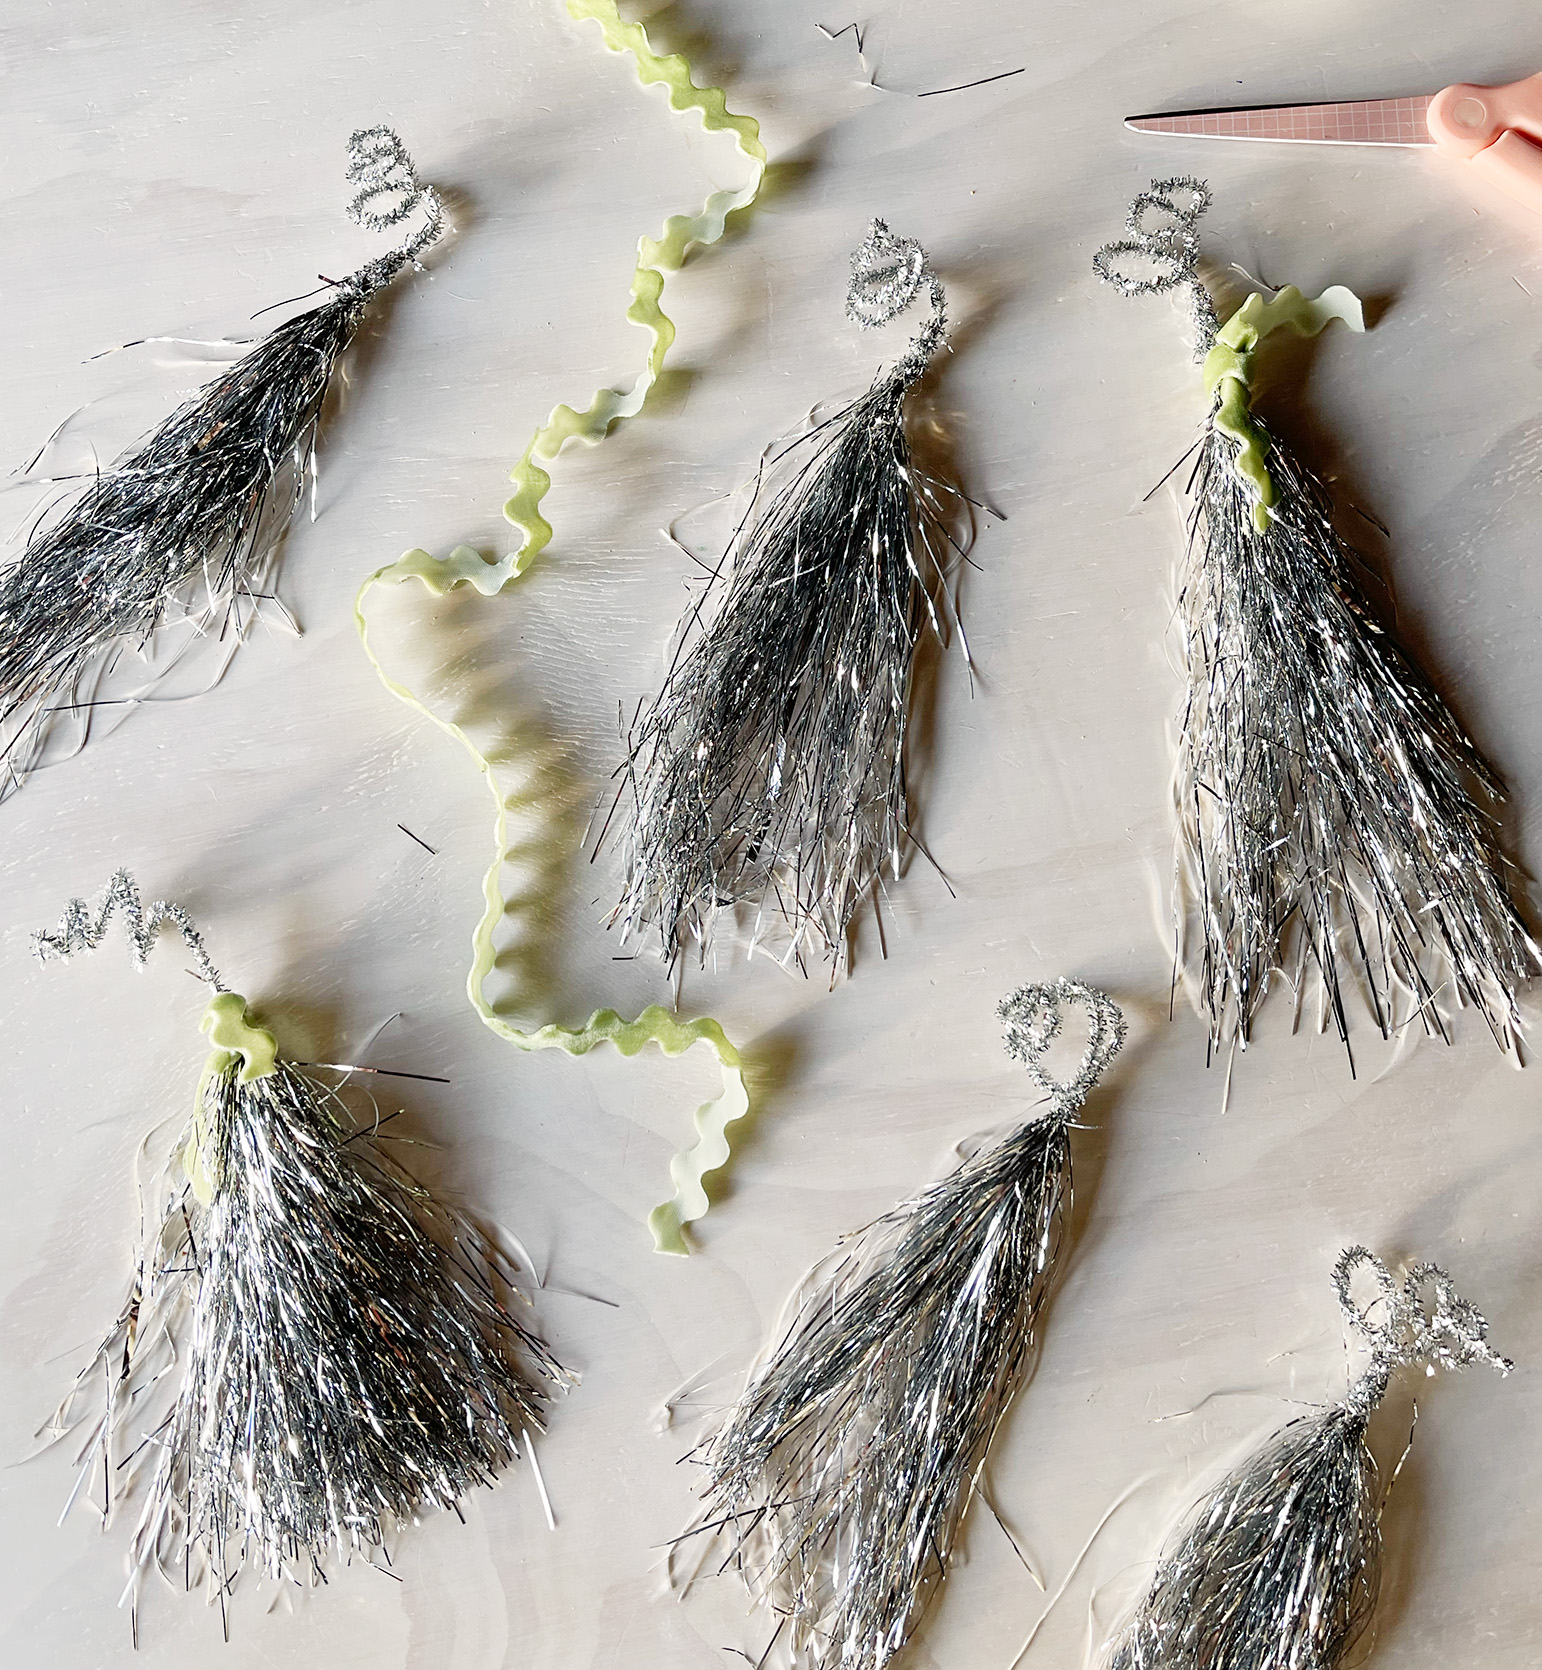
You see, the DIY I found was a bit more intricate and time consuming and perfect than I was willing to spend on this project and so I grabbed my pipe cleaners left over from my starburst tree topper and got to work. I was able to make 6 large tassels and two smaller ones (not shown) from all the tinsel I removed from the tree. And they turned out pretty cute! Not perfect, but perfectly imperfect, and I can use them next year as ornaments or even gift-wrapping toppers or whatever else they might come in handy for!
Here’s What You’ll Need…
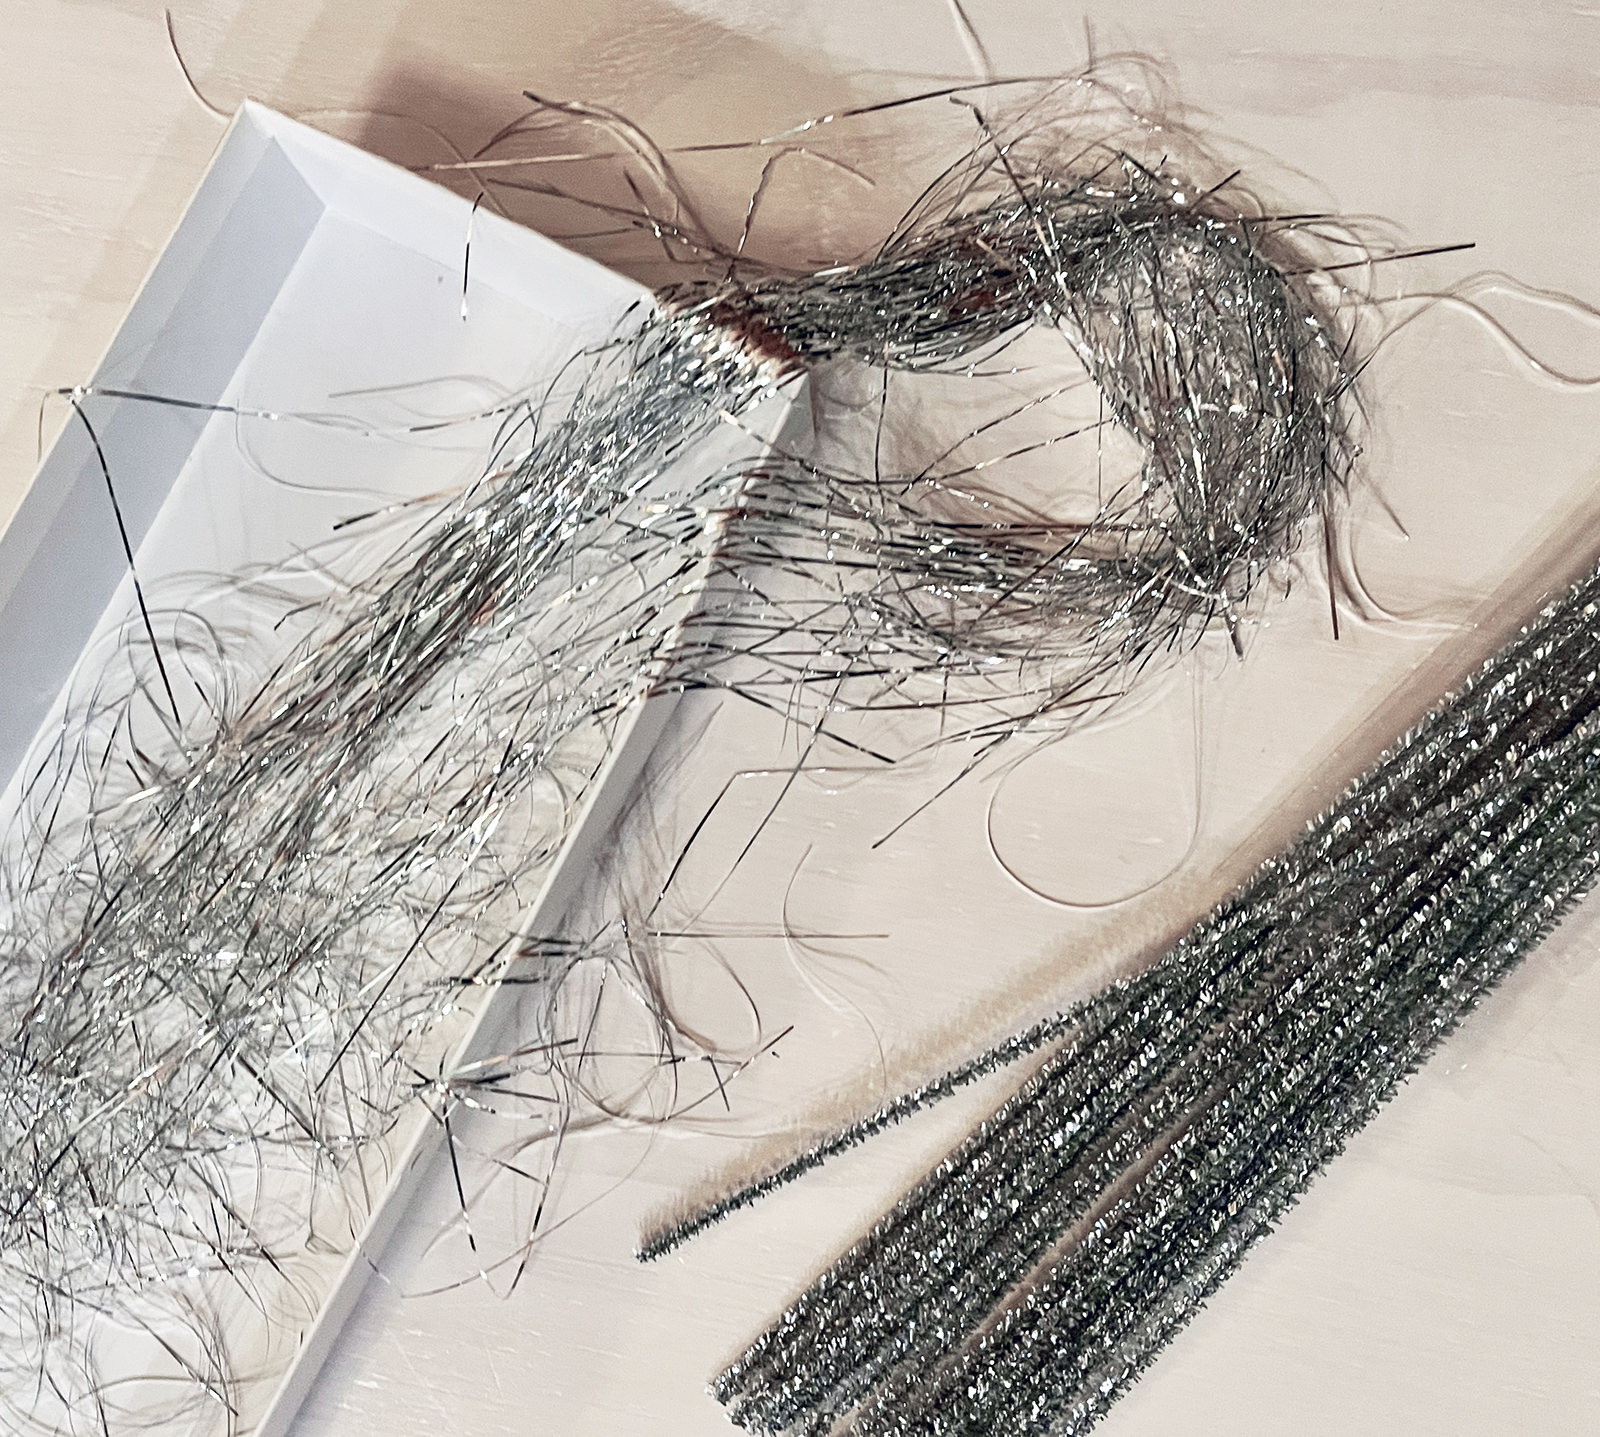
* Pipe cleaners (silver to match)
* Tinsel: Try to reuse/recycle/upcycle the tinsel you used on your tree. If you want to use fresh tinsel, obviously you may 😉
* Scissors
* Optional: velvet ribbon to create little bows
Step ONE… we can have lots of fun!
Sorry, I can’t help it (ps. my 12 year old self was team DONNIE all the way)
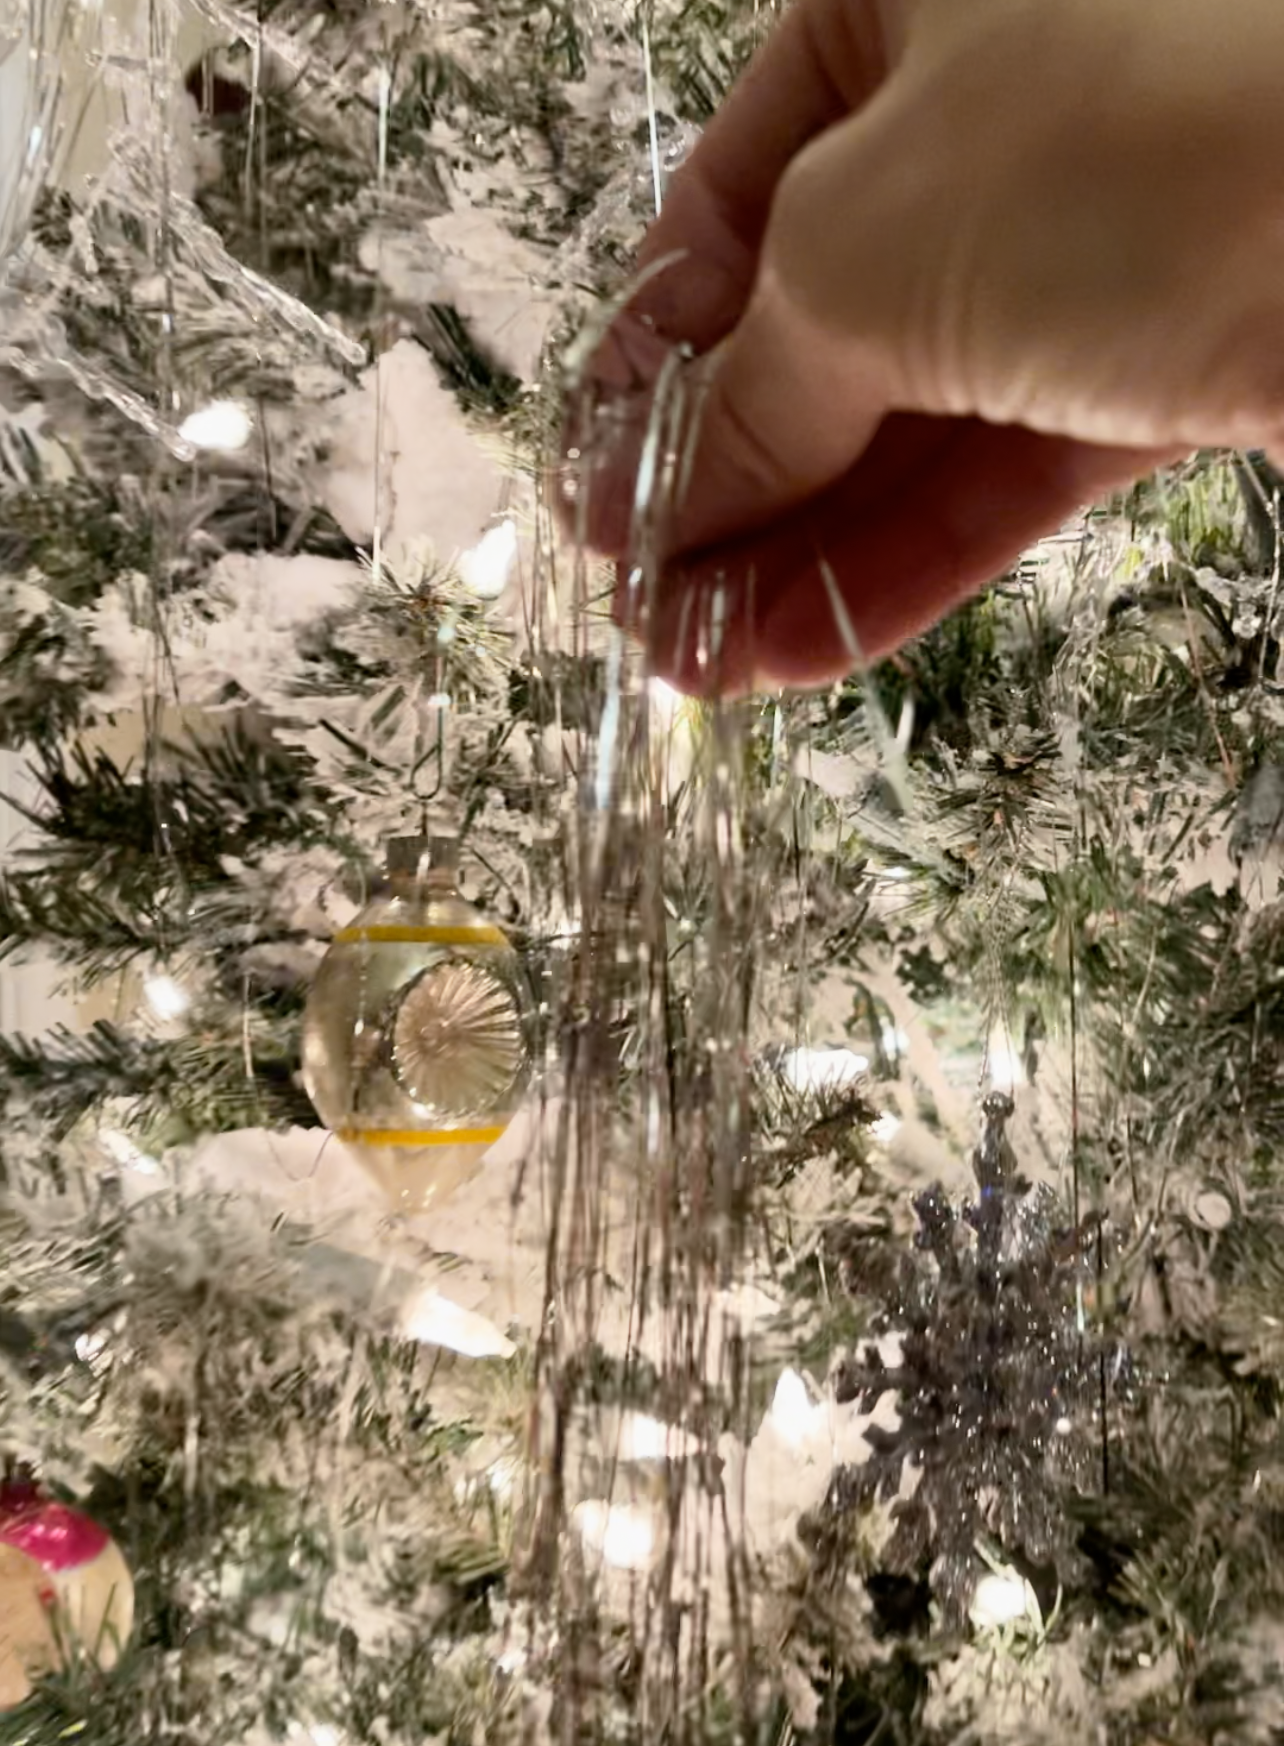
If you used tinsel on your tree, try to reuse it by grabbing it ever so carefully by the center of each dangling strand on every branch until you have a nice little finger-full.
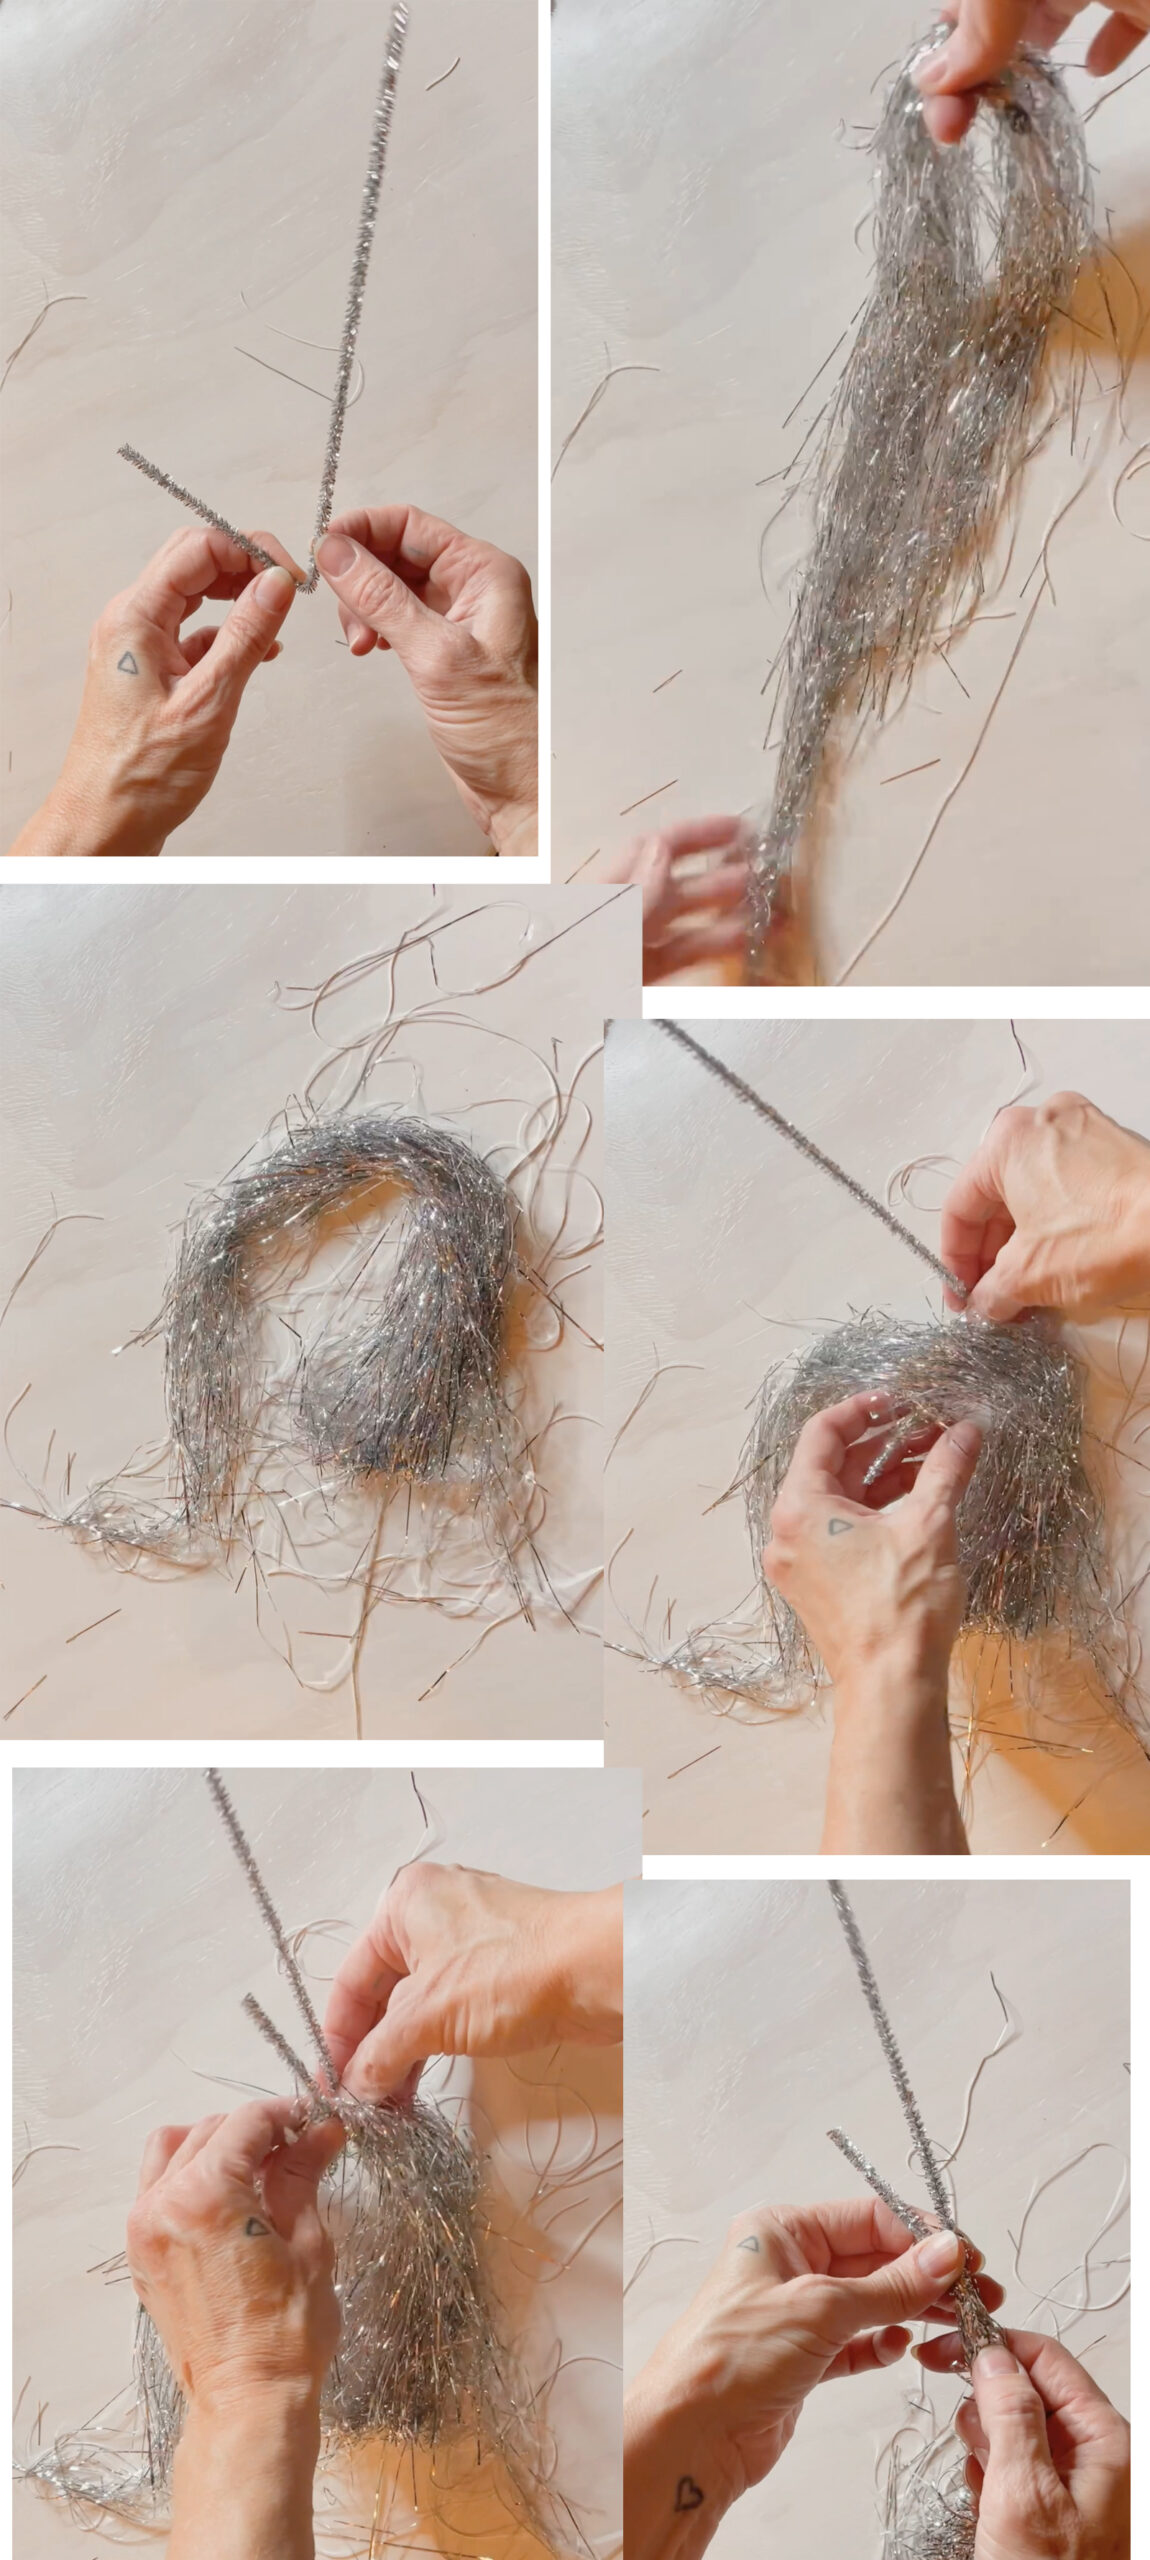
1. Grab a pipe cleaner and bend it to look like a check mark.
* * * You can also cut your pipe cleaners in half and just bend them into little hooks or loops, but I created swirly twists at the top, which added to the cuteness and whimsy of the tassel.
2. Fold your tinsel in half to double it… one side will be looped.
3. Slide your pipe cleaner in/under the center of the tinsel strands
4. Bend up and twis at the top to secure it…
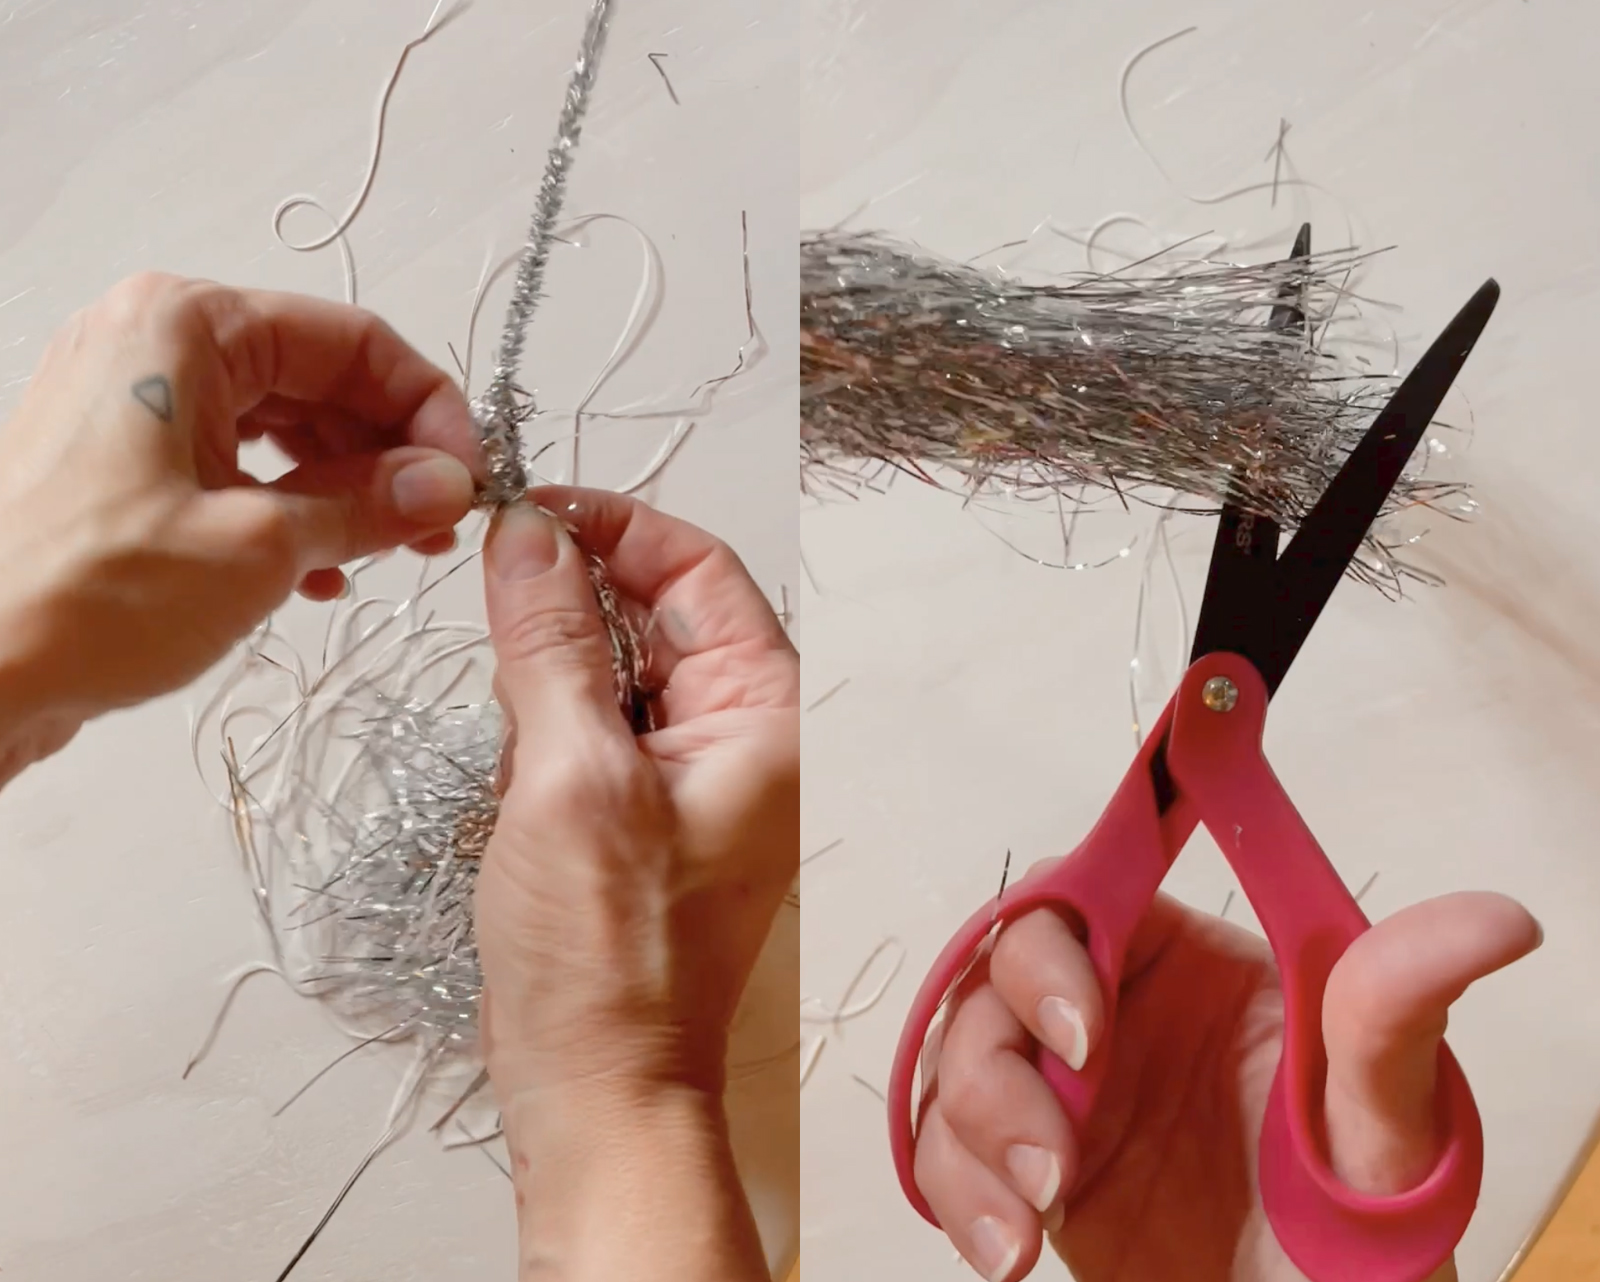
5. Then bend it down about a half an inch and wrap it around moving back upwards toward the top to really secure it in place. Twist it at the top to close it. (the video/Insta reel demonstrates this better than the photos)
6. Find the loop in your tinsel and carefully cut it open.
7. Trim the bottom to the length you want.
NOTE: I left mine pretty long and somewhat uneven. You can easily cut them down to short tassels with a blunt bottom for a completely different look!
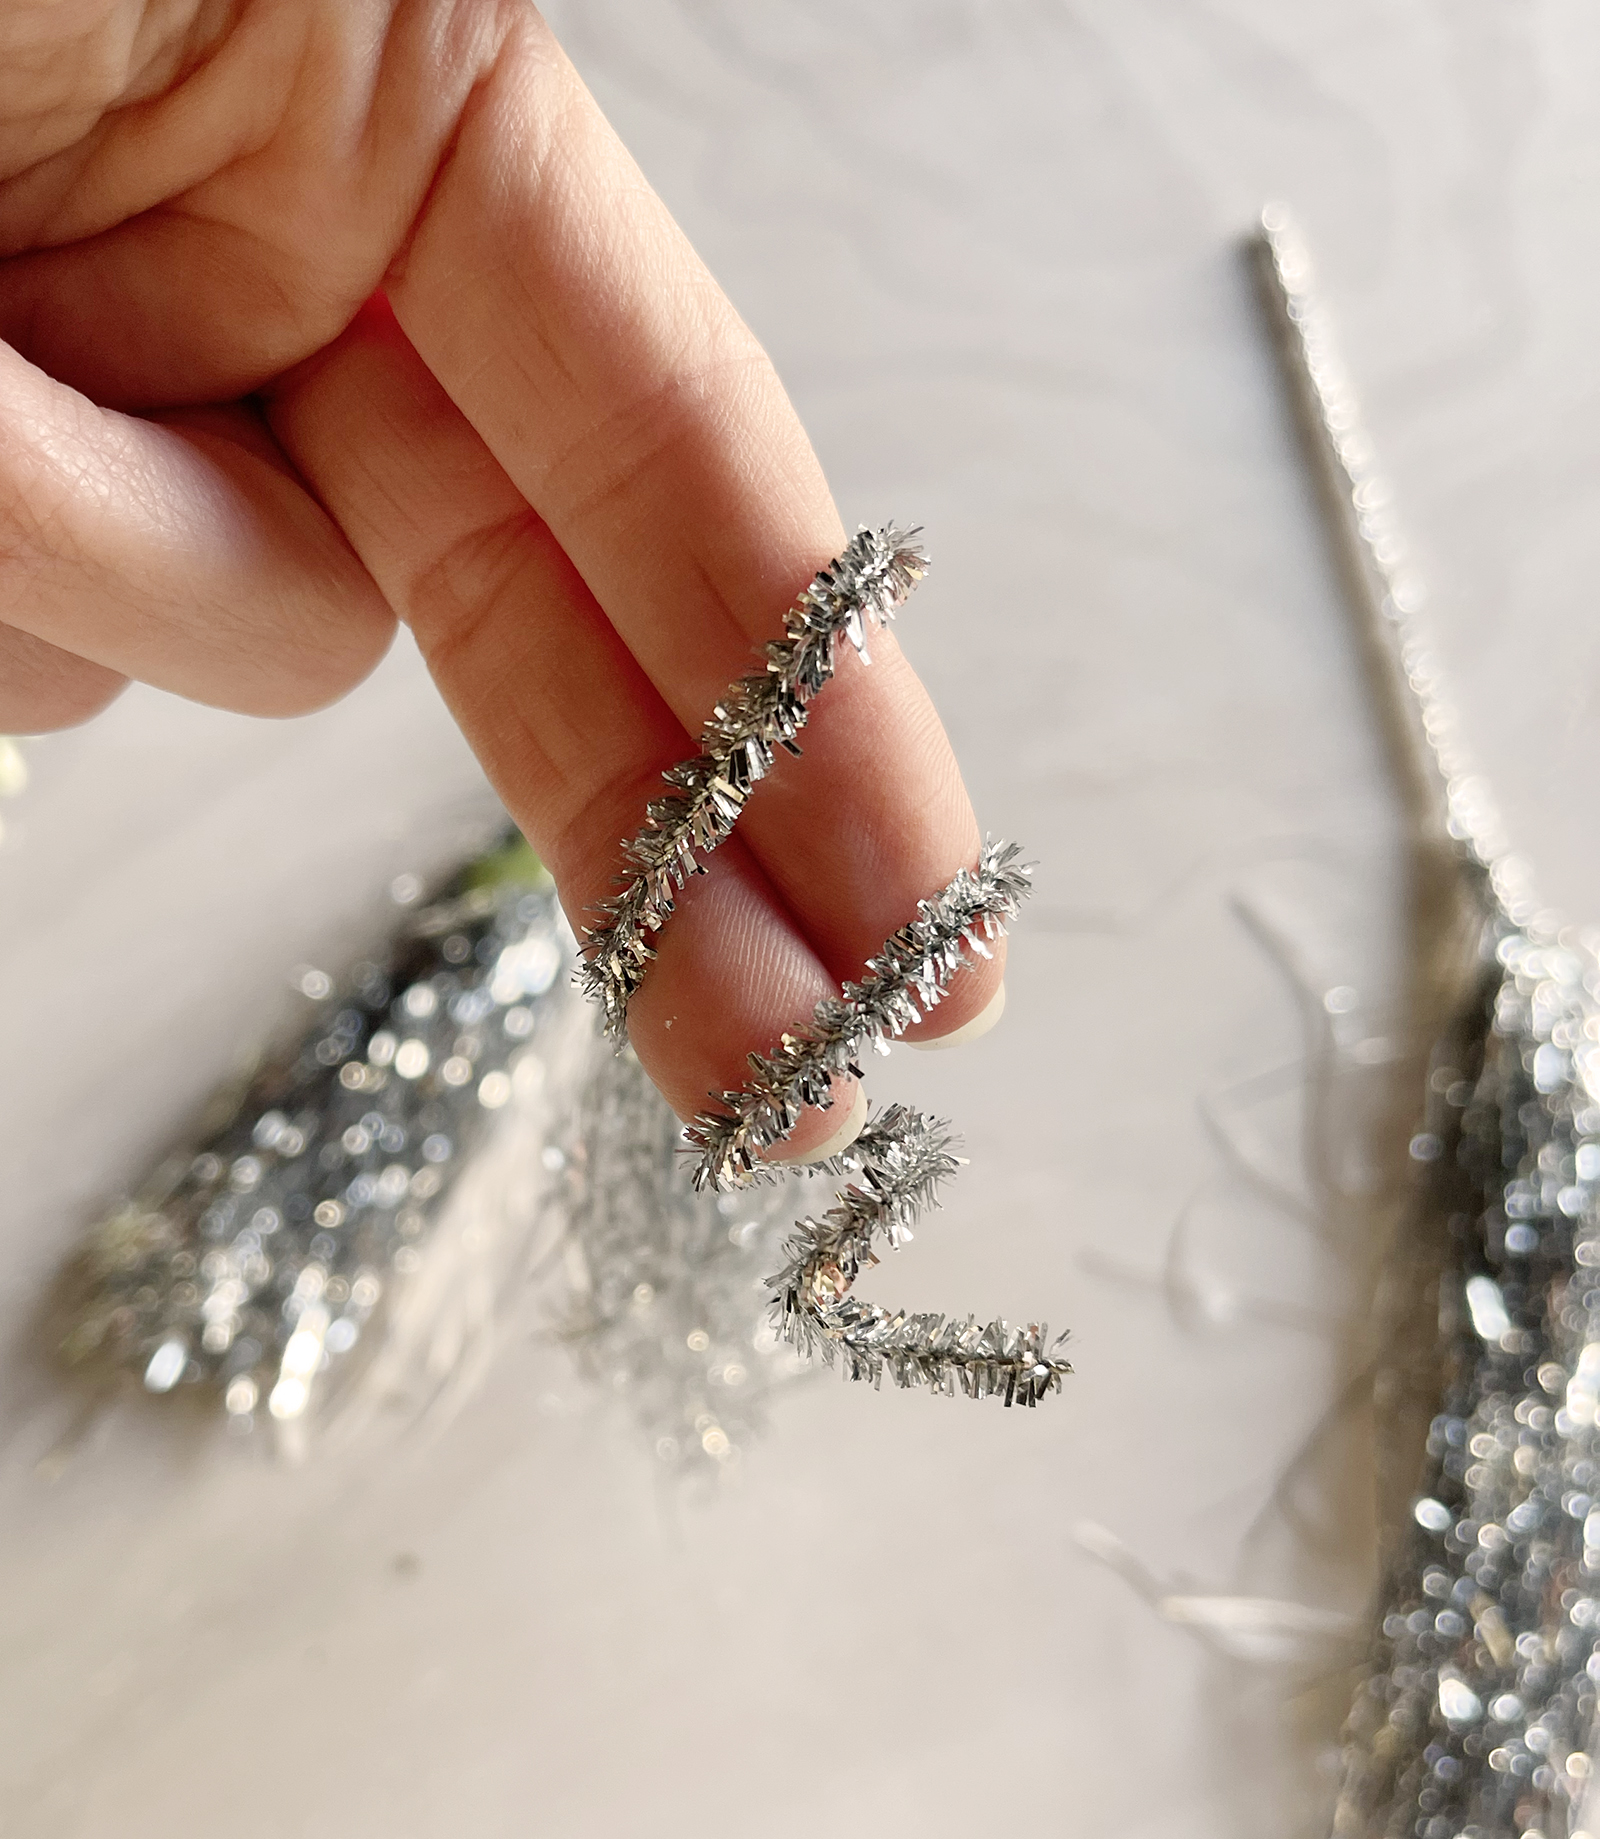
To make the swirl on top, start at the base (or top of the tassel) and wrap your pipe cleaner around two fingers twice, then one finger, then slip it off your fingers and bend it into a perfectly round swirl on top.
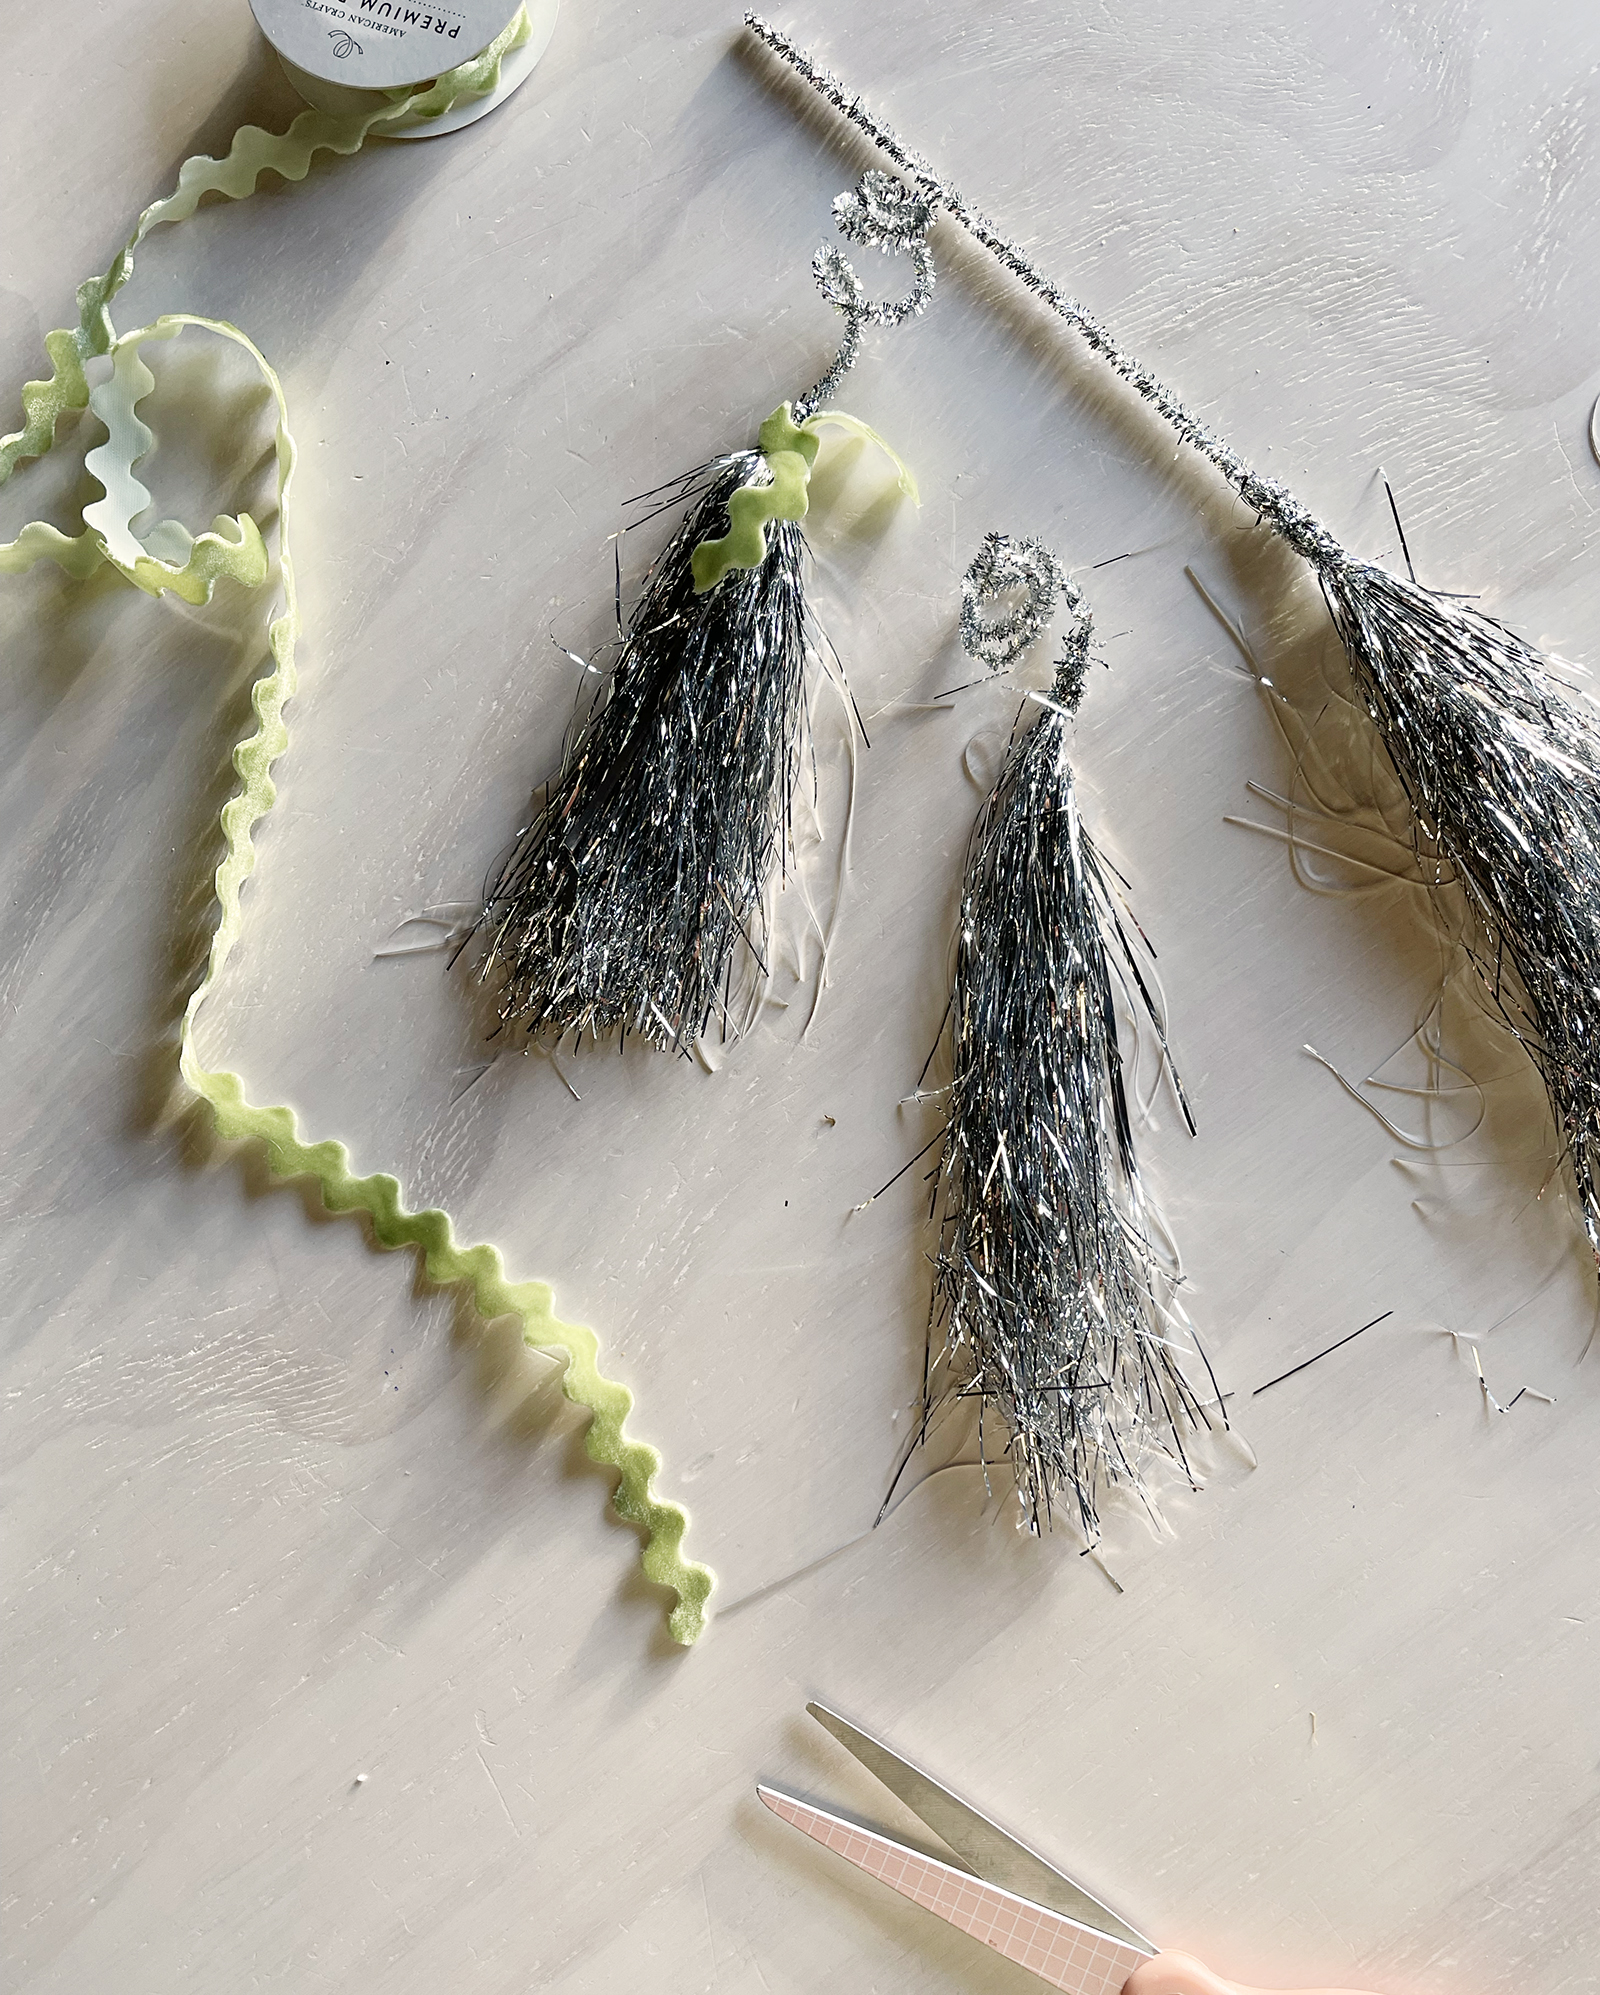
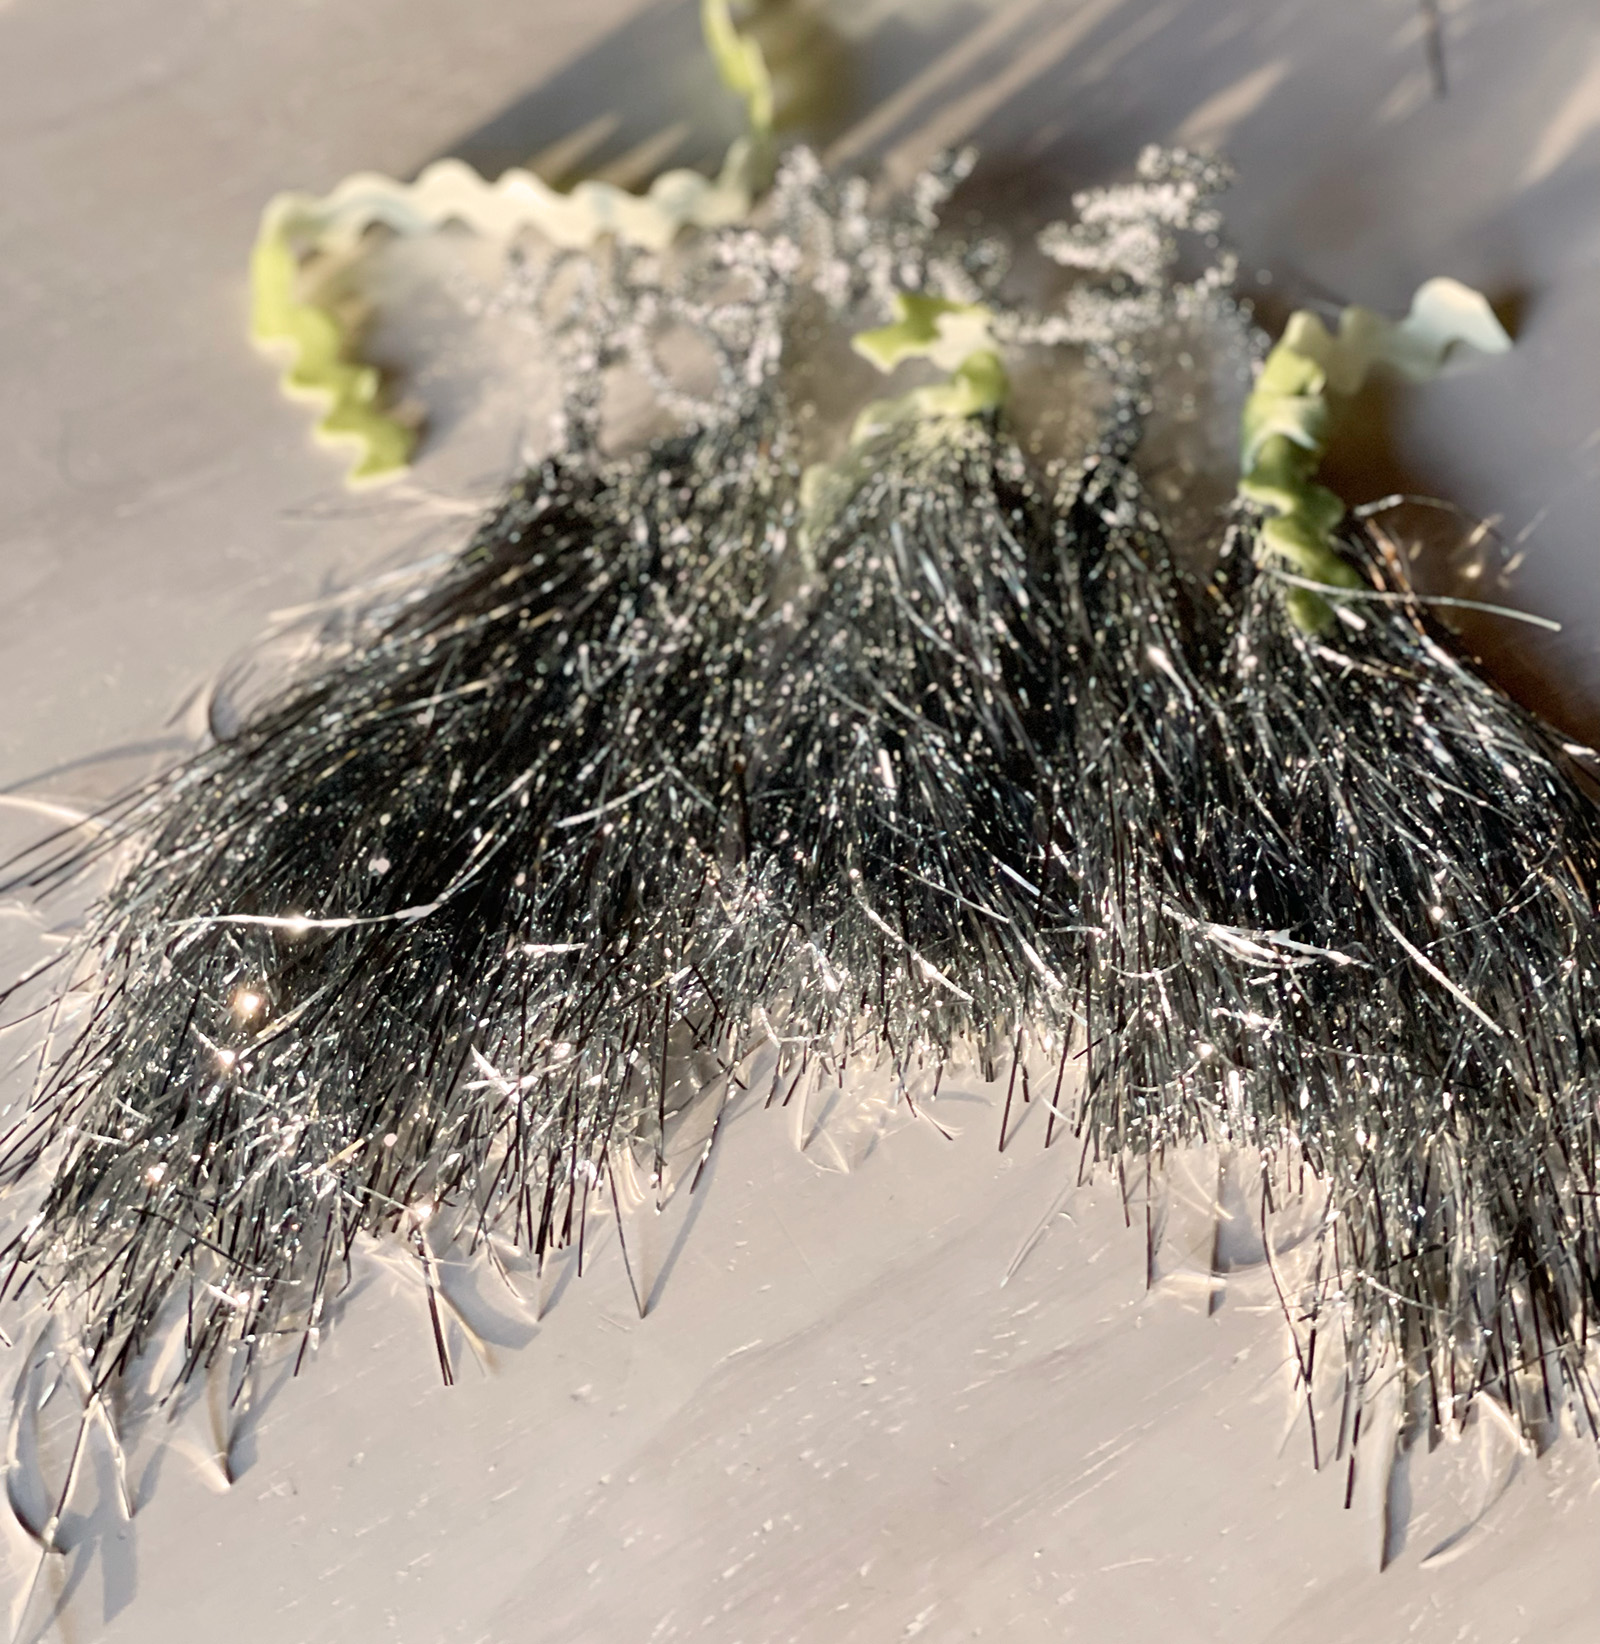
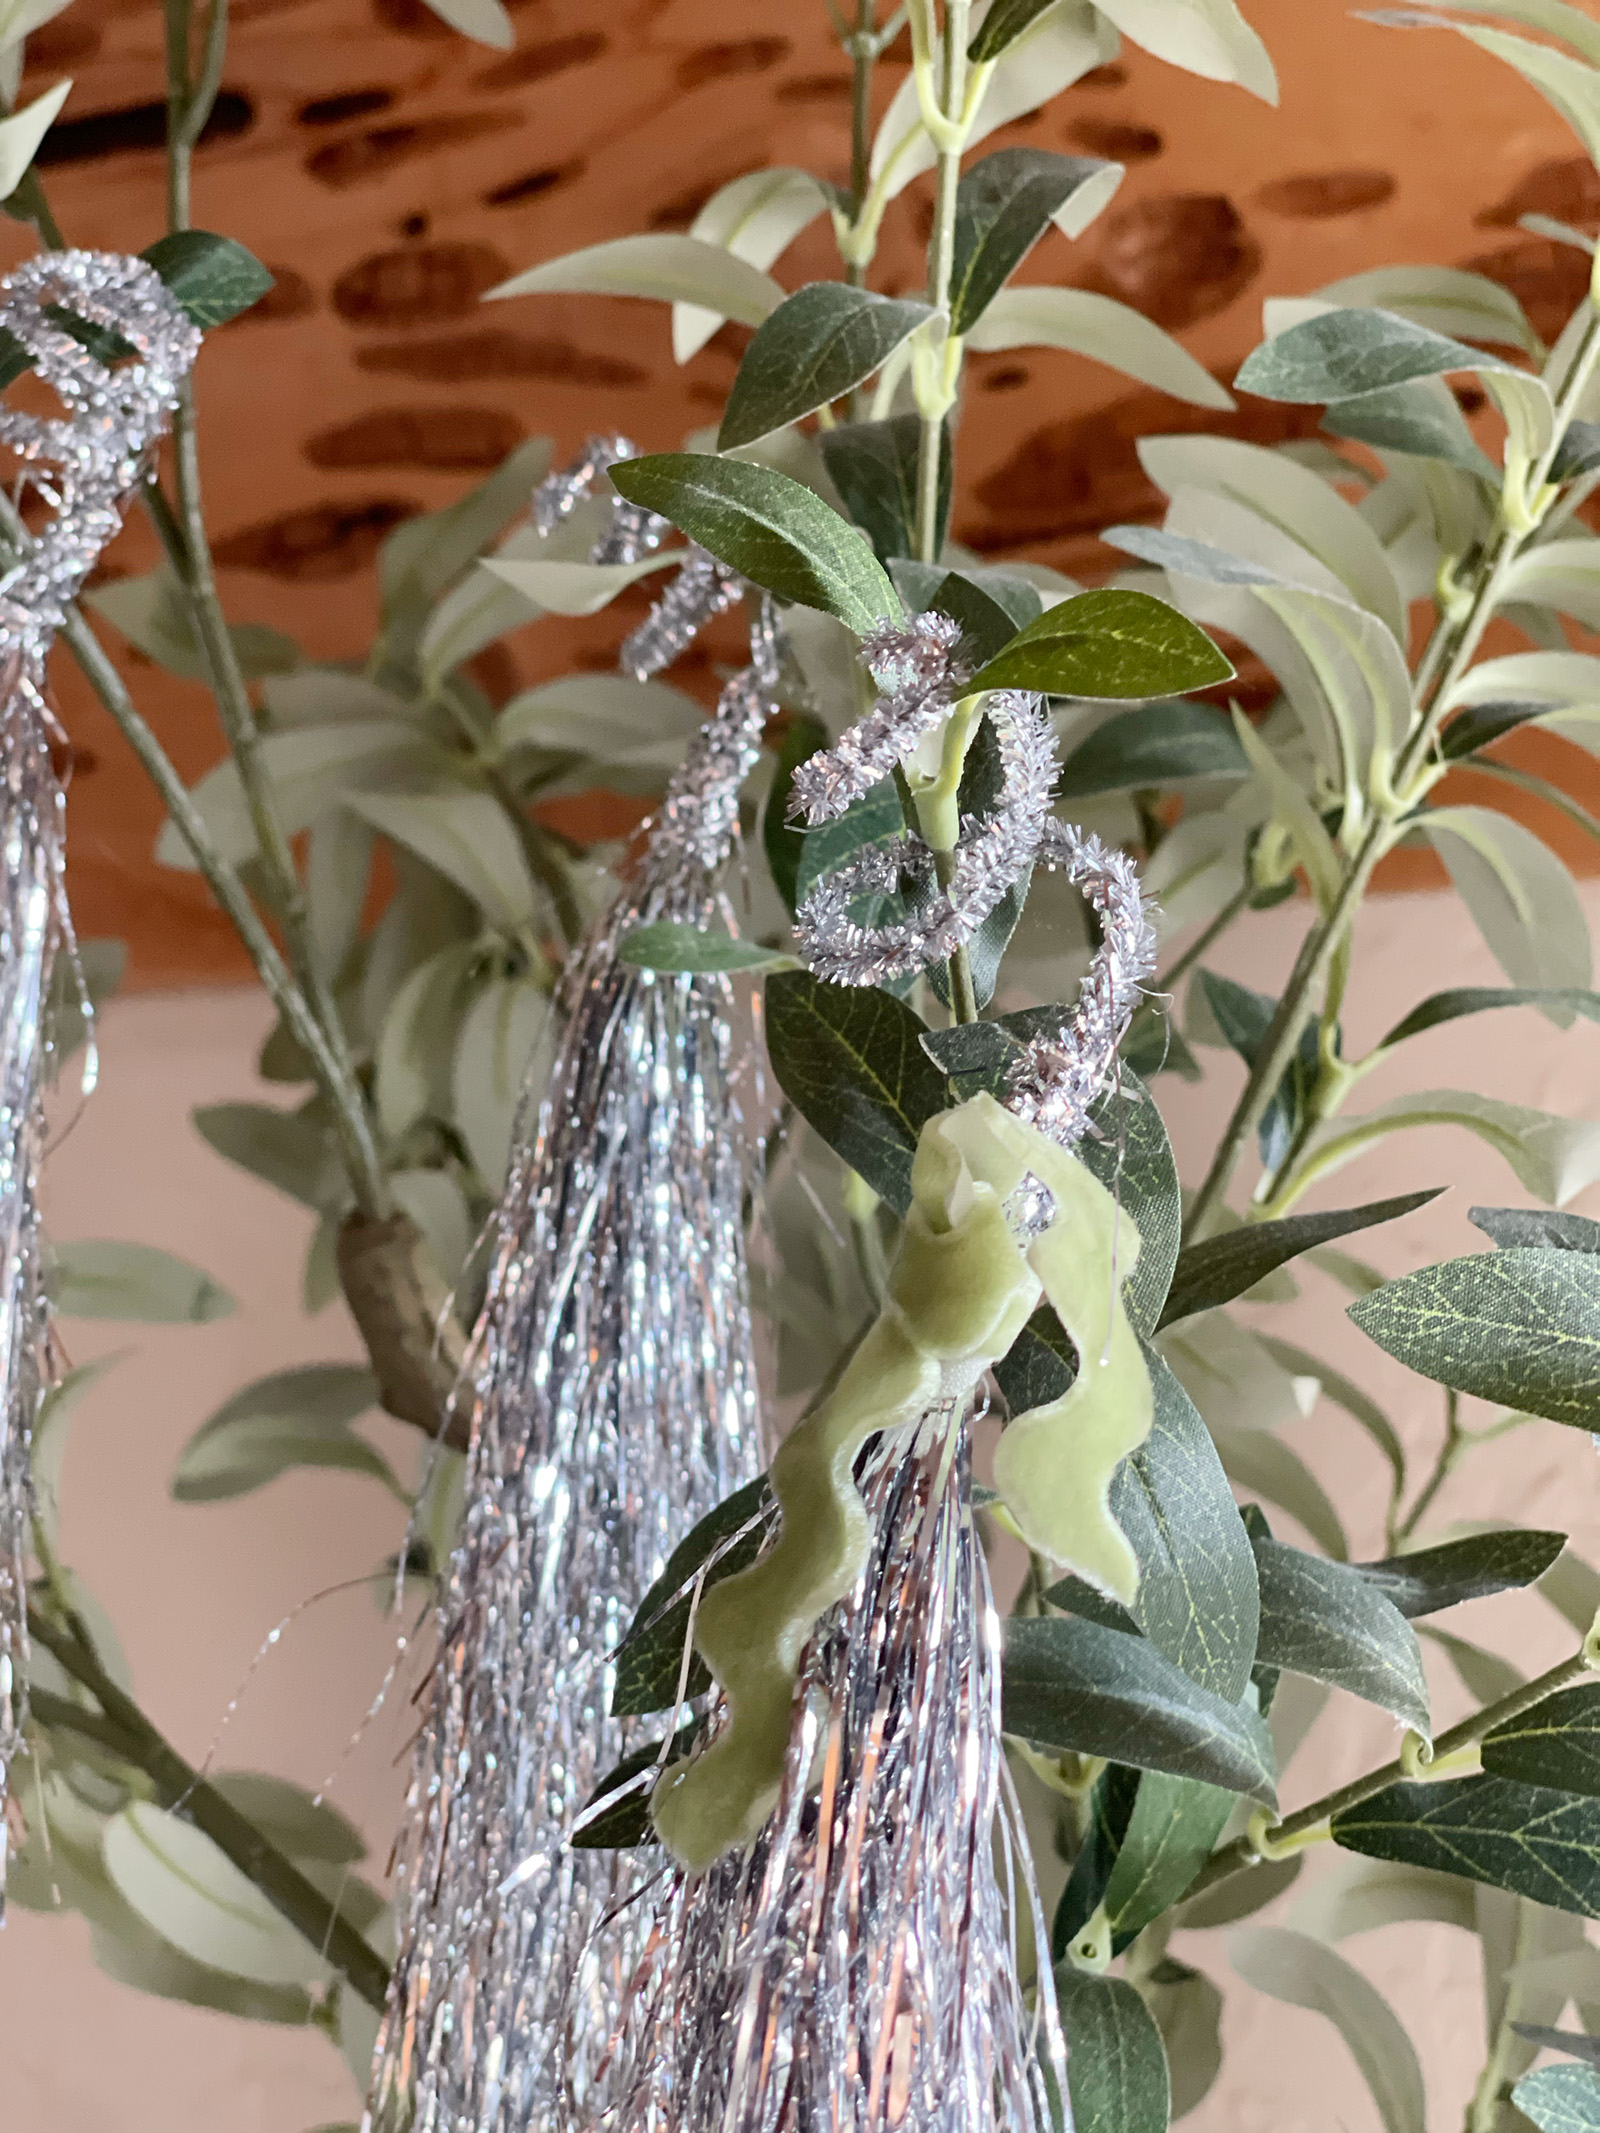
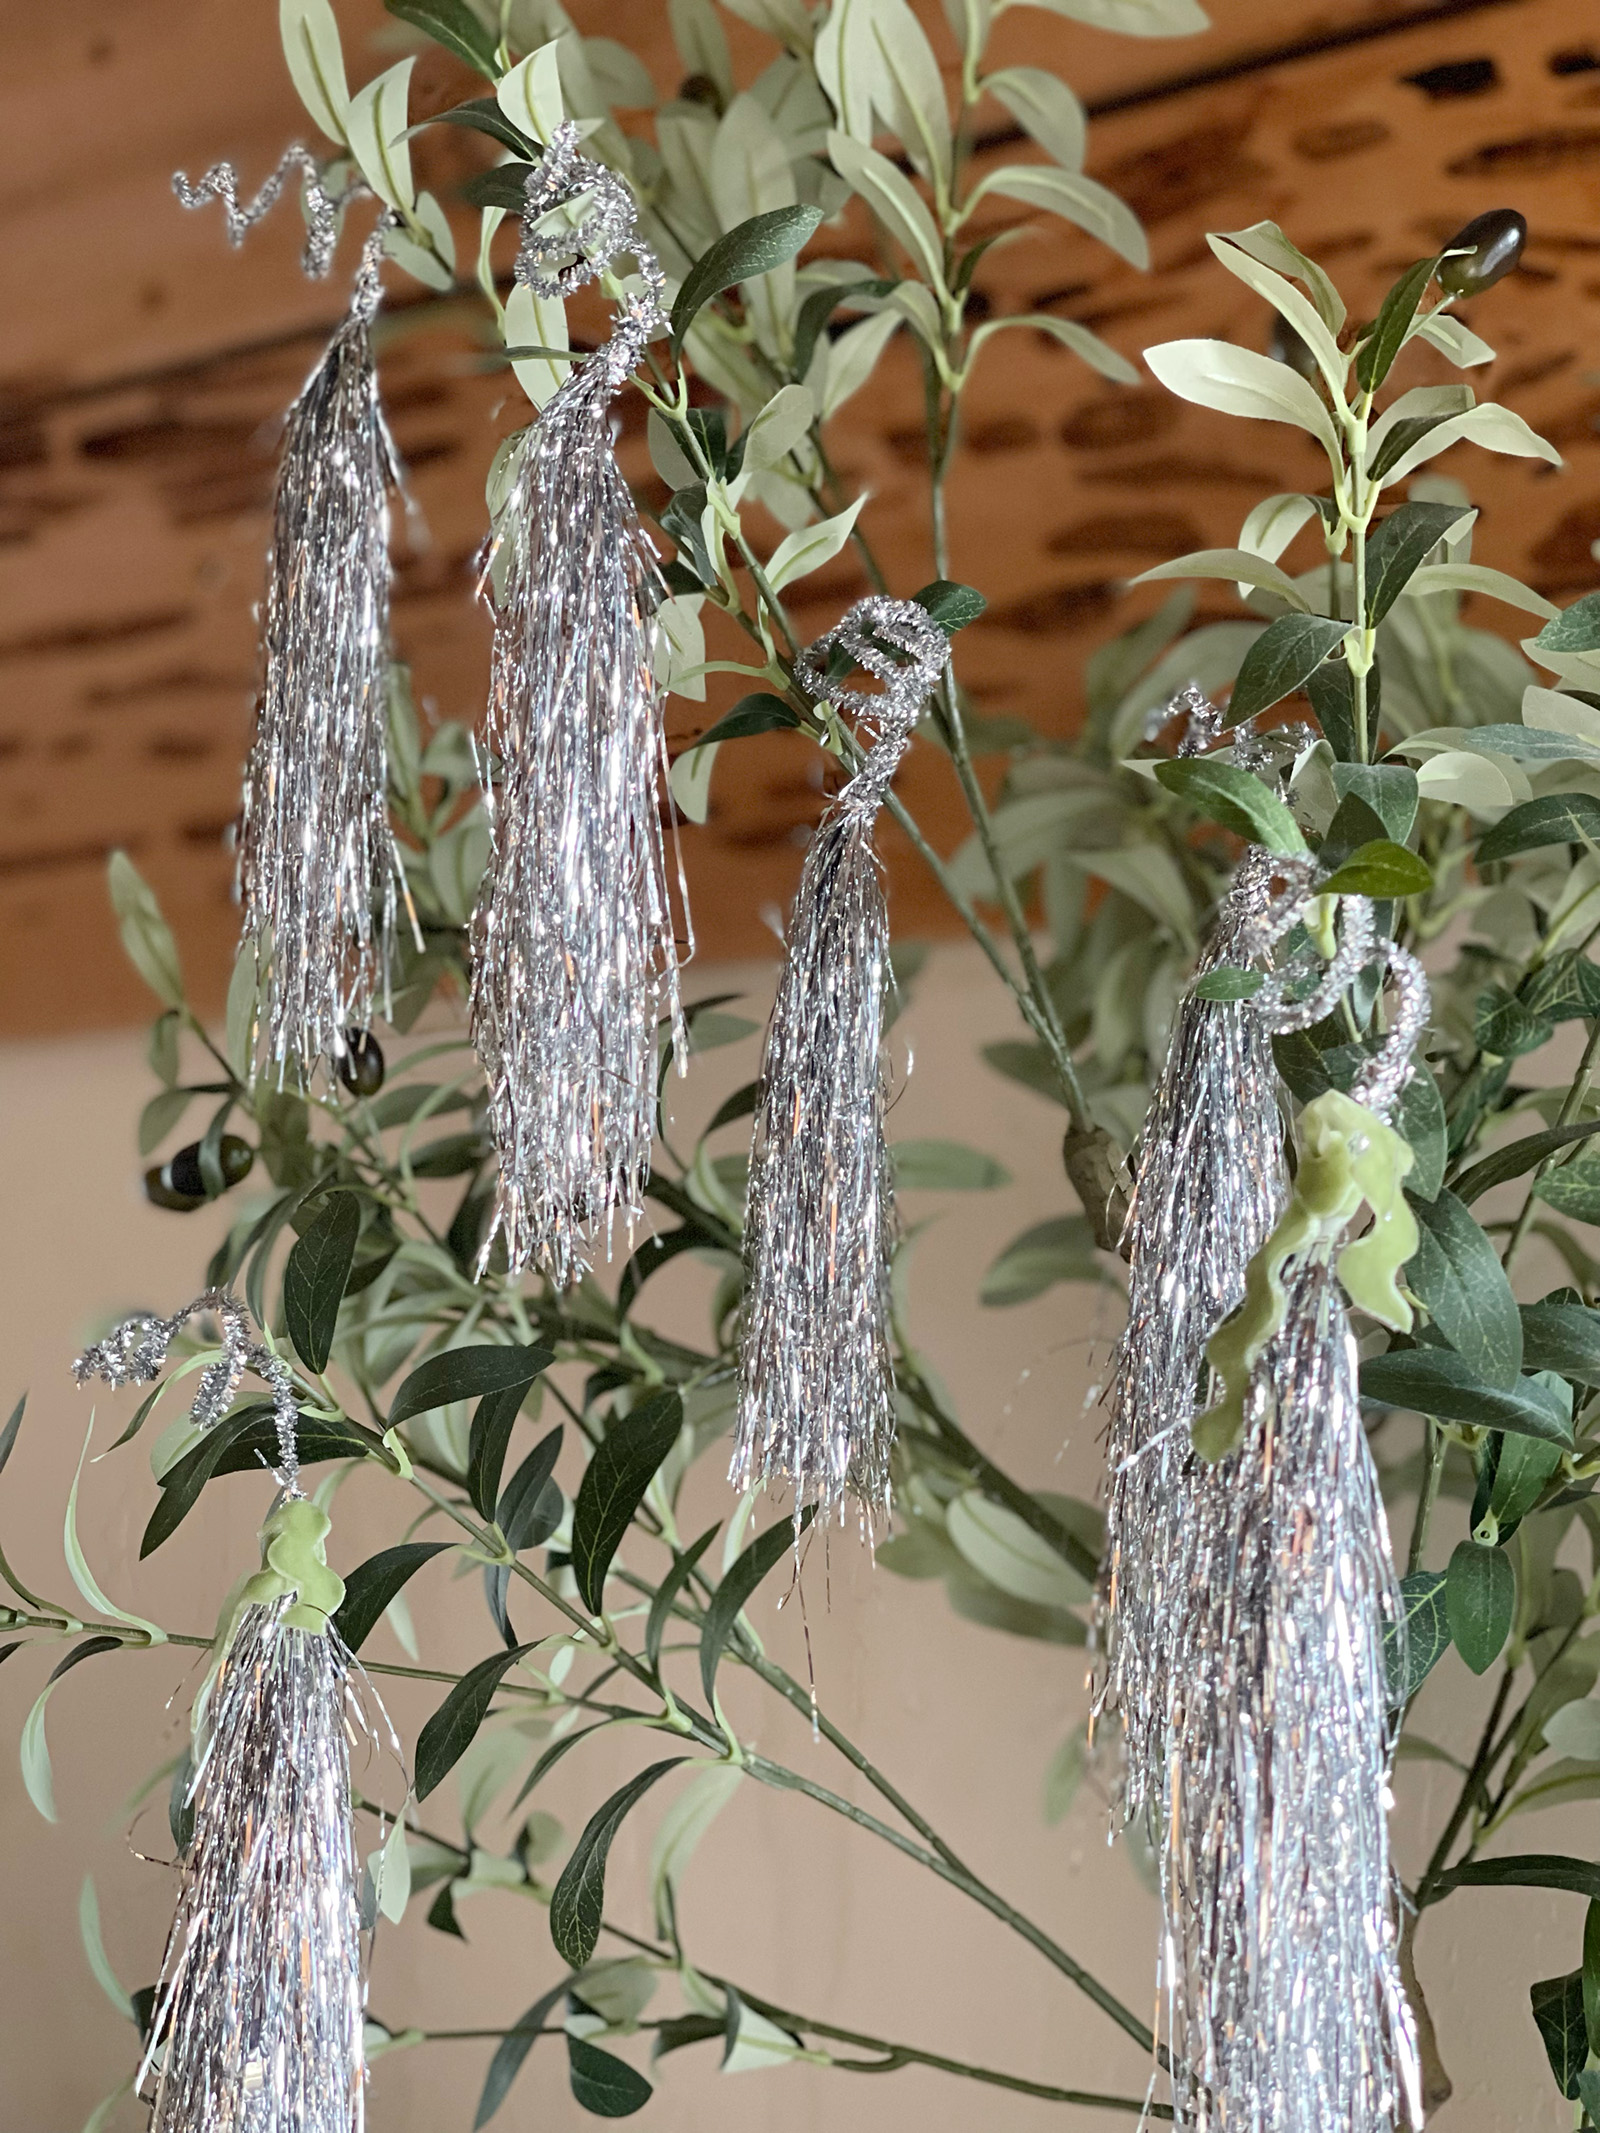
I made what looked like little broom sticks first… but ultimately I finished them off in a cute swirl at the top that allows it to slip right onto the ends of the branches BUT would also look adorable on top of a gift or gift bag or bottle of wine, you get the idea.

Unfortunately I put my tree away the night before I finished so I stuck them on my faux olive tree just to demonstrate how easy they slip on.
If you want to make a hook, just bend it like a hook, like I did on these floral hanging ornaments I made years ago.
And… Voila!
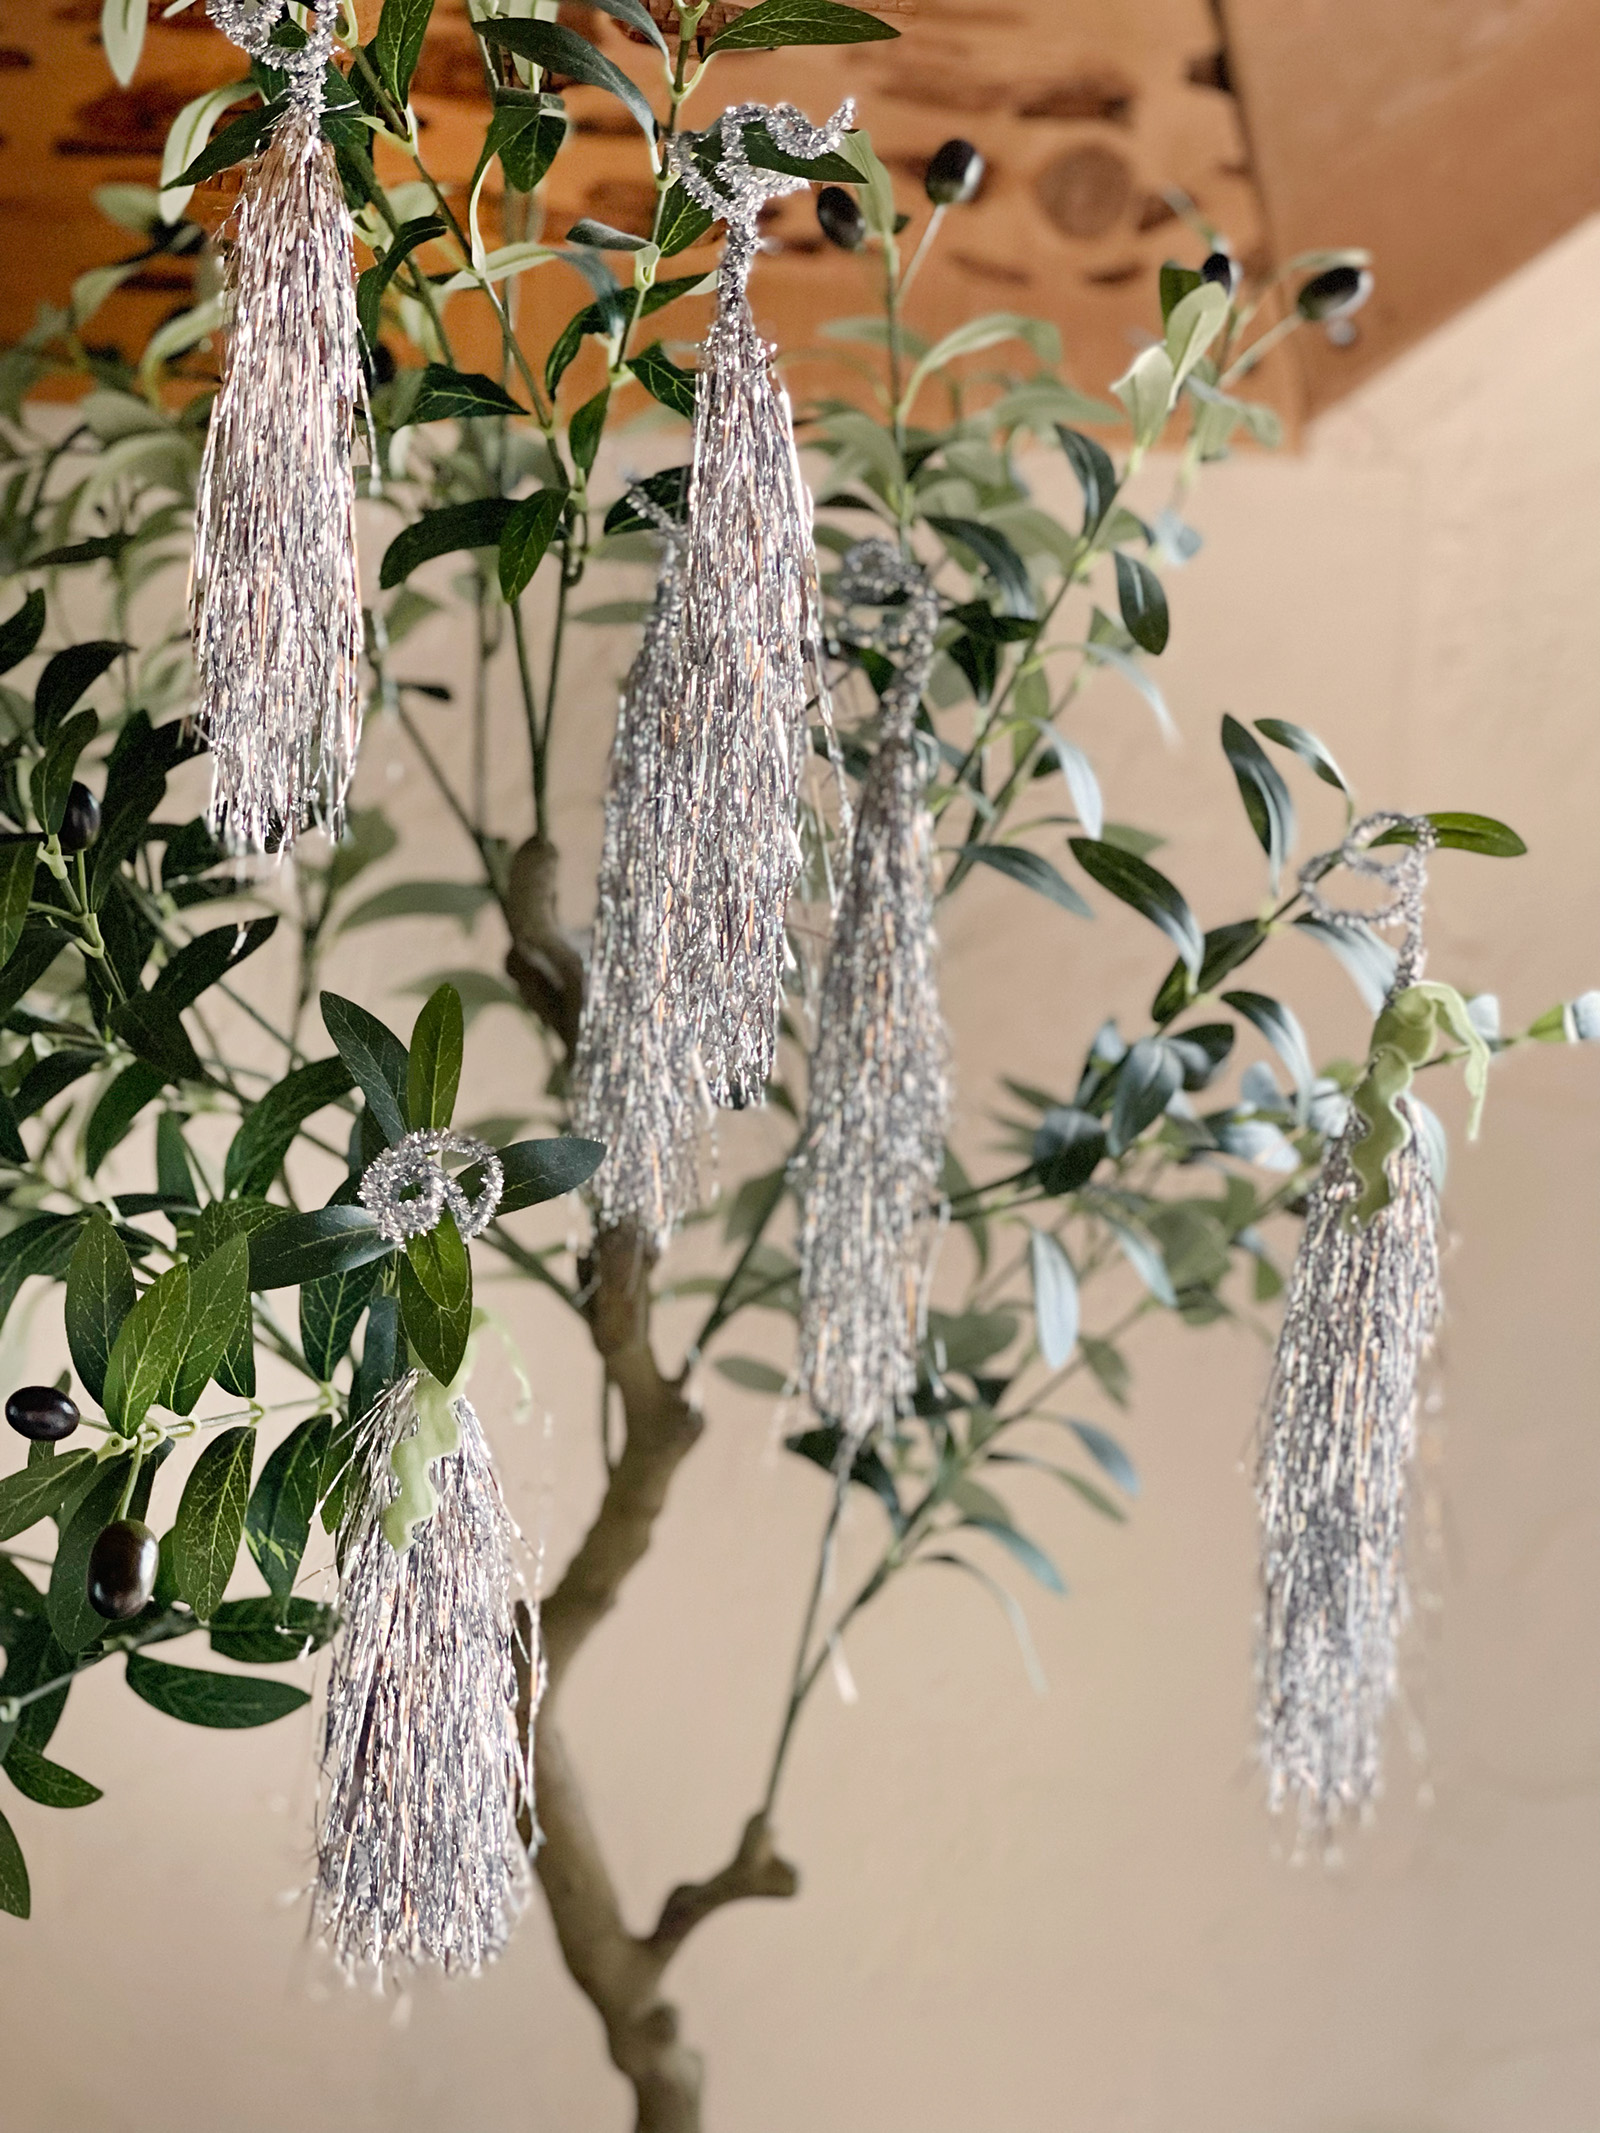
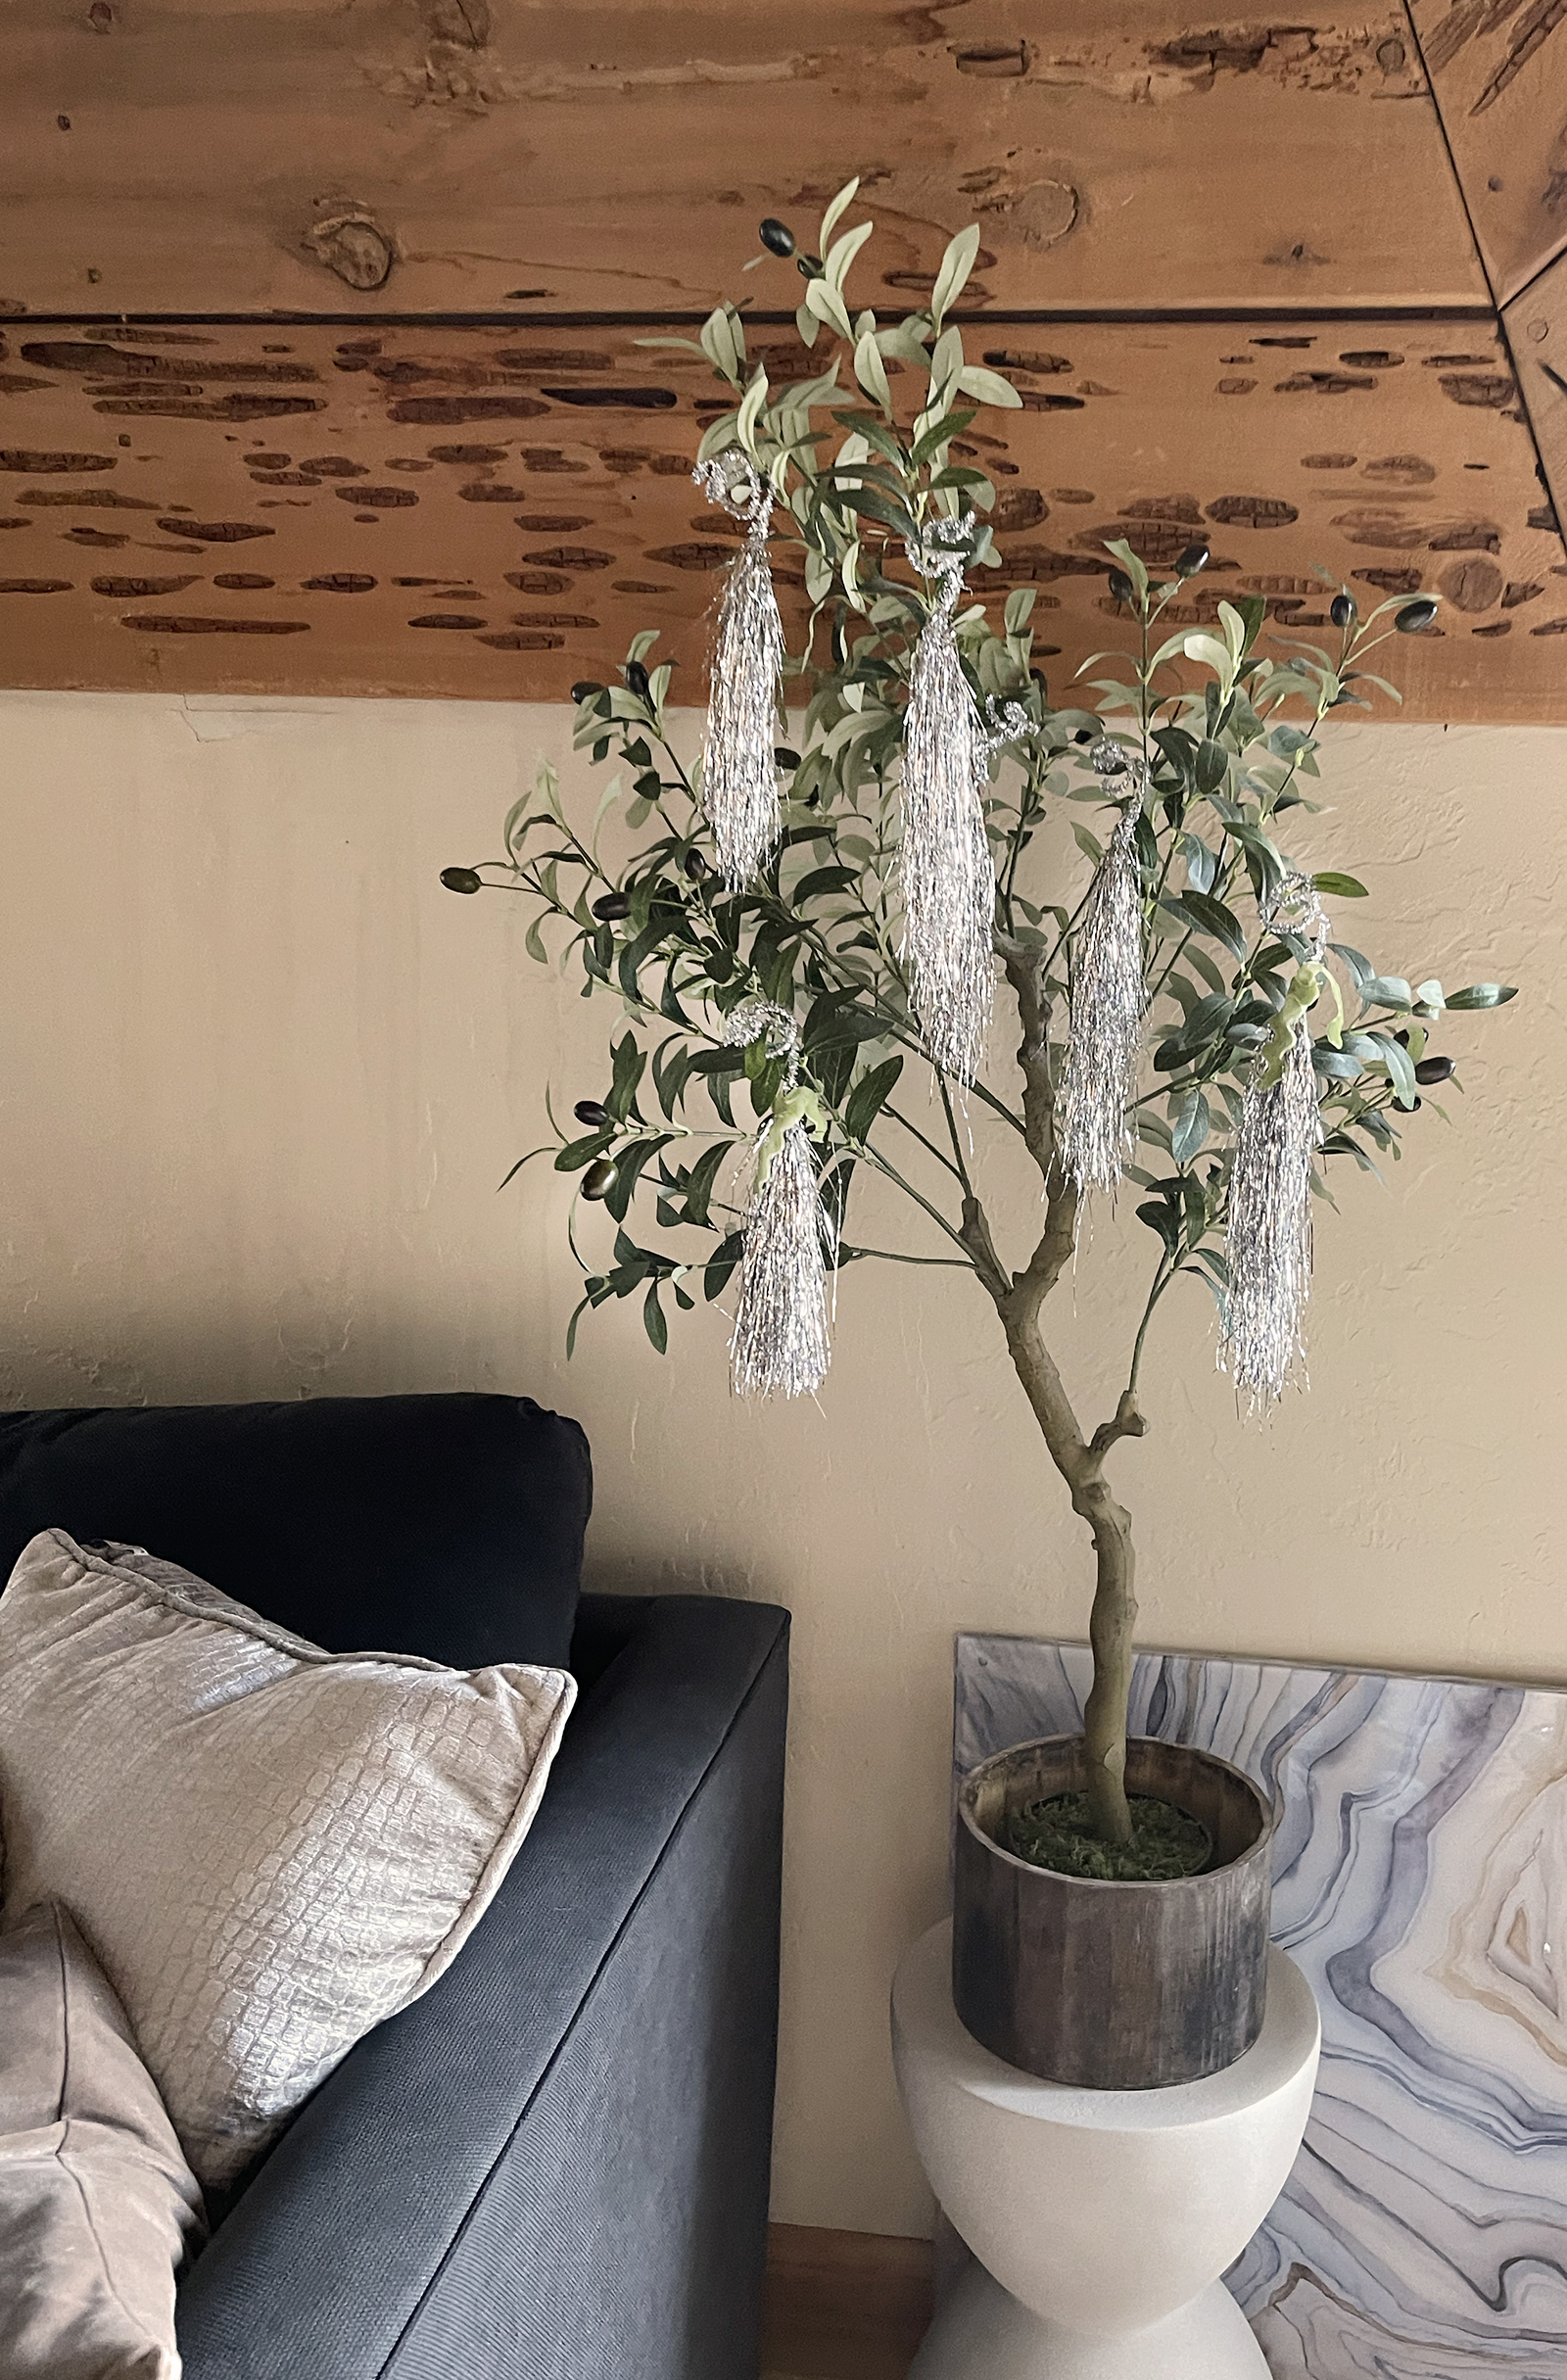
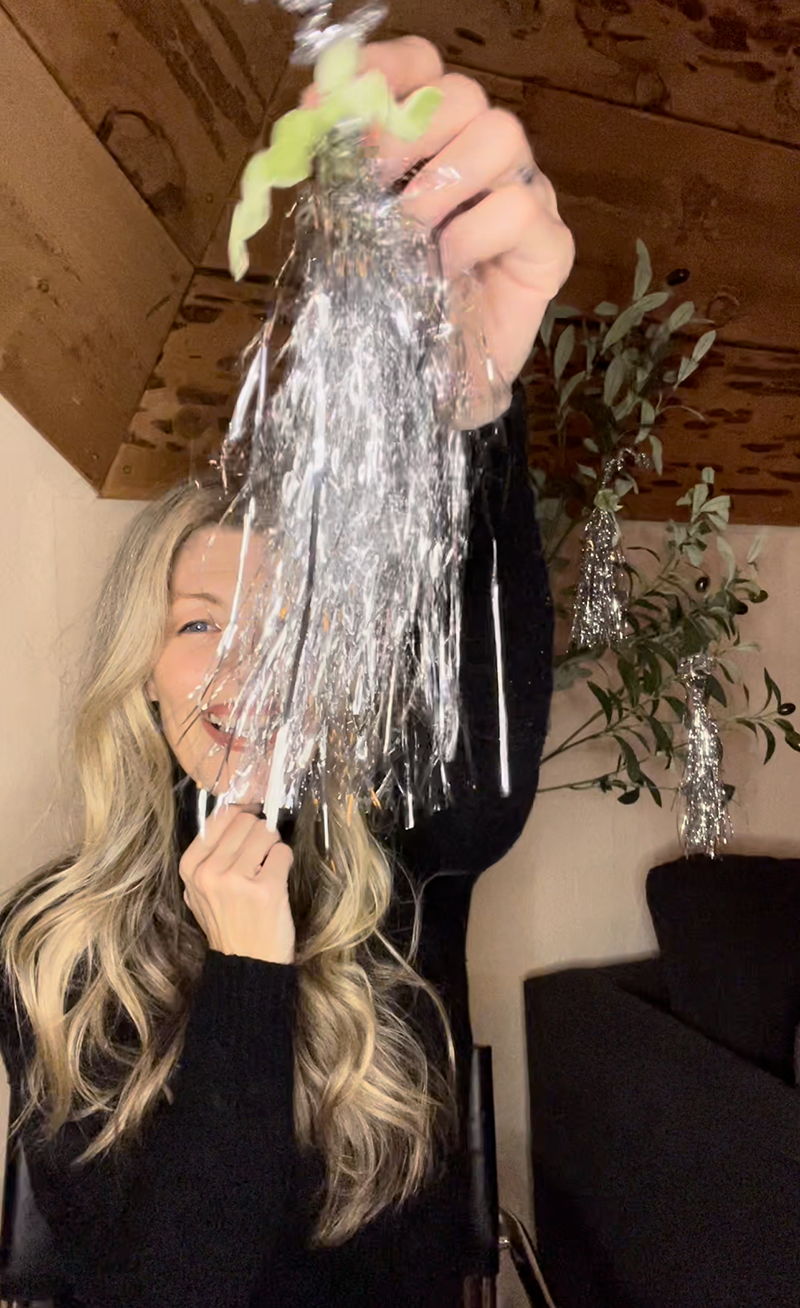
These can also work for party decor and are not Christmas specific… just saying 😊
* Watch it in real time on Instagram
Happy DIYing, Lovecats!
* Find all my DIYs here
* Find all my Christmas DIYs here
* Find all my DIYS BY CATEGORY here

