Before I really decide to get rid of any item in my closet, I give it a once-over to see if it can magically become something new. I’m not a hoarder really, I just don’t like waste. In fact, the closet in the Reading Room is full of clothes that “have potential” to become something else, though, they’ve been there for nearly 3 years now, basically collecting dust… wait, maybe I am a bit of a clothes hoarder?
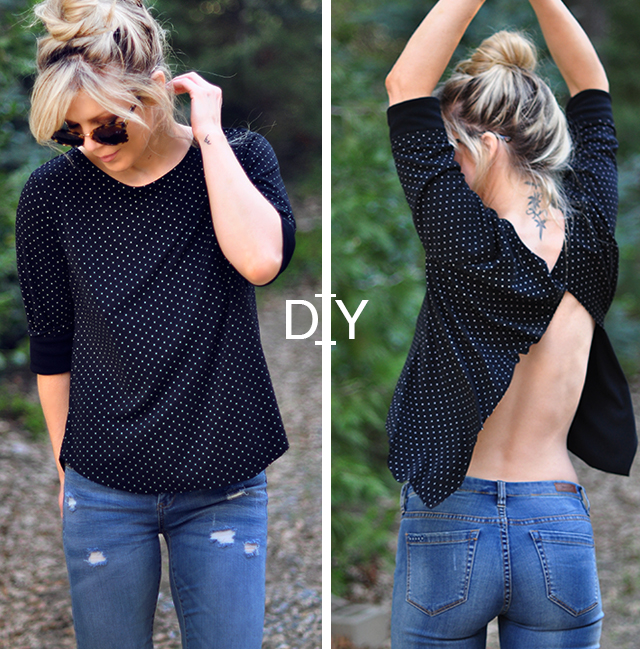
This dress was in my main closet though… and also collecting dust, but that’s beyond the point. The point is, I wanted a top with a completely open back and since I couldn’t find what I was looking for to buy, I decided to just make it… and this dress had the perfect proportions to become the floaty, open back top I wanted. I love how it fits loosely in the front and is completely open in the back. Normally I don’t go without a bra, but lately I’ve been feeling rather free without one on, lol, so I went with it, and the style works well braless. However, there are so many cute strappy bra options now to wear as a layering top beneath this, you can really get away with anything these days. So let’s get to it…
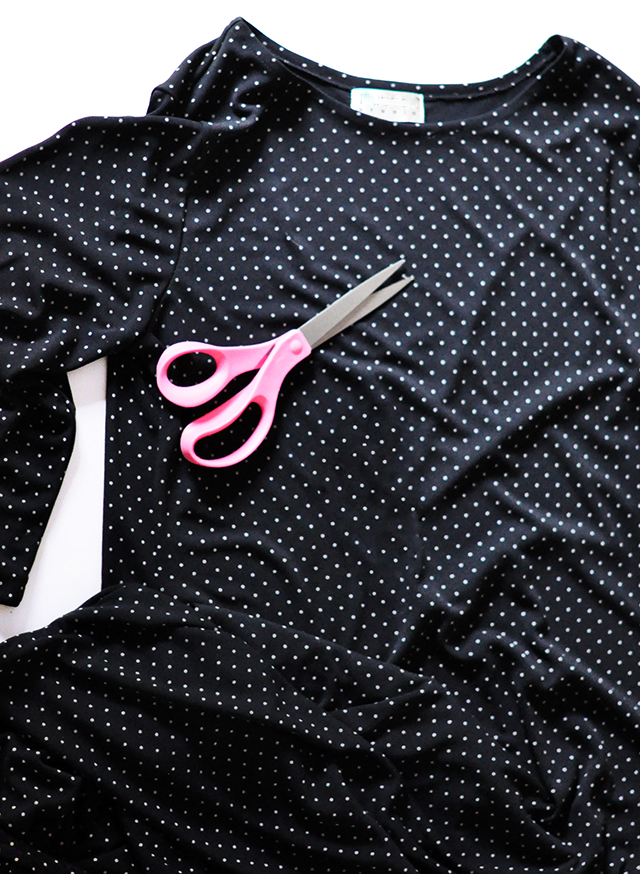
But First, Here’s what it looked like before…
* Remember the early outfit post days, where I’d pull over in the canyons or along Mulholland, on my way to and from the art gallery, and set my little digital camera on my car, set the timer, and run into place? The photo quality was not great, but there was an inherent spontaneity to and in those old shots that I just loved. Awe, sometimes I miss those days.


I found this dress at a thrift shop ages and ages ago and it has only made one appearance on the blog, back in January 2010… and I haven’t worn it since. Actually, it’s always been a little too big, even when I was a little bigger -it was too big, but it was the perfect silhouette for this refashion top diy.
What You’ll Need…

* If you have a similarly shaped dress, that’s great, but you can also use a loose-fitting top too. Look for jersey knits or poly-blends or any fabric that won’t fray or unravel without a hem.
* Scissors.
That’s it!
Steps…

If you’re working from a dress, try it on and decide how long you want your new top to be.
* I generally start along the hips and then shorten from there. If you’re unsure, start with it a little longer and then cut back gradually. If you’re into baring your stomach though, this would be a cute crop top too, provided you wear something under it.
Mark it with a dress pin.

Fold your dress perfectly in half and beginning from the edge, carefully cut away the skirt.
I cut in a rounded shape so that my top would dip down in the front and back instead of straight across. It’s a bit more flattering and a little cuter as well.

Lay your new top face down, find your center and cut a straight slit from the bottom to the top, leaving about an inch at the neckline.
If you’re using a jersey, like I am, you WILL NOT NEED TO HEM YOUR EDGES. However, most other fabrics, you’ll have to hem unless you want a raw edge with a little fraying.
And… Voila!


Have Fun!
* Find all my DIYs here

