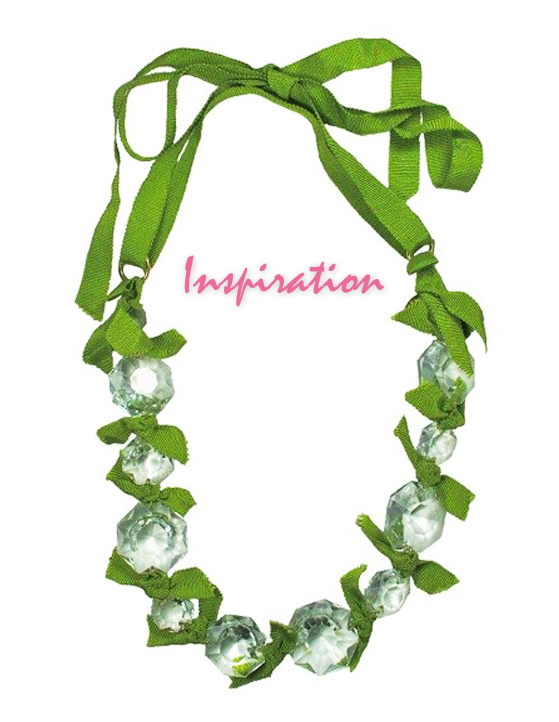
This Reader Request Maeg-it Yourself was inspired by and made for Kaitlyn who submitted the Amanda Pearl Vintage Crystal & Grosgrain Necklace $298.00 {as seen above}. Thank you Kaitlyn, and Congrats! I hope you like it… Email your whereabouts to lovemaegan@gmail.com and I’ll send it to you asap.
And for the rest of you …a pretty and simple DIY.
Here’s What You’ll Need…
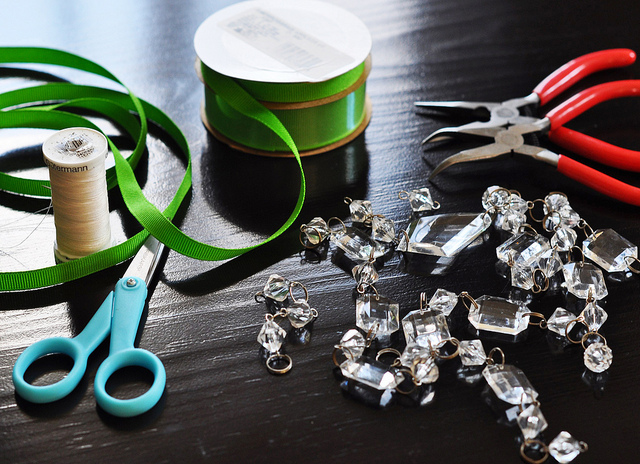
* Crystals {I like the plastic ones, they’re safer but you can find real/glass/vintage crystals in this shape at flea markets, specifically, if you’re in LA, the Rose Bowl} …I had a few left over from My Prada Inspired Chandelier Necklace so I’m using more rectangular cuts than the octagonal shapes of the original necklace. I think any will work though, as long as they get the point across. {you may also want to know that these crystals hung at our wedding reception in 2006 ;}
* Grosgrain ribbon {I went with a brighter Kelly green rather than a Chartreuse, so fresh for Spring!}
* Needle/Thread/Scissors {didn’t actually use the thread but thought I would need it to hold the knots in place}
* Chain/Jump Links …if your crystals are not attached to a chain.
Steps…
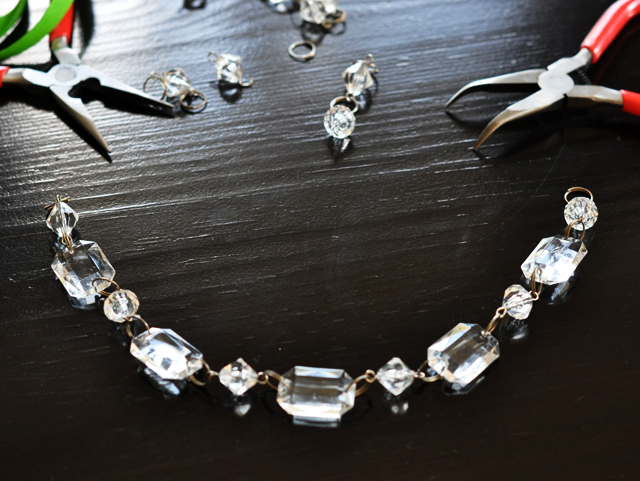
* Using your crystals {or a necklace you may already have} create a row that measures from left to right collar bone, with a nice drape {about 12″ usually works}.
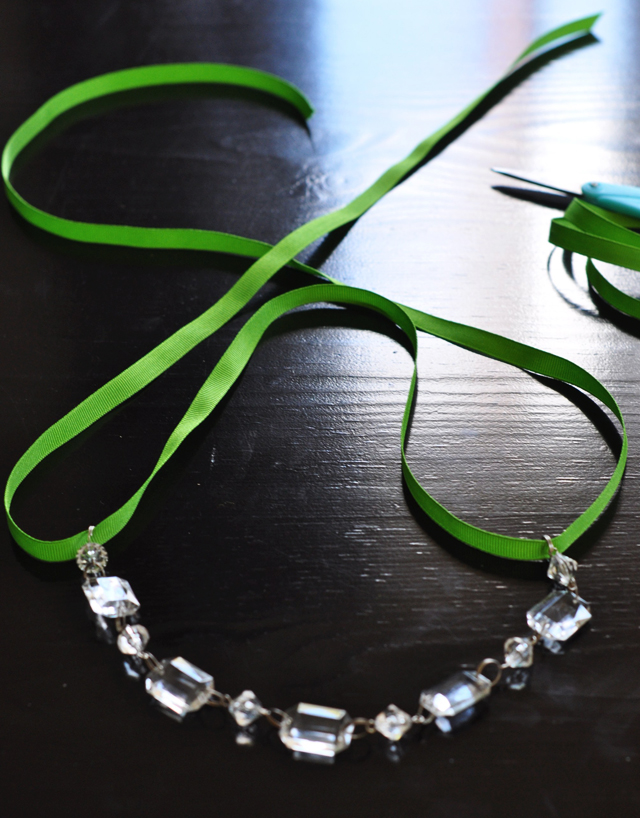
* Using enough ribbon to give you the option of wearing it short or long, cut and loop through as shown. You will have to loosen it and pull it over your neck, then tighten and tie.
* If you like, you can leave your necklace like this. It’s a nice {and easy} option as well.
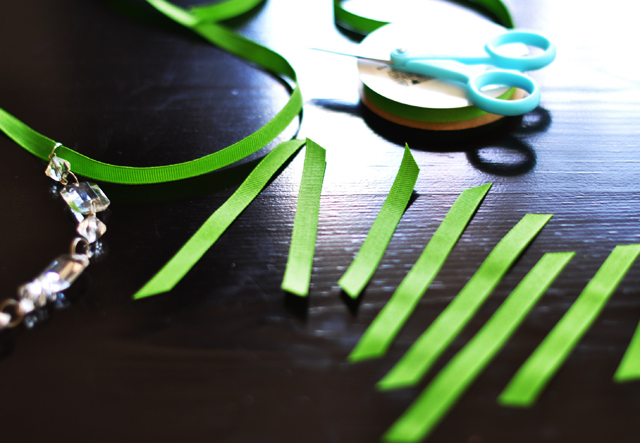
* Cut 10-12 strips about 4-1/2″ long {you will trim them down later}
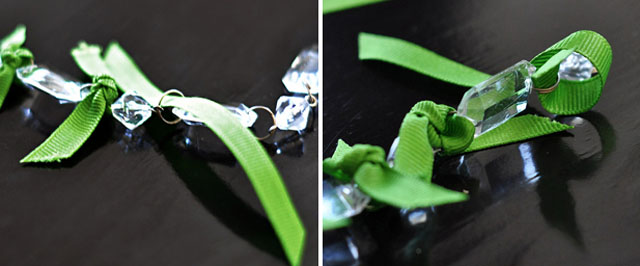
* If using a regular/thinner chain, you can simply tie a double knot to create this affect. Since my ring is larger, I disguised it by …1. Sliding the ribbon through. 2. Looping the ribbon around/under/then up through the middle.
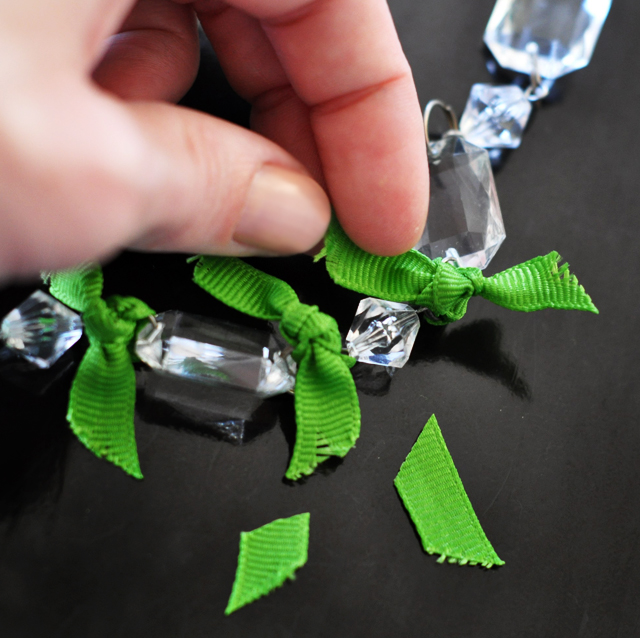
* …then tying a double knot. Trim the edges with a nice angle. Give the ends a vintage look by rubbing them with your fingers
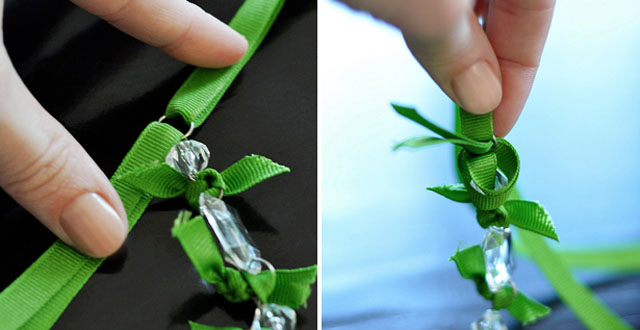
* Finish off the end loops {where the neck/ribbon/closure is} by
1. Sliding the ribbon through and folding over.
2. Looping the two layers around and through again.
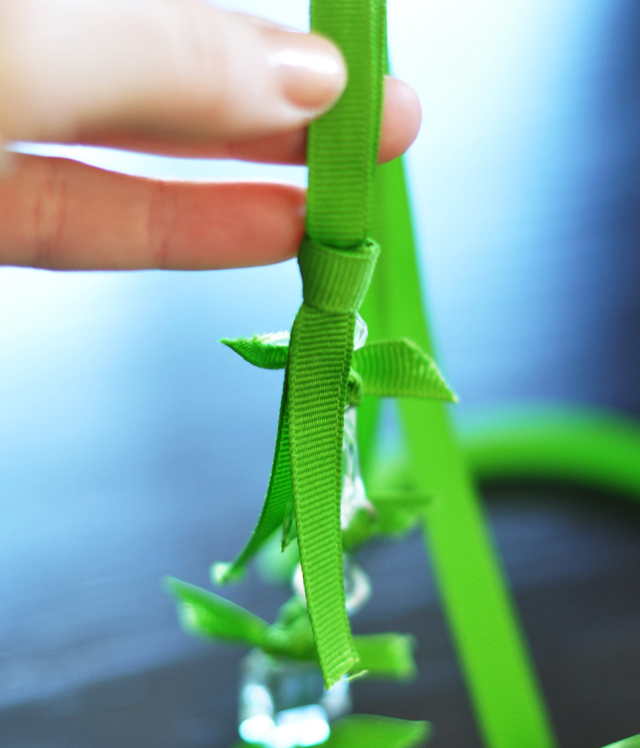
* Push ends down through loop creating a tie of sorts and tighten.

* Trim the ends on an angle and roughen up with your fingers.
And… Voila!
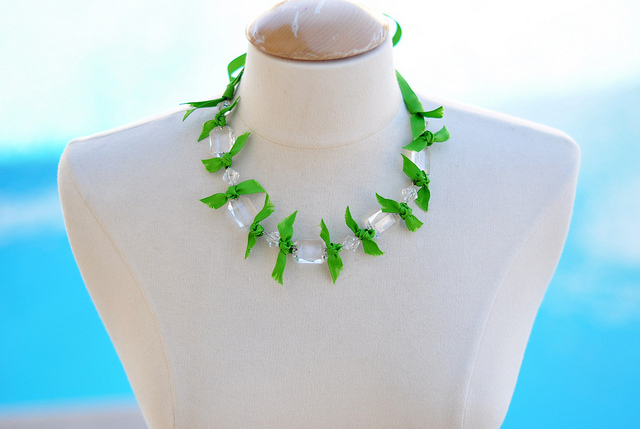
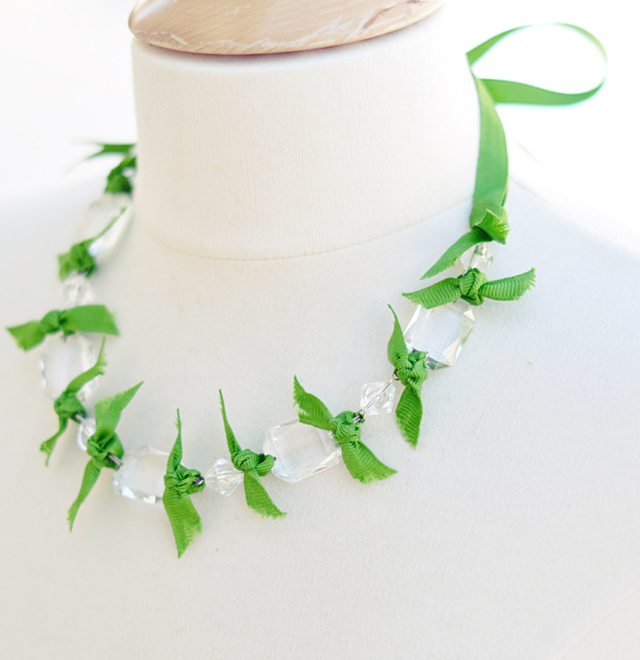
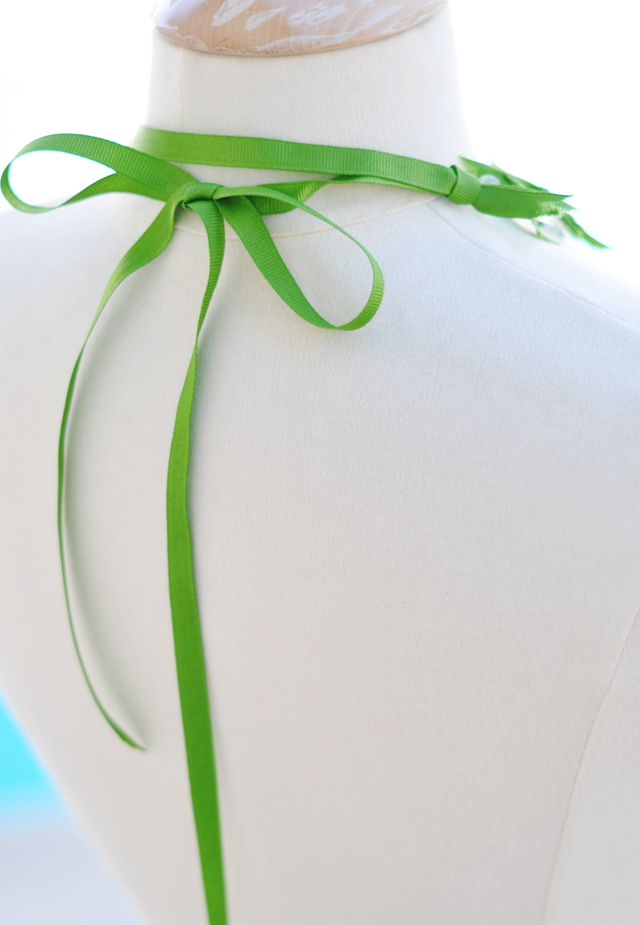
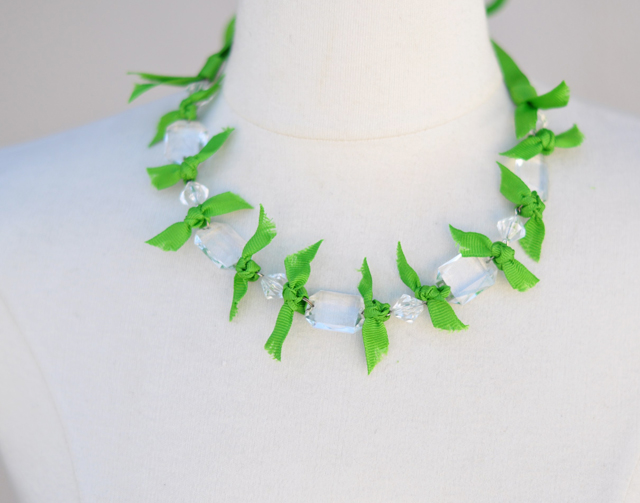
Just in time for St. Patrick’s Day, don’t you think!?!
Have Fun!
* Find all my DIYs here


