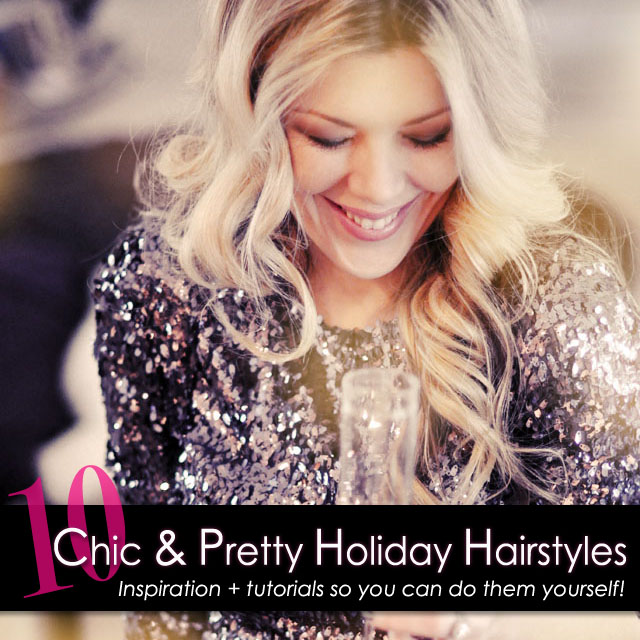
Tis the season of holiday soirees! Of wearing pretty party dresses and styling your holiday hair to match! For your inspiration this holiday season, find 10 pretty hairstyles with tutorials so you can do them yourself! Some are from my original video tutorials and others are written step by steps to achieve the pretty styles I’ve worn through the years but haven’t done tutorials for {if that makes sense}.
ONE…
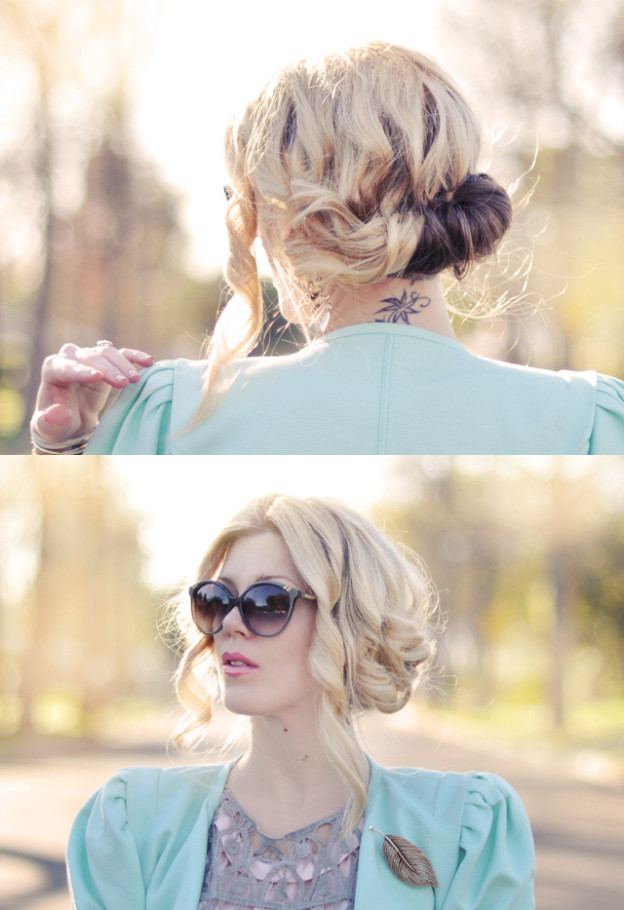
This pretty done but undone updo is so easy, ANYONE can do it! It’s slightly easier to do with shorter hair, though you’ll also have a bit less volume.
How to create this pretty twisted updo…
1. Begin by curling your hair with the Soft Loose Curls Tutorial as shown in photo #1
2. Have a handful of small and large bobby pins ready.
3. From the ends up, carefully twist your hair upwards and pin it in place at the base of your head.
4. Separate your curls for dimension and spray to hold.
Photo: Pretty and Soft Up-do
TWO…
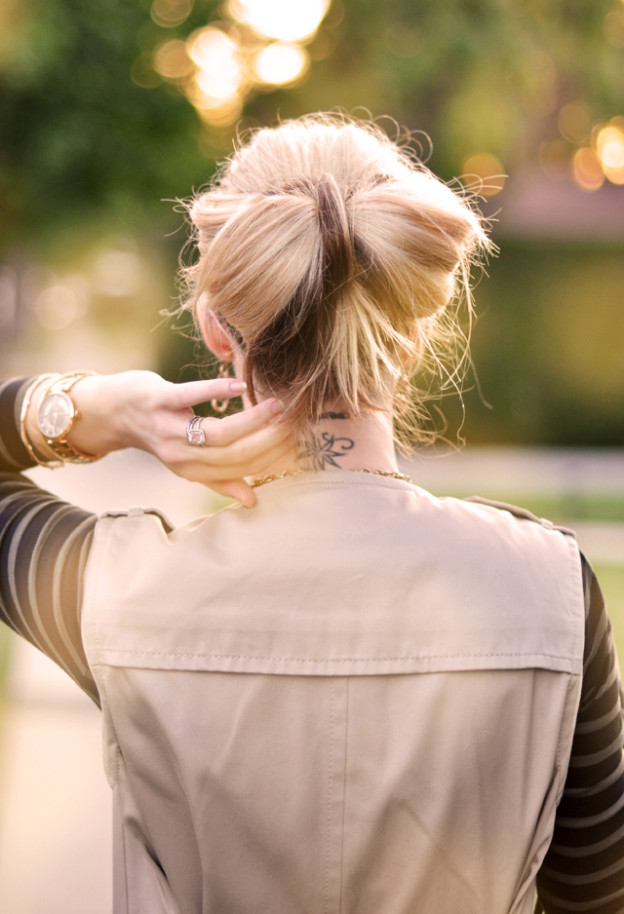
This is such a fun look! Inspired by Lady Gaga’s top of the head bow from a few years ago, I created my bow in the back of my head instead for a chic and pretty updo with a twist!
How to create this fun hair bow…
(For best results, see my Photo Hair Tutorial: Big Floppy Hair Bow Tutorial)
1. Pull your hair up into a ponytail at the back/center of your head, and on your last go-around with the elastic only pull half of your hair through, creating a large loop. The larger the loop, the larger and floppier your bow will be; the smaller your loop, the smaller your bow will be. NOTE: I have a LOT OF HAIR. This will be much simpler if you have shorter and/or finer hair.
2. Split your loop in half.
3. Twist each loop so it resembles a bow rather than a loop.
4. Slide your palm through your bow loop to flatten it, and using your large bobby pins on the inside loop hairs, pin from top to bottom and bottom to top. Use as many as you need. Do this on both sides, but disguise your pins under your hair.
4. Grab the remaining hairs hanging down and pull them up over the center of your hair loops.
5. Turn the ends under (so hairs don’t stick out the top) and pin the underside down at the base of your ponytail elastic.
6. Hairspray to finish.
Photo via: Sleeveless Trench and Jeans
THREE…
I love this pretty pony because it’s casual, yet sophisticated, and it would be just as pretty to wear as guest at a wedding as it would on a romantic dinner date. And it’s perfect for the holidays as well. My version is soft, a little loose, fairly easy, and really pretty.
How to create this pretty twisted pony…
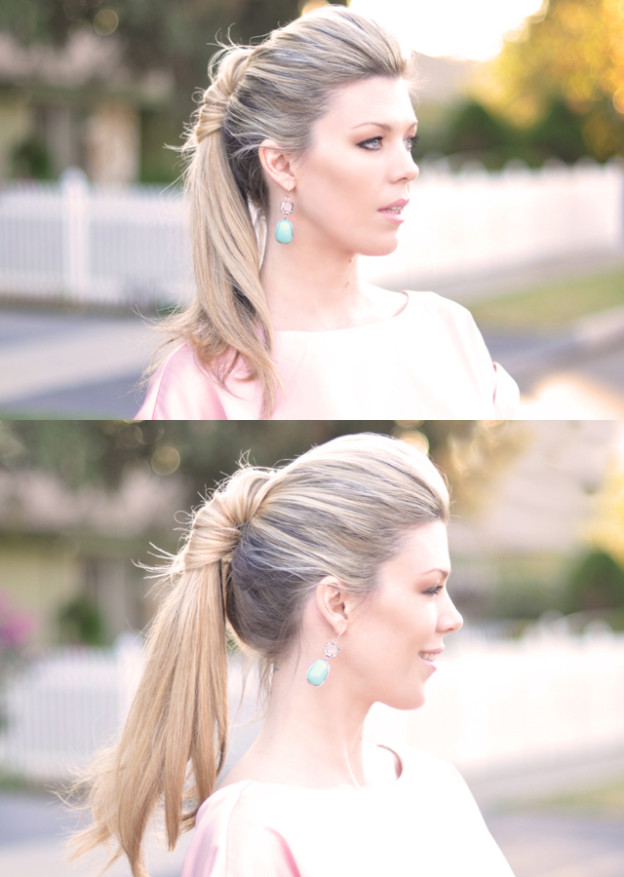
(For best results watch my video tutorial: Sleek and Pretty Ponytail Twist)
I could try to explain it with words, but this one is better if you can see it for yourself!
Photo + Video Tutorial: Sleek and Pretty Ponytail Twist
FOUR…
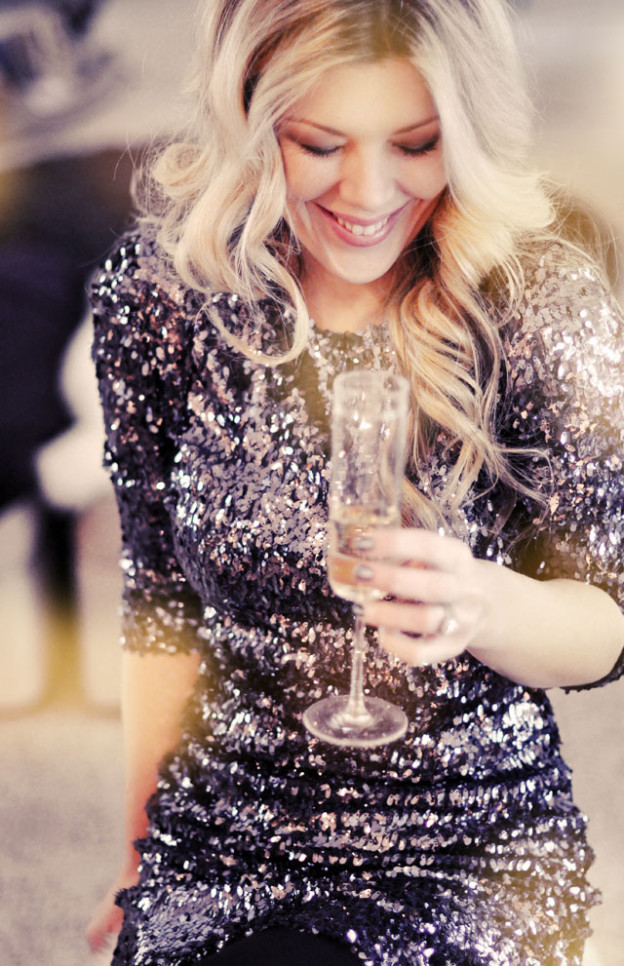
This is such a pretty hairstyle and it’s so easy once you perfect your techniques! With a little practice and the right tools (and patience for trial and error), you can have pretty curls in 5 minutes flat.
How to get loose, soft, curls…
(For best results, watch this video tutorial: The Perfect Curl)
Basically you need a curling iron and a few techniques up your sleeve. My favorite iron, and the one I use for almost every curled or waved hairstyle I do, and tutorial, is the Hot Tools Jumbo 1″ Pro Spring Curling Iron. It’s the best. Put it on your Christmas list if you don’t have it — it will change your life, or at least your hair’s life!
It’s best to follow the link above to watch the video to learn how to get great curls. Explaining it will be insufficient!
Photo: Soft, Loose Waves
FIVE…
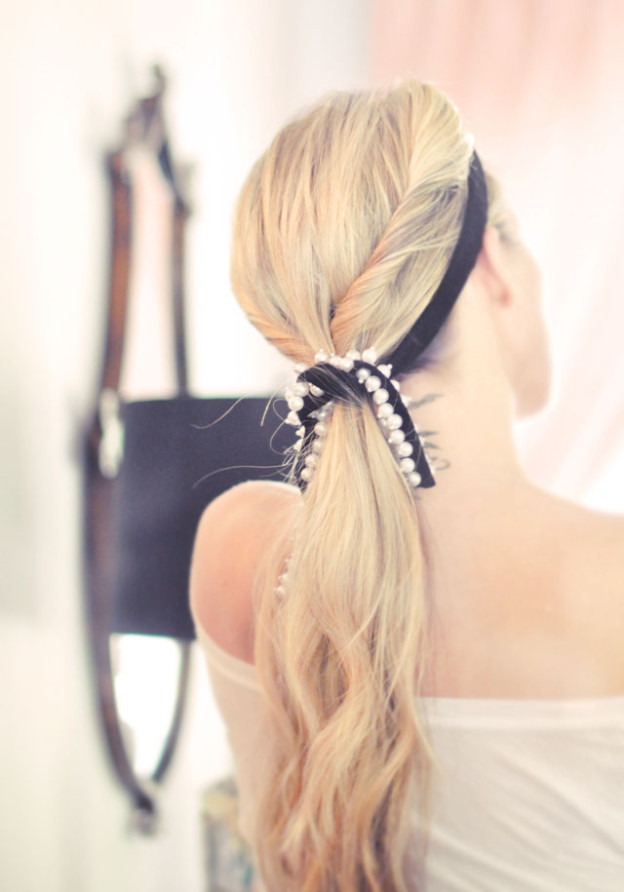
So much bang for your buck here! It’s basically a fancy low ponytail, and it’s as easy as 1..2..3!
How to create this pretty twisted low ponytail…
1. Begin with textured hair — either a day dirty, waved, or texturized with a little dry shampoo. It just holds better that way.
2. Part your hair in the center, and with an elastic and a few jaw clips on hand, carefully separate a section on either side of your front part, just behind your hair line.
3. One at a time, carefully twist the sections in a backward motion. Clip in place to hold while you twist the other side.
4. Grab both twisted sections along with the rest of your hair, and secure it into a low ponytail with your elastic.
5. Finish it off with a pretty scarf or ribbon by placing the center of your ribbon at your middle part in front of your twists above your forehead, then swooping it down under your ponytail, crossing it, then bringing it back up to finish in a knot or bow.
Photo: Low Ponytail with a Twist!
SIX…
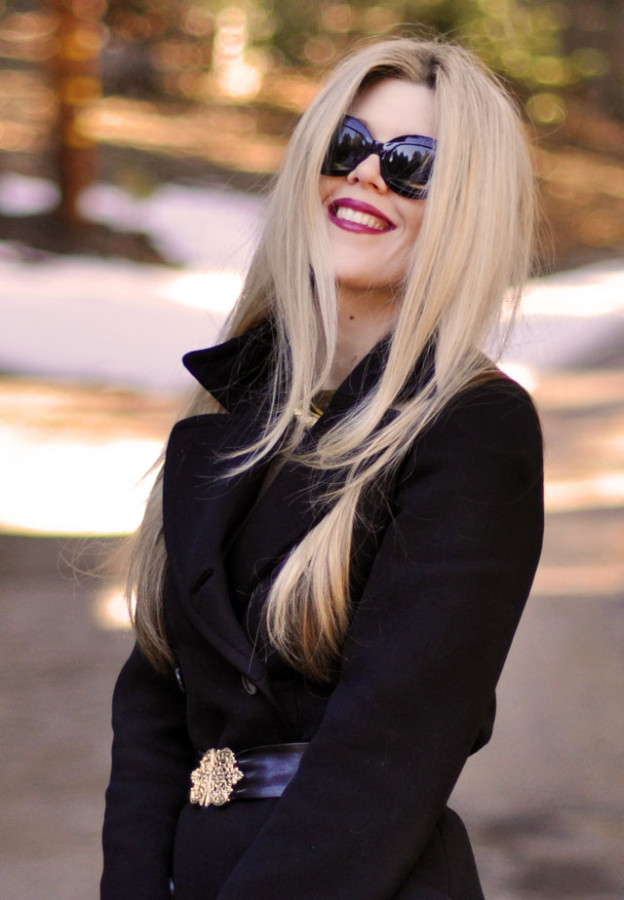
If you’re one to get a blowout on the regular, then this is a cinch! If you’re a DIYer like me and have straight or relatively straight hair, then this is just as easy. You’ll need a blow dryer and a 2″ Hot Tools Curling Iron … a great pair of sunglasses and deep burgundy lip don’t hurt either!
How to create this sleek hairstyle…
1. Begin with a wash and blow dry. You can find my blow drying tips here: My Tips for MEGA HAIR VOLUME
2. Once your hair is dry, simply use your 2″ curling iron to smooth it out and turn the ends under just a bit.
Really, that’s all I do to achieve this look. The curling iron is better than a flat iron because it retains your hair’s volume while making it sleek and straight vs. a straightening iron, which sometimes flattens the hairs too much.
Photo: Sleek Straight Hair
SEVEN…
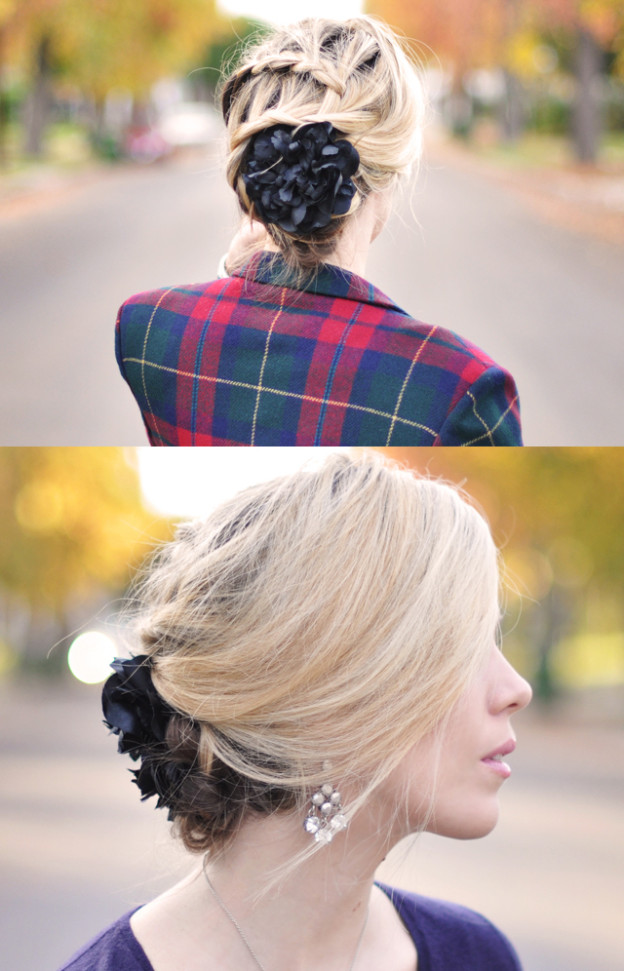
I only included one braided tutorial because usually they’re a bit more difficult and take a bit longer to do yourself. Sometimes holiday hair is best left easy, but I love this pretty zig zag French braid.
How to create this snake French braid…
(For best results, watch my video tutorial: Zig Zag French Braid with Flower)
1. Begin with a side part and start French braiding from the side of your hair that isn’t swooping in front of your face (see photo).
2. Continue braiding along the back of your head, then swoop it around the side and back around.
3. Pin it in place when you hit the back of your head.
I added the flower to hide all my messy pinwork, but if you’re a pro, you don’t need the flower. However, the flower adds a pretty holiday touch.
Photo + video tutorial: Zig Zag French Braid with Flower
EIGHT…
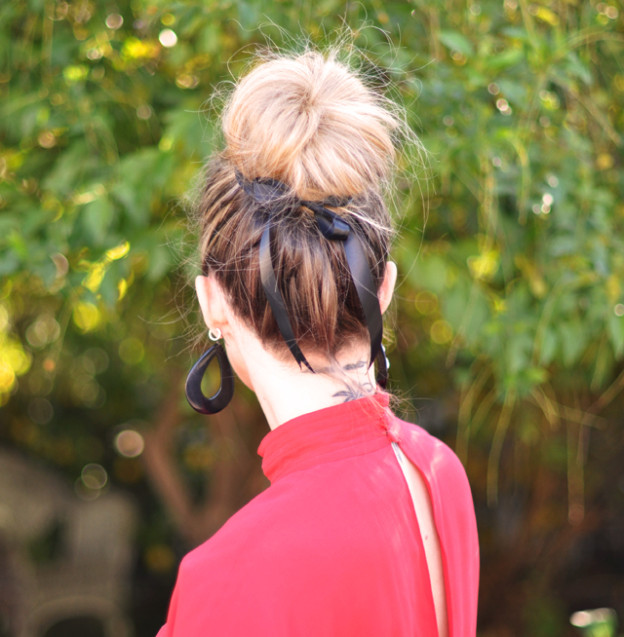
If you’re not happy with your own bun-making skills, use a sock to help create your bun. However this look is best less than perfect. In fact, the messiness gives it that romantic vibe, and sometimes the sock buns are just too perfect!
How to create this romantic bun…
1. Begin with your hair in a ponytail for a tighter look, or simply swoop your hair up and twist it around your fingers.
2. Secure it in place with your pins, and if it’s too perfect, use your fingers to pull it out and mess it up a bit.
3. Tie a perfect little bow in the back and let the ends of the ribbon hang down to your neck.
Photo: High Bun with Pretty Ribbon
NINE…
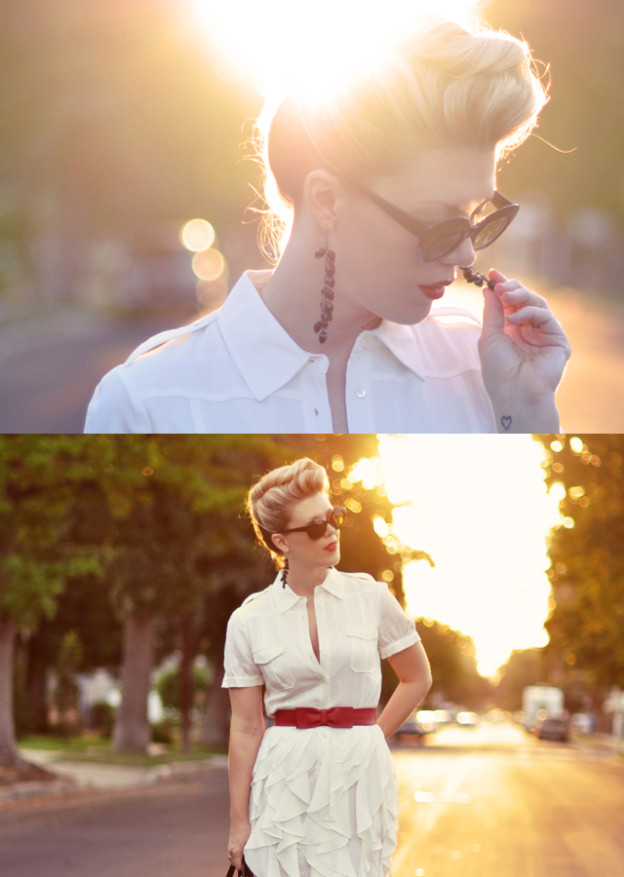
This is a fun look because it sort of mimics a faux-hawk or a short haircut if you slick the sides back. If you leave it looser, it has a sort of modern retro/40s look. Either way, it’s great for the holidays and reads a bit edgier than soft curls, if you’re into that kind of thing.
How to create this cool twist…
(For best results watch my video tutorial: Top French Twist Roll)
1. Begin with straight hair with a bit of texture. You’ll need bobby pins in large and small sizes to keep it up and hairspray to finish.
2. Pull your hair up into a a high ponytail in your hands and begin twisting it upwards.
3. Pin in in place while laying it atop your head.
4. Finish the top by swooping and twisting it under and pinning in place as well. The video demonstrates it much easier than words can explain.
Photo + Video Tutorial: Top French Twist Roll
TEN…
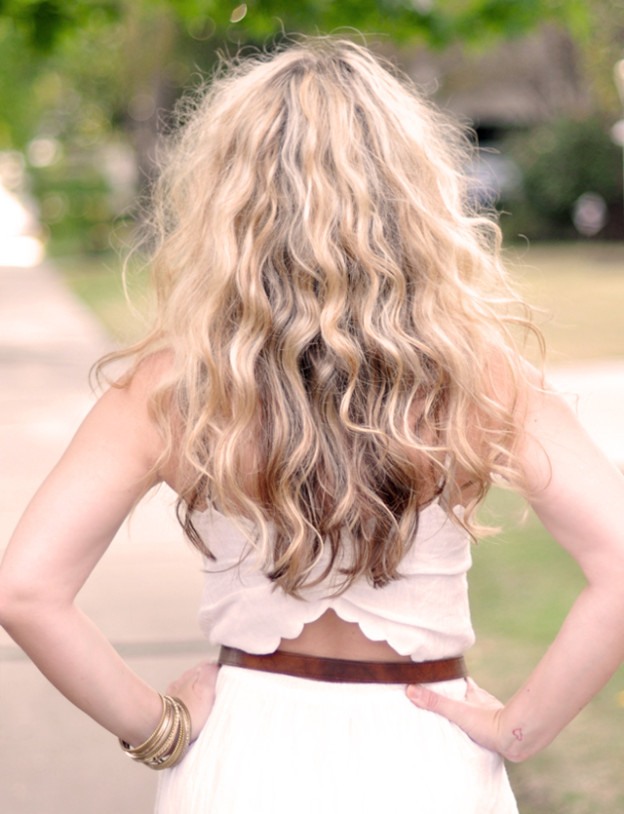
Nothing says I’m ready to get these holiday parties on! like big, tousled, sexy SJP hair, and it’s one of my favorites!
How to create this big tousled sexy hair…
(For best results watch my video tutorial: No Heat SJP Curls)
1. Begin by washing your hair the night before.
2. While it’s still damp, create little twisted buns (or bantu knots) all over your head.
3. Go to sleep (or try to).
4. Take your buns out in the morning and separate with your hands. DO NOT BRUSH!
TIPS: if you have fine hair, you’ll only need about 4-6 buns if you want softer waves as seen here. If you want tight curls, create lots of little twisted buns. Also, don’t forget to follow your natural part or set your buns the way you want to part your hair the following day. Once these curls set, they don’t like to fall out until you wash your hair again.
Photo + Video Tutorial: No Heat SJP Curls
Have Fun!
* Find all my hair posts here
Originally created for Babble Beauty: 10 Chic & Pretty Holiday Hairstyles: Inspiration + Tutorials

