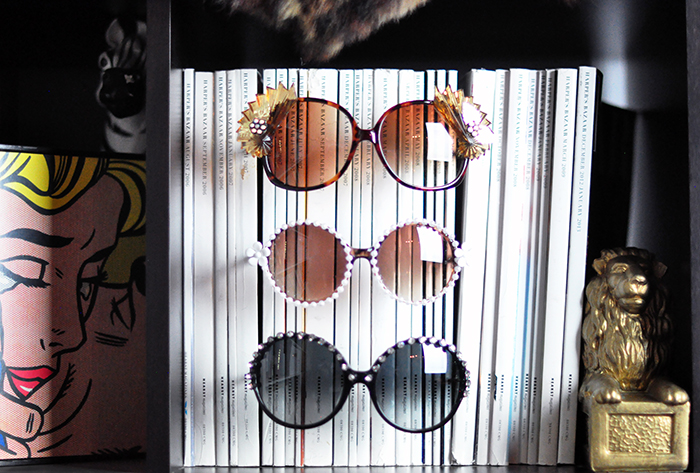
A few days ago I hinted that I may have DIY’d a pair of super fun – SUPER BLING sunglasses inspired by the great Kerin Rose Gold, designer of the SUPER FABULOUSLY embellished sunglasses brand, a-morir…But I didn’t just DIY one pair… I MADE FOUR PAIRS!I couldn’t stop, it was too much fun!
I only used stuff I already had… and you know I have a ridiculous collection of sunglasses, I grabbed a few pairs I don’t wear very often and made them super-wearable by adding a little BLING!
I didn’t go too crazy, but just crazy enough, I think, and turned my boring old sunglasses into unique, one-of-a-kind gems that I just LOVE.
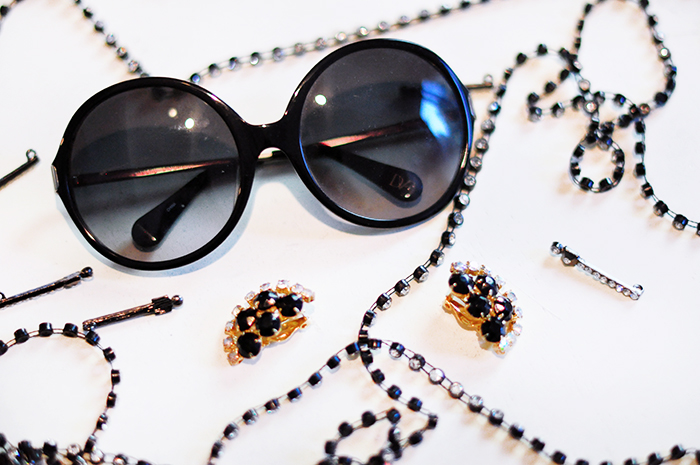
I used a combination of gems, pearls, buttons and findings I already had in my crafty collection, as well as some vintage clip-on earrings, and mesh from a vintage bag, left-over from this DIY.
Anyway, let’s get to it, shall we?
There are a ton of images here for the 4 different DIYS so apologies if load time is a bit longer than usual! xo
Inspiration…
Check out THIS POST: Trend Alert // Sunglasses that Bling Baby Bling! for all the inspo you need! (quoting the post below)
It’s time to welcome back the bling because it seems that this bedazzling trend is making a huge comeback, at least on eyewear, and I for one am kind of loving it!
Of course they’re not for everyone, but they sure are fun! Think more 1970s Elton John Glam though than 2000’s Paris Hilton… These beauties are over the top in a campy way that’s completely obvious and not necessarily trying to look expensive – if that makes sense (as the 00’s styles were)…
* A-morir designer Kerin Rose Gold did a quick DIY Flower Rimmed Sunglasses Tutorial at Teen Vogue, if you wanna watch it!
Here’s What You’ll Need…

* Gemstones, pearls, crystals, buttons, vintage earrings, rhinestones, blinging trim… etc.
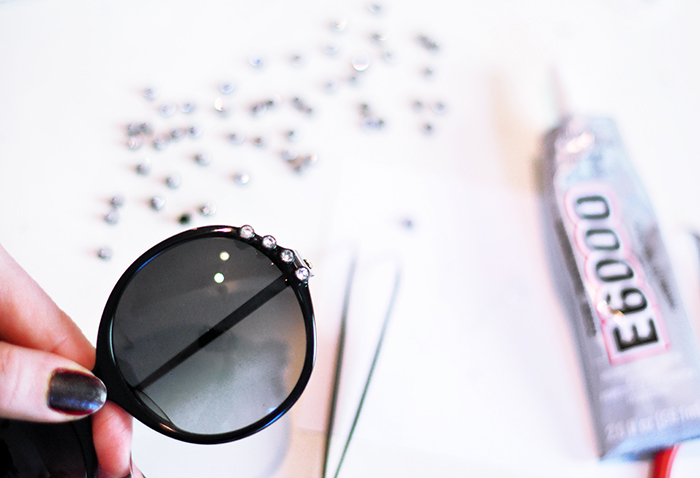
* E6000 Ahesive – THE GLUE to assure your stones never fall off! It’s for life! …and the best adhesive ever really, though you know I HATE working with glue. It’s the best!
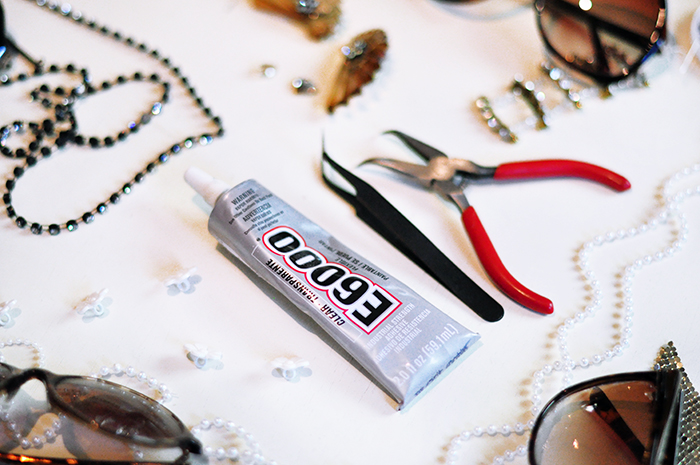
* Beading pliers and/or nail tweezers (helpful & necessary if adding one small gem at a time)
* Paper or cardboard for your glue
Steps…
* Find your old sunglasses that need a little LOVE and dust them off well.
* Determine what look you’re going for and gather your stones and gems for the design in a similar or not so similar color scheme.
* Set out your stones or jewels on the table in a similar pattern before glueing them onto your shades to get an idea how you want it to look first.
NOTE: I pulled lots of different items in similar colors for the sunglasses I wanted to design, but some of the stuff didn’t make the cut. You can see in a few photos below where I had a general direction, but wasn’t sure exactly how I was going to execute it.
Sometimes less is more… when it’s already so much more, make sense?
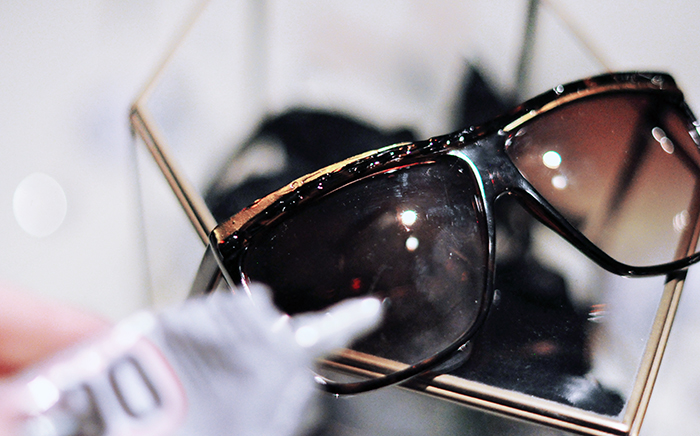
* If using this E6000 glue, make sure you’re in a ventilated area. It’s POTENT!
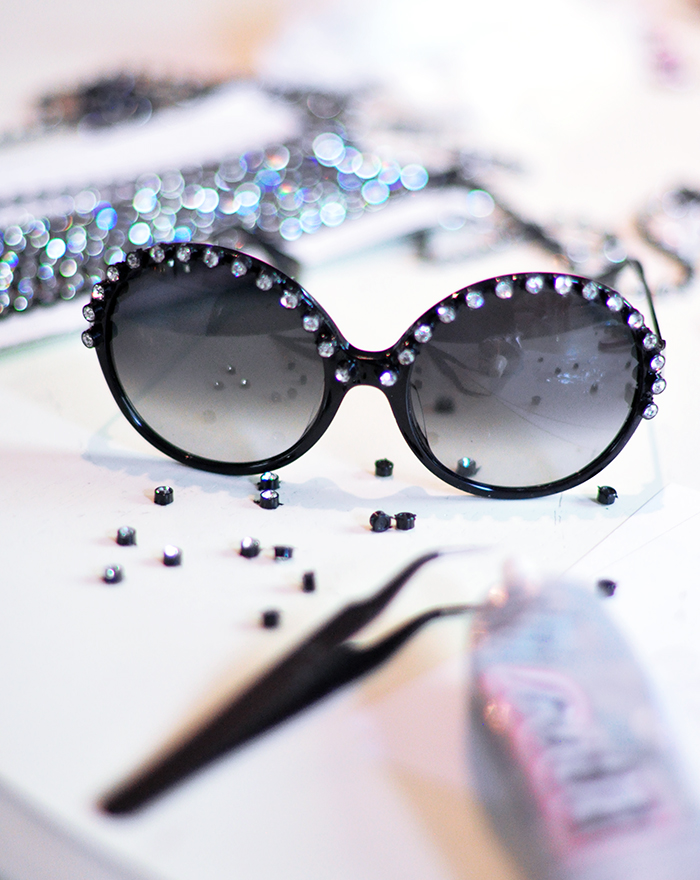
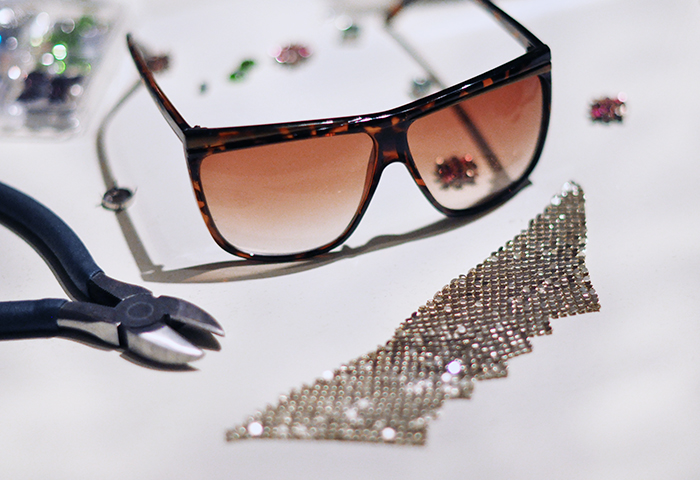
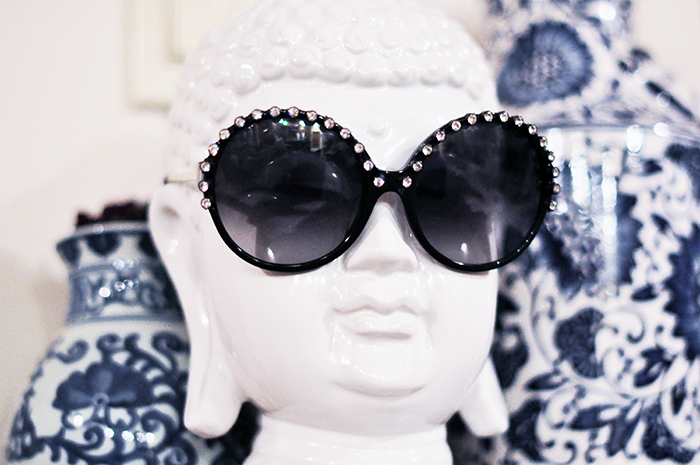
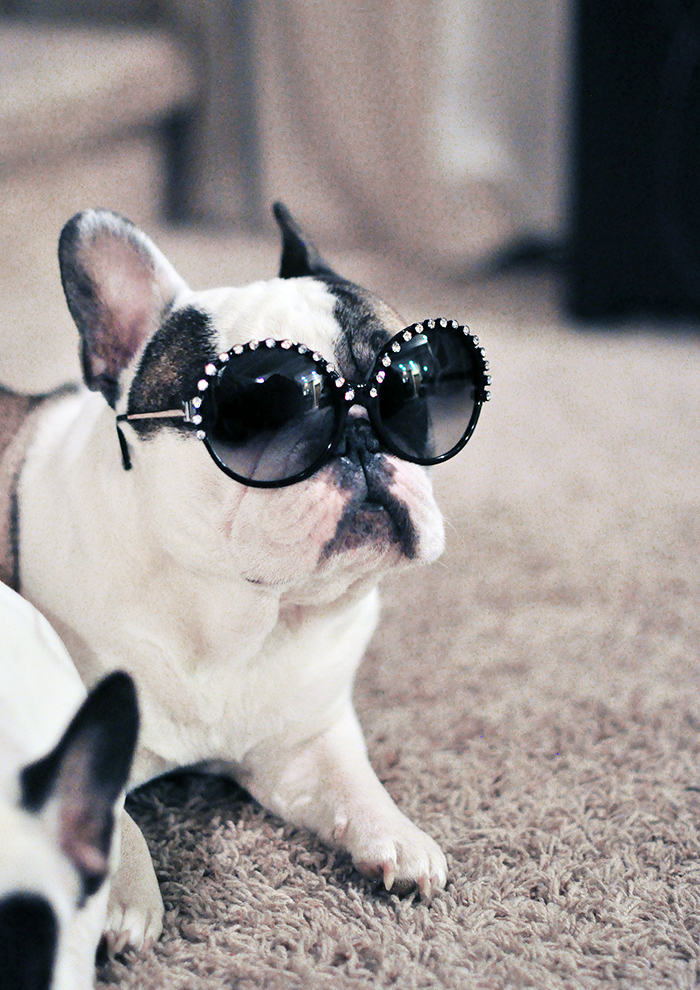
Oversized Black Round Frames with Rhinestones…
I defined the style a little more, it just felt like too much.
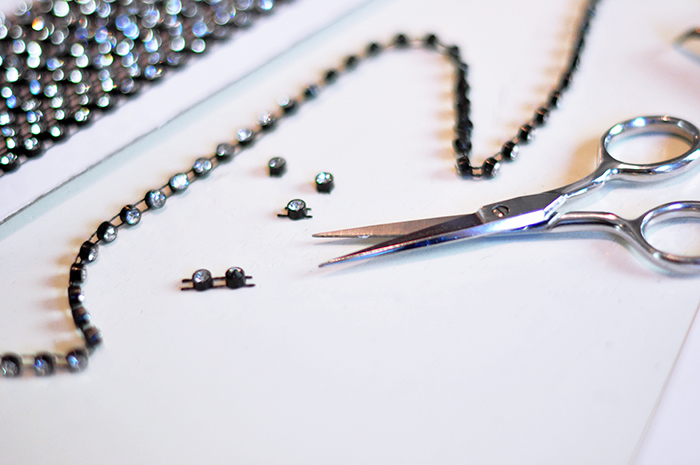
I happened to find this funky trim at a thrift shop a few years ago and am happy to finally have a use for it!
I thought I would sort of just glue it into place as-is, but it was FAR EASIER glueing on ONE stone at a time… so I cut each gem away from the trim, with enough to cover the entire frames (that was my first idea for them)
Allow it to set for a moment before moving on.
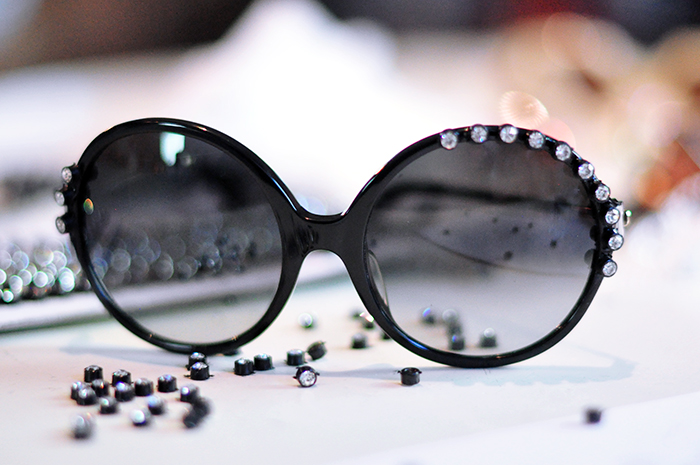
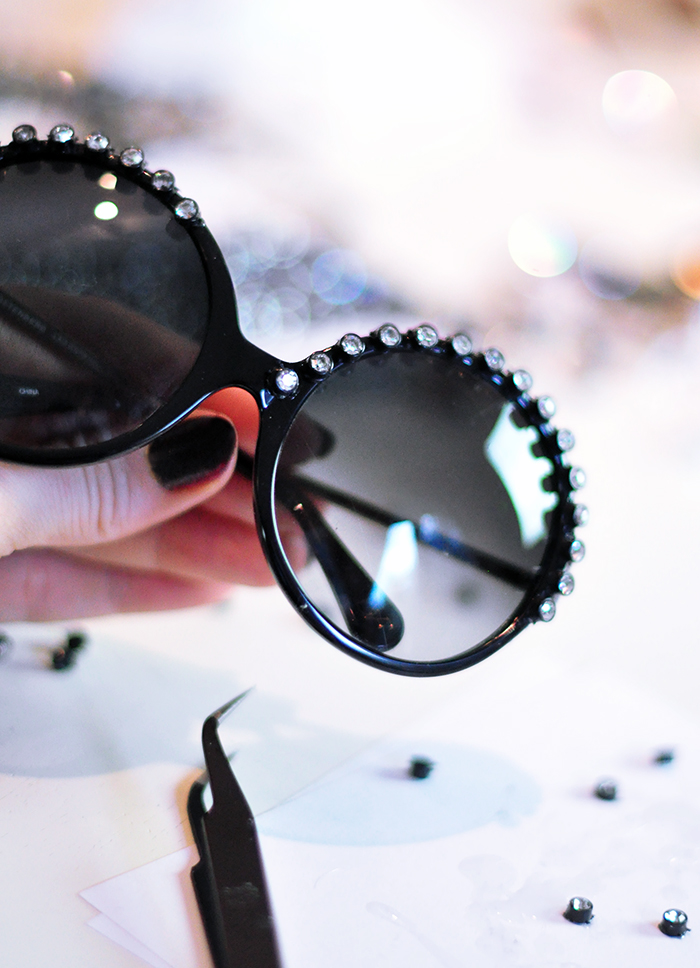
Once I got to the center I stopped and instead of continuing all the way around, I began at the other side.. deciding I liked the design as is (just along the top/sides) rather than taking the gems all the way around.
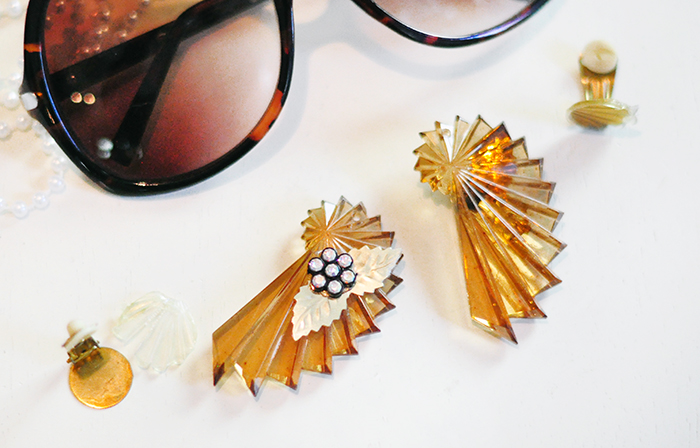
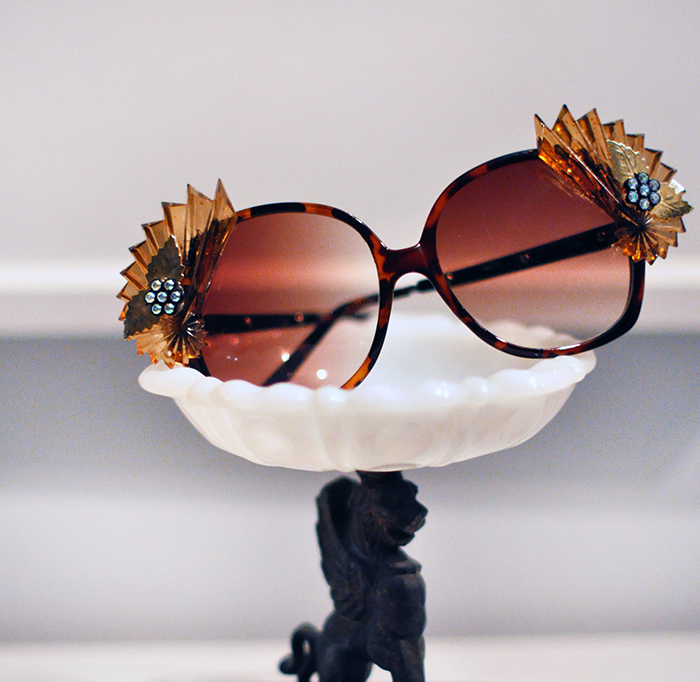
Round Frames with Pearls and Flowers…
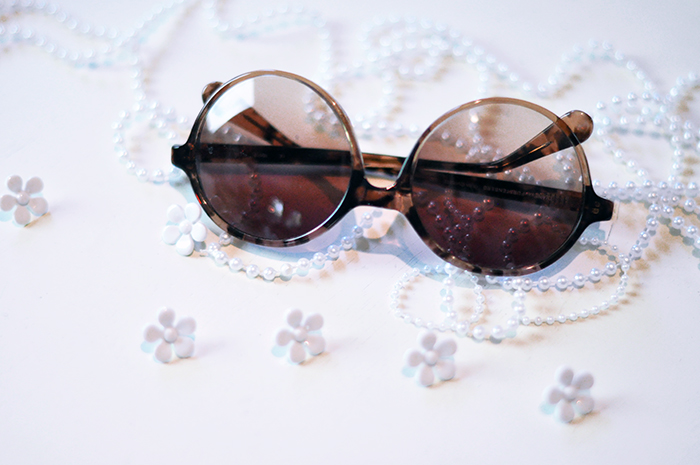
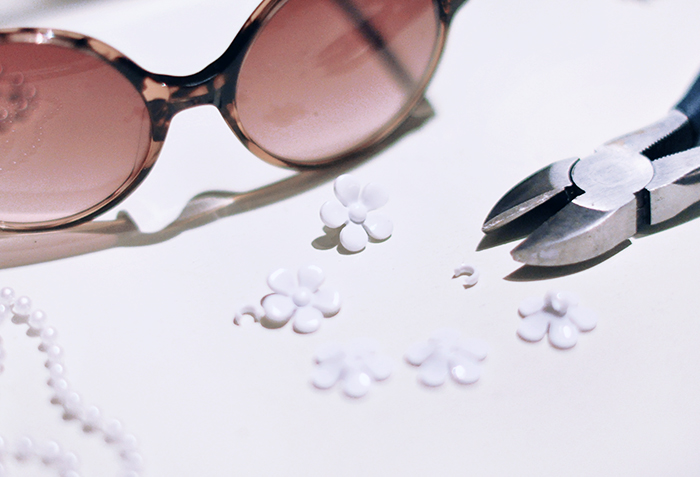
I snipped the plastic loop off the backs of 6 floors (to make them flat) thinking I’d use three on each side, but once I added the first one in place, I liked one just enough to leave it.


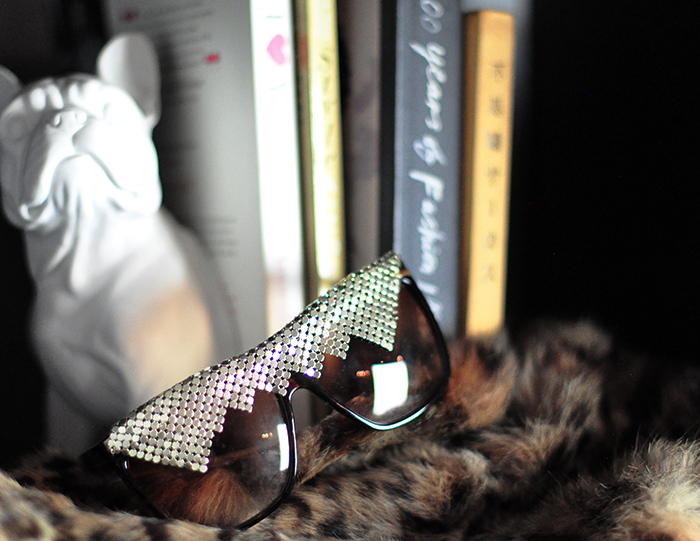
Gold Mesh Mania…


So fun!
Remade’70s Square Frames with Bling…

* Remember my 10 Ways to Easily Upcycle Vintage Rhinestone Earrings post? They’re usually pretty easy to find in thrift shops and pretty inexpensive as well. Wear them as-is or use them for future DIY projects! PST! I almost used them on one of these pairs! I may have to just make more. I can’t stop!
Since the backs were not completely flat, they took a while to set into place, which was rather frustrating at times, I have to say. One side stuck within seconds but the other side had me holding it in place for about 5 minutes for it to set.
Once I made sure each was in the right place and wouldn’t slip, I set them in an upright/flat position to dry overnight.
Make sure to allow them all to dry and set overnight before wearing them!
* The next morning, when they’re completely dry, use a proper sunglass cloth to carefully clean them and rid any glue that may have landed anywhere you’d like it not to be.
After finishing each pair I exclaimed it was my favorite, then I’d make another pair and it became my favorite. So it’s safe to say that I love them all, that none are my favorite(s)… though I will say that the black pair and the large square ’70s pair will probably get the most wear 😉
And… Voila!

Have Fun! AND Happy Friday Lovecats!
* Find all my DIYs here