As much as I’ve been desperately trying to cut back on sugar {not because it’s trendy, but because I got a high glucose reading last year :/}, I sometimes still have to splurge. And let me just say, these cake pops are the thing to splurge on.
Cake Pops have been THE cute go-to dessert for a few years now, but admittedly, we are a little late to the bite sized cake bites boat. Not being much of a cake lover myself, I thought they’d be dry and crumbly and well, cake-y… but oh boy was I wrong.
The husband randomly grabbed a few from Starbucks about a month ago and has been obsessed with them ever since. He “forced” me to try one and OMG. DREAMY. Is all I can say. So I thought, why not make some for the 4th? I figured they couldn’t be that difficult to make since I’ve seen them all over the internet and back… And I was right.
Not only are they ridiculously easy to make… they’re ridiculously easy to make and then you have an entire counter full of bite sized and dipped cake balls just begging you to bite them every time you walk by. They’re THAT good. And no there’s not one thing that’s good for you about them. Not. A. One.
But sometimes that’s okay.
I’m sure you CAN make these healthier, but that’s not my forte just yet.
I used a recipe from Divas Can Cook called How to Make the BEST Cake Pops Easily and altered it a bit. Her video is adorable though and made me giggle, so if you’d rather, watch this video tutorial to learn.
Here’s How I Made My Cake Pops…
I used a box of white cake mix and store-bought cream cheese icing, and they were divine. I chose to go with white cake and white baker’s chocolate to create a white backdrop for my 4th of July theme.
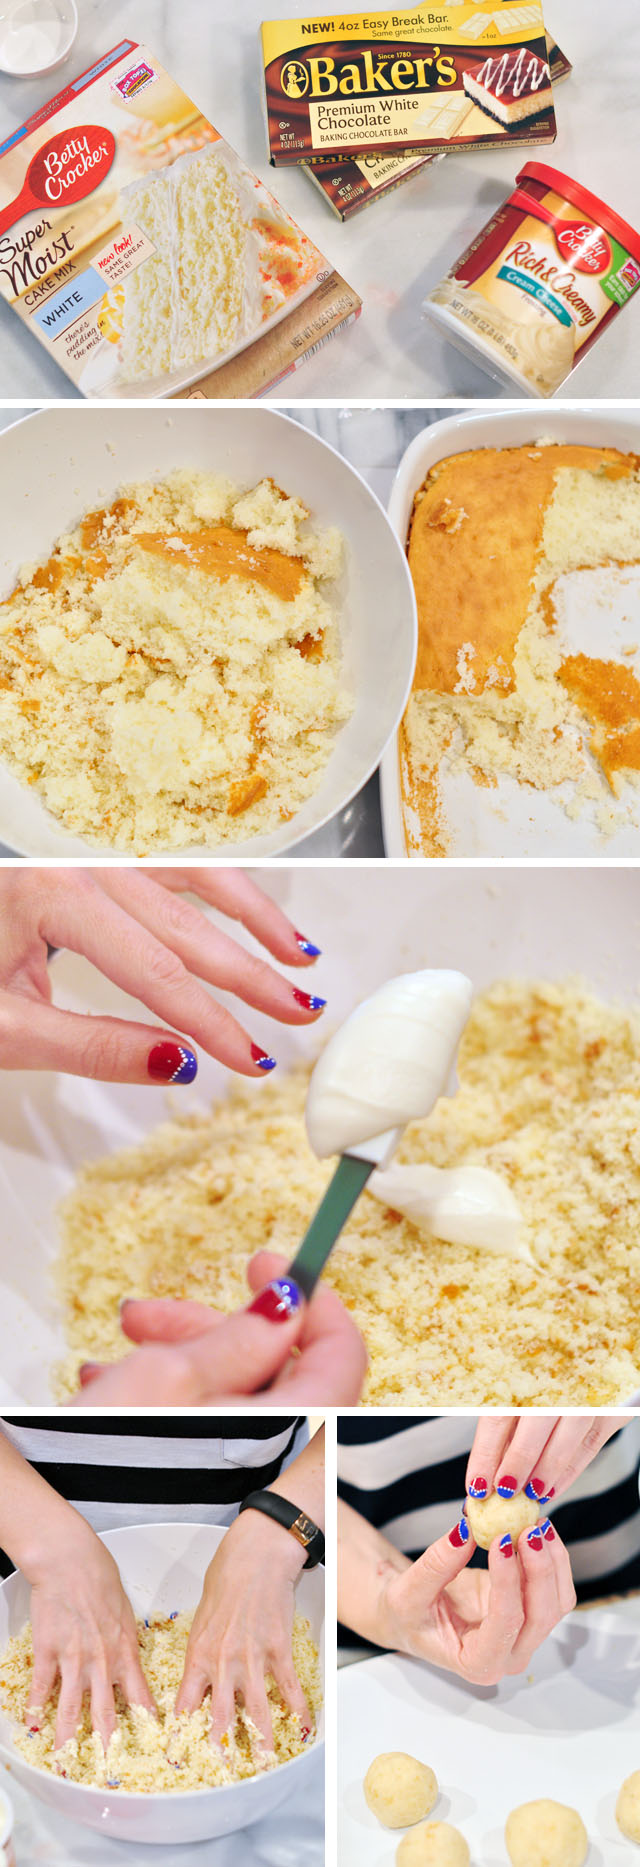
1. Follow the directions on the box and bake your cake! –Let cool for about 10 minutes.
2. Now ruin that cake! Dump it into a large bowl and break it up with your fingers into small crumbs.
3. Add your icing! THIS is the crucial step that makes or breaks your pops. You want the insides moist but not wet-tasting… Begin small… I only used two medium spoonfuls of icing. {see the photo above}
4. Mix the icing into your cake crumbs with your hands until it’s blended well.
5. Create cake balls just like you would meatballs, by rolling them in your hand then fingering them into the perfect ball. You can use a small ice cream scooper to get the sizing right, but I just eyeballed them. Create medium balls, not too big, not too small. Set equally apart on a plate.
Creating your Pops!
Being that we have limited resources up in these mountains and being that I didn’t plan ahead, the only sticks we could find were the caramel apple sticks with a pointed end. They worked out just fine as long as I kept the point down instead of hidden within the pop for someone to poke themselves with.
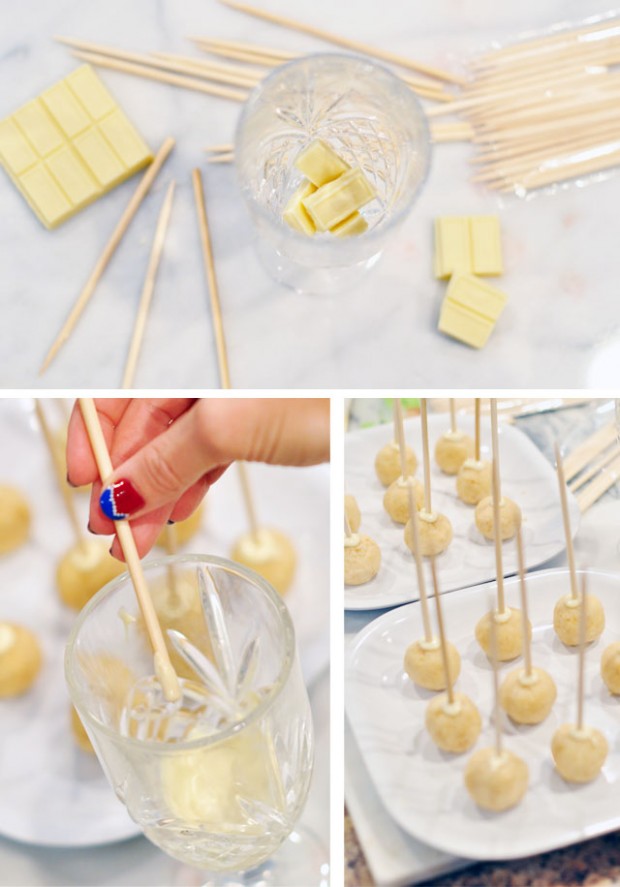
6. Break off a few rectangles of baker’s chocolate and heat them up in a glass the micro.
— I used a large glass so that in the end I could easily dip and submerge my cake balls into it with ease.
But for now…
7. Dip the {flat} ends of your sticks into the hot chocolate, and insert one into each ball.
— Don’t press too hard so that your stick pops through the top OR flattens the top.
8. Place your cake pops in the freezer for about 20 minutes.
Prepare your Decorations!
I used cute red, white, and blue stars as well as red, white and blue sugar crystals to decorate my cake pops with for the 4th of July.
I used more than I needed to, which made for cute photos, but you really only need a few on top or else you have a mouth full of unnecessary sprinkles.
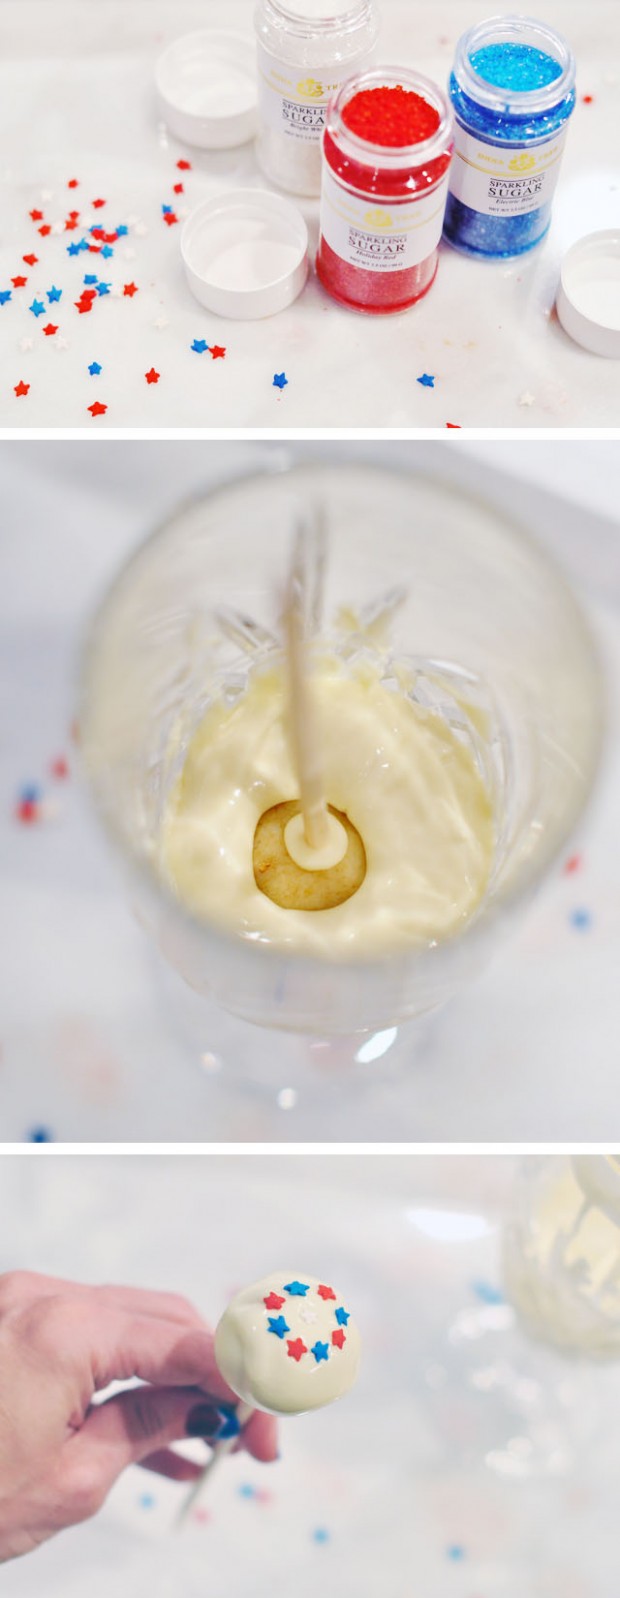
9. Break off more chocolate and melt it in your glass… make enough to submerge each cake pop entirely. I went through about two packages of white baker’s chocolate for this entire recipe.
10. One by one, dip and submerge your cake pops into the hot chocolate… then twist and tap until all the excess has dripped off. There is an art to this and it takes a few pops to figure out what works best for you.
NOTE: They’re easier to dip in the chocolate coating when they’re just out of the freezer. So if you’ve got two plates full, keep one in the freezer or fridge until you’re ready. I found my balls starting to fall off their sticks once dipped in the chocolate after they’d thawed for too long.

Use a styrofoam board to stand your pops in one at a time to dry… I left them on the counter just like this and they didn’t get stale… although they MAY have only been on the counter for about two days before we polished them all off {yikes!}. I have tons of these random messy foam things from shipping boxes I was happy one finally came in handy to reuse.
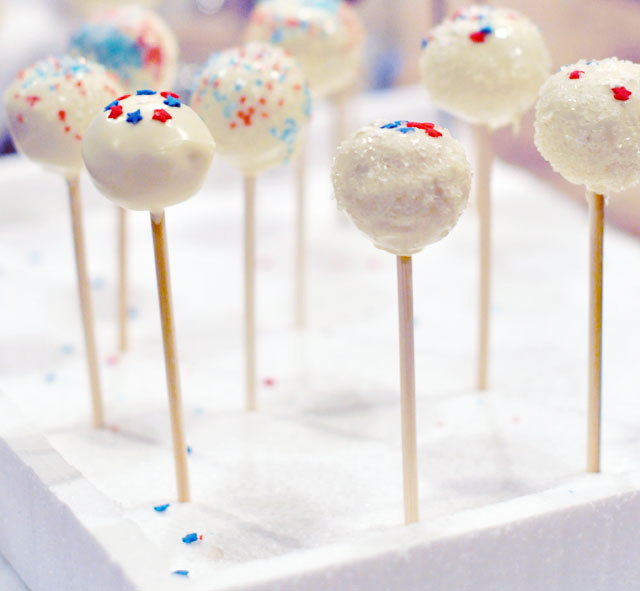
Note: The white chocolate takes far longer to dry than the milk or semi-sweet chocolate. It also looks like it’s going to be REALLY thick but once dry, it’s not. It’s the perfect amount.
Also note: they do not form perfectly round balls, and that’s okay too 🙂
And… Enjoy!


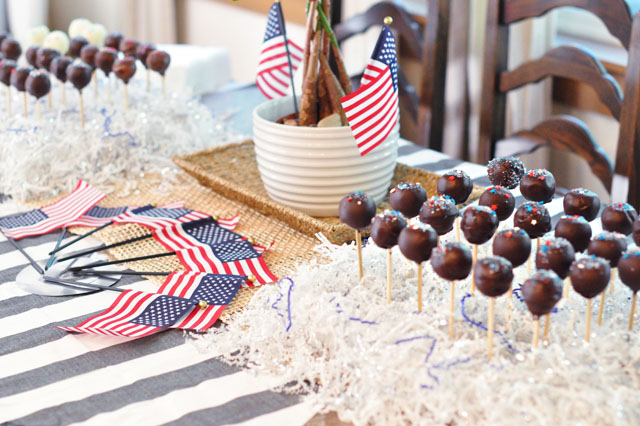
I used a foam board {saved from packing/shipping boxes} to stand my cake pops up on and created a sort of flag design, then hid the foam boards by layering white, silver, and blue zig-zag filler {also from a packing/shipping item received} which looked festive and made my 4th table sparkle and pop.
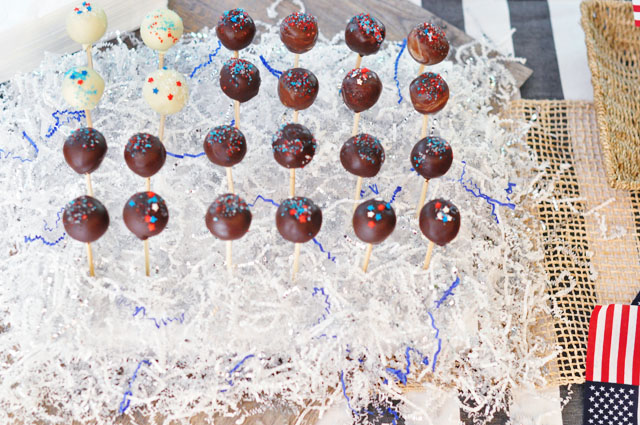

They were a hit with everyone, but the kiddos couldn’t get enough!
Happy 4th of July!
* Find my festive 4th July Nails here


