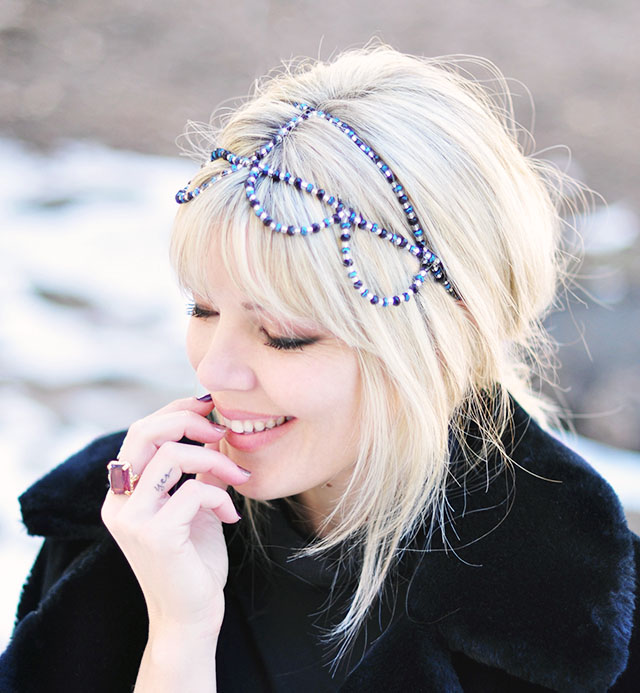
I pinned this pretty beaded headband crown nearly a year ago and finally just the other day I got around to making it.
My version is a tad different… first, my beads are a bit smaller, and second, mine has only two rows across the top instead of three and THIRD, my loops aren’t as large AND I’ve twisted the sides as well. PHEW! But still, I think it turned out rather gorgeous, if I do say so myself. It wasn’t as hard as it may look to make and actually took me about 30 minutes to finish. I mimicked the design of my inspiration, but you can really create any design you like.
Here’s What You’ll Need…
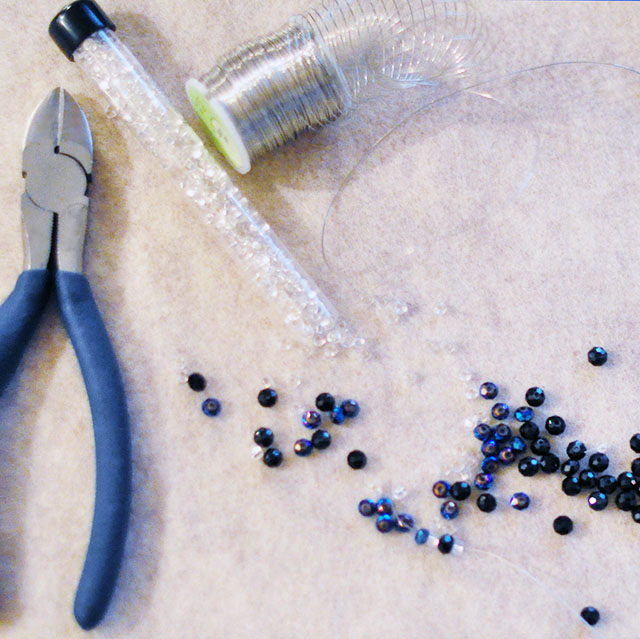
- Beads, larger than seed beads, but this is completely up to you. I used black and blue mini crystalline faceted glass beads in two different sizes, and clear/silver Czech glass beads in between
- 24-Gauge beading wire in any color {I used silver}
- Wire cutters
- Beading pliers
- Fine elastic {which I think I pulled from gift-wrapping -this is why I save everything, lol}
- Felt, so your beads don’t roll away, optional
Steps…
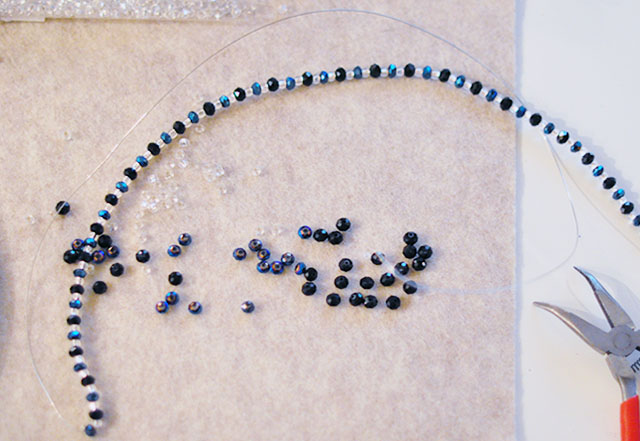
Measure your head from behind each ear-to-ear with your wire, double it, add a an inch to each end and cut.
String your beads on it whichever way you desire…
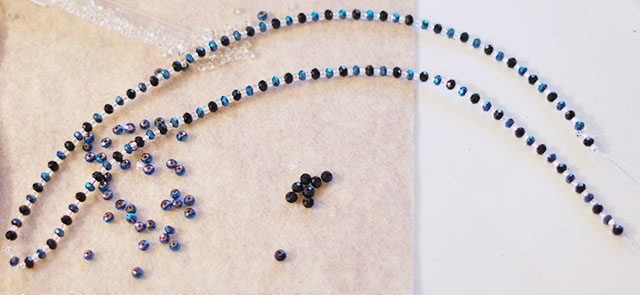
Find your center and bend it to curve around the edges.
Hold it over your head, behind each ear, to make sure it’s long enough to cover your head as a headband would.
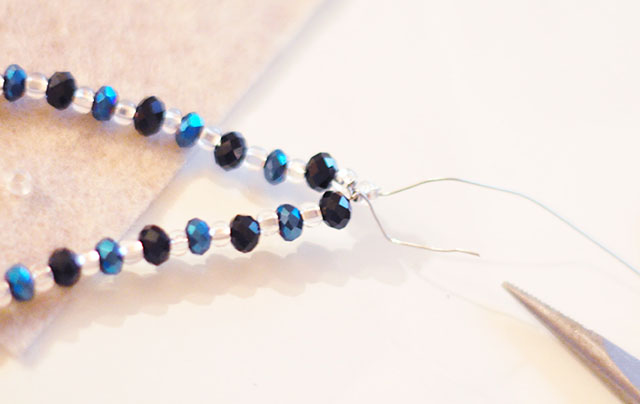
Twist the wires together at the open end and cut them off with your wire cutters, hiding/bending your ends so they doesn’t stick out or poke your head.
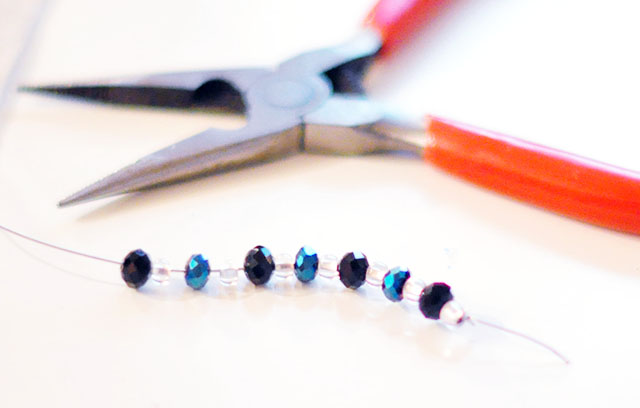
Cut a wire about two inches long and bead it…
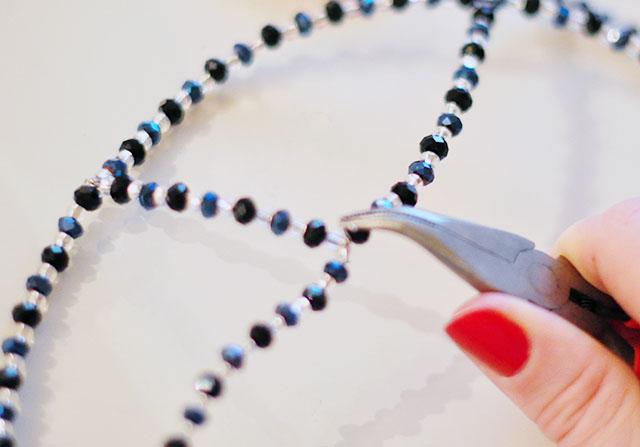
Find the center/top of your headband and twist each wire tightly around each side of your headband. This is your top/center. You can choose to make it shorter if you like so your crown isn’t as wide at the top if you like -or wider, it’s up to you.
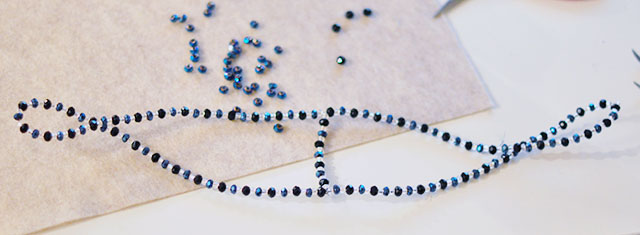
I twisted the sides where it hits just above my ears because I liked the way it looked, this is optional, but your headband should look something like this right now.

Decide how long you want your loops to hang down in the front and cut your wire accordingly. Leave a little extra on each end to wrap around your base.
With your tiny beading or needle nose pliers, make a teeny loop at the end to keep your beads in place if you need to. You can also just bend it into an L shape for the time being.
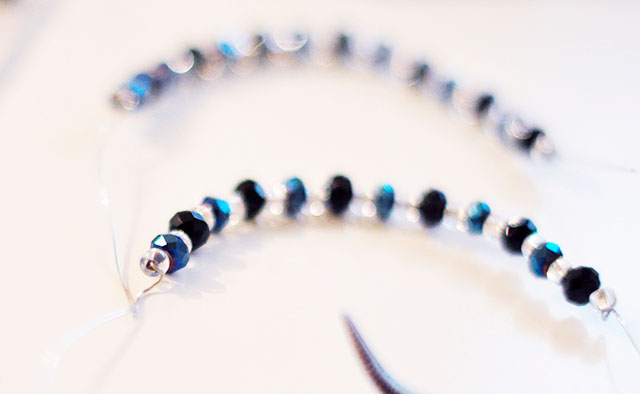
Make four wide U shaped pieces about 2-3″ long each. You can make some longer than the others or make them all the same size. This is up to you. Hold it up against your head to determine how large/small you’d like your loops to be. They don’t have to be the same size… in fact, I liked them a bit different.
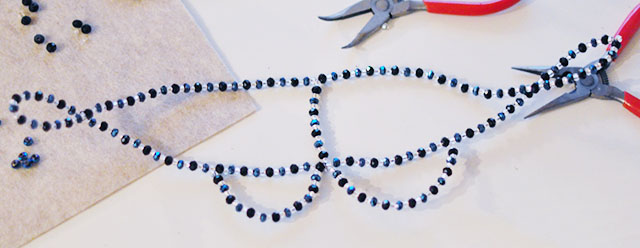
Beginning in the center, twist your U shapes tightly around your base wire and then about 2″ apart. Continue along the front until all four are in place.
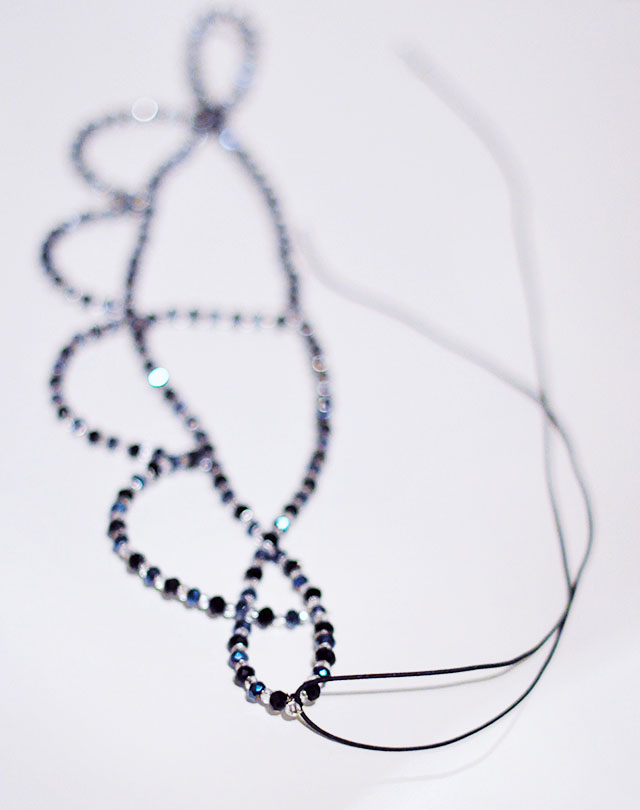
Grab your skinny elastic and loop it around one end, try it on your head to make sure it’s not too loose or too tight, and tie a knot at the other end.
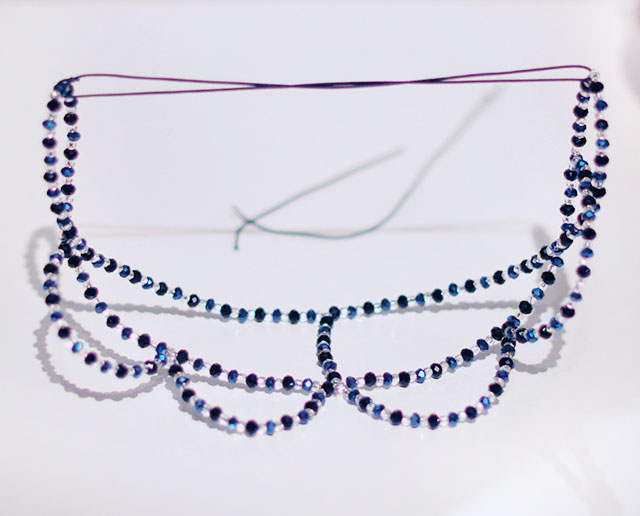
Trim away the excess elastic and you’re done!
You can also choose to use ribbon for this if you want to adjust it accordingly, if you want to see a bow or ribbon hanging from the bottom, or because you don’t have elastic 🙂

Any bead color combo would look awesome and you can even add hanging beads from the center, sides or back, if you like. There are so many options with this and it’s really easy to do with wire. Just shape it however you want it and you’re done!
And… Voila!
NOTE: The best way to put it on if you don’t want the elastic to show {i.e. you want it hidden under your hair at your neckline} is to pull out the front of your hair that you want to include into the headband look, then clip up the rest, pull on the headband, then let it down and/or style it around it.

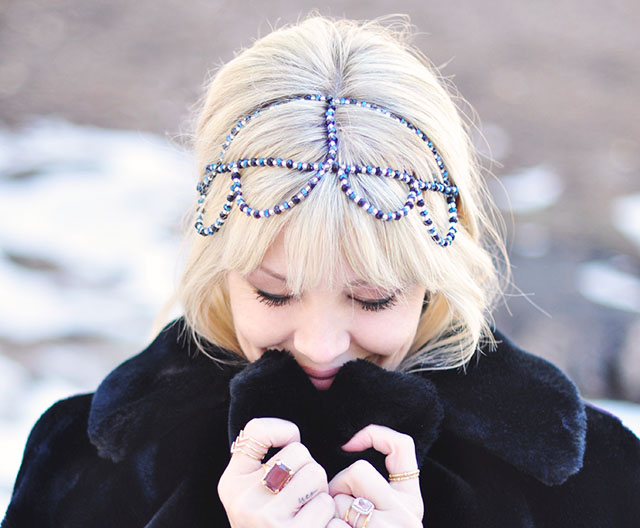

Have Fun!
* Find all my DIYs here
* Find all my DIY Hair Accessories here

