I recently {and finally!} started the Downton Abbey series… and not 2 episodes in, I was itching to DIY a fabulous choker inspired by their attire. For this particular look though, I was inspired more by the high necklines of many of their dresses rather than a necklace specifically. But I’ve already got ideas for more statement types of necklaces as well. I’m feeling a high neckline return on the horizon, and I’m betting it’s all thanks to Downton. And the 90’s revival, of course.
Here’s What You’ll Need…
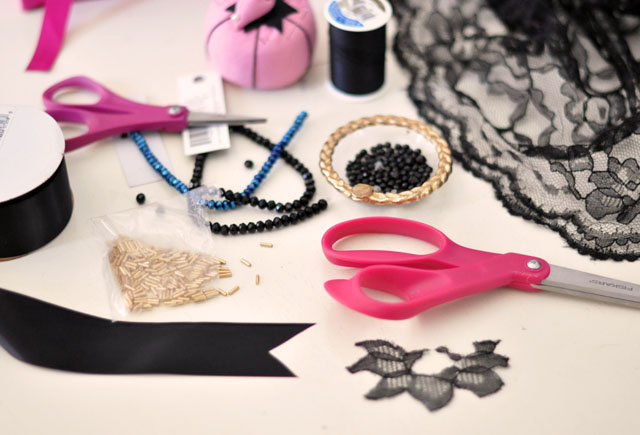
* Lace or lace trim with scalloped edges {look for lace that is soft to the touch}
* Ribbon… I used 1-1/2″ satin but velvet or grosgrain will work as well
* Black and gold plastic beads {glass are a bit too heavy for this}
* Needle/Thread/Scissors
Steps…
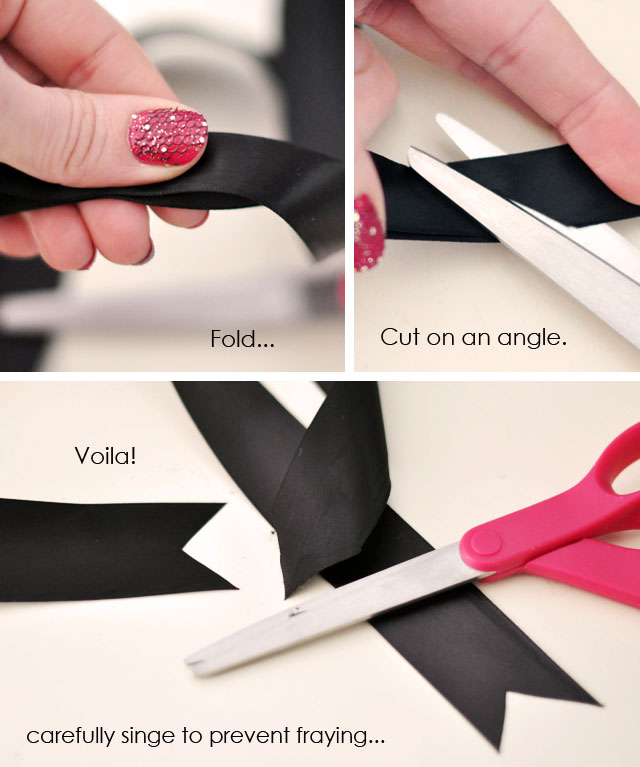
* First, a quick tutorial on cutting the edge of your ribbon…
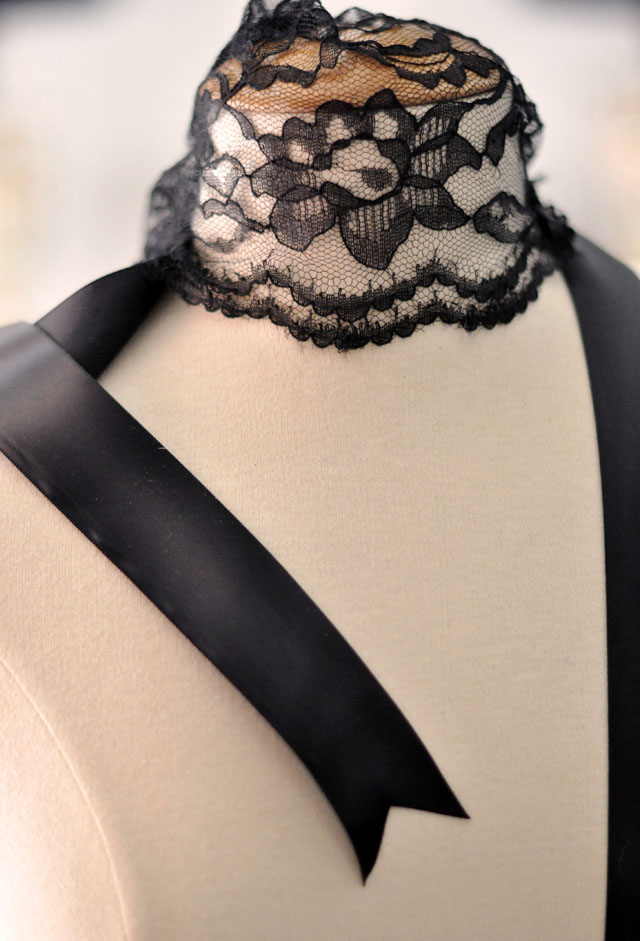
* Measure your neck to decide how much lace and ribbon you want.
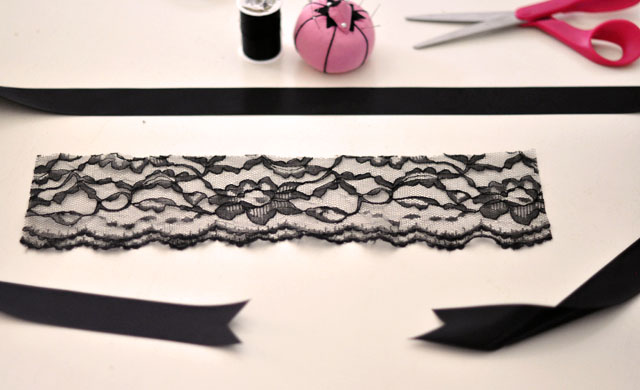
* If using a lace trim, you only need to cut the length. I cut the width of mine to almost 3″
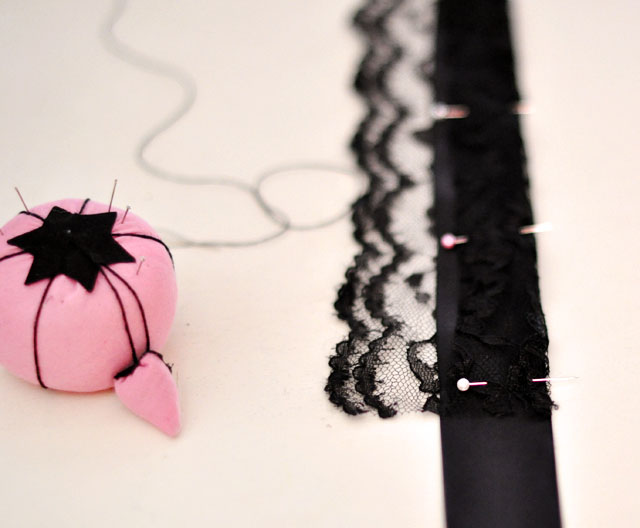
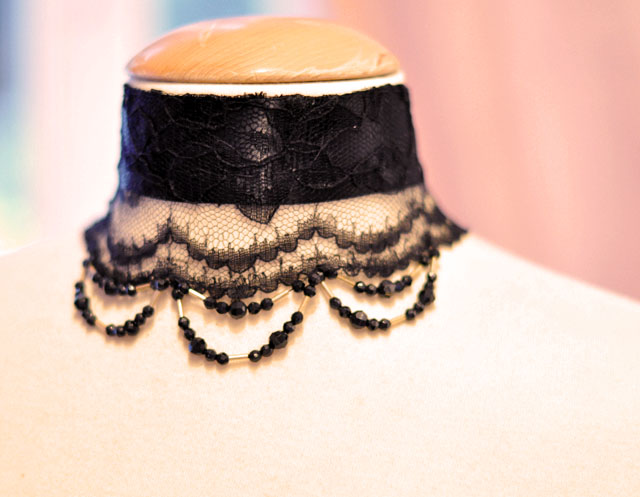
* With your lace flat {finished side down} place your ribbon lengthwise and centered over it {finished side down}. If your trim is the same size as your ribbon, skip this step. I folded my lace over and pinned it down so the top of the choker is solid black/lace and the bottom is sheer/lace. This gives it a nice finished look on the front, hiding any rough edges in the back. The scalloped edge will be at the base of your neck.
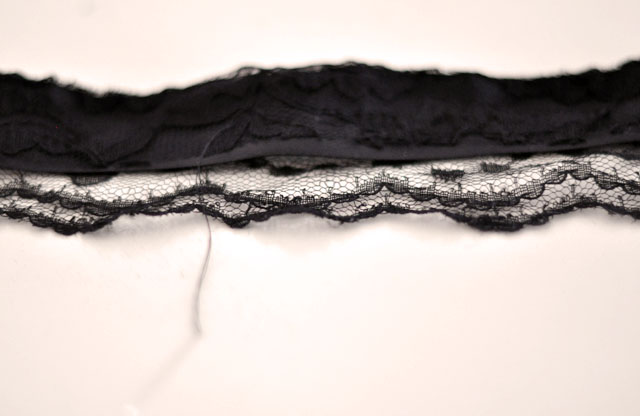
* I simply hand stitched my lace and ribbon together {along the top, sides, & where the lace ended} because it was quick and easiest for me, you could use the machine as well.
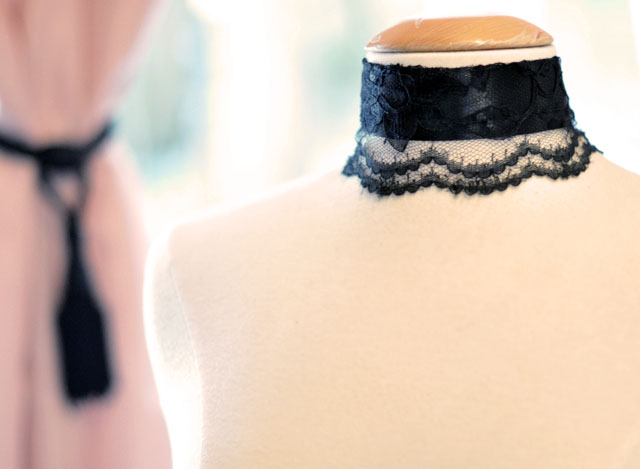
* It should look something like this… {& if you’d prefer it without beads, you’re done!}

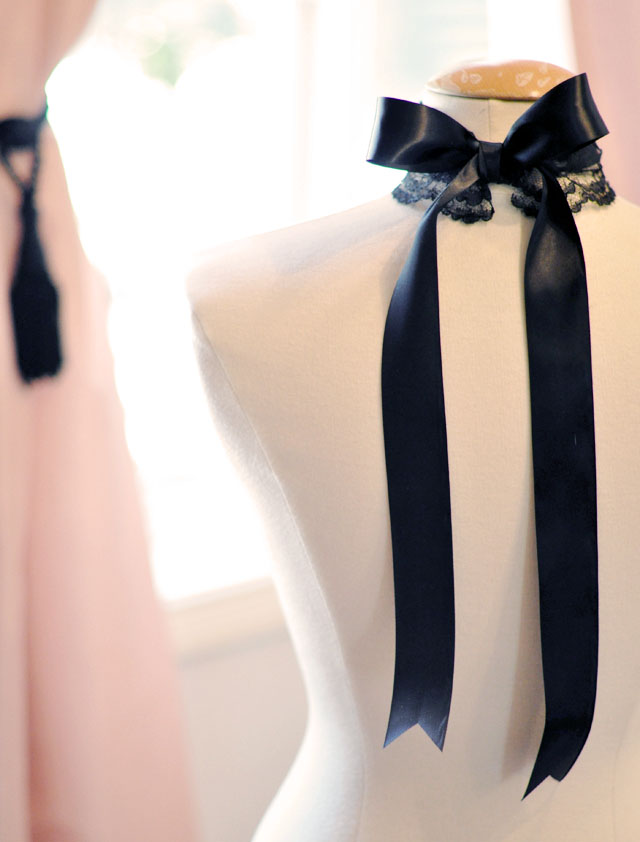
* I chose to leave my ribbons REALLY long because they just look so pretty and dramatic but you can cut yours to your desired length. NOTE: I used the ribbon for extra stability and for the pretty bow in the back, you may choose a different closure if you like and disregard the ribbon alltogether.
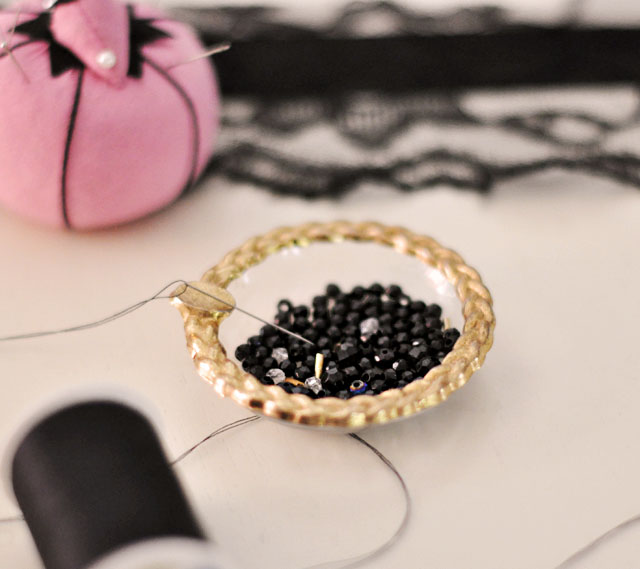
* Double thread your needle and grab your beads
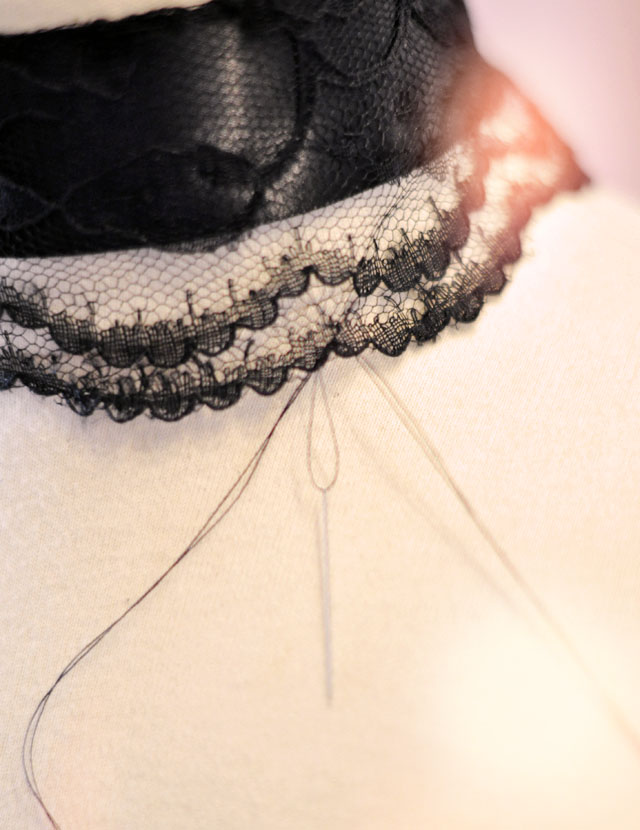
* Begin on the end and knot your fabric to your lace, hiding the threaded knot in the back.
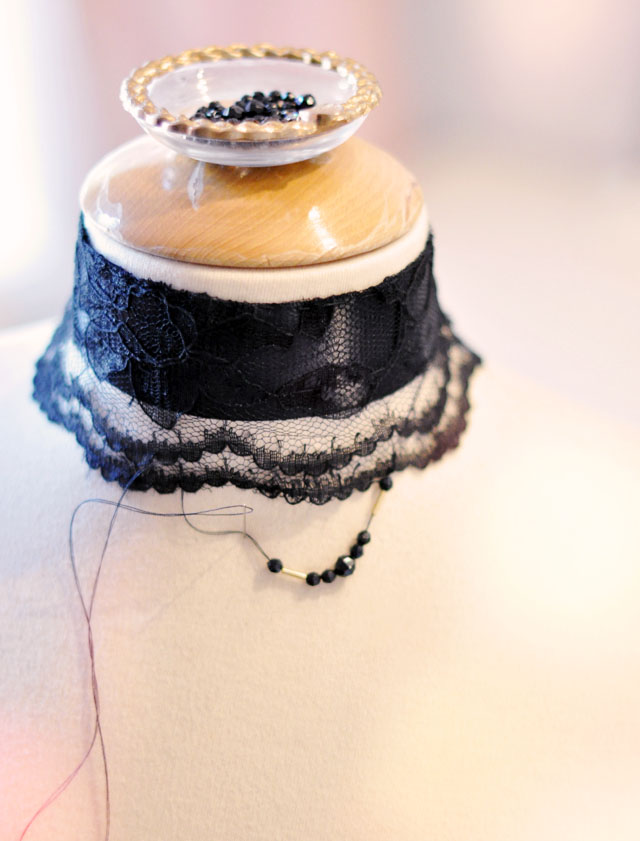
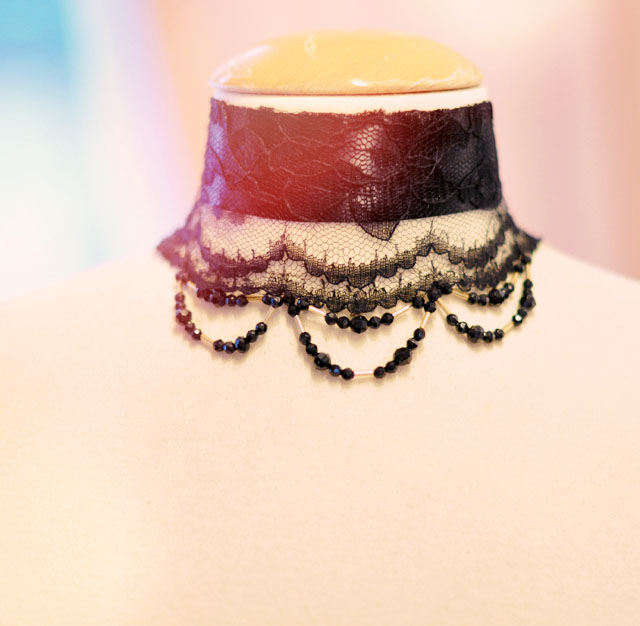
* Begin beading. I followed the line of the lace and made three, double rows of scalloped beads, alternating small, large, and gold. You may add as many as you like to make it more detailed or less. Allow some room for beads moving but not so much that the thread shows. Knot each section you finish whether you have to rethread your needle or not.
Voila… Voila…
Have Fun!
Find all of my DIYs here
* Looking for info on my manicure shown here? Click here

