Christmas Crafting DIY holiday diys

DIY Rustic Christmas Tree Topper {from a wrapping paper roll}

< Though last year's DIY Starburst Tree Topper from Pipe Cleaners remains a favorite, this year’s tree has a more rustic feel to it in a brown and blue color scheme, so the glitzy topper didn’t quite fit. I started thinking in textured brown tones like burlap and rope, and remembered seeing a mirror border {among other things} made in a similar fashion with brown rolls and went on a hunt for my wrapping paper rolls {though toilet paper and paper towel rolls are a bit easier to work with because the paper is thinner}. I grabbed my Martha Stewart Glitter Glue set for just a hint of color and overall I like the outcome. Though it’s a rather easy DIY, the challenge is knowing when to stop and when to keep going. Mine is a touch lop-sided but I’ve grown to like it…

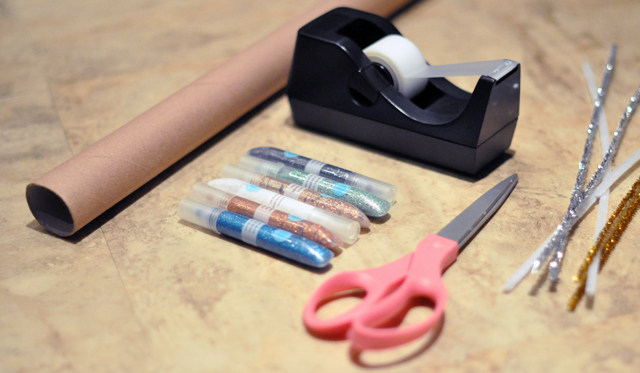
What You’ll Need…

diy tree topper

* Wrapping paper roll {or several paper towel, toilet paper rolls}
* Tape {you could use a hot glue gun instead}
* Scissors
* Pipe cleaners

* OPTIONAL: Martha Stewart Glitter Glue, or simply glue and loose glitter. You can also choose to paint {spray or brush} in a solid color of your choice.

Steps…
diy tree topper

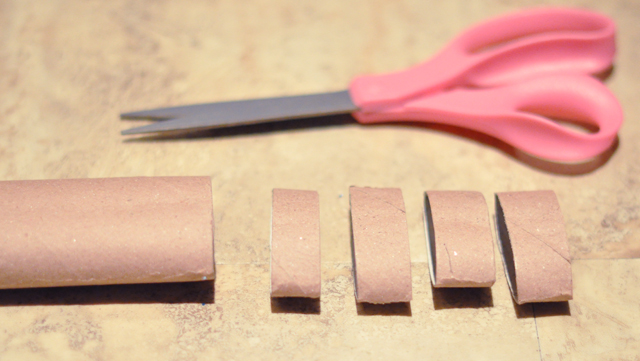
* Flatten your roll slightly and cut about one inch sections.
diy tree topper

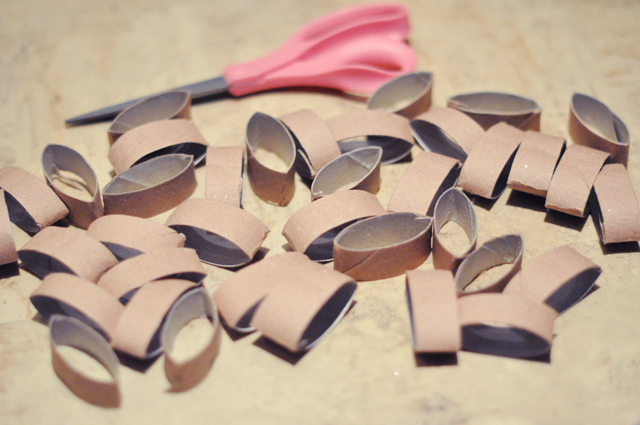
* As many as you need… I used an entire wrapping paper roll and would have used more if I had another one.
diy tree topper

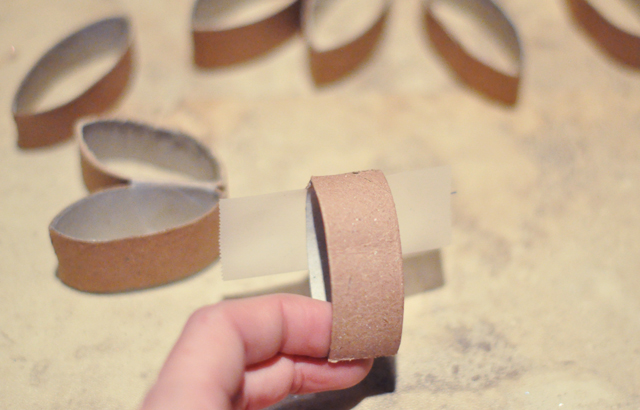
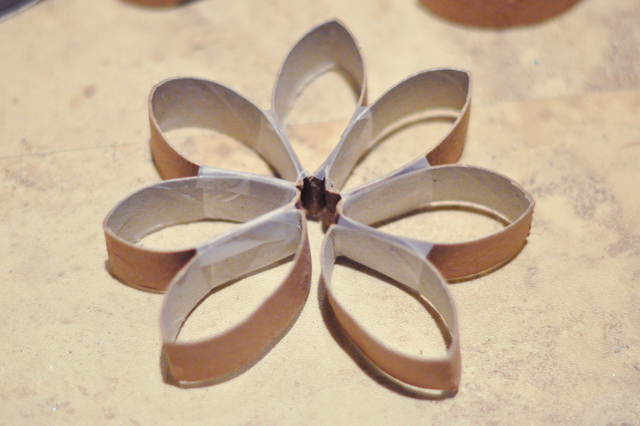
* Begin by placing about a 2.5″ piece of tape nearest the top of your cut-outs, line it up with another one, and tape it together.
diy tree topper

* You will create a flower of sorts, first. If your tree is small, you can stop here, or even create a few of these to string up and hang from your curtain rods or ceiling.

diy tree topper

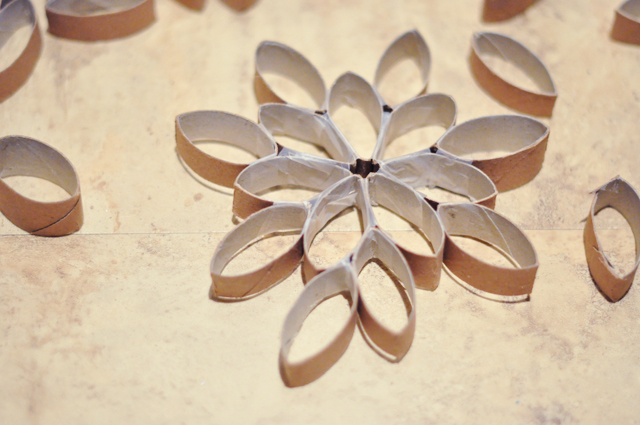
* Continue taping outward but cutting your tape in half, if it’s too wide.
diy tree topper

* Keep going until you like the look and size… knowing when to stop was the most challenging part!

diy tree topper

* Glitter glue the edges or center or wherever you like or {spray} paint your entire piece.
diy tree topper

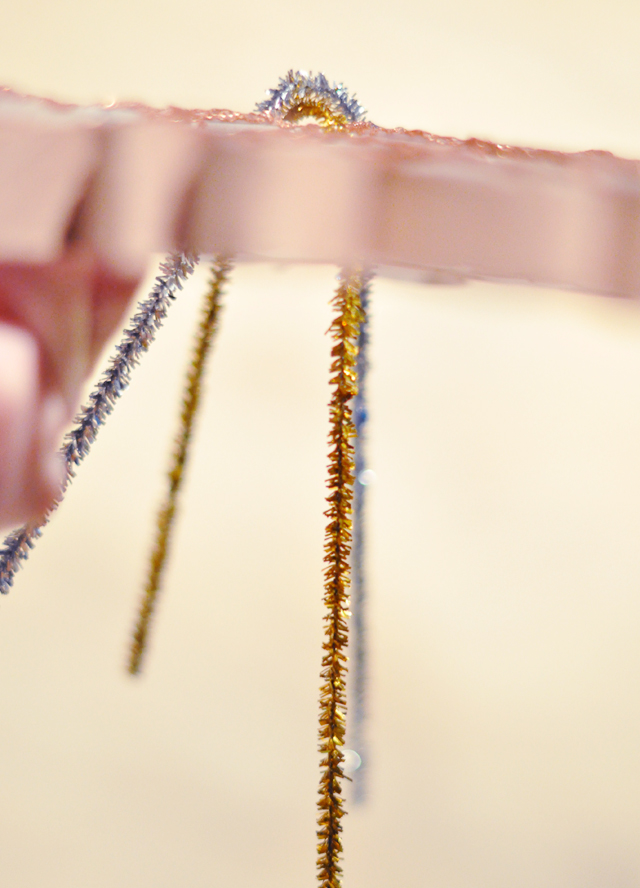
* Bend two {or 4} pipe cleaners and insert them through the center surrounding openings. Twist them in the back into one {with two sides} then use this to attach to your tree top.

Voila…


I strung a few lights up through the back of it to light it up and left my pipe cleaners fanned out for a bit of shimmer in the back.

Have Fun!

* Find all my DIYs Here
* See my finished Rustic Christmas Tree here
* Find my Christmas DIYs here
*

Find all my Manicures & Nail art using Martha Stewart Glitter Glue here

Maegan Tintari

LA native & lifestyle blogger Maegan Tintari writes weekly at ...love Maegan.com, sharing her personal style and outfits of the day as well as fashion trends coming and going, home decor and inspiring ideas and DIYs so you can do it yourself! Her archives of DIY, nail art manicures, hair tutorials, recipes & home decorating ideas, go back to 2009, where she's also shared her personal life, her journey & battle with infertility, move to a small town in the mountains, marriage, divorce, owning a bar/restaurant and then leaving it all behind to start over, yet again, in a new city, that looks a lot like her home in Los Angeles, but has far less traffic, with her two old French Bulldogs, Trevor and Randy. You can also find her on Substack, sharing videos and weekly chapters of her latest book.

You may also like...