As much as I love my iPhone 6 plus, it’s also quite huge, and finding a case for it that is not only pleasing to me, while also remaining on the slim side, is a bit difficult.
I have this cute palm leaf case by Sonix but I hate the black sides, which show on the front, AND it’s kind of bulky. Honestly, I’ve had the most luck finding inexpensive and slim cases at the local Claire’s Boutique, though I don’t always love the designs on them -probably because they’re marketed for 13 year olds… However, this is where I get creative and crafty and find ways to upgrade and DIY the cases I already have.
You know I love a good DIY phone case, and my last Faux Leopard Fur case is still holding up strong, it just feels more like Fall/Winter to me and I needed a new one for summer. I found this nearly clear case at Claire’s, which had a floral design on the back… that I actually didn’t mind except that it had the word BLOOM written on it, which in outfit-mirror-selfie-mode always looked like it said “MOO”. So I scratched off the design and was desperate to find a solution to cover it.
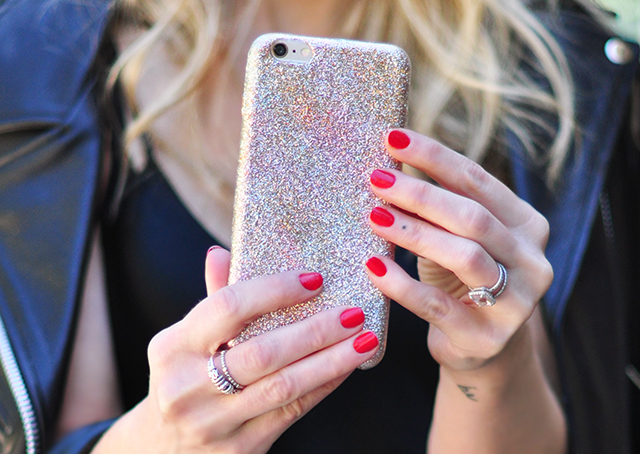
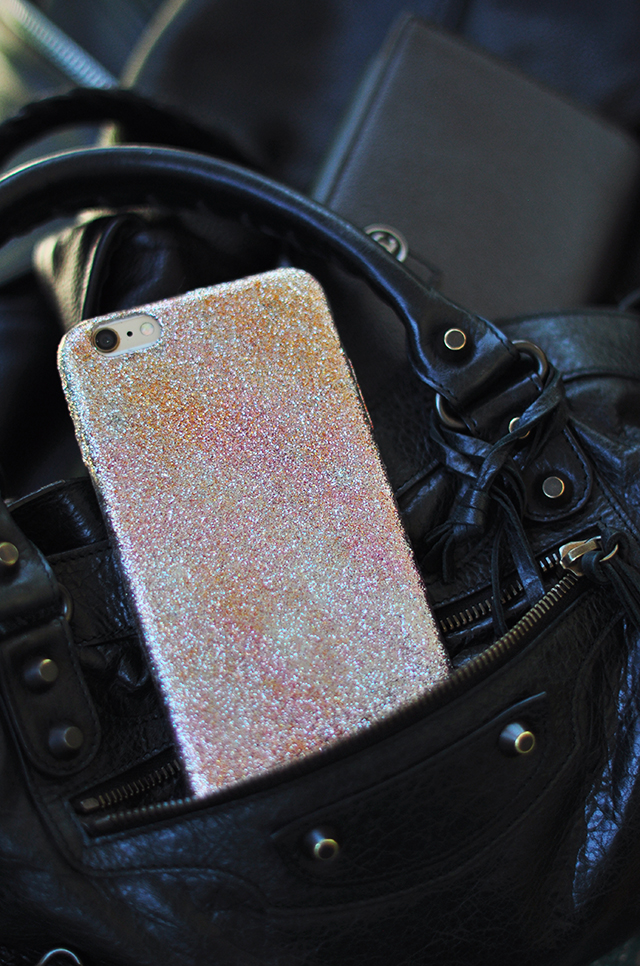
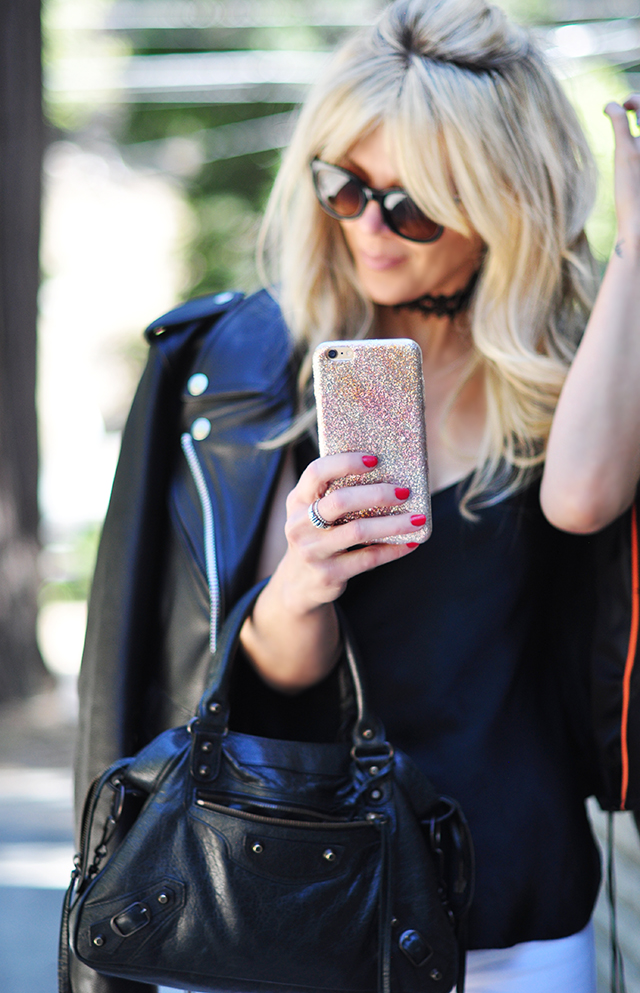
Glitter isn’t my normal go-to, but I kind of LOVE the way this glitter case turned out. I’ve been using it for a few weeks now just to see how the glitter would wear, and so far, so good!
Here’s What You Need…
* This is a two-step / two-glue process… The first process creates a very fine glitter base, which actually looks pretty great, but I was worried the glitter would fall off eventually…
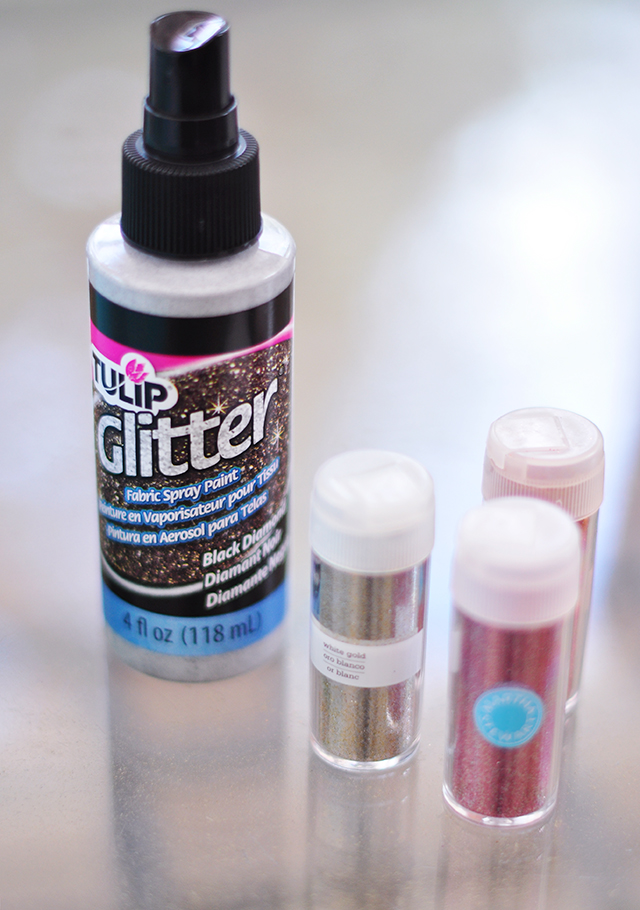
- Spray on glitter fabric glue {I knew this would stick to the plastic case because I used this product on my Harley Quinn costume boots and it worked magically}
- Fine glitter {I used Martha Stewart glitters in Silver, Gold, Copper, and Pink}
- E6000 adhesive
- Sponge applicator
Steps…
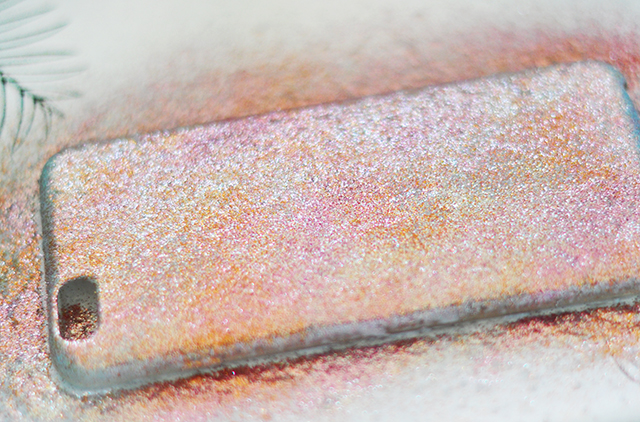
To create a fine glitter base, I sprayed on a layer of glitter glue over the entire phone case.
I wanted a bit of a disco striped effect, so I applied my glitters in a downward, line motion, then overlapped the colors.
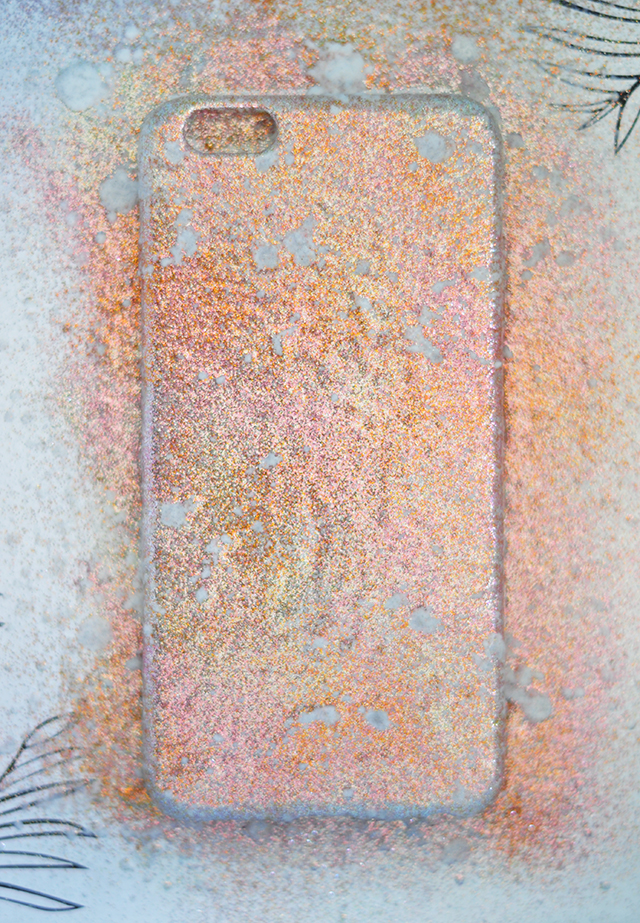
To create a little more texture, I sprayed more glitter glue over my design, then added more glitter to the top.
I let this step dry overnight to see how the glitter would adhere and stay put.
Steps: Phase Two…
While I loved the way the case looked, I wasn’t convinced the glitter would stay on, so I added these steps to the fine glitter base I created above… which I think was actually necessary to create the look.
* See {in the photos below} how it almost seems a little transparent still? I loved the look but knew it would eventually probably brush off.
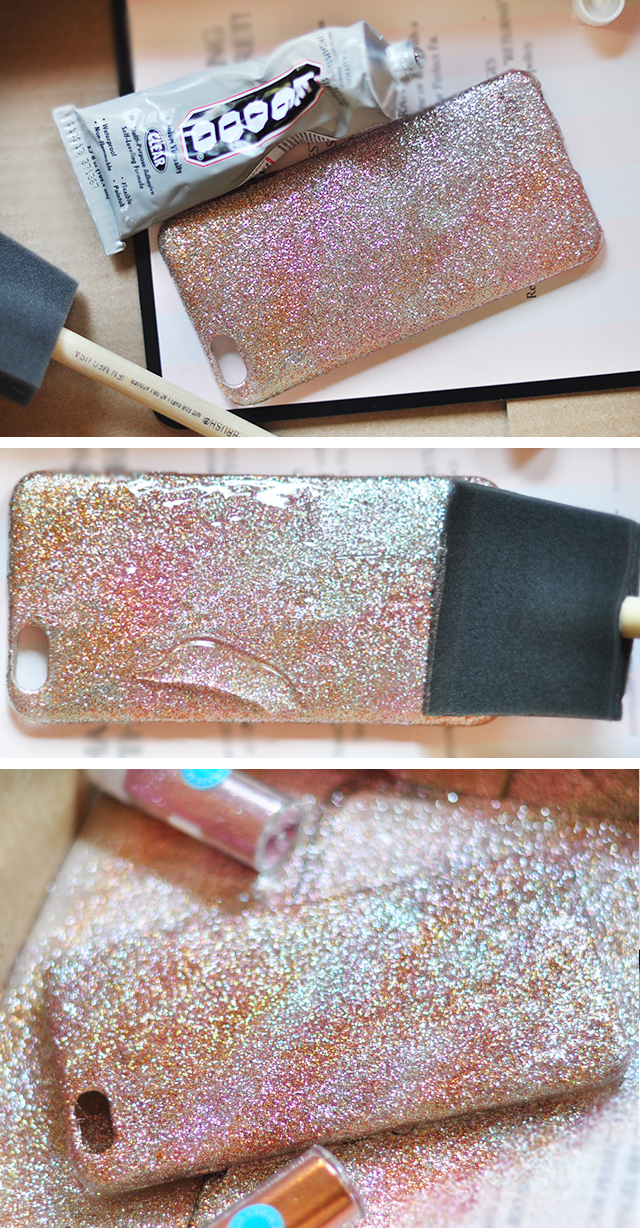
1. Once your first fine layer of glitter is dry, squeeze on a thick layer of E6000 adhesive over the case, and spread out evenly with the sponge applicator… make sure to smooth the edges because this stuff is thick.
2. Once again, apply your glitter stripes and let dry overnight in a well-vented area.
3. I added another very thin layer of glue to the top to sort of seal it and finish it off.
It has a fun textural feel because of the glue layers.
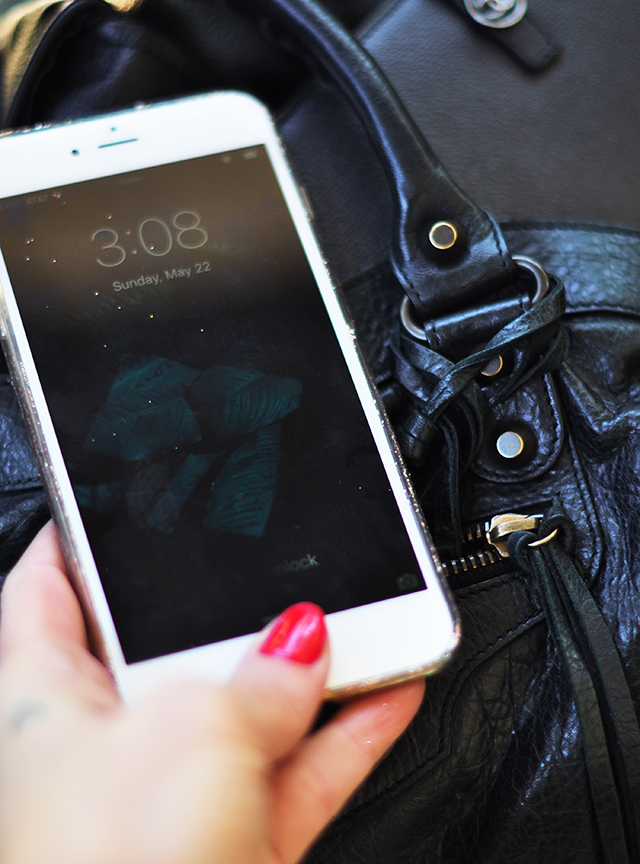
* NOTE the photo above was from the day after my glue dried : Glitter fell off for only about a day before it all completely stayed put. I have no rogue glitter specs anymore, which is a win in and of itself! However, you will have a little bit of random glue peeling along the edges -mostly where you hold it incessantly, which comes and goes with wear, but mine is holding up quite nicely.
And… Voila!
Have Fun!
* Find all my DIY tutorials here
* Find all my DIY phone case tutorials here

