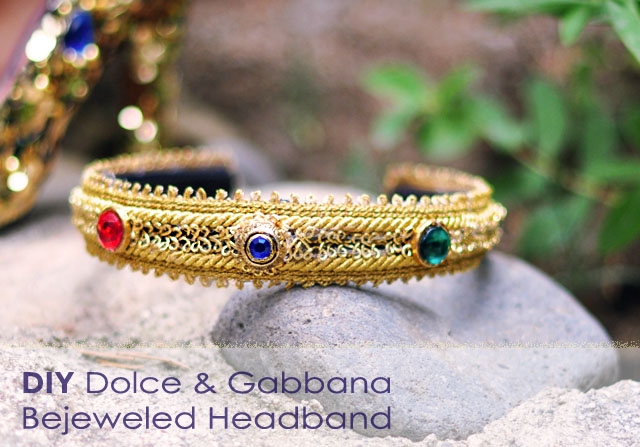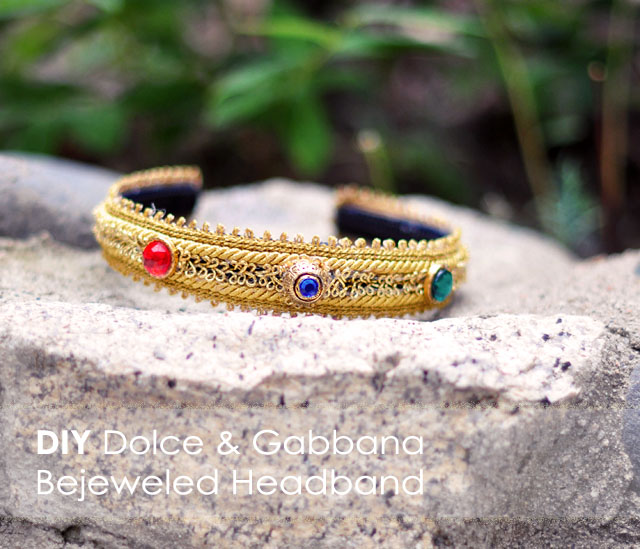
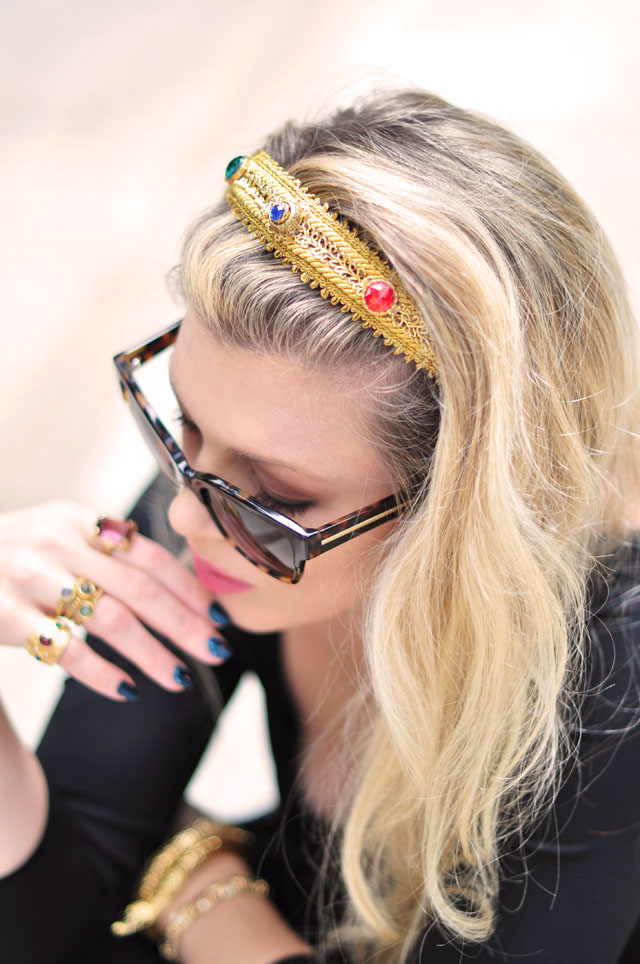
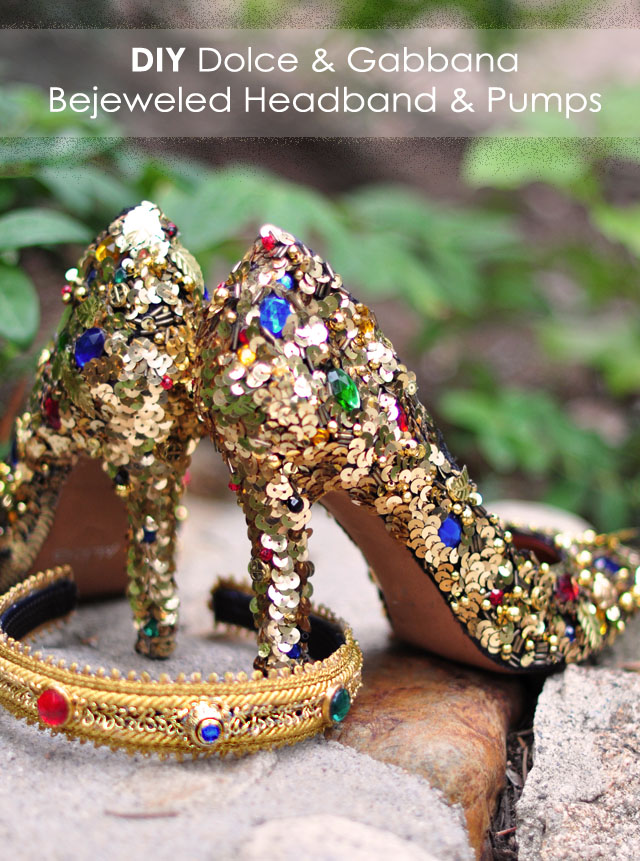
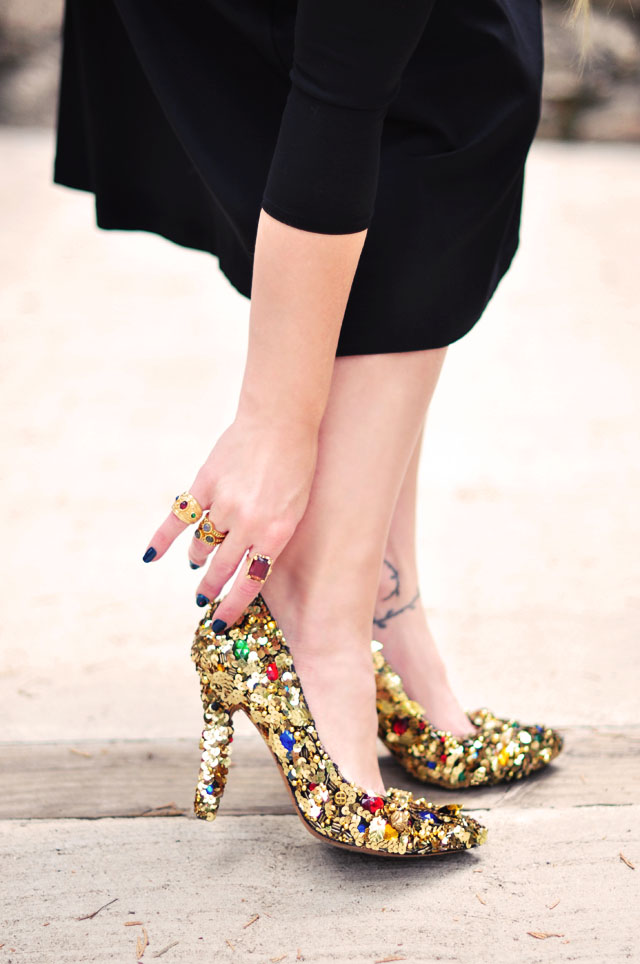
I am LOVING everything Dolce & Gabbana is doing right now. Their gold crowns parading down the runways as if belonging to royalty, beaded lace dresses and shoes, HUGE gilded & bejeweled cross earrings, and looks complete with deep red lips and sultry cat eyes. It’s all so regal with a hint of Medieval and even a little Catholicism… but it’s also feminine and utterly delicious! Obviously we can’t all walk around with bejeweled gold crowns adorning our heads -wait, who says?! so in addition to their runway shows, they also made a ready to wear bejeweled headband retailing for a whopping $1045 – which you can buy here: Dolce & Gabbana Gold Gem Headband but instead, I spent under $10 and made my own. Here’s how I did it…But first, remember my DIY Dolce & Gabbana Gold Jewel Embellished Shoes from July 2011? They match perfectly!
Here’s What You’ll Need…
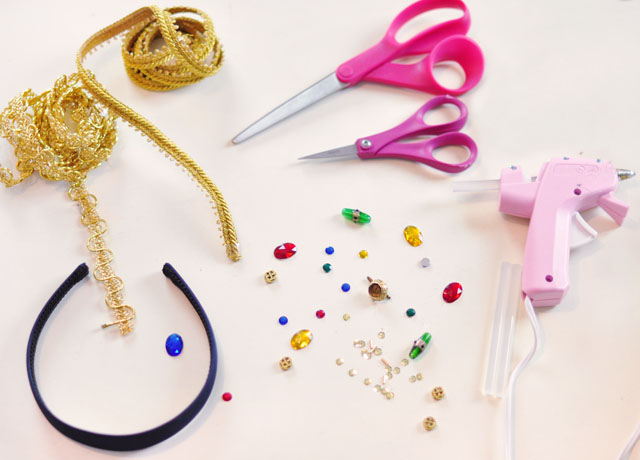
* Large fabric headband {I used a Scunci 1″ grosgrain navy blue headband I found in a pack of 3 at the drugstore} I suggest fabric over plastic because it holds the glue better.
* Gold rope trim {I found it at my local fabric shop, look for a flat back with a looped edge}
* Gold woven braided trim
* Gold flat buttons with ridged edges and a shank or stem, not the sew-through type {or another type of gold finding that will hold a gem} I used two flat plastic gold buttons with a raised edge and one large metal button that had misplaced its original gem.
* Jewel colored flat back rhinestones to fit in your gold buttons or findings
* Hot Glue Gun
Steps…
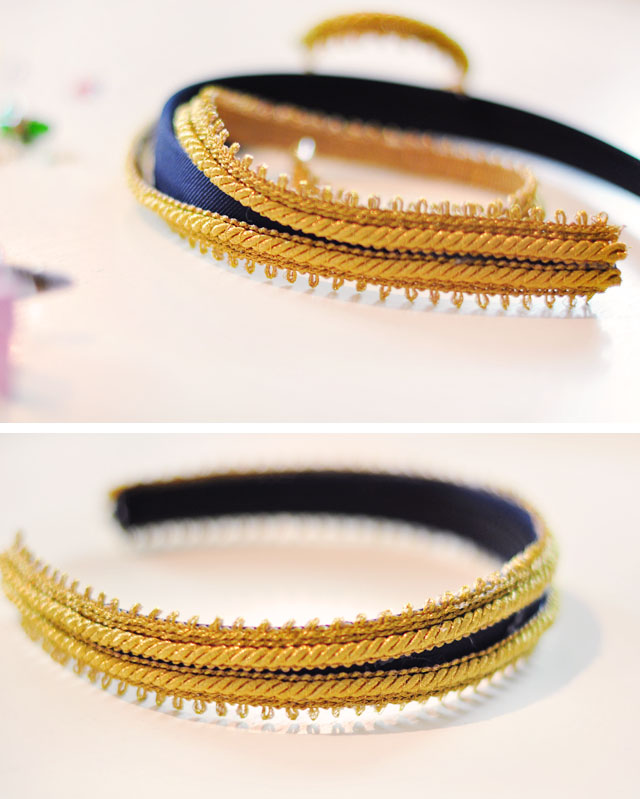
* Begin at the edge of your headband, with the edge of your larger gold rope trim hanging over the edge and carefully glue it in place. Leave a little overhang at the base of the band and on the edges. Follow the edges and you will have an opening in the center.

* Prepare your buttons. While the original D&G version has many more stones, I chose to use only three.
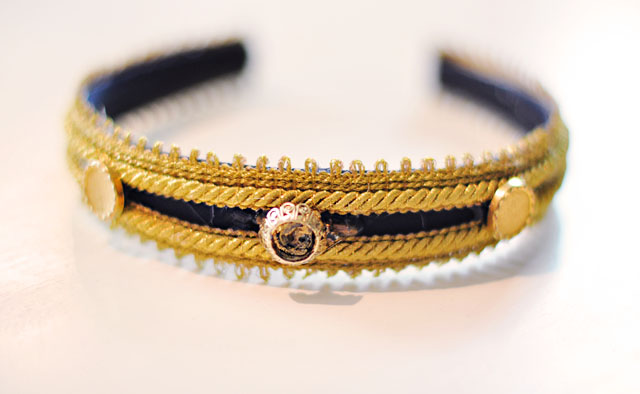
* Carefully glue your buttons onto your band, hiding the “shank” between the rope trim. I used my tallest and most detailed vintage button in the center, and my two plastic buttons on either side, right where my trim opens up. Use a substantial amount of glue but make sure you hide it well.
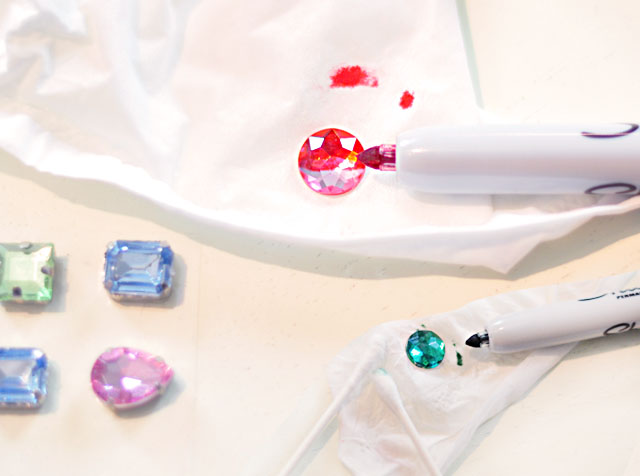
* If you don’t have stones that fit the centers of your buttons and in the right colors {like I didn’t} you can use a Sharpie marker to color them in. I used red and green over pastel pink and soft blue stones, then buffed them with Q-tips for shine. You can go over them a few times to get a richer color, and once it dries, it should remain colored.
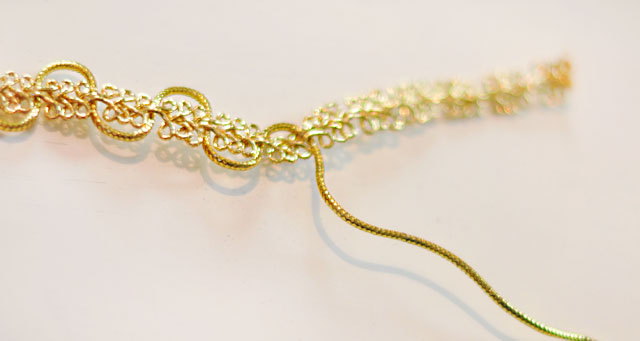
* I wanted a flat, woven, braided look so I carefully removed the cord/rope from this trim.
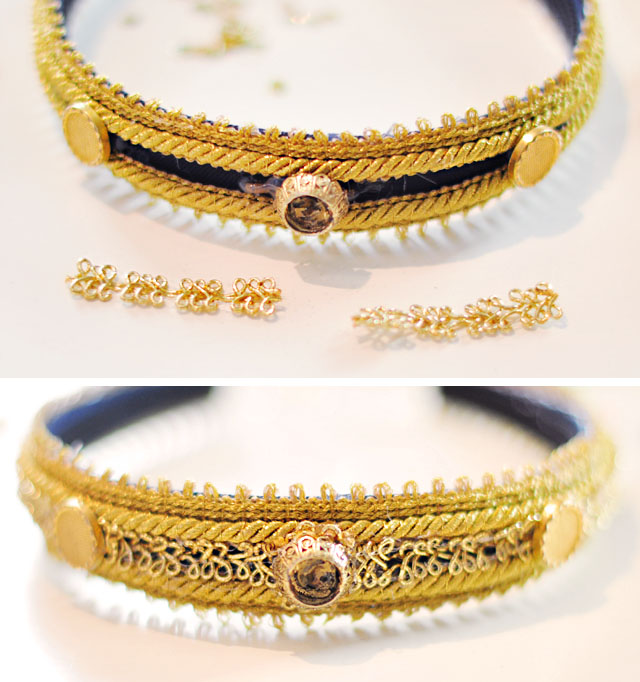
* Measure and cut your trim, then glue it down into place. Using scissors or a pen {whatever works} carefully push your trim down and in between your ropes so it doesn’t just lay on top.
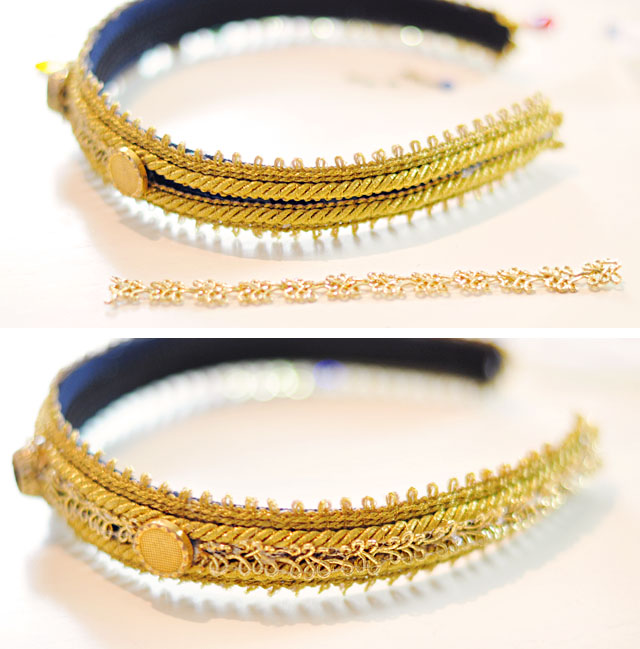
* Follow the instructions above to cover the sides of your headband with the same woven rope. Trim the bottoms of your band {where it hits behind your ears} and finish it by adding a substantial amount of glue OR use a gold ribbon to cover the edges by folding it up and around and glueing it closed.

* Finally, hot glue your rhinestones to the centers of your open buttons. My green and red stones fit perfectly onto the buttons but my center stone was too small, so I added another gold flat bead first to fill in the space, then glued my stone on top of that… which allowed it to sit even taller in the center.
Voila… Voila!
All other jewelry is vintage, Stella McCartney Sunglasses, Black Dress
Have Fun!
* Find all my DIYs here
* Find my DIY Dolce & Gabbana Gold Jewel Embellished Shoes from July 2011 here
Questions about my nails? Find my Deep Teal Gemstone Nail Art Manicure here

